
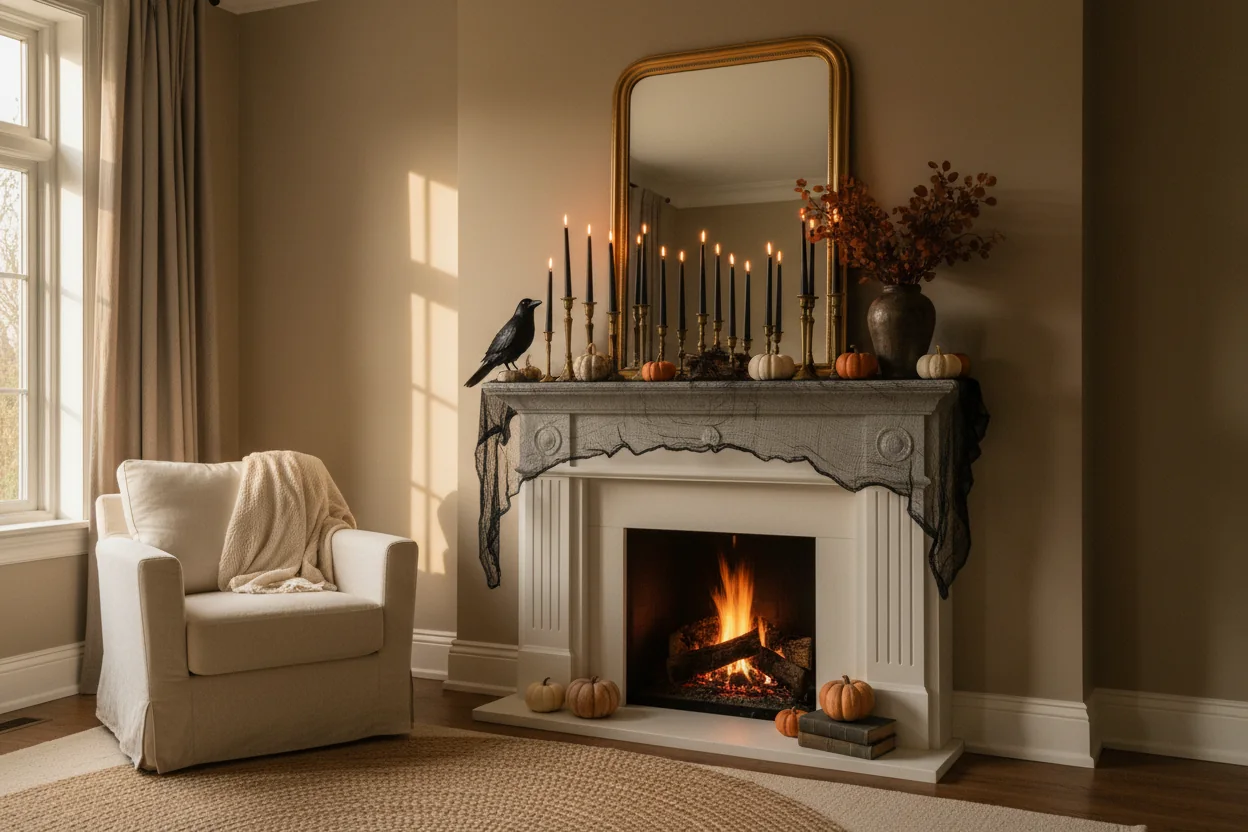
There is a particular moment in early October when the light goes soft at four in the afternoon, you light the first candle of the season, and your eye lands on the mantel — still holding the same three things it has held since spring. It is the most visible shelf in the house and somehow always the last one to get dressed.
Most lists of halloween mantel decor hand you a pile of pretty pictures without ever mentioning the actual problems: the ledge that is too shallow to hold anything, the heat coming off a working firebox, the TV mounted right above it, the brick you cannot put a nail in, the fact that there is no outlet within ten feet. So every one of the 29 halloween mantel decor ideas below starts with a real problem and gives you the fix. Work through them in order, or jump to the three that describe your fireplace.
1. Build on a Narrow Ledge Without Anything Sliding Off
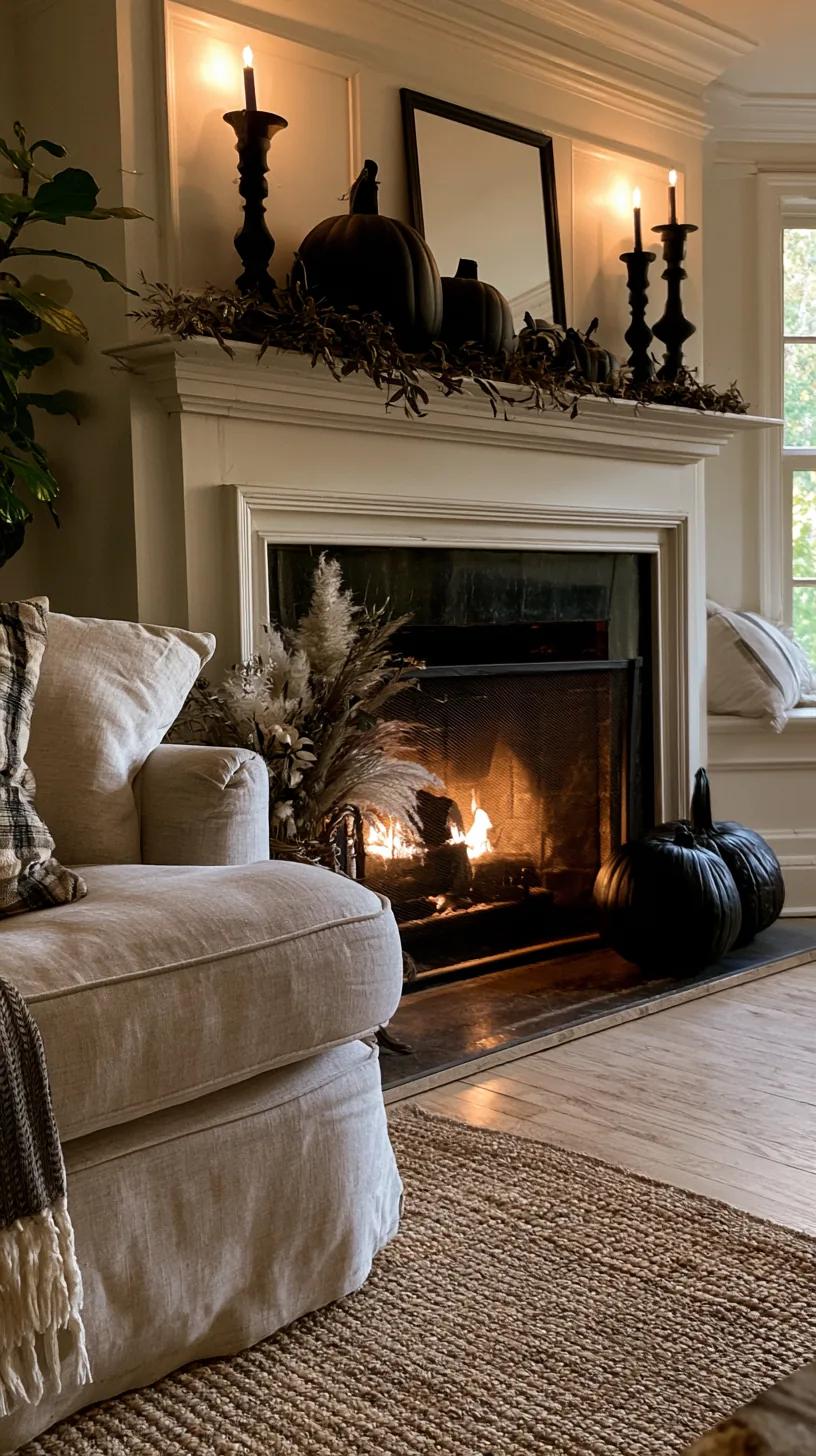
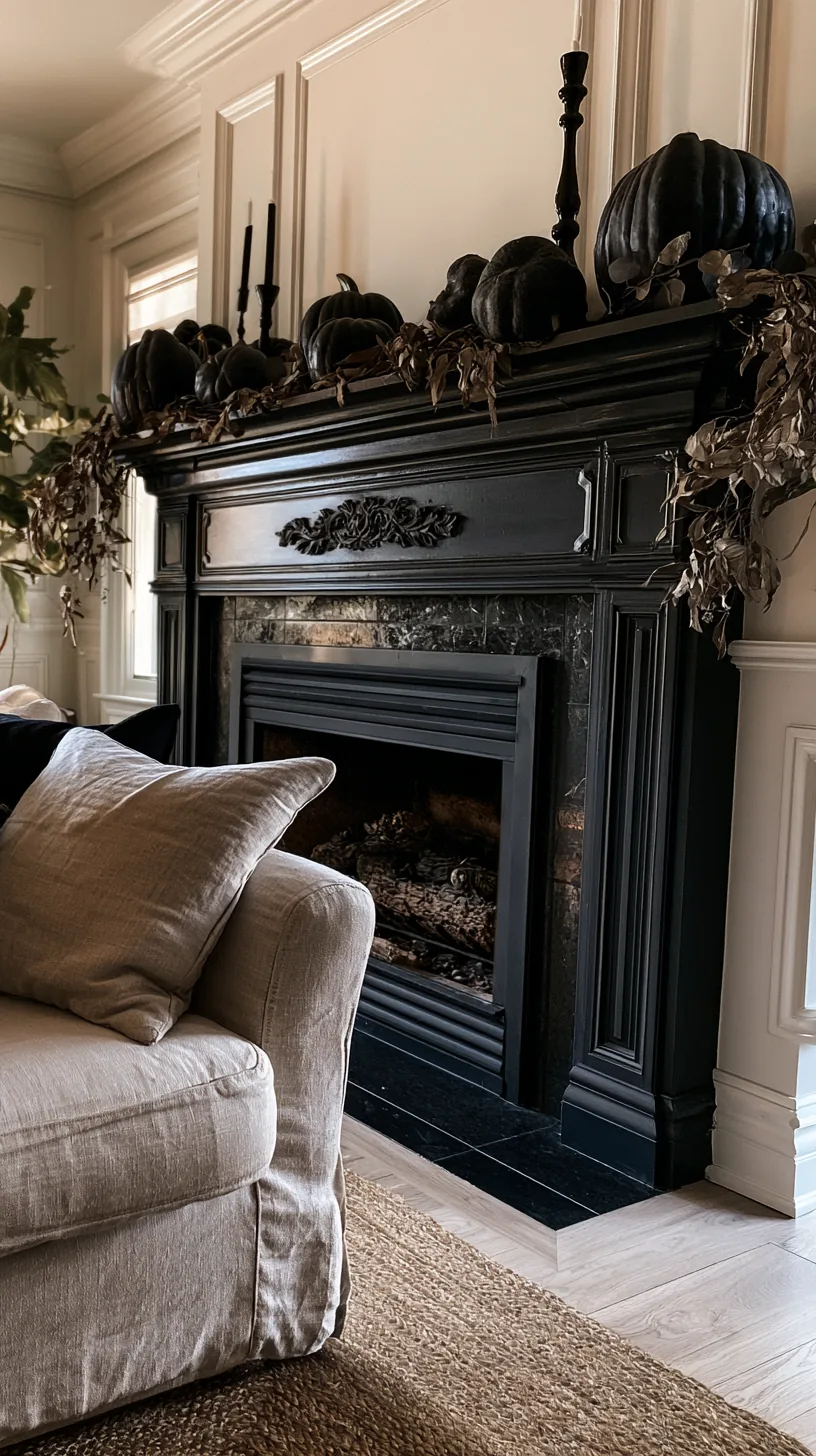 1Black Handmade Terracotta Jack O Lantern Pumpkin 7.5in · Shop on Amazon1Black Handmade Terracotta Jack O Lantern Pumpkin 7.5in · Shop on Amazon224 Inch Fall Wreath for Front Door, Autumn Leaves with Pumpkins · Shop on Amazon3Fall Wreath with Pumpkins 19in · Shop on Amazon1Black Handmade Terracotta Jack O Lantern Pumpkin 7.5in · Shop on Amazon4Tuli Mango Wood Candle Holders Matte Black Set of 3 · Shop on Amazon2/4
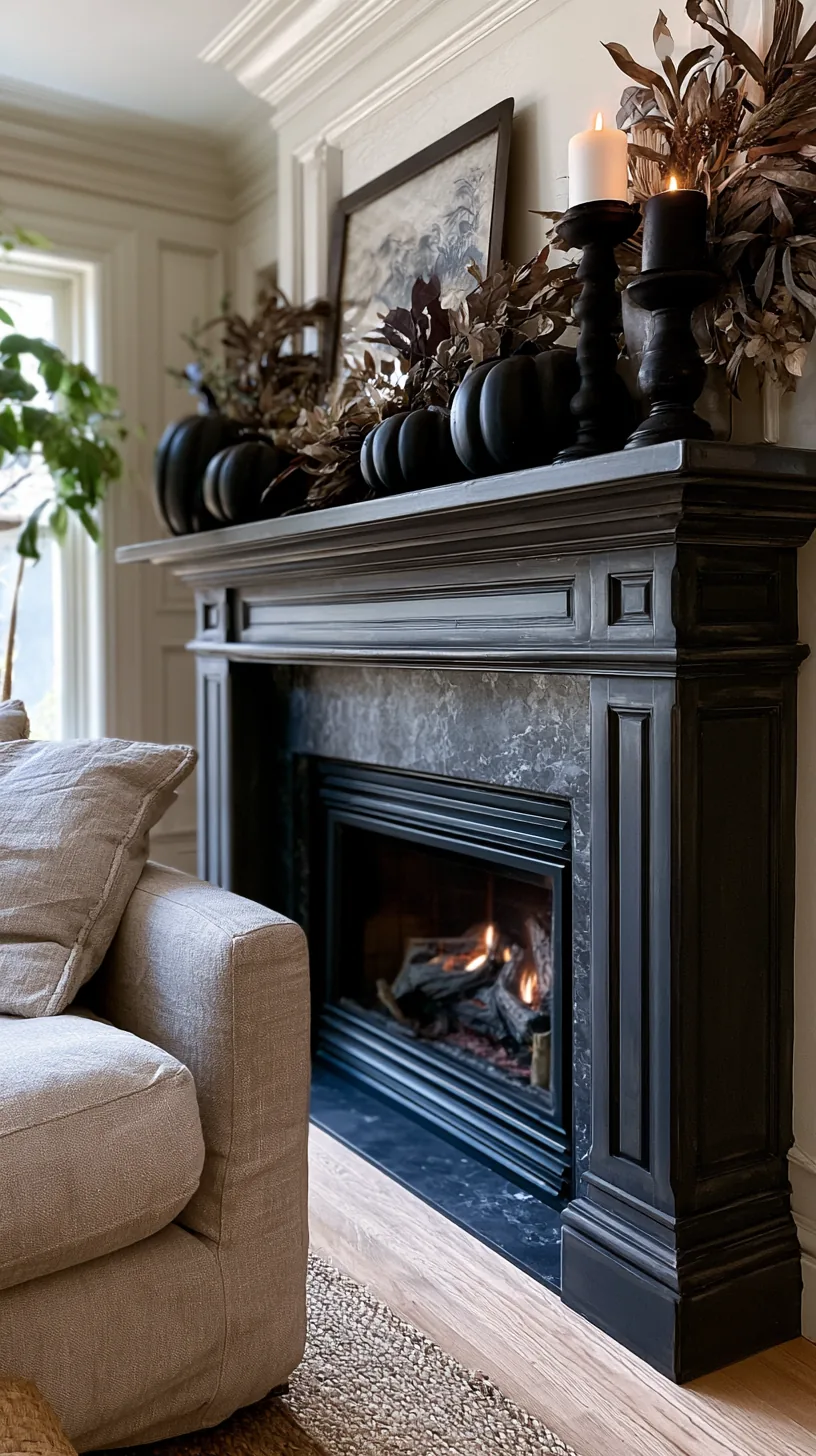 1Black Handmade Terracotta Jack O Lantern Pumpkin 7.5in · Shop on Amazon1Black Handmade Terracotta Jack O Lantern Pumpkin 7.5in · Shop on Amazon2KUVIOKE Black White Minimalist Line Art Framed Wall Art · Shop on Amazon3/4
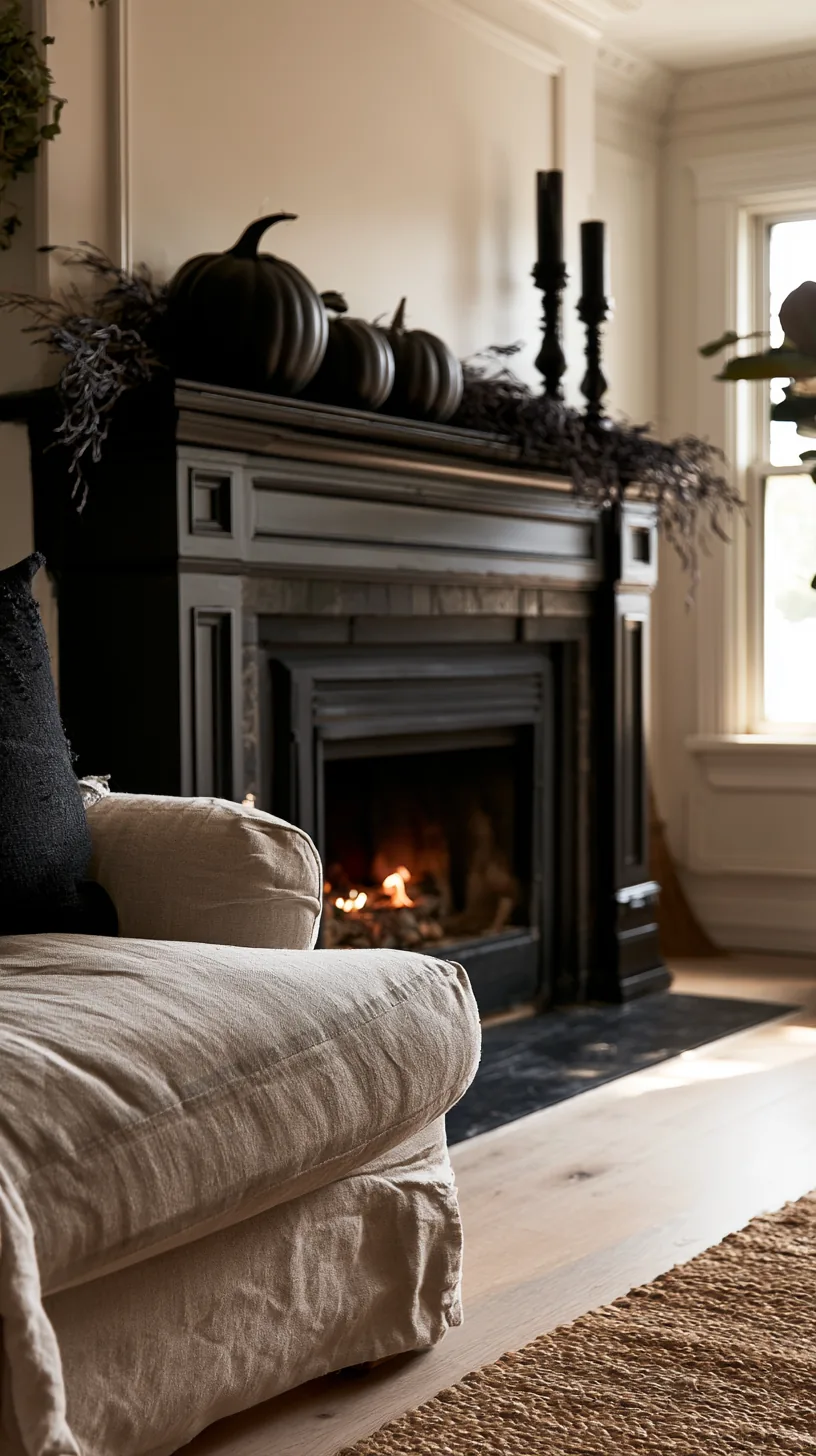 1Black Handmade Terracotta Jack O Lantern Pumpkin 7.5in · Shop on Amazon224 Inch Fall Wreath for Front Door, Autumn Leaves with Pumpkins · Shop on Amazon224 Inch Fall Wreath for Front Door, Autumn Leaves with Pumpkins · Shop on Amazon3Tuli Mango Wood Candle Holders Matte Black Set of 3 · Shop on Amazon4/4
Most mantels are only five or six inches deep, which is the single biggest reason halloween mantel decor ends up on the floor. Push everything back against the wall, keep the front edge clear by an inch, and reserve the shallow ledge for flat-bottomed pieces only.
Anything with a rounded base, a wobbly foot, or a tall narrow stem belongs at the back where the wall can catch it. Candlesticks, jars, and framed pieces lean naturally; small figures and gourds roll. A friend of mine lost two glass pieces in one week before she simply moved the whole arrangement back two inches, and nothing has fallen since.
Quick Tips
- Measure the depth before you shop — anything wider than the ledge is a no
- Leave a clear inch at the front edge so sleeves and dusters do not sweep things off
- Put the heaviest pieces at the ends where they are least likely to get bumped
2. Skip Real Flames When the Fireplace Actually Gets Used
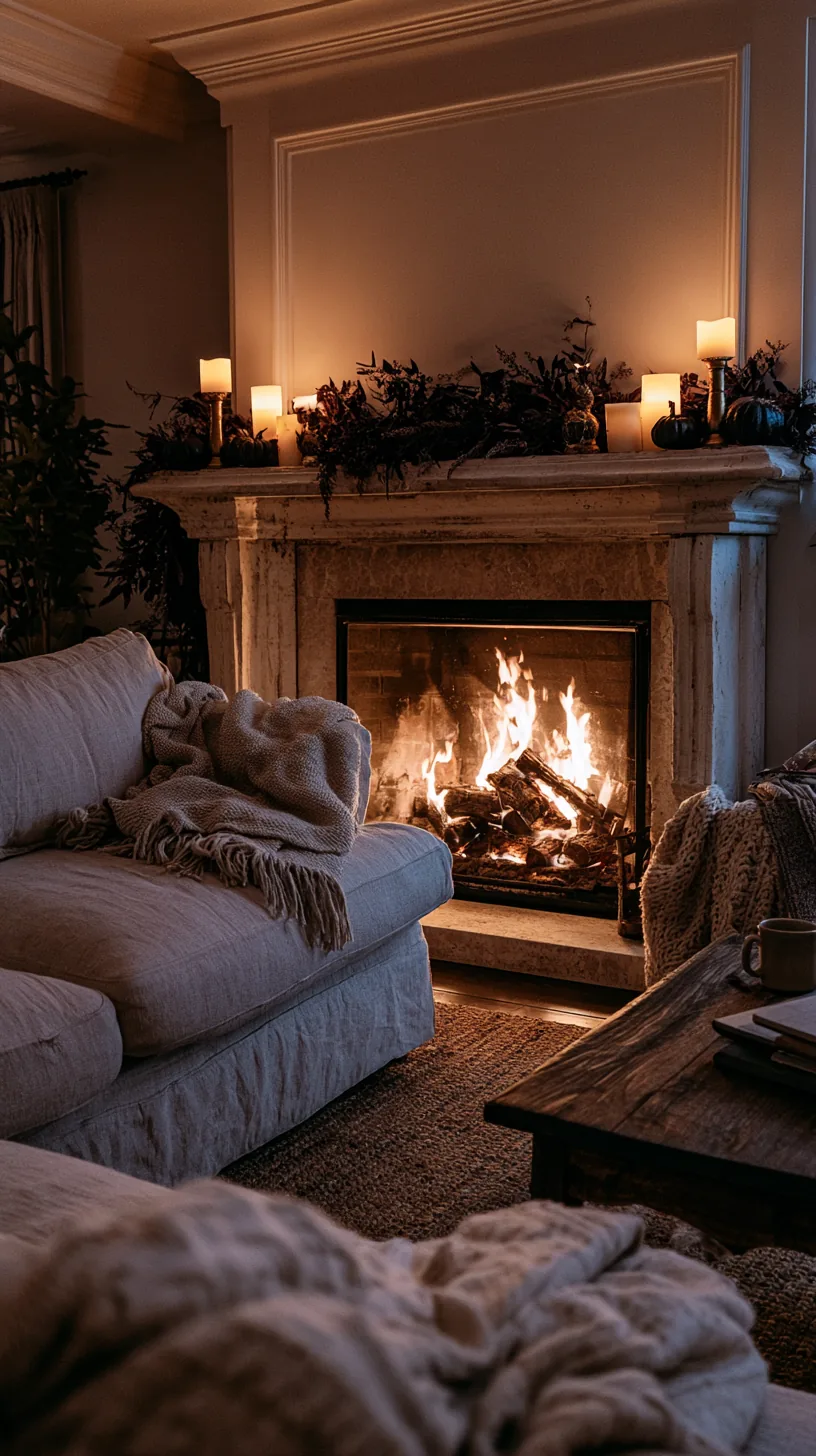 1Bigacogo Chunky Knit Throw Blanket Beige 40×60 · Shop on Amazon2UDU White Pillar Candles with Glass Cylinder Hurricane Holders · Shop on Amazon3Manhattan Comfort Siri Linen Sofa Cream · Shop on Amazon1/4
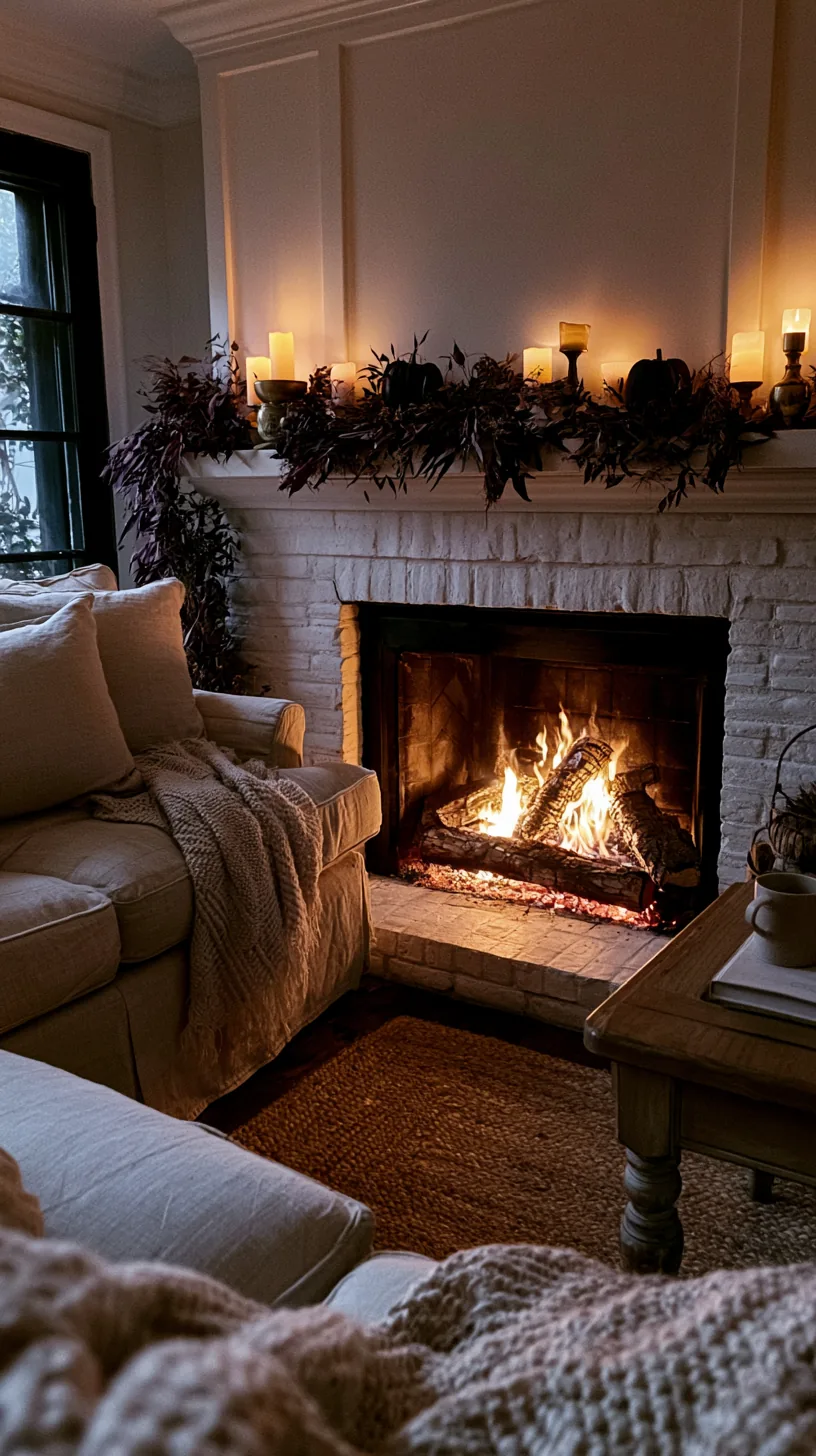 1Romadedi Gold Candlestick Candle Holders, Brass Color, Pack of 2 · Shop on Amazon224 Inch Fall Wreath for Front Door, Autumn Leaves with Pumpkins · Shop on Amazon3Fall Wreath with Pumpkins 19in · Shop on Amazon4Bigacogo Chunky Knit Throw Blanket Beige 40×60 · Shop on Amazon2/4
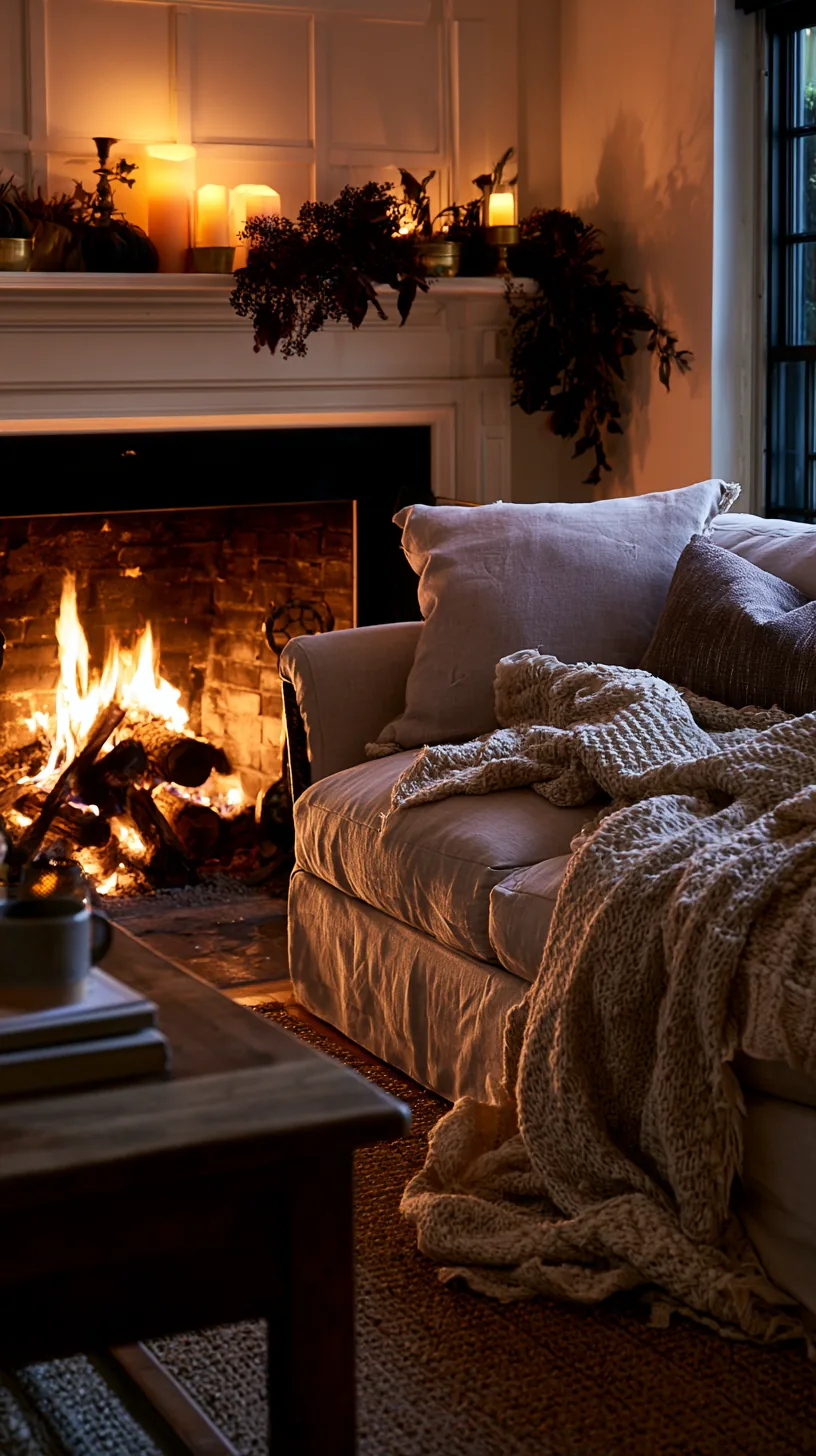 1Pallene Faux Fur Throw Pillow Covers Tan 24×24 · Shop on Amazon2L’AGRATY Chunky Knit Throw Blanket 50×60 Cream White · Shop on Amazon3UDU White Pillar Candles with Glass Cylinder Hurricane Holders · Shop on Amazon3UDU White Pillar Candles with Glass Cylinder Hurricane Holders · Shop on Amazon4Romadedi Gold Candlestick Candle Holders, Brass Color, Pack of 2 · Shop on Amazon3/4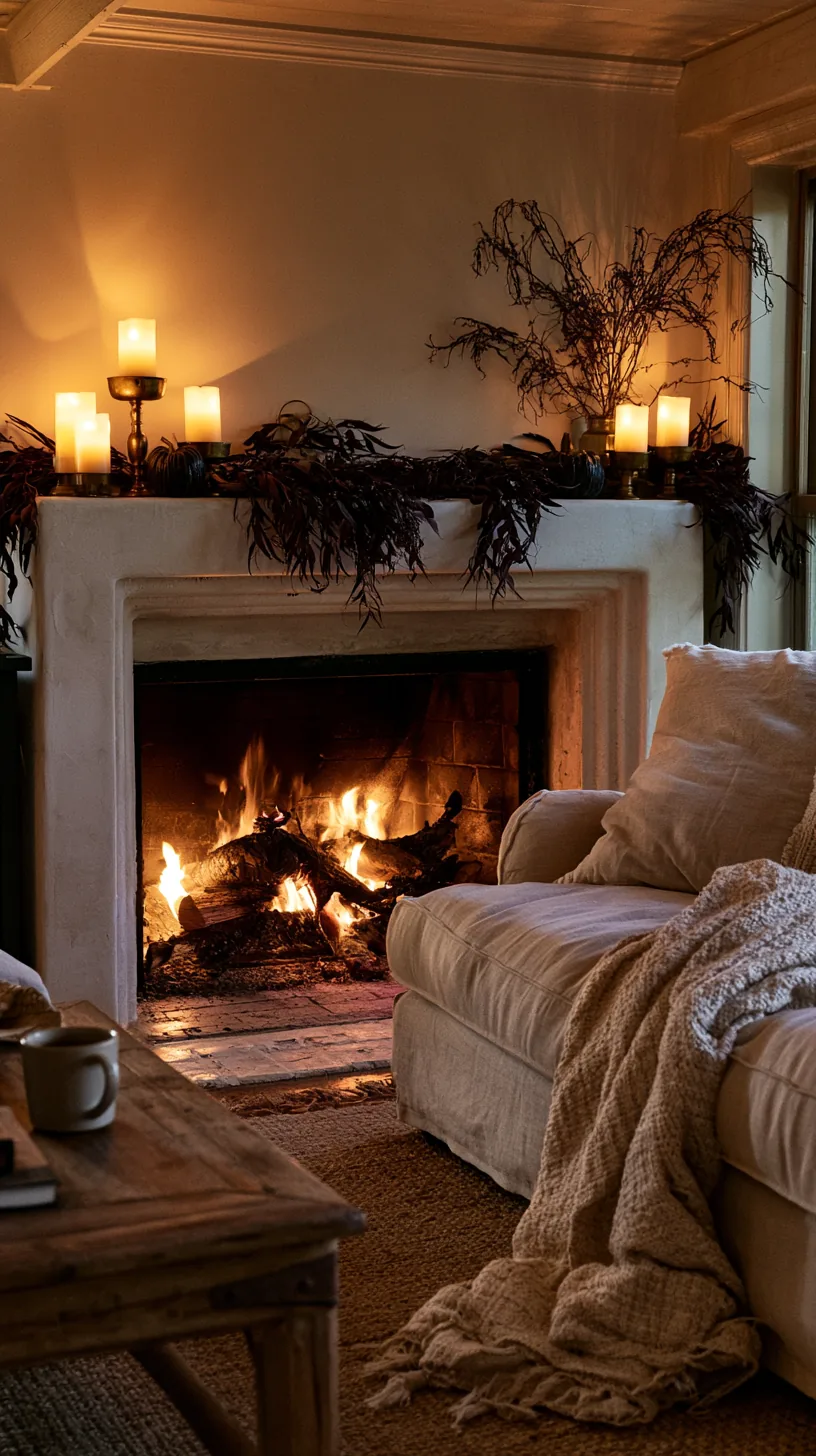
A working firebox pushes serious heat straight up the face of the mantel, and real candles slump, faux stems curl, and anything foam softens. Flameless candles with a built-in timer give you the same glow, hold their shape all season, and switch themselves on at dusk.
Heat rising off a firebox can easily reach the point where wax goes soft even though the mantel feels cool to the hand. The tell is candles that lean toward the wall by the second week of October. Flameless also means you can leave the display lit while you are in the kitchen, which is really the whole point of decorating a mantel in the first place.
Quick Tips
- Set the timer once and it repeats on the same schedule every evening
- Warm-toned bulbs read like real flame; cool white reads like a nightlight
- Keep spare batteries in the bin with the decor so October does not turn into a hunt
3. Work Around a TV Above the Fireplace Instead of Fighting It
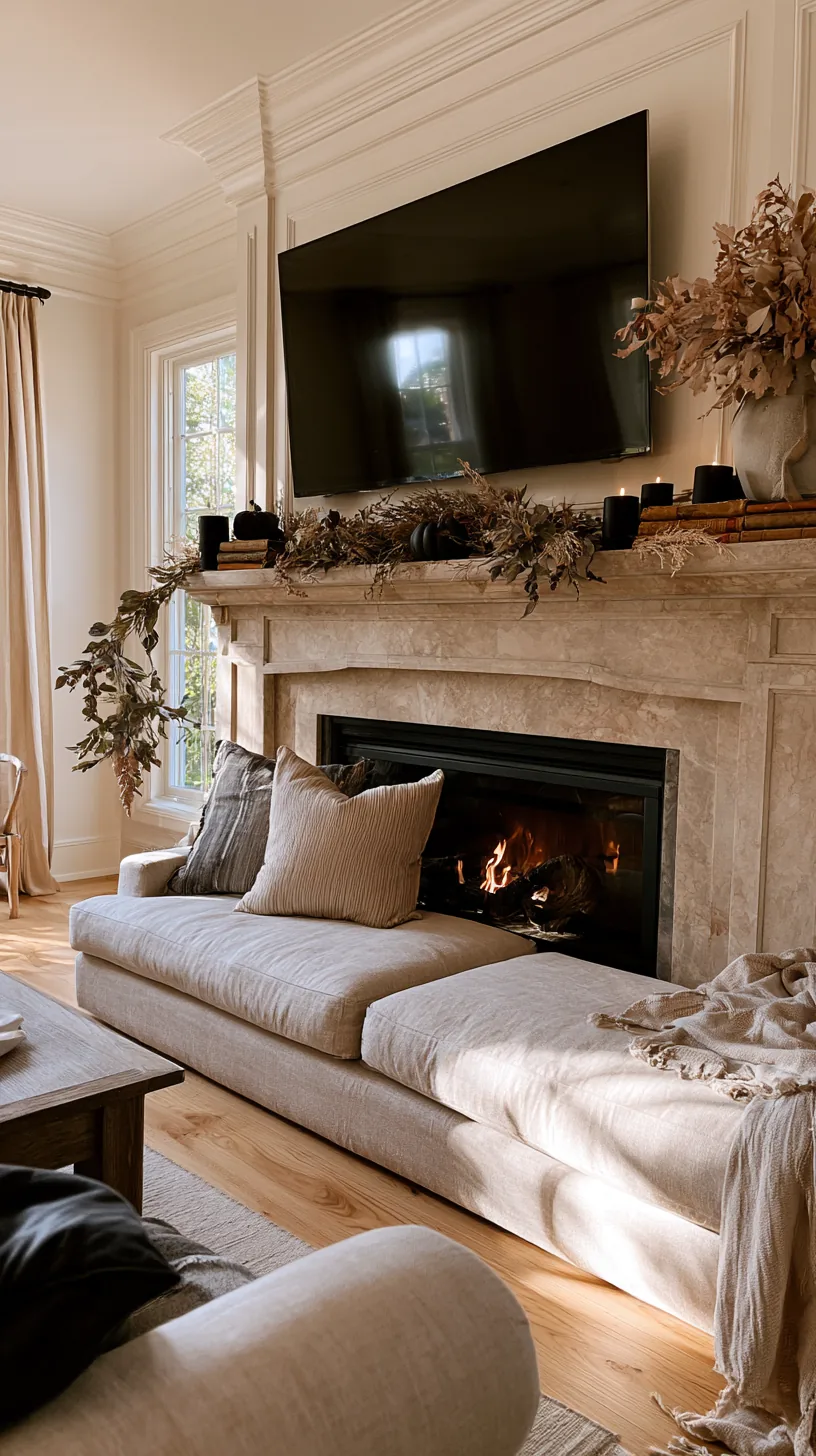
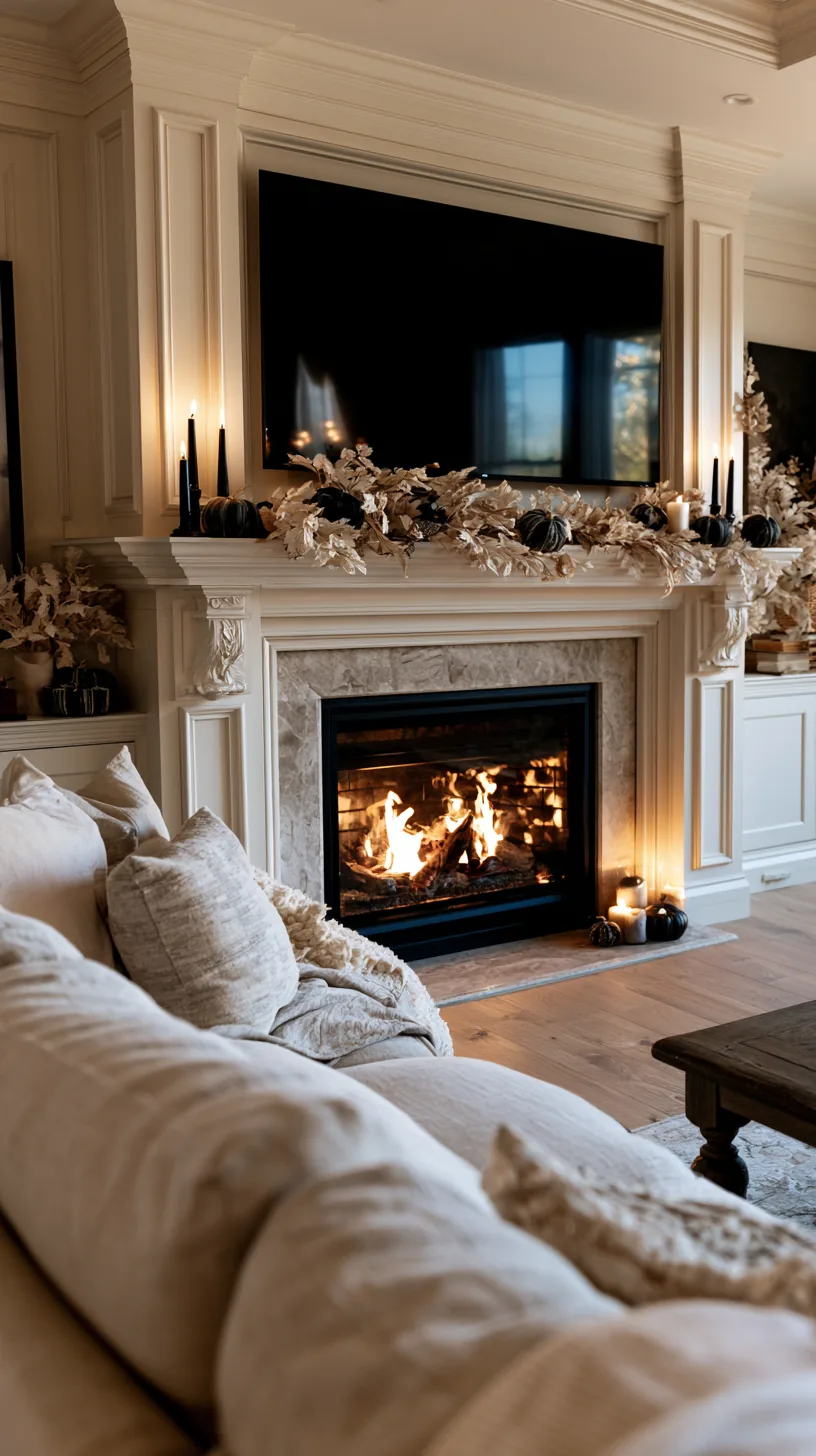 1KSWING Black Metal Taper Candlestick Holders Set of 6 · Shop on Amazon1KSWING Black Metal Taper Candlestick Holders Set of 6 · Shop on Amazon1KSWING Black Metal Taper Candlestick Holders Set of 6 · Shop on Amazon2Fall Maple Leaf Garland 5pk · Shop on Amazon2/4
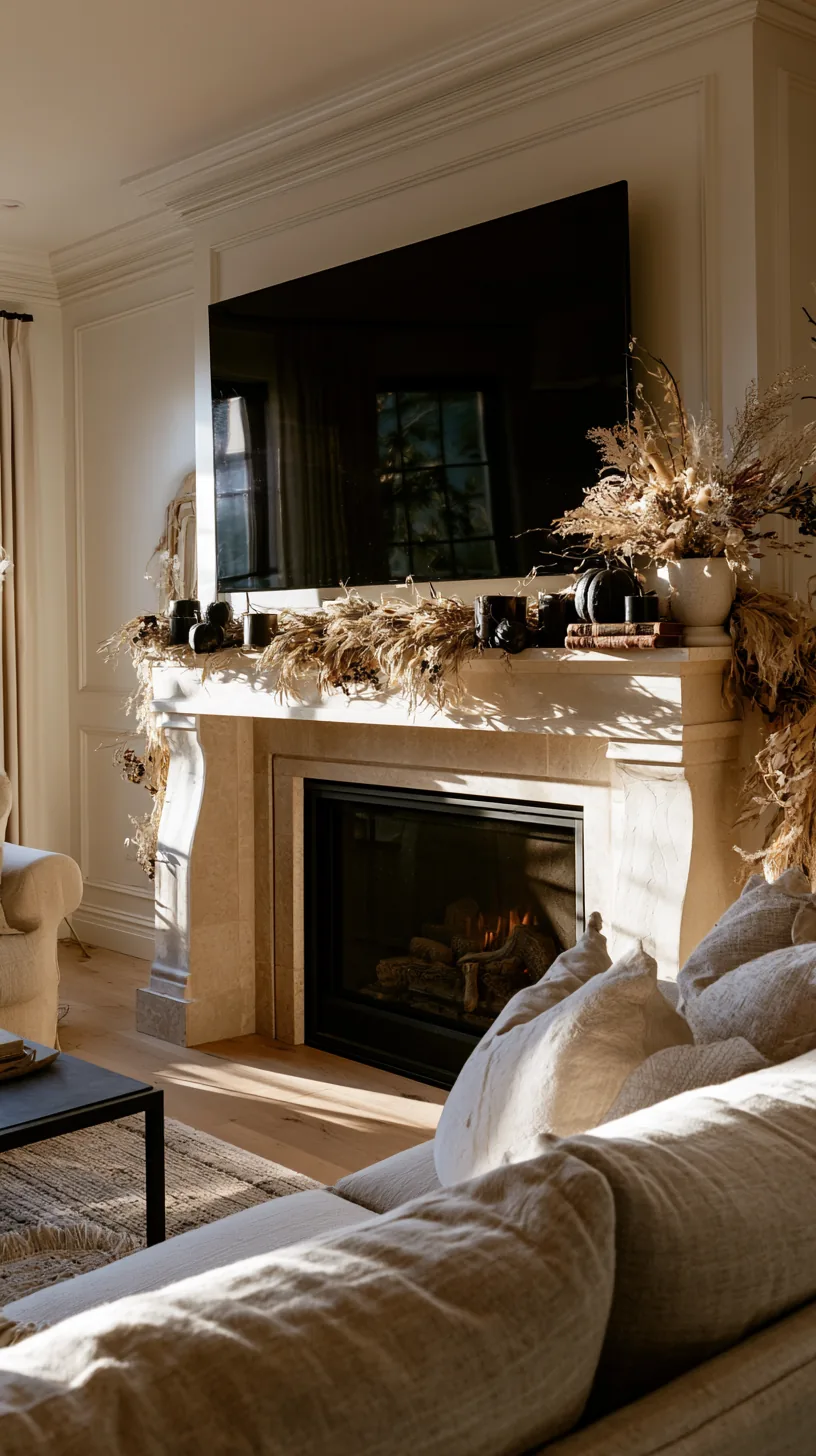 1Vanselia Ceramic Flower Vase, Farmhouse Rustic Vintage Table Vase · Shop on Amazon2Fall Wreath with Pumpkins 19in · Shop on Amazon3Perfnique Decorative Lanterns Indoor and Outdoor, Set of 3 Black Metal · Shop on Amazon3Perfnique Decorative Lanterns Indoor and Outdoor, Set of 3 Black Metal · Shop on Amazon3/4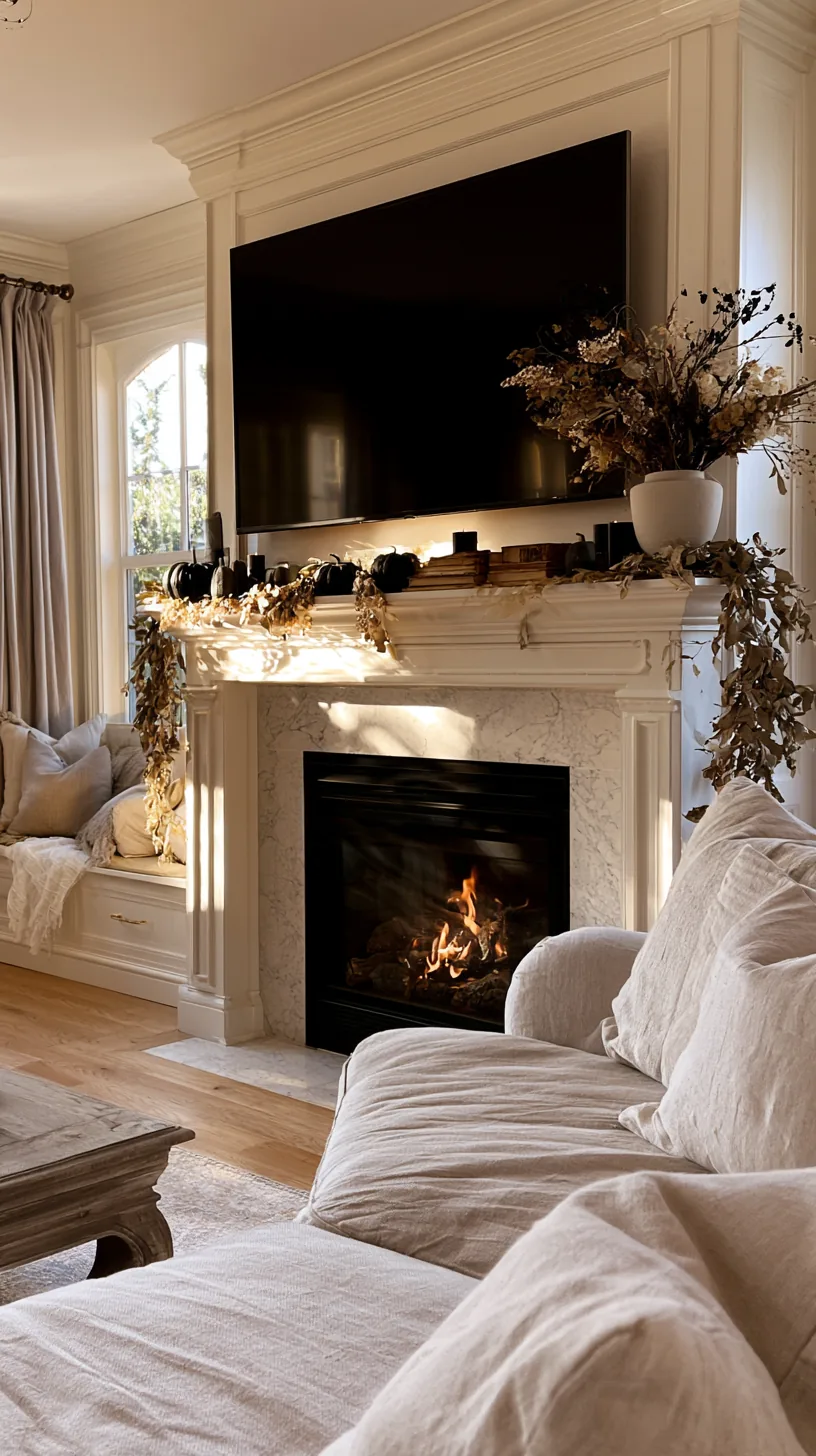
A mounted TV creates a big black rectangle that swallows anything tall you put in front of it. Keep the arrangement low and wide, run it along the full length of the ledge, and let the dark screen act as the backdrop rather than the competition.
Tall candlesticks in front of a TV look like they are growing out of the screen, and the reflection doubles the clutter. A long low garland with a couple of grouped pieces at each end frames the screen the way a mantel scarf would. I have seen this work beautifully in rooms where the TV placement was never going to change. If the arrangement still feels bare once it is running low and wide, these fall mantel garland ideas show how to build the length out properly.
Quick Tips
- Keep everything under about a third of the screen height
- Group at the two ends and leave the center light so the screen stays clean
- Check the reflection with the TV off — that black mirror shows everything
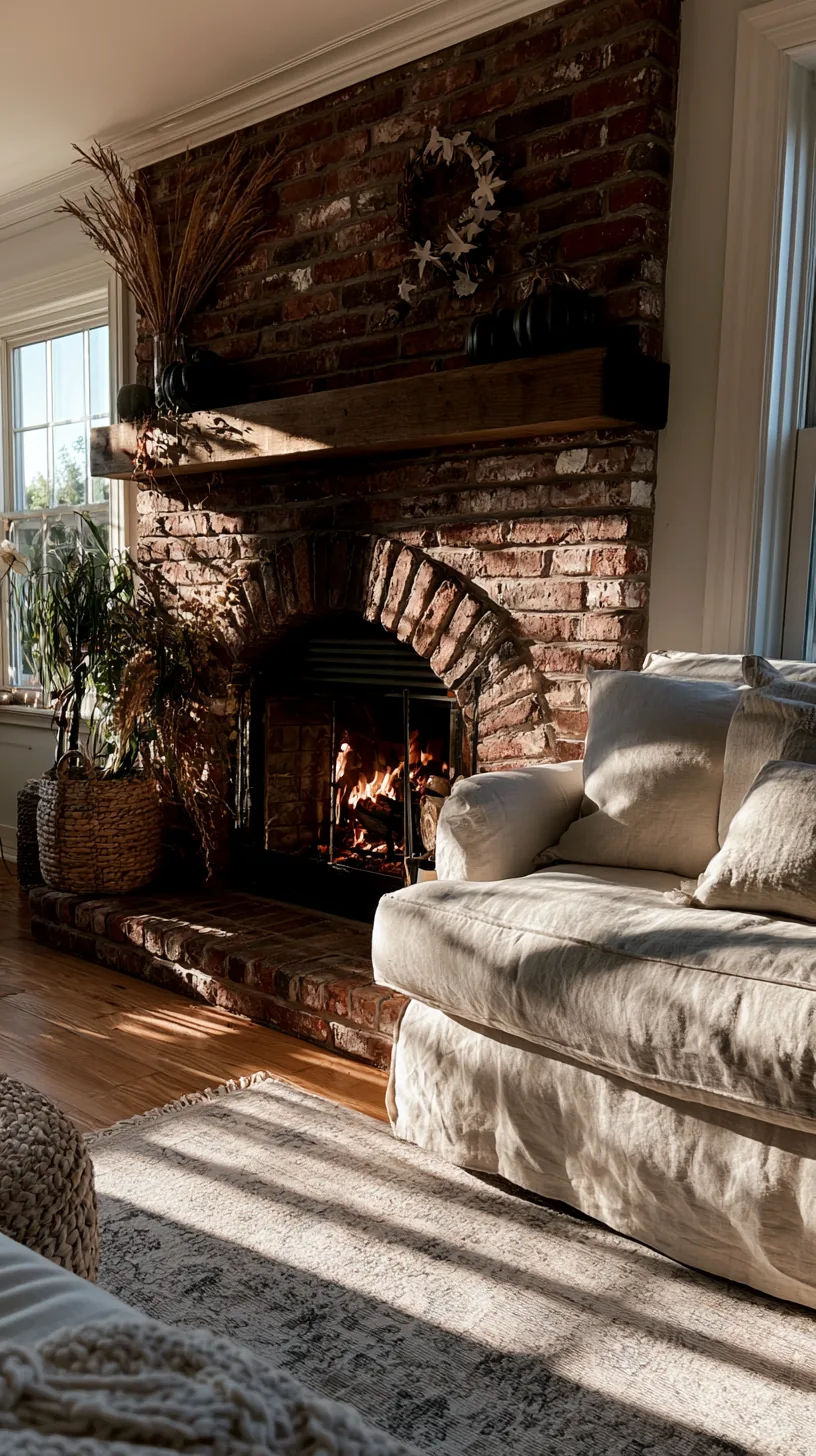
4. Decorate a Brick or Stone Mantel With No Nails at All
 1/4
1/4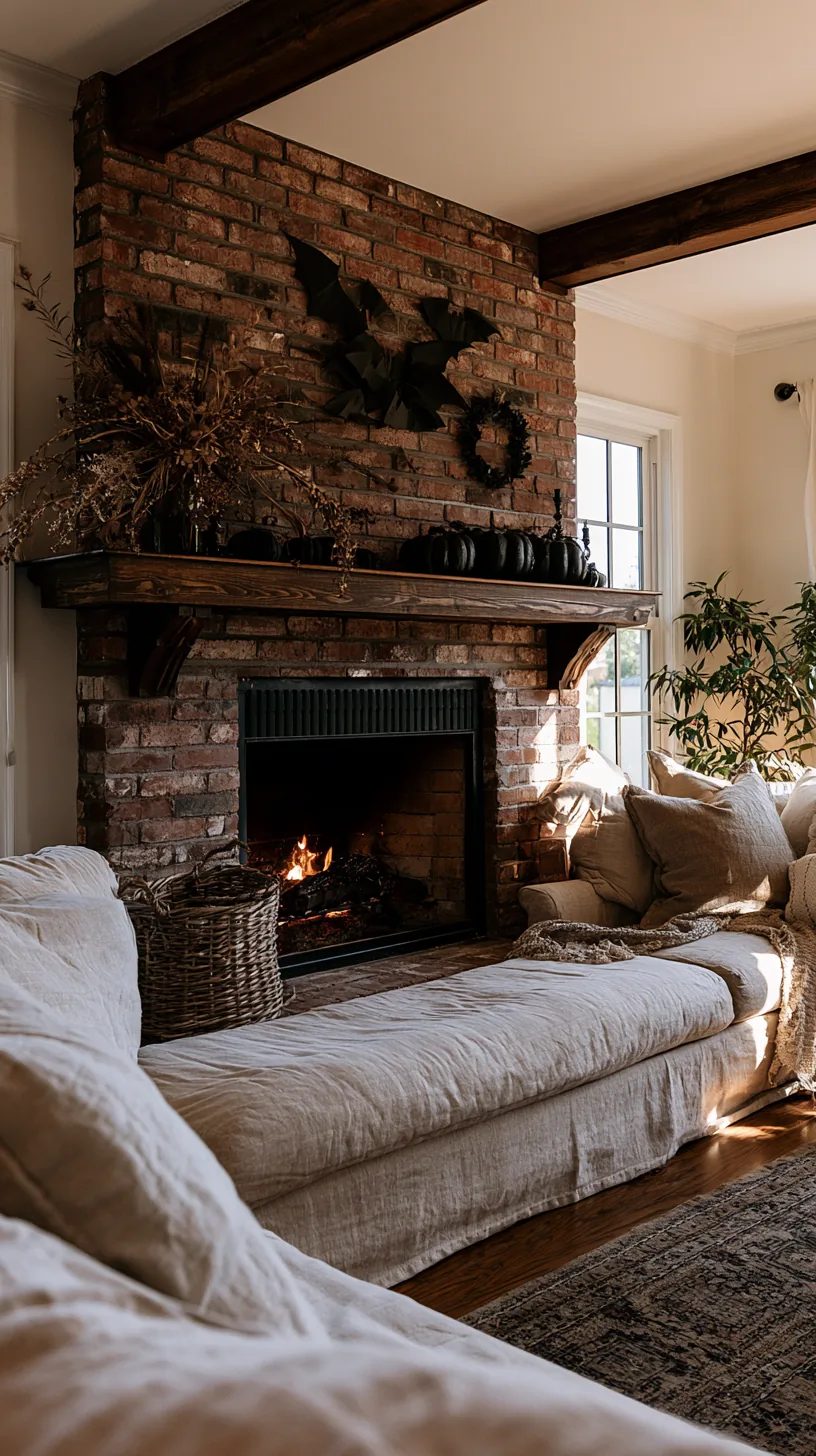 2/4
2/4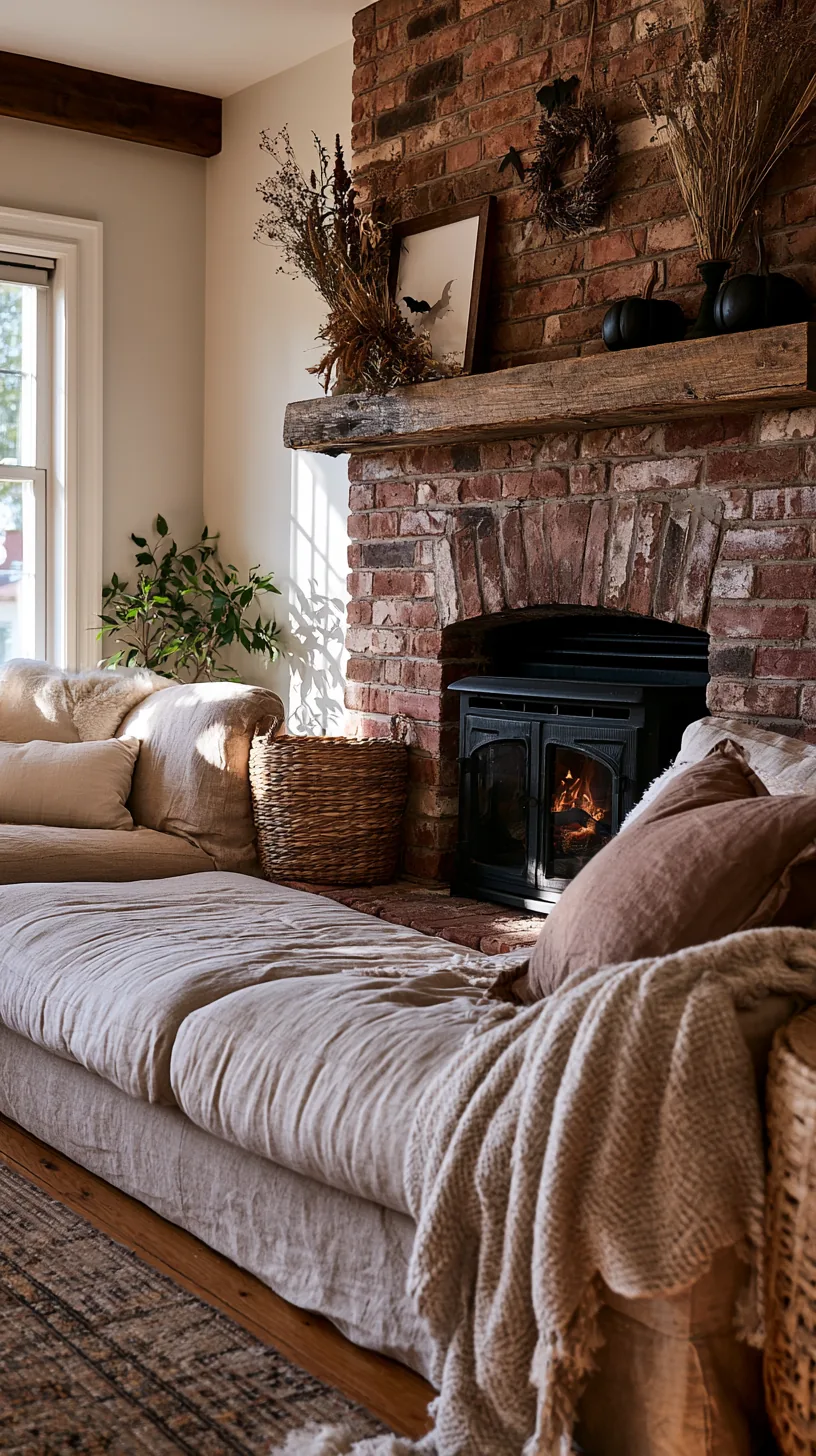 3/4
3/4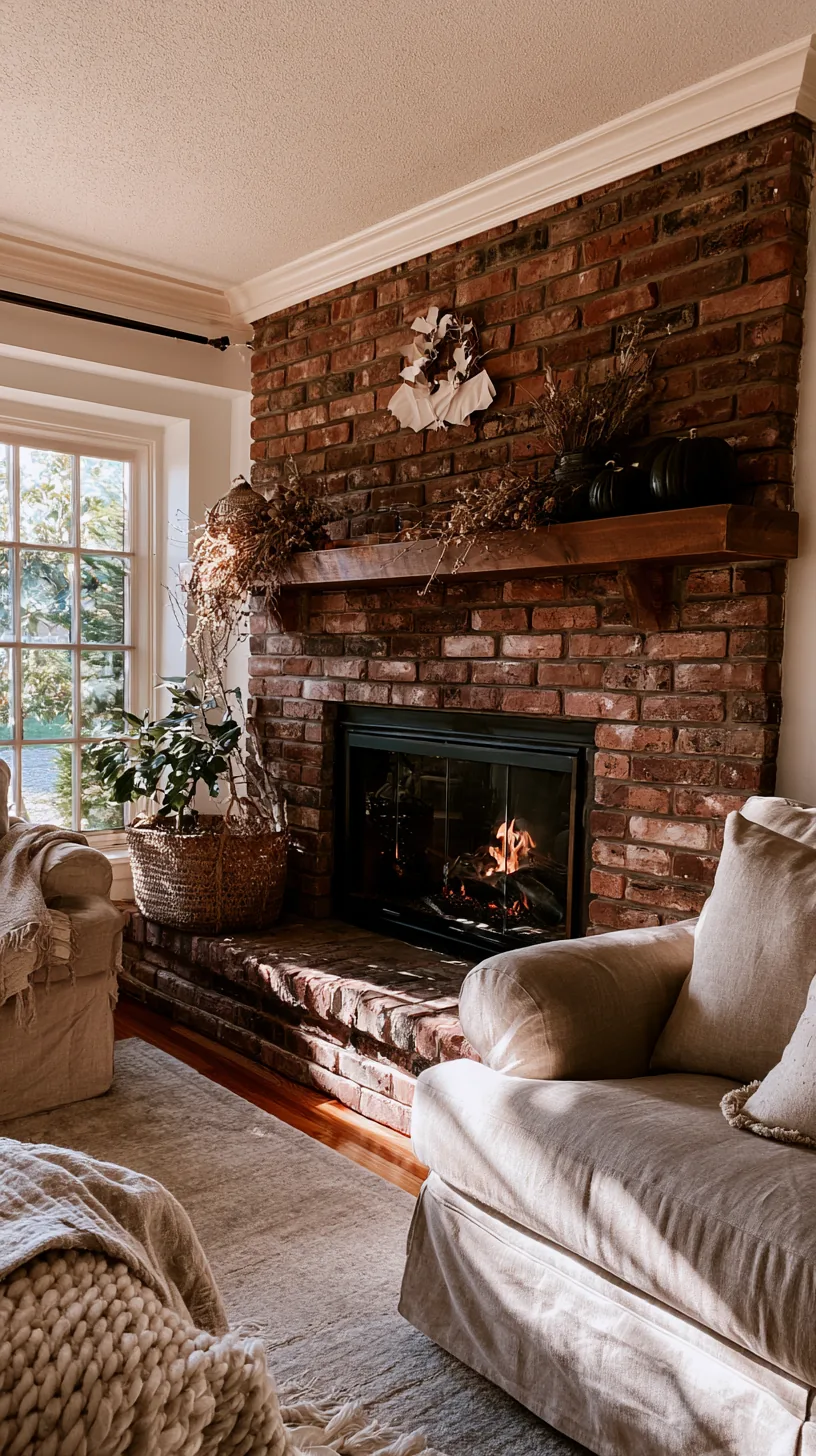 4/4
4/4Brick and stone will not take a nail without a hammer drill, and most rentals will not let you try. Museum putty and removable strips hold lightweight pieces to the face of the mantel and to the wall above without leaving a single mark behind.
Putty is the quiet hero of seasonal decorating: a pea-sized dab under a candlestick, a jar, or a small frame stops it from walking off a sloped ledge and peels off clean in November. For anything hanging on the wall above, removable strips rated well above the actual weight are the safe move — always round up.
Quick Tips
- A pea-sized dab per corner is plenty; more putty makes removal messier
- Wipe the surface with rubbing alcohol first so the strips actually grip
- Remove strips by pulling the tab straight down, slowly, never outward
5. Get Height Without Buying Anything Tall
 1/4
1/4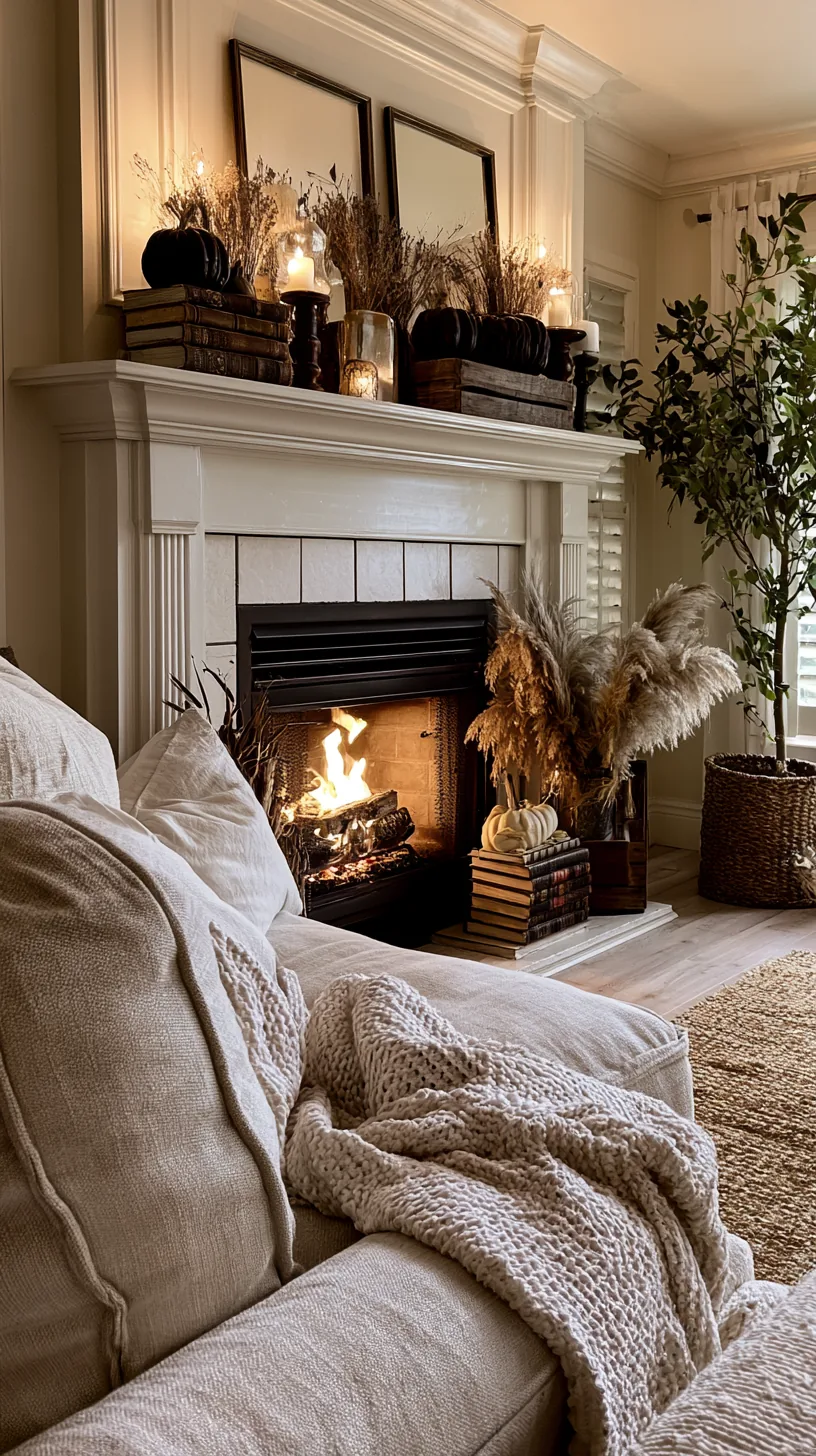 2/4
2/4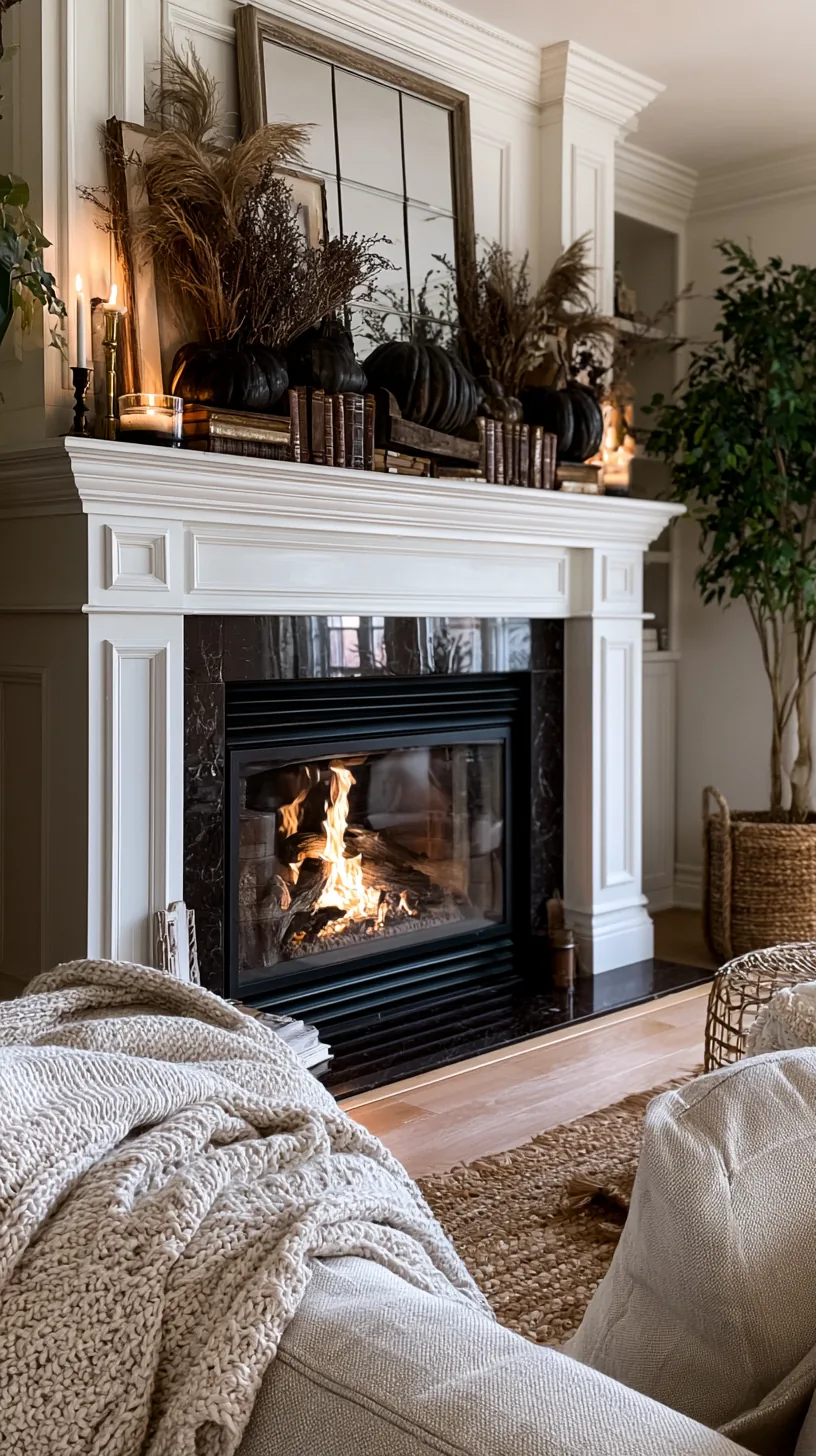 3/4
3/4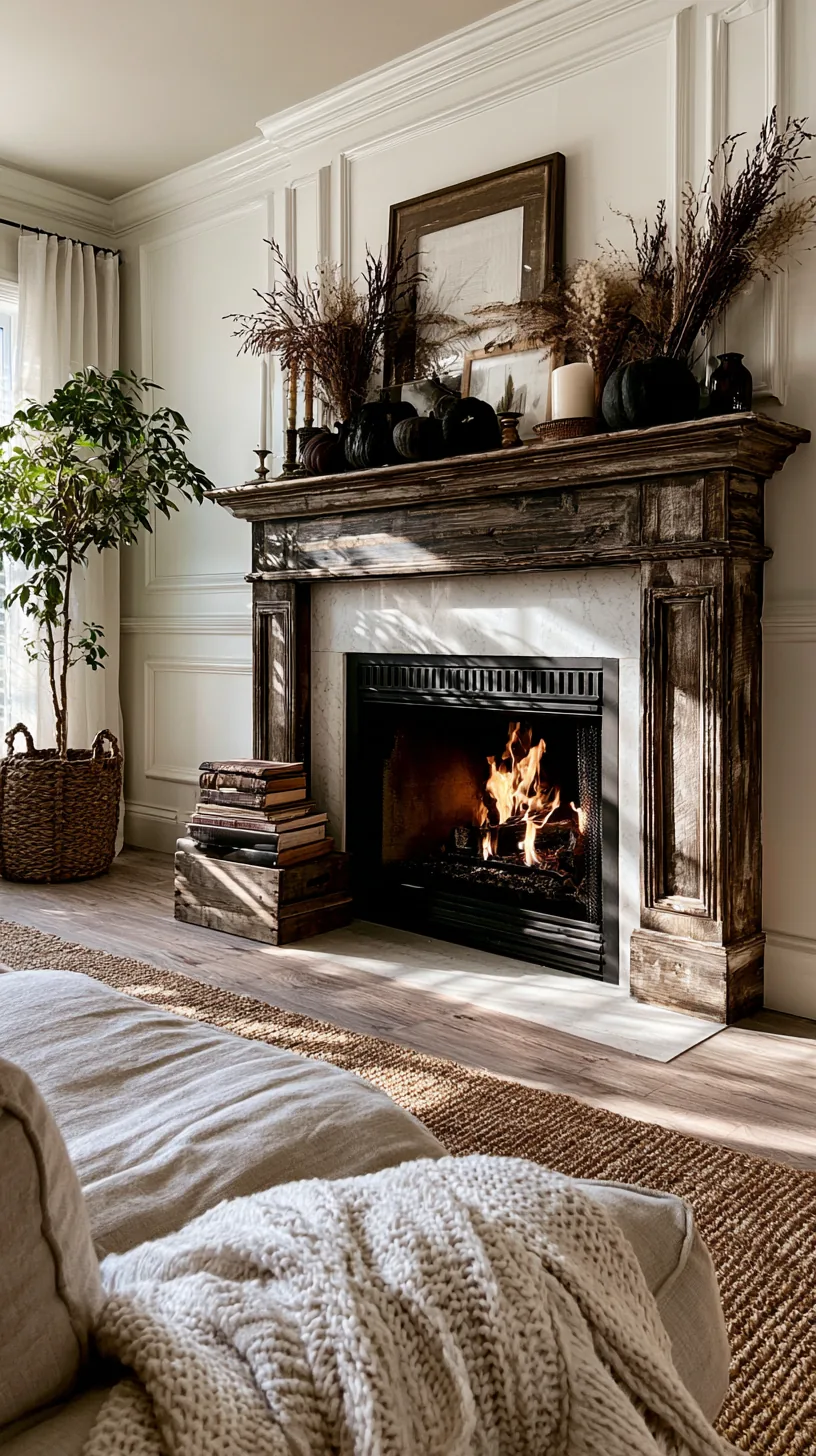 4/4
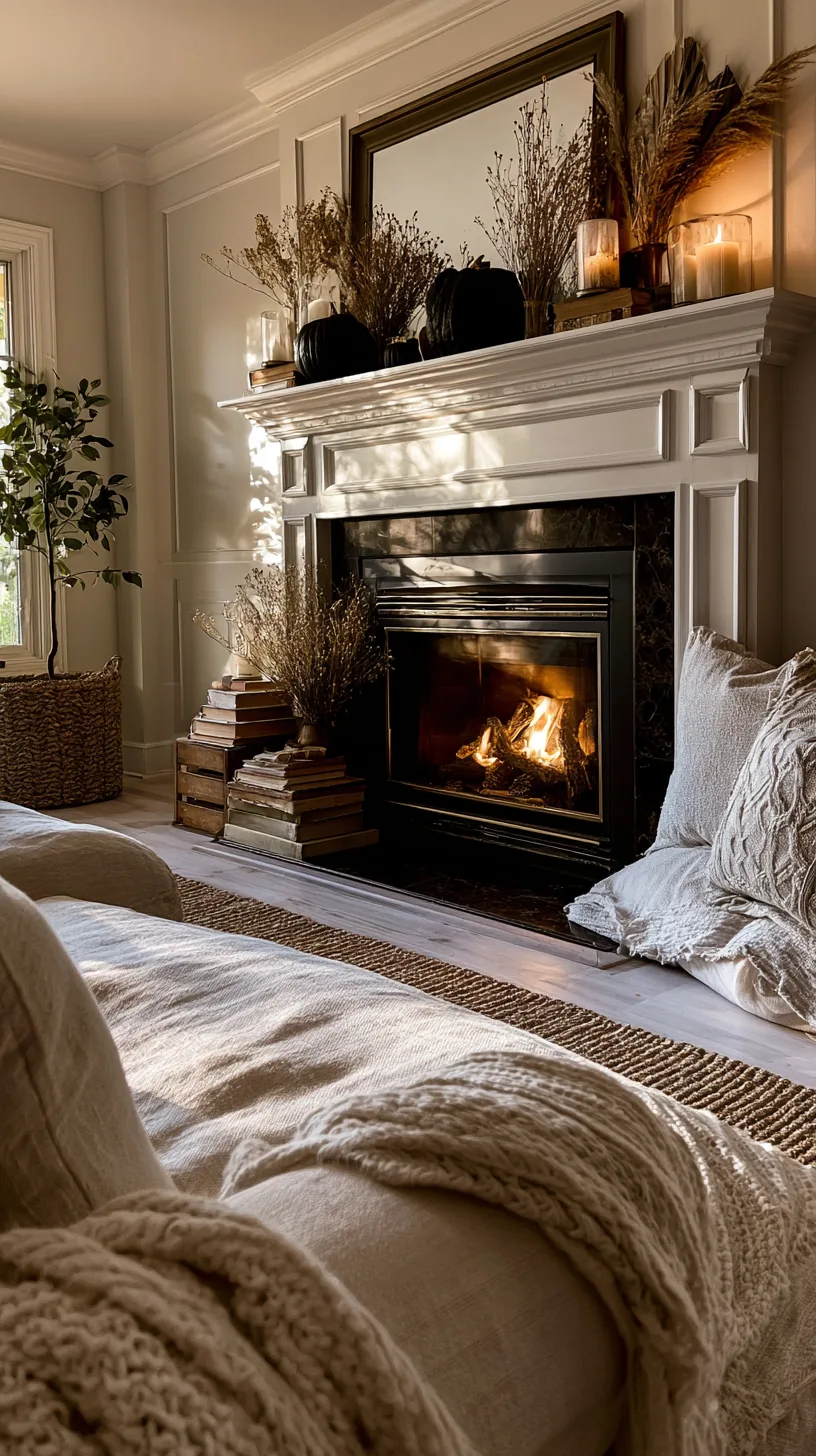
4/4A flat row of same-height pieces is what makes a mantel look like a shelf instead of a display. Stack two or three low risers under the pieces you already own, and the arrangement suddenly has a front row, a back row, and a reason for your eye to move across it.
Wood pedestal risers do most of the work here, but a stack of hardback books under a cloche does the same job for free. The rule is simple: three heights, never two. Two heights looks like a mistake, three looks intentional, and you can get there with what is already in the house. The same layering logic runs through these rustic fall mantel decor ideas if you want a warmer version of the look.
Quick Tips
- Aim for a tall, a medium, and a low piece in every grouping
- Put risers toward the back so the front row stays low and clear
- Test the silhouette from the doorway, not from arm’s length
6. Keep It Spooky Without Scaring Small Children
 1/4
1/4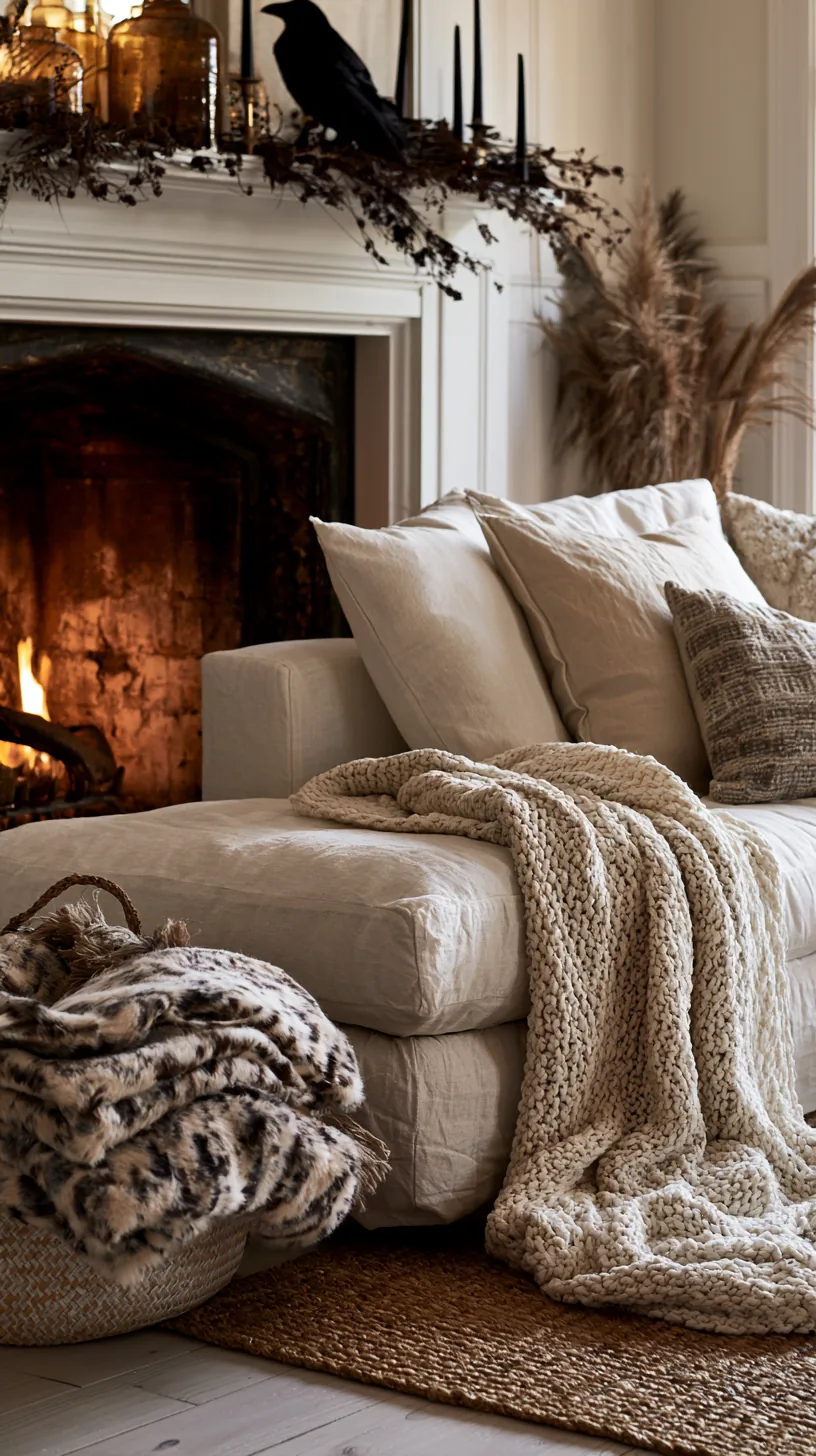 2/4
2/4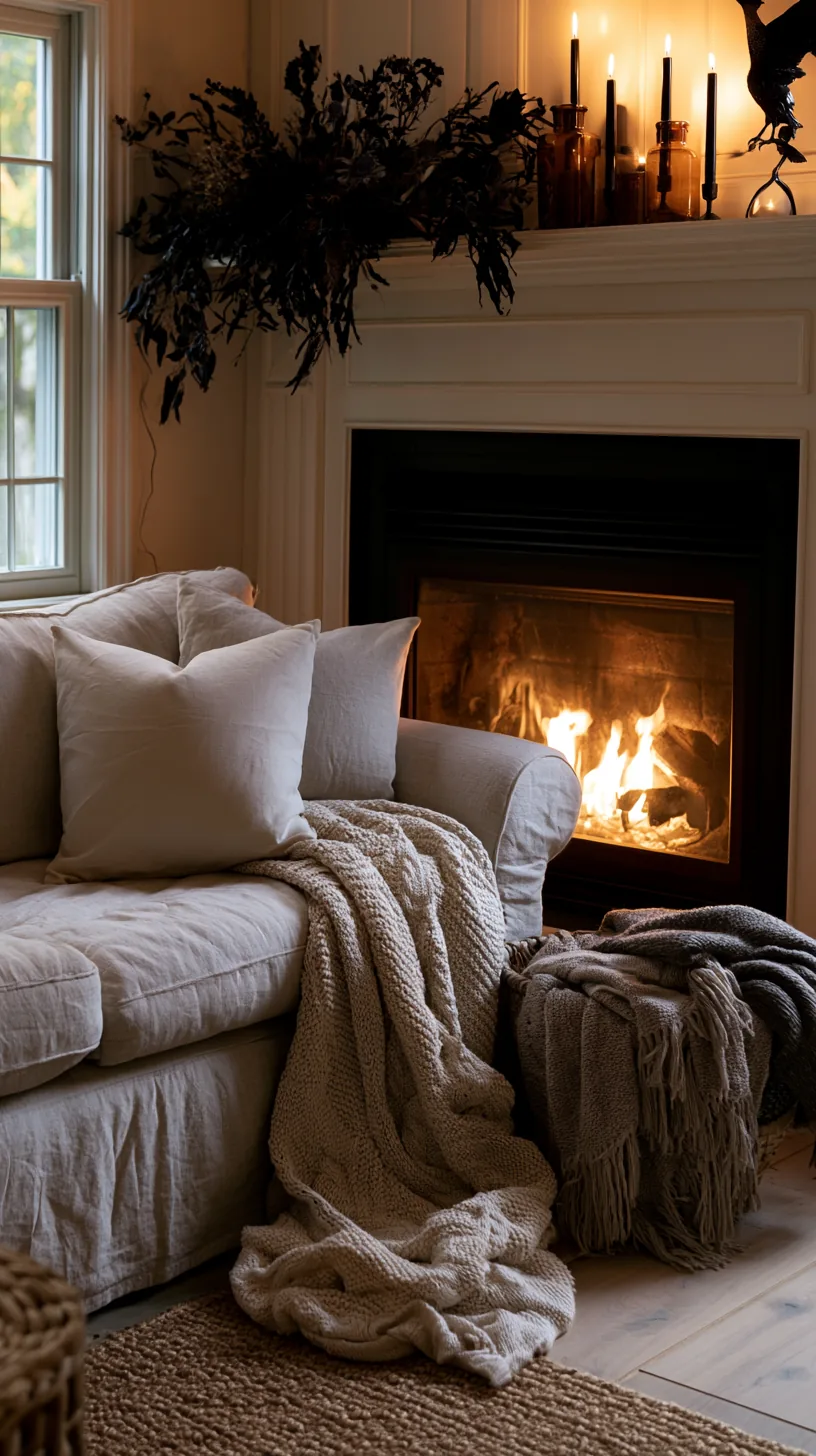 3/4
3/4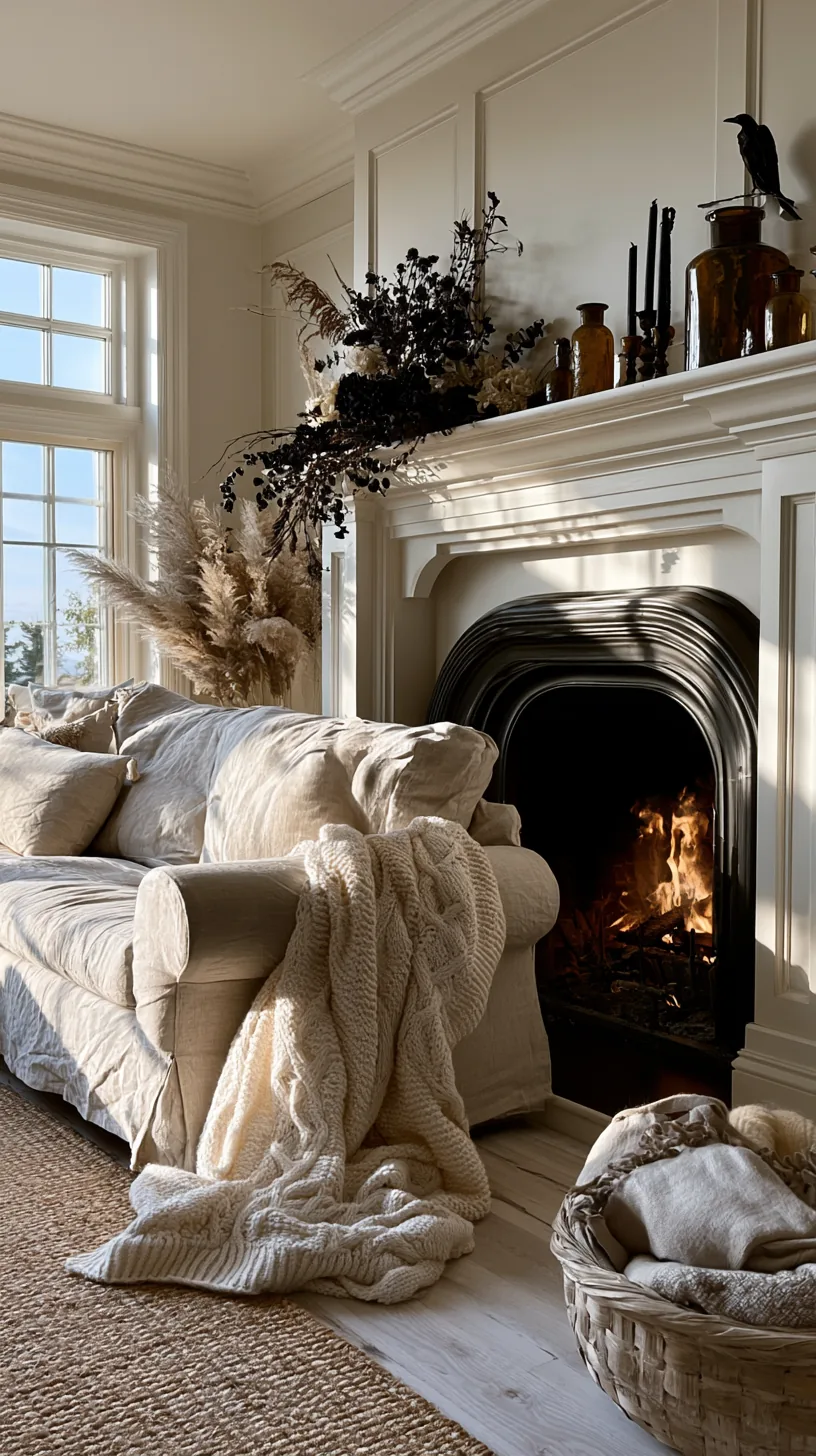 4/4
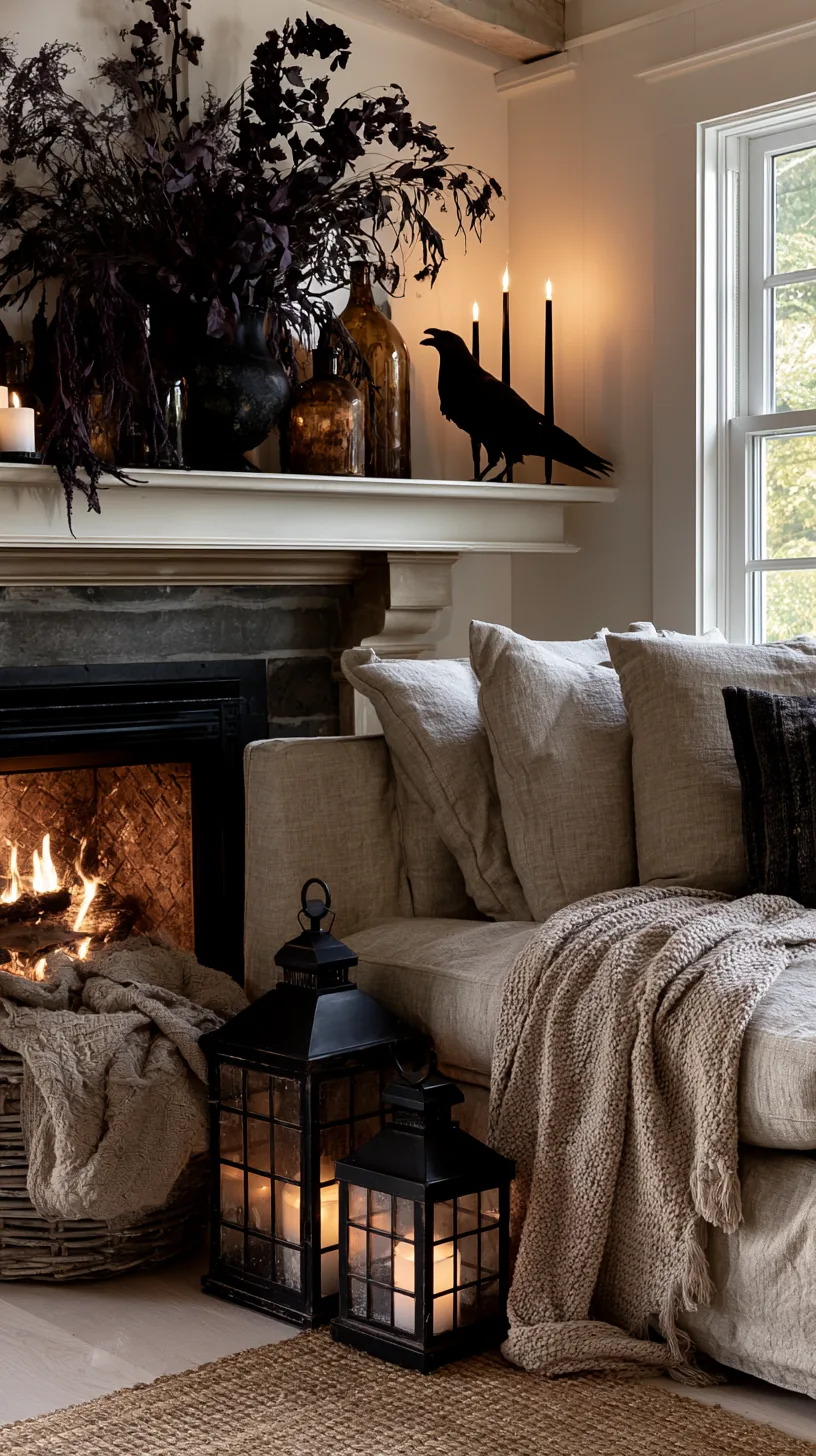
4/4Not everyone wants a severed hand at eye level in the living room. Dark botanicals, black candles, aged glass, and one raven-black silhouette read unmistakably like Halloween without a drop of gore, and they still look right when the in-laws arrive for Thanksgiving planning.
The trick is atmosphere over shock. Deep colors, uneven textures, and low light do more for a spooky mood than any plastic prop, and they do not need to come down the moment a toddler walks in. This is also the version of the look that photographs well, which matters if you like sharing the finished room.
Quick Tips
- Go dark and moody rather than gory — texture carries the mood
- One clearly Halloween piece is enough when everything else is atmospheric
- Keep the scariest item above small-child eye level
7. Light a Mantel That Has No Outlet Anywhere Near It
 1/4
1/4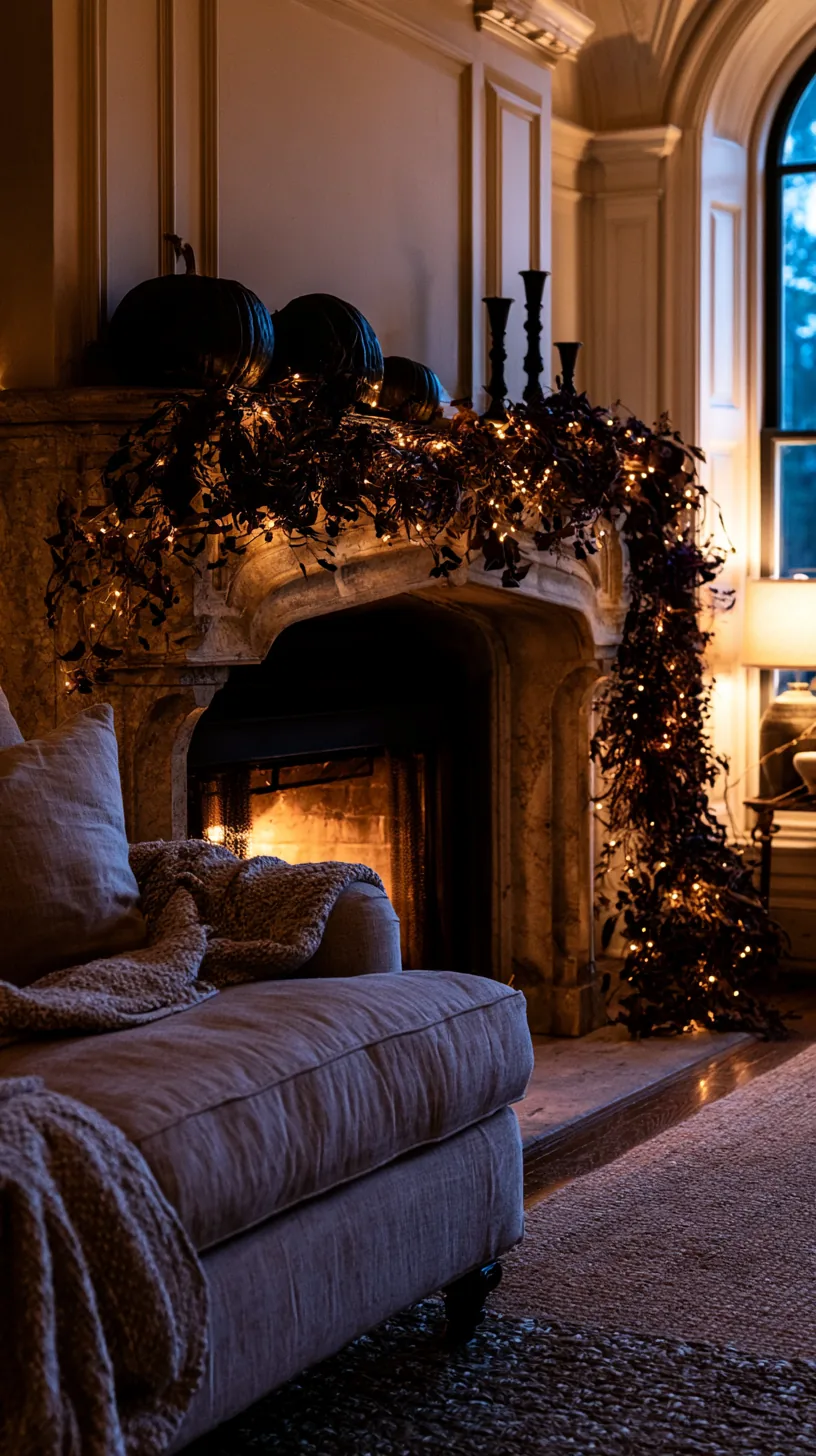 2/4
2/4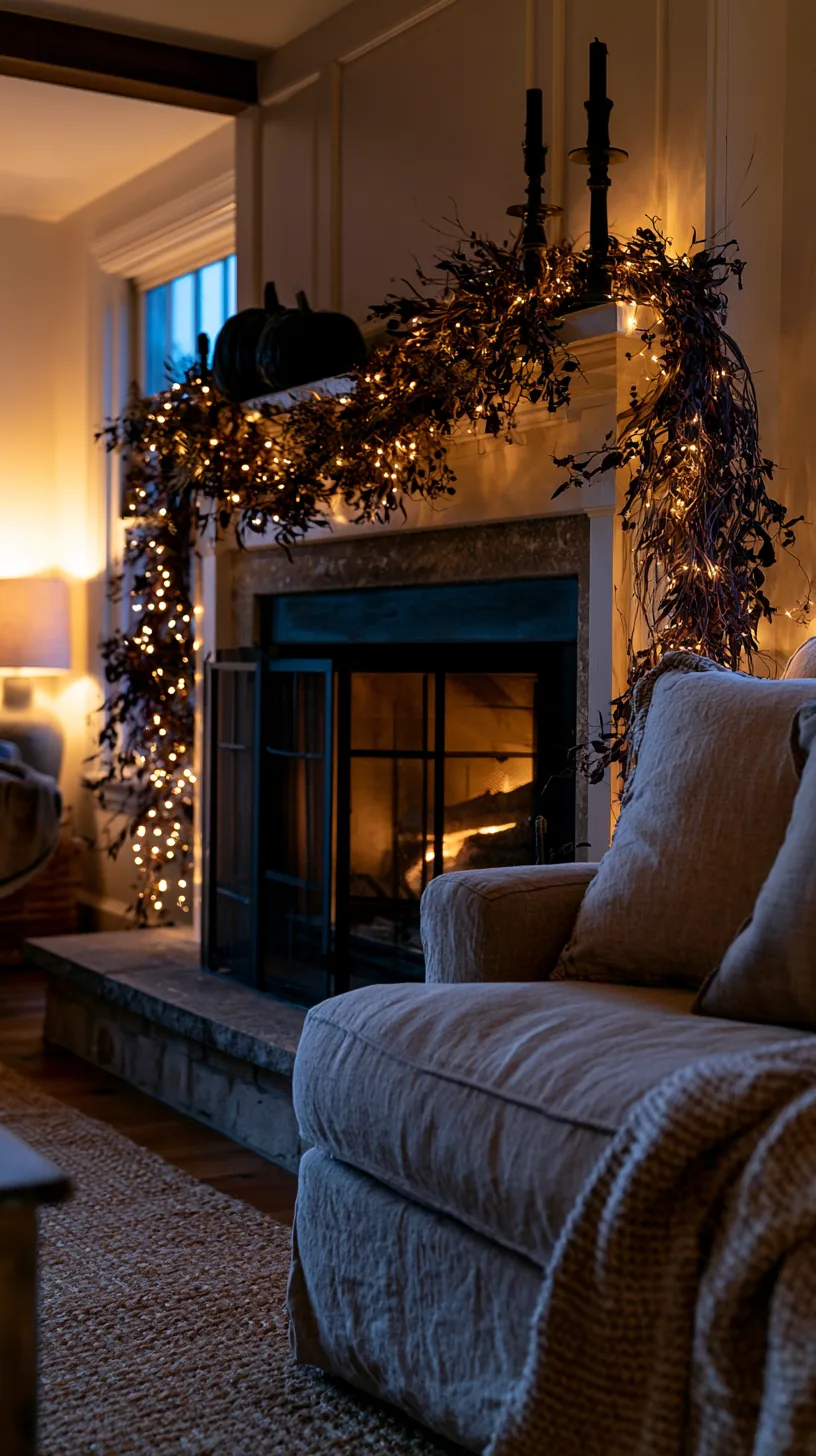 3/4
3/4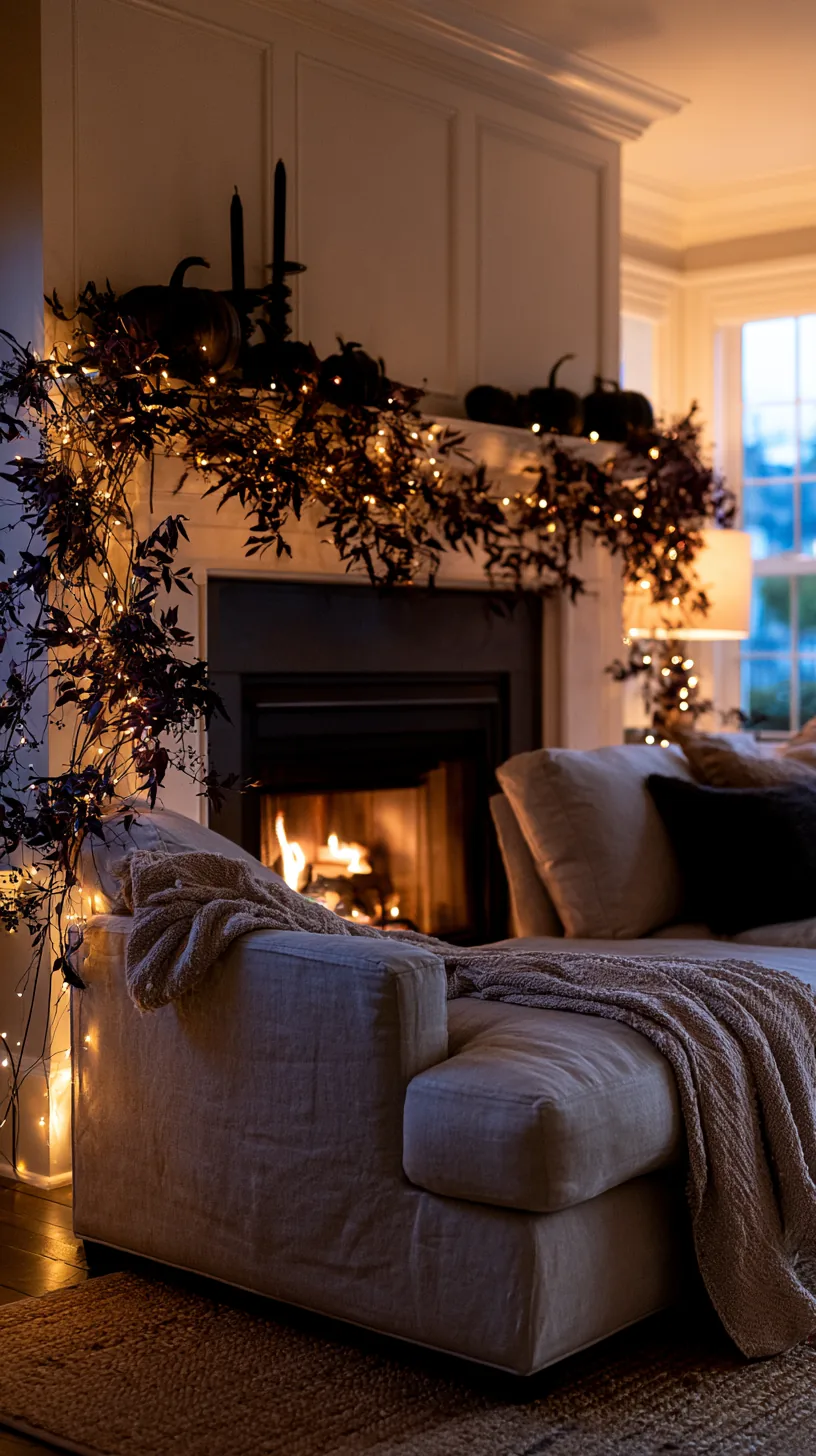 4/4
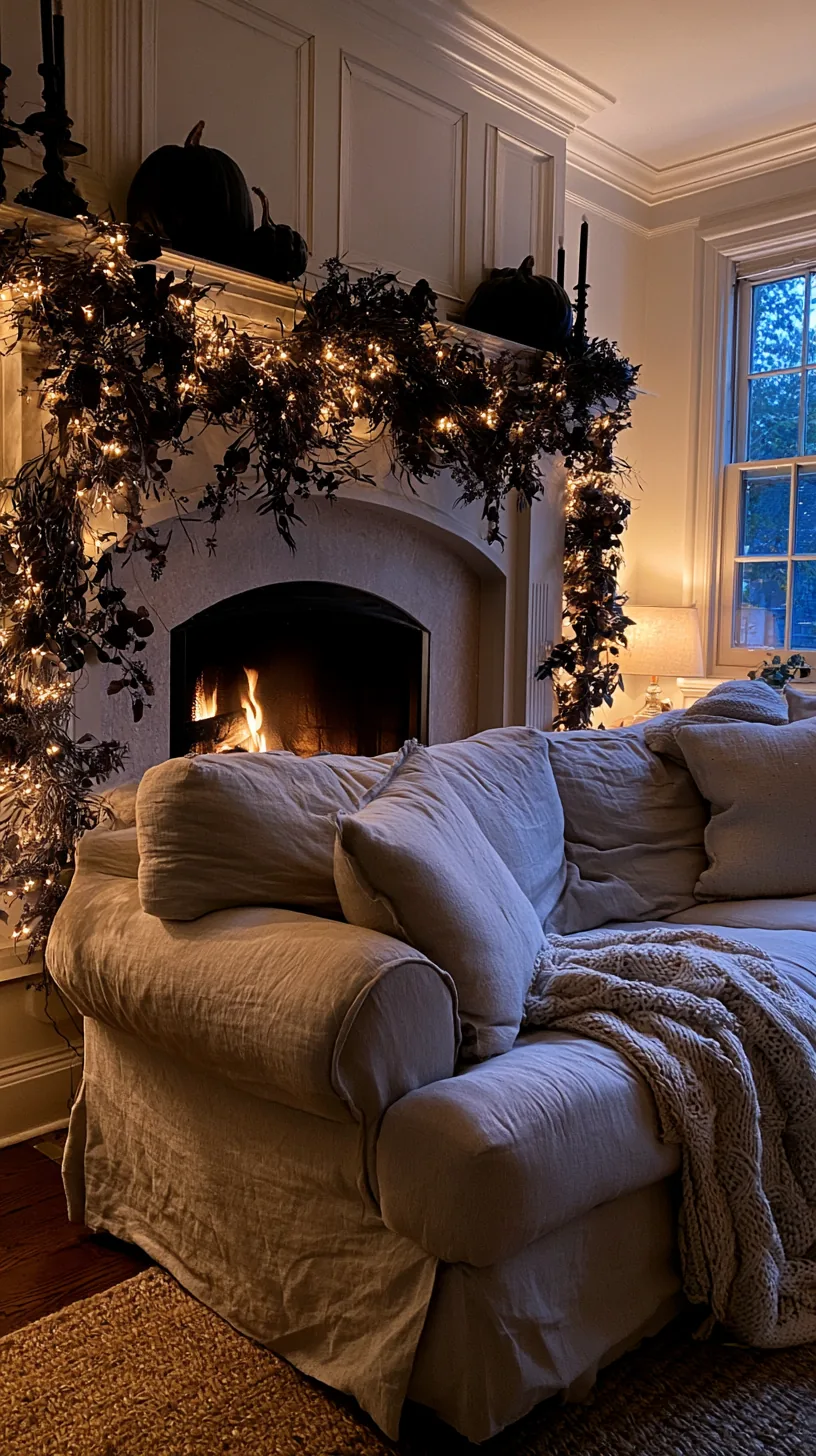
4/4Almost no fireplace has a socket on the mantel itself, and a cord running down painted brick ruins the whole thing. Battery fairy lights woven into the garland solve it: no cord, no drilling, and a timer means the mantel lights itself every evening.
Use the thin copper-wire type rather than the thick green-cable kind, because the wire disappears into greenery instead of drawing lines across it. Tuck the battery pack behind the largest piece at one end or on the shelf lip underneath. From what I have gathered, this one change is what makes a mantel look styled rather than merely decorated.
Quick Tips
- Copper wire strands vanish into garland; thick cables never do
- Hide the battery pack behind your tallest end piece
- Choose a set with a 6-hours-on timer so it matches your evenings
8. Fix an Arrangement That Looks Stiff and Symmetrical
 1/4
1/4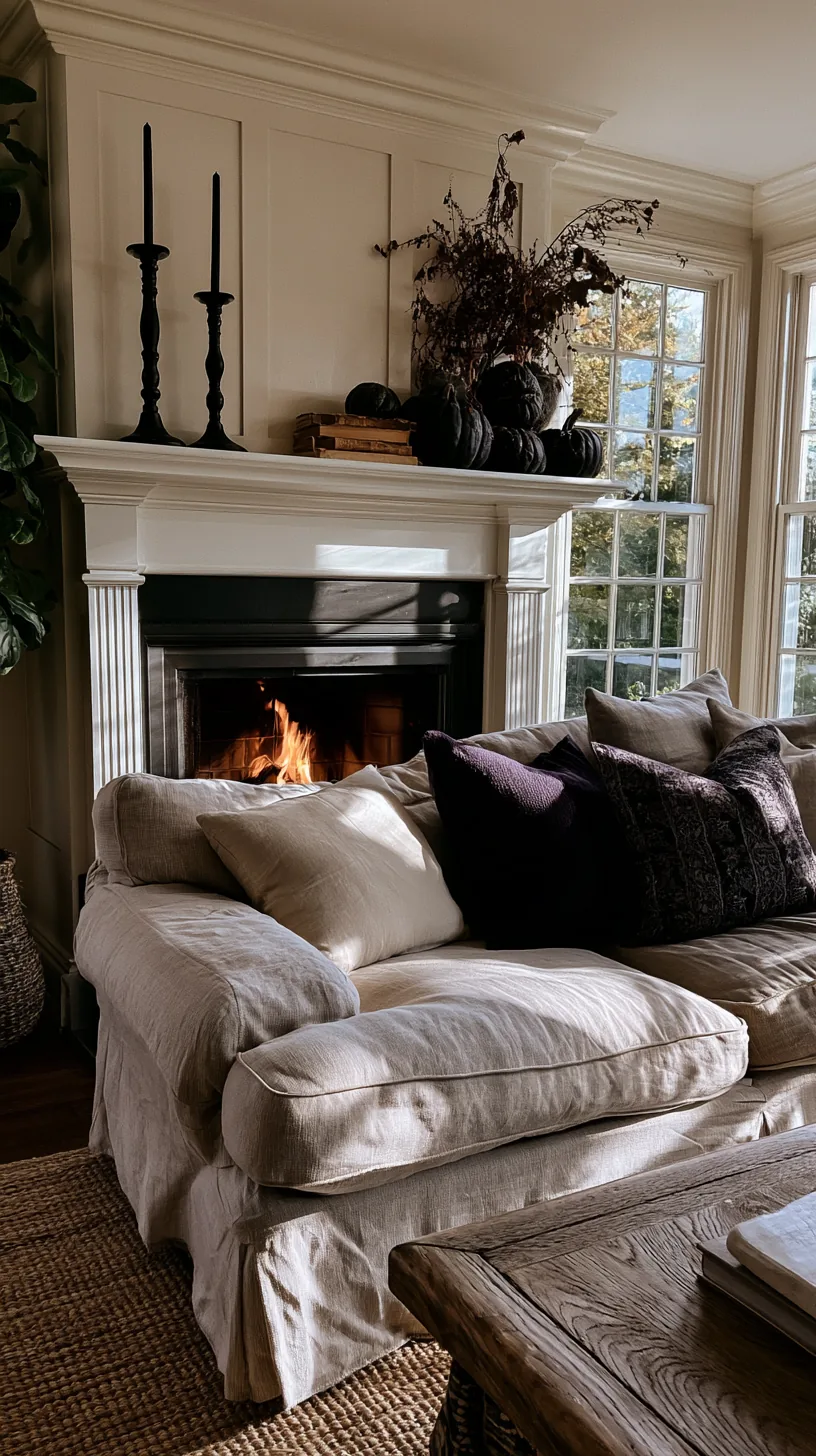 2/4
2/4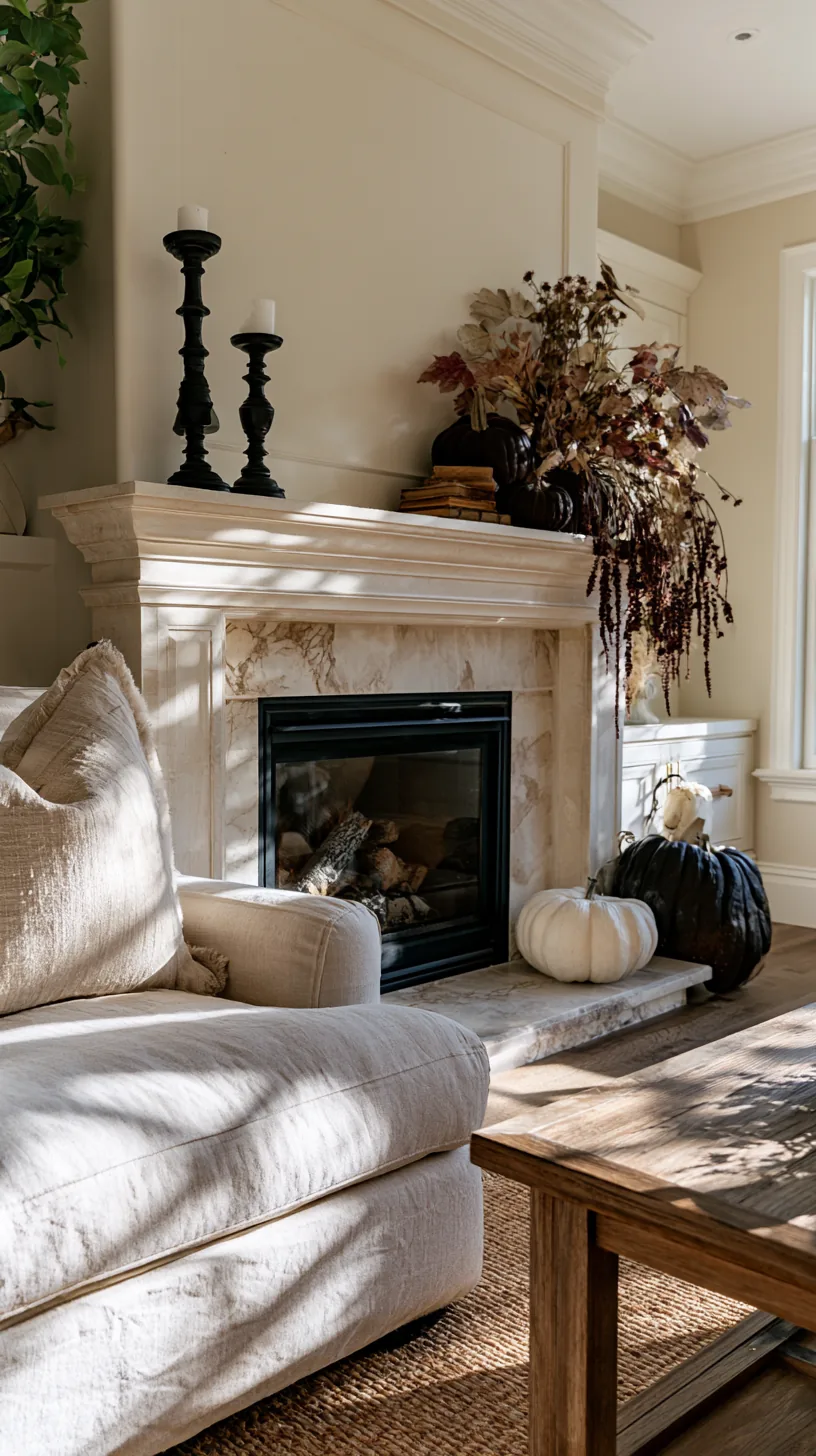 3/4
3/4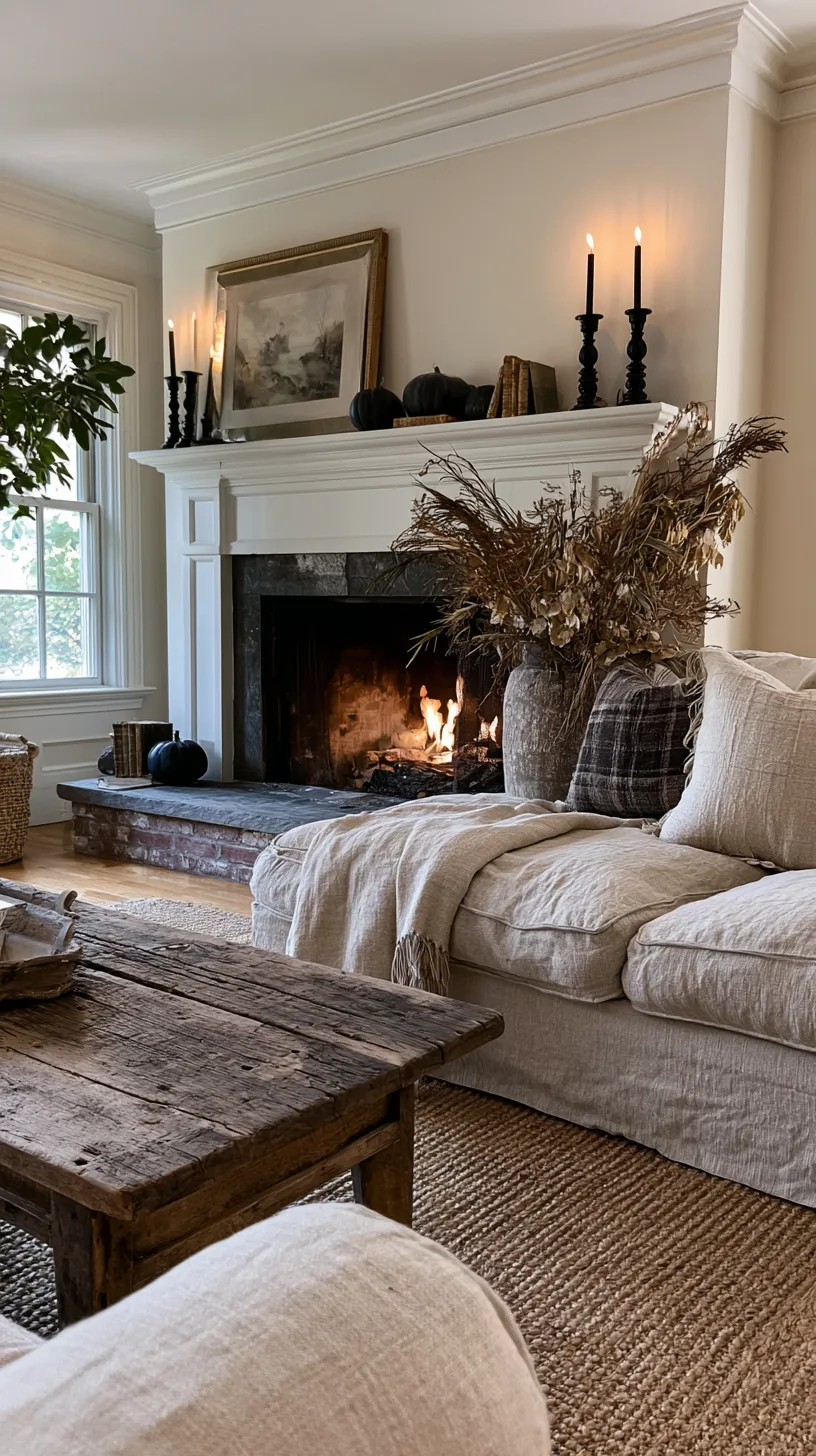 4/4
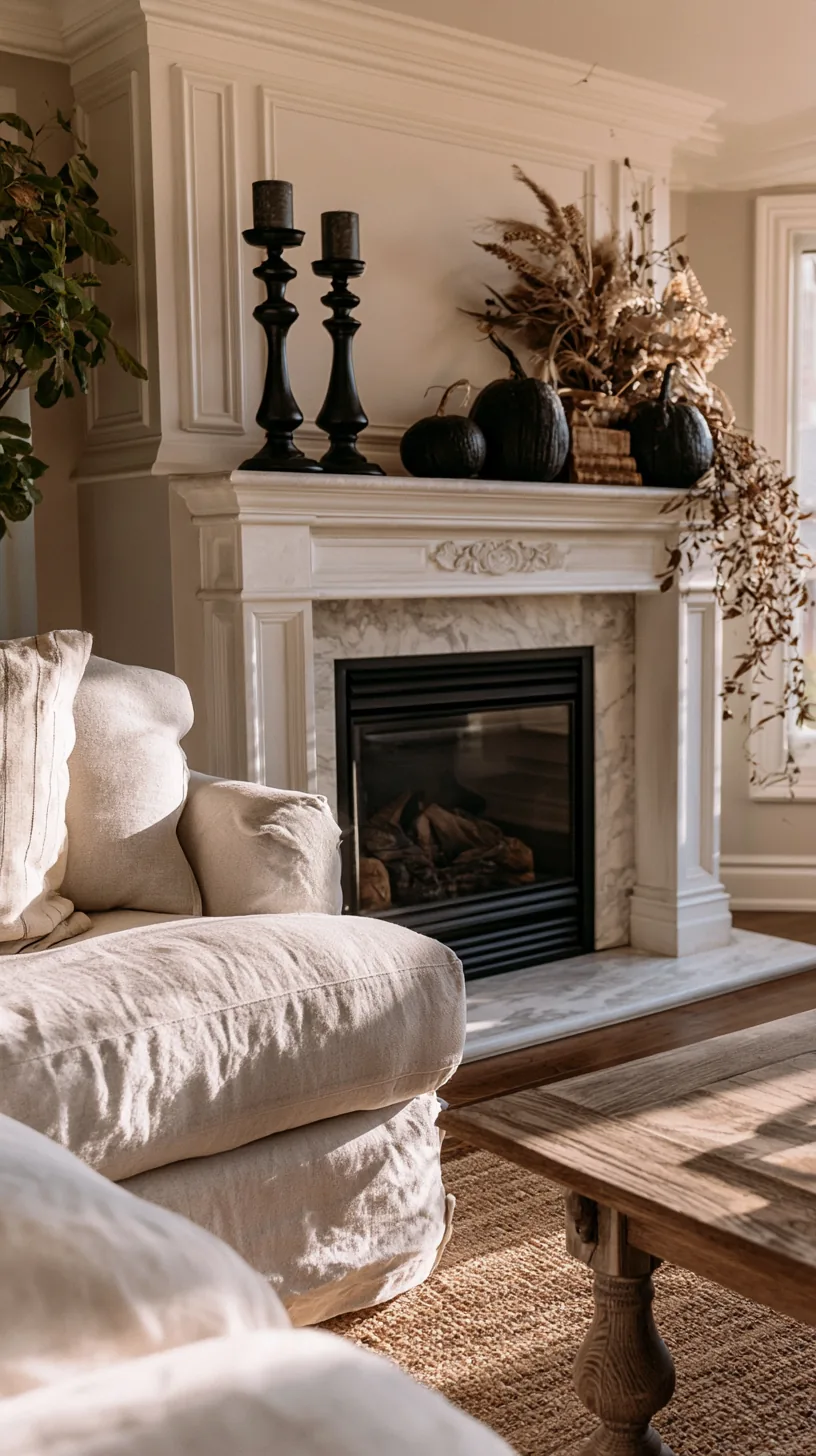
4/4Perfectly matched ends feel formal, which is the opposite of the mood most people want in October. Keep one matching pair for structure — usually the candlesticks — then break the symmetry with an off-center grouping so the eye has somewhere to land.
The reliable formula is a visual triangle: one tall point, one medium, one low, arranged so a line drawn between them is not straight. Balance is about visual weight, not mirrored objects. A dense dark piece on one end can hold its own against three lighter pieces on the other. For a calmer take on the same balance, these minimalist fall mantel decor ideas are worth a look.
Quick Tips
- Match one pair only, then vary everything else
- Offset the tallest piece about a third of the way in, not dead center
- Squint at it from across the room — blurring shows the balance instantly
9. Make Dark Decor Show Up on a Dark Brick Fireplace
 1/4
1/4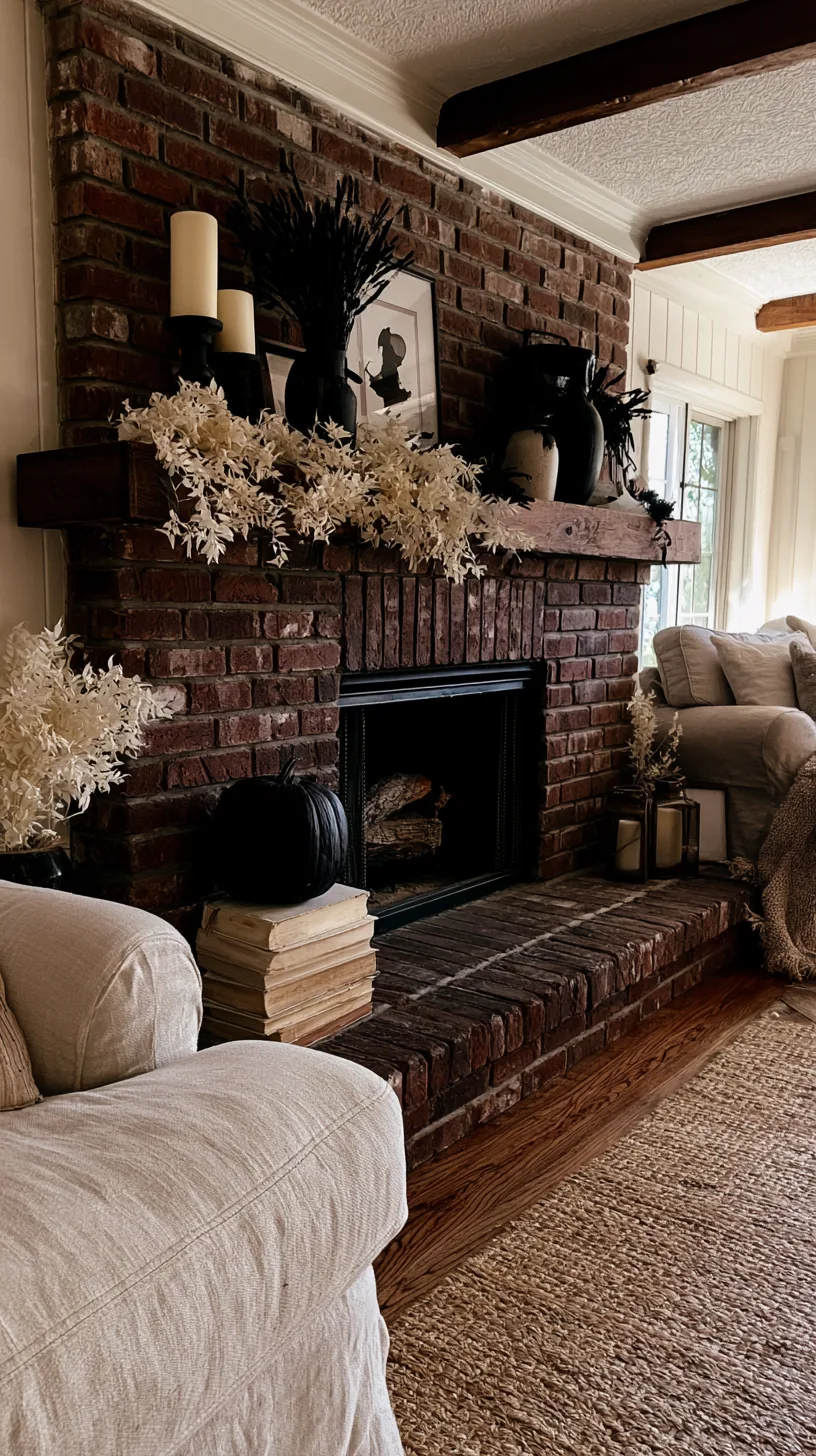 2/4
2/4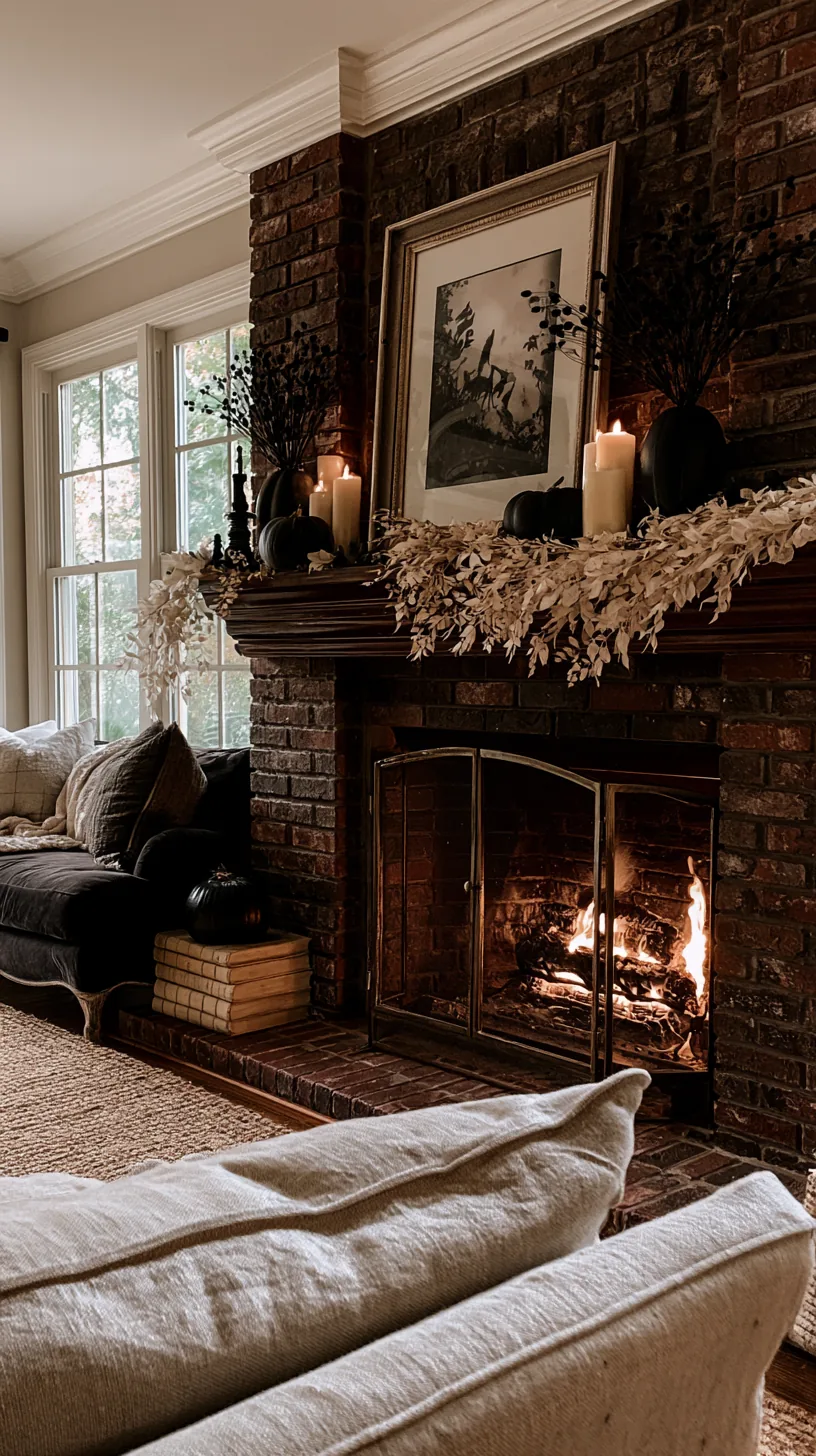 3/4
3/4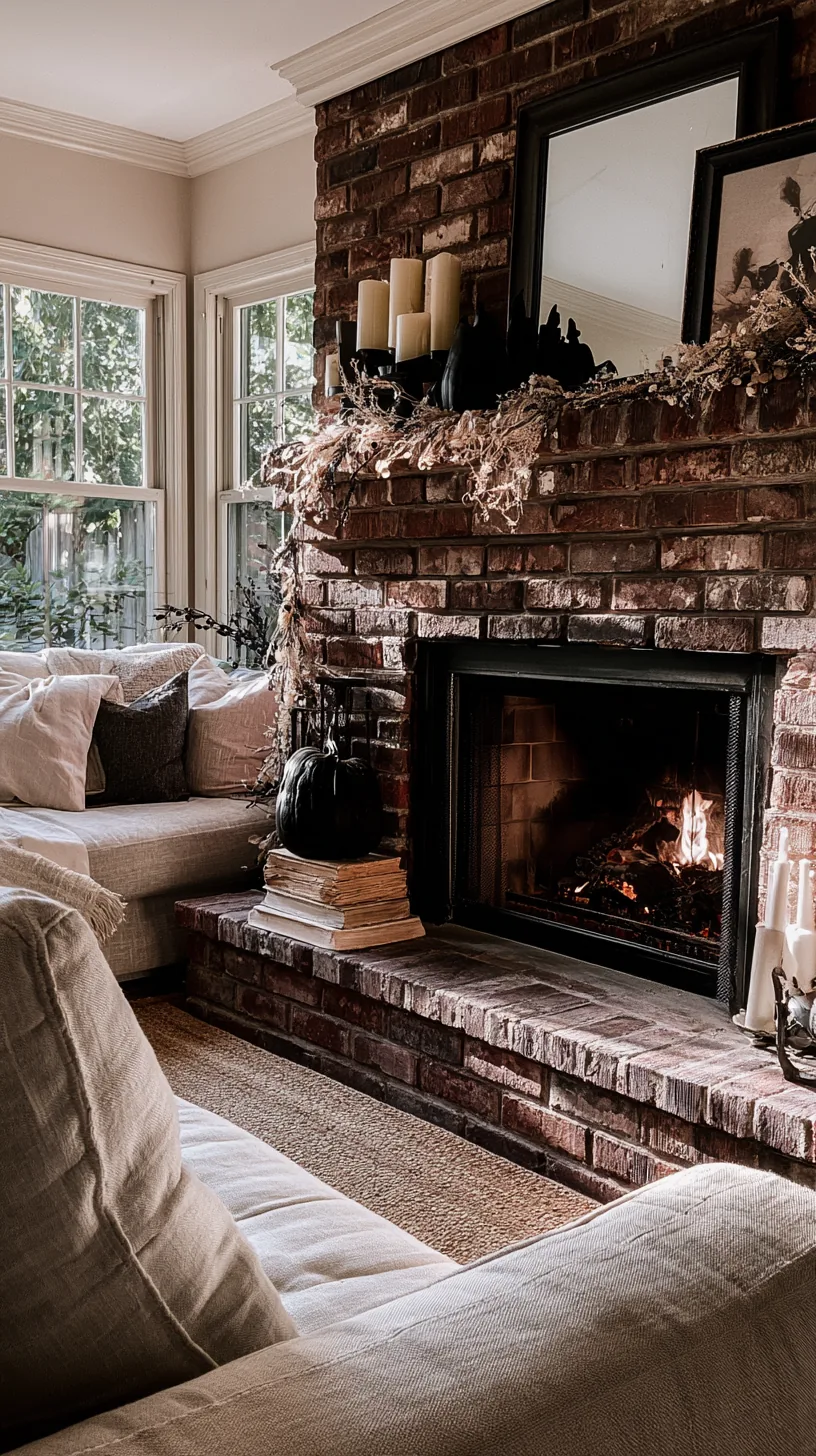 4/4
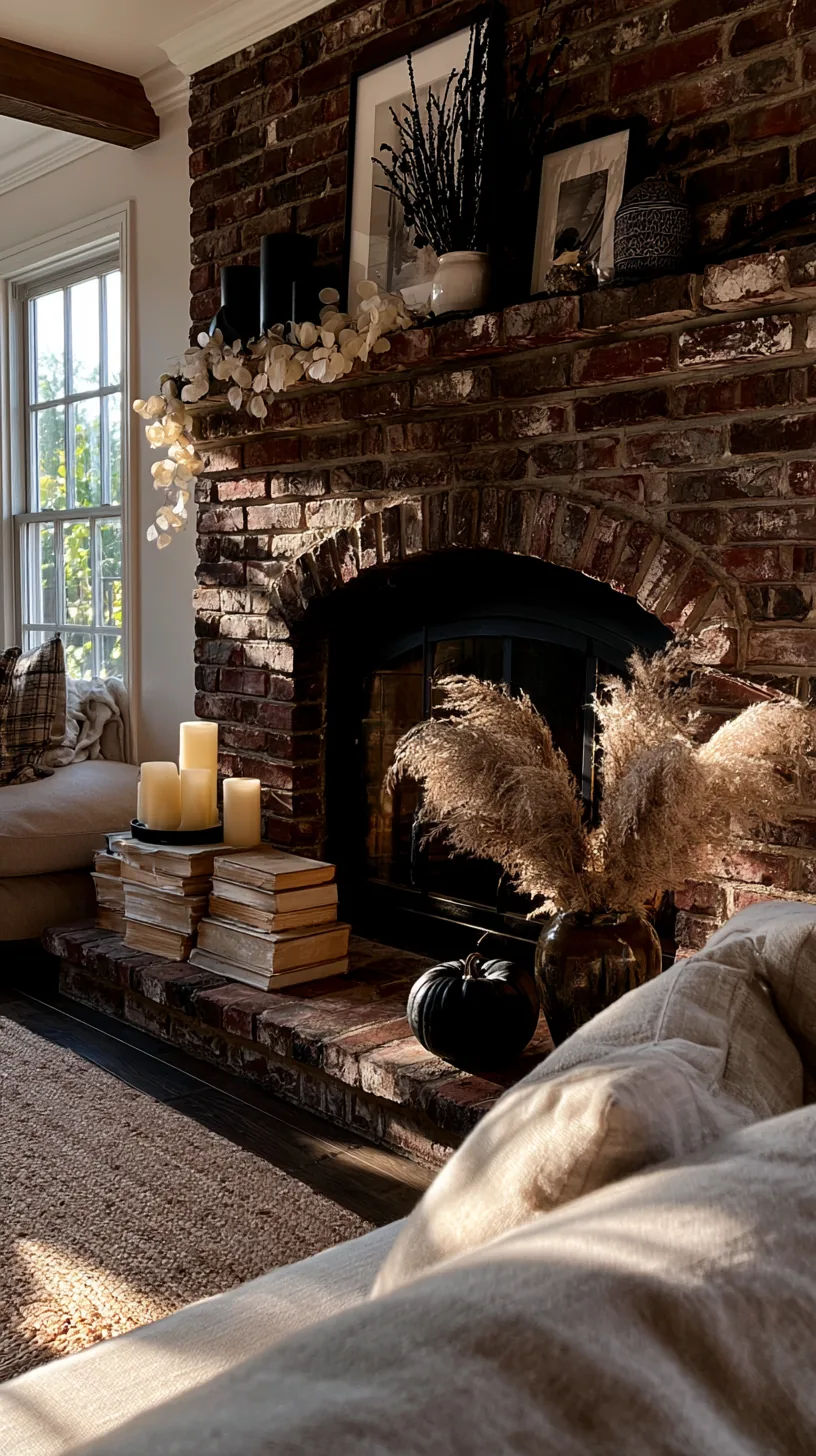
4/4Black pieces disappear against red brick and dark stone, which is why so many Halloween mantels look muddy in photos. Give every dark object something pale behind or beneath it — a cream candle, an aged book stack, a light garland — so the silhouette reads.
Contrast is what makes a shape legible from across the room. A black candlestick against brick is invisible; the same candlestick with a light cloche or pale stems behind it snaps into focus. This is the same principle behind the moody looks in our darker fall mantels, just pushed a shade further for October. You can see it done in a lighter key in these elegant fall mantel decor ideas.
Quick Tips
- Put something light directly behind every dark silhouette
- Aged cream and bone read better than bright white against brick
- Photograph it with your phone — the camera shows muddiness before your eye does
10. Stop a Garland From Sagging Off the Front Edge
 1/4
1/4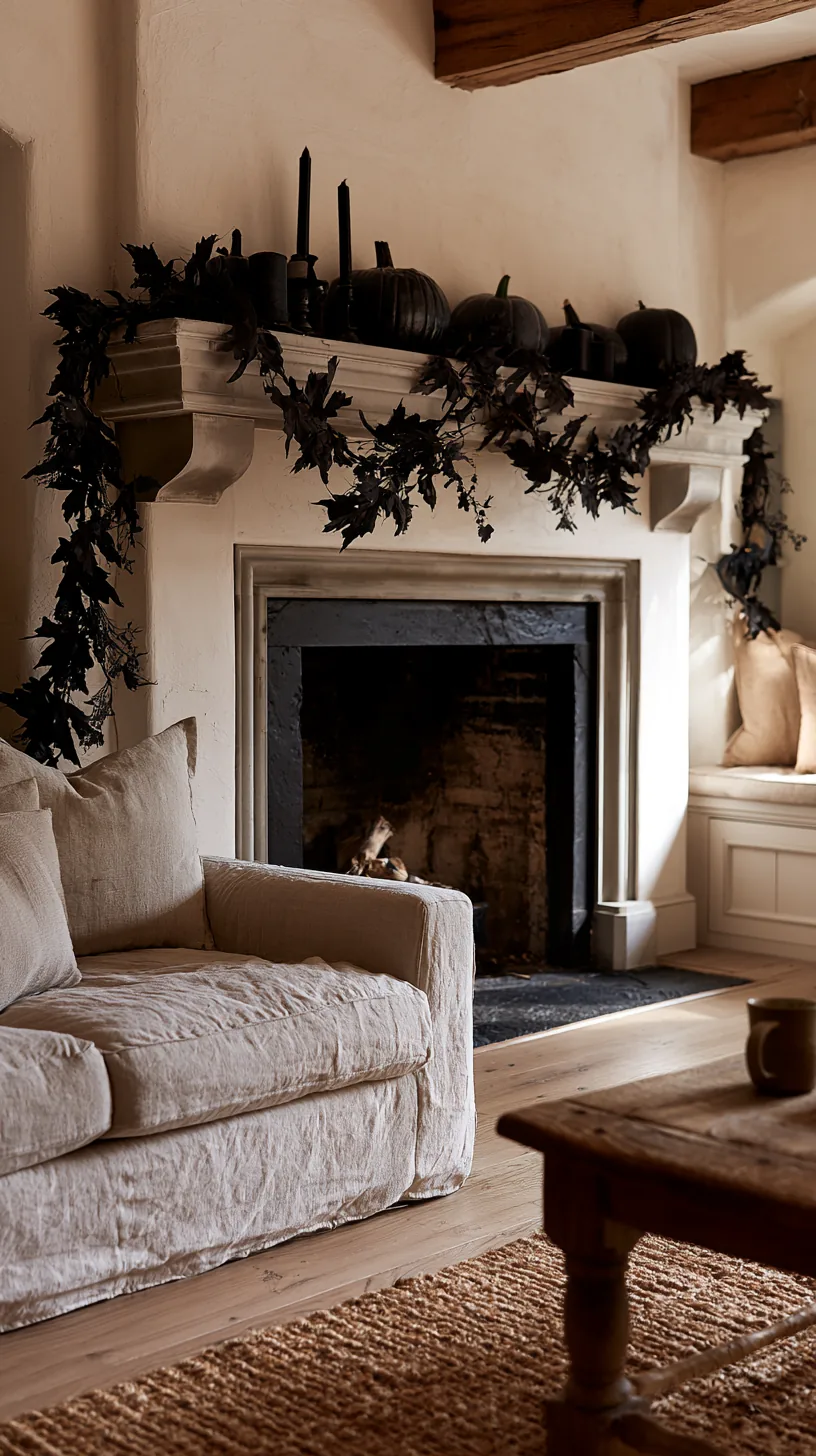 2/4
2/4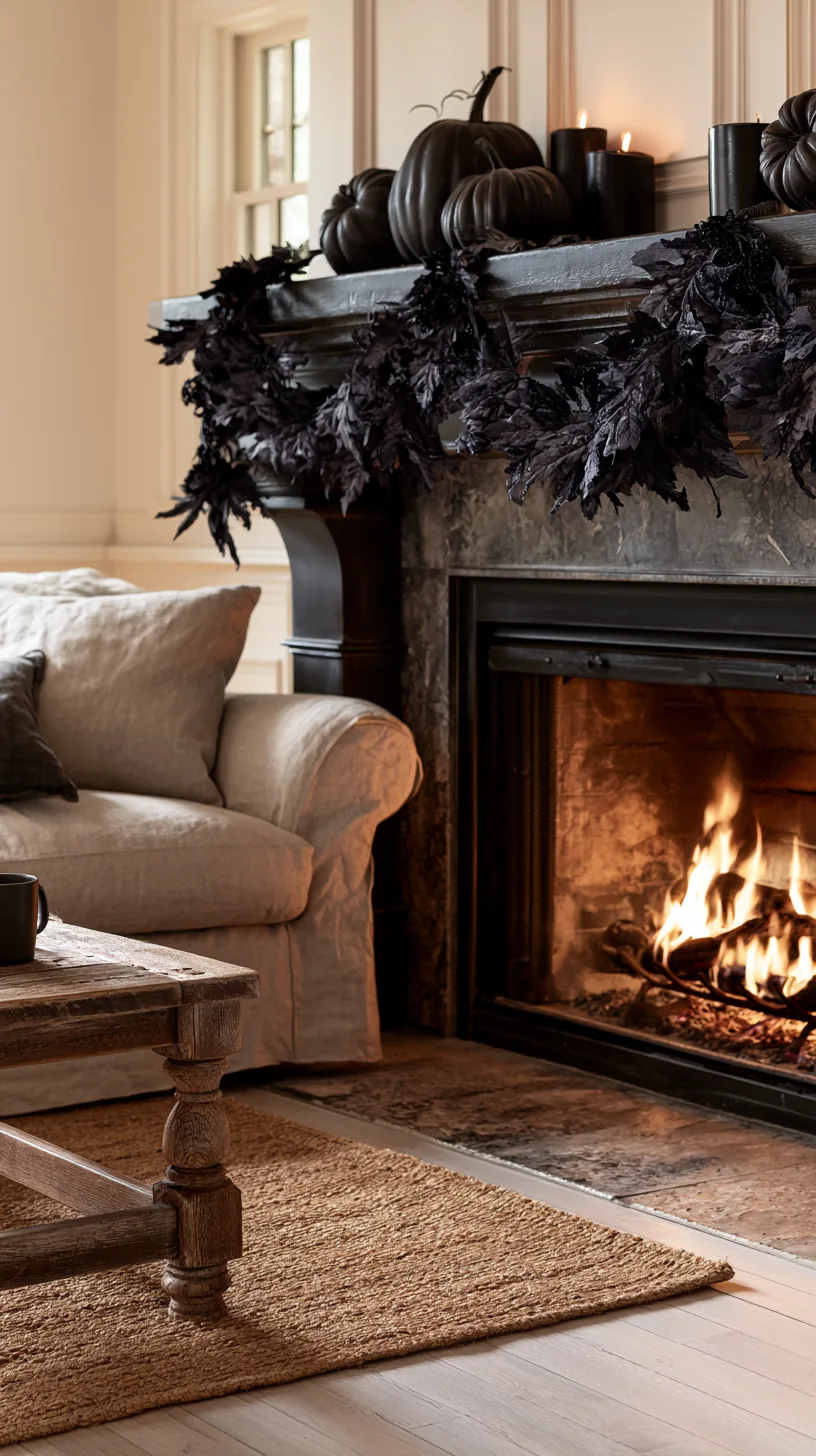 3/4
3/4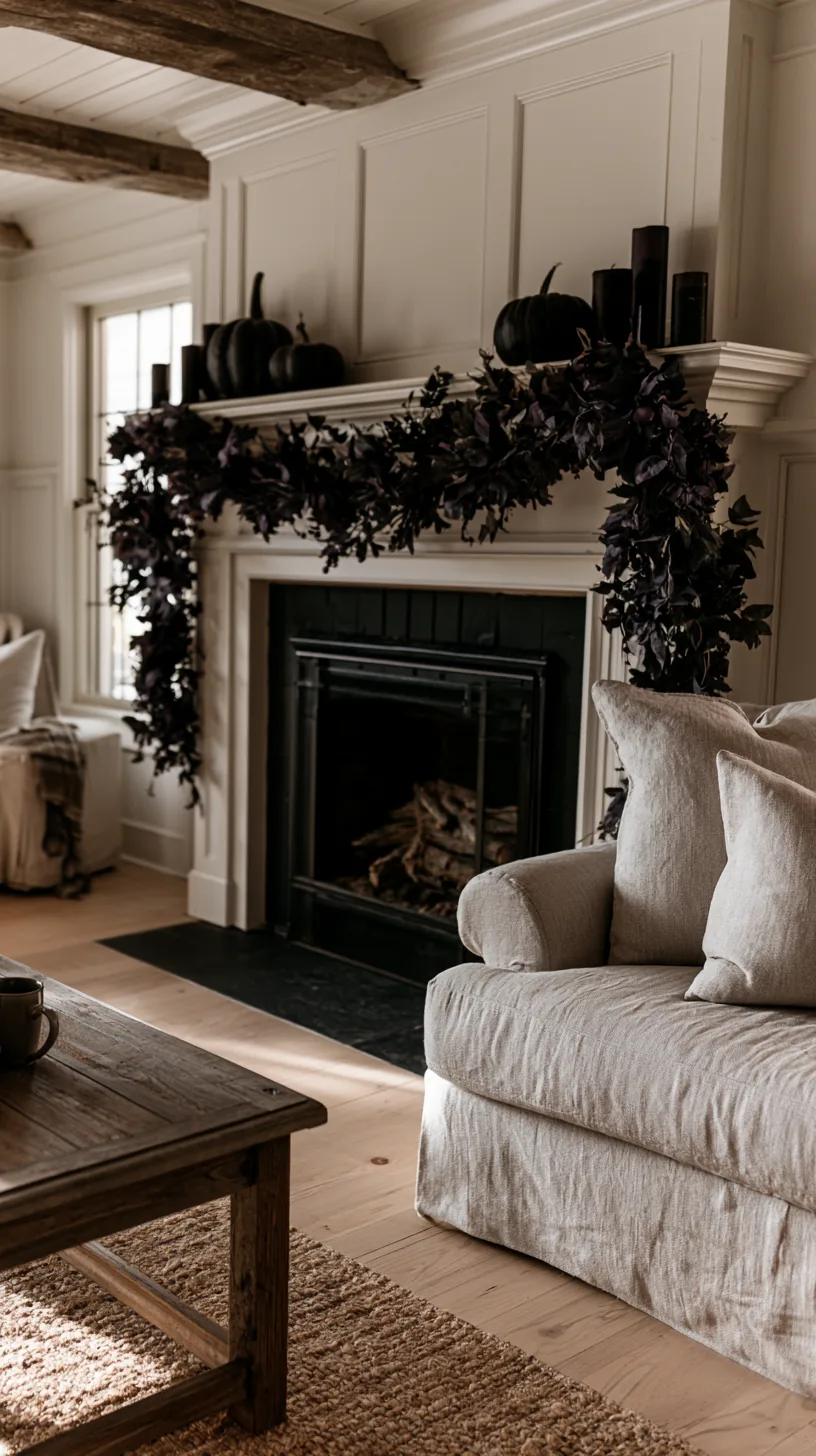 4/4
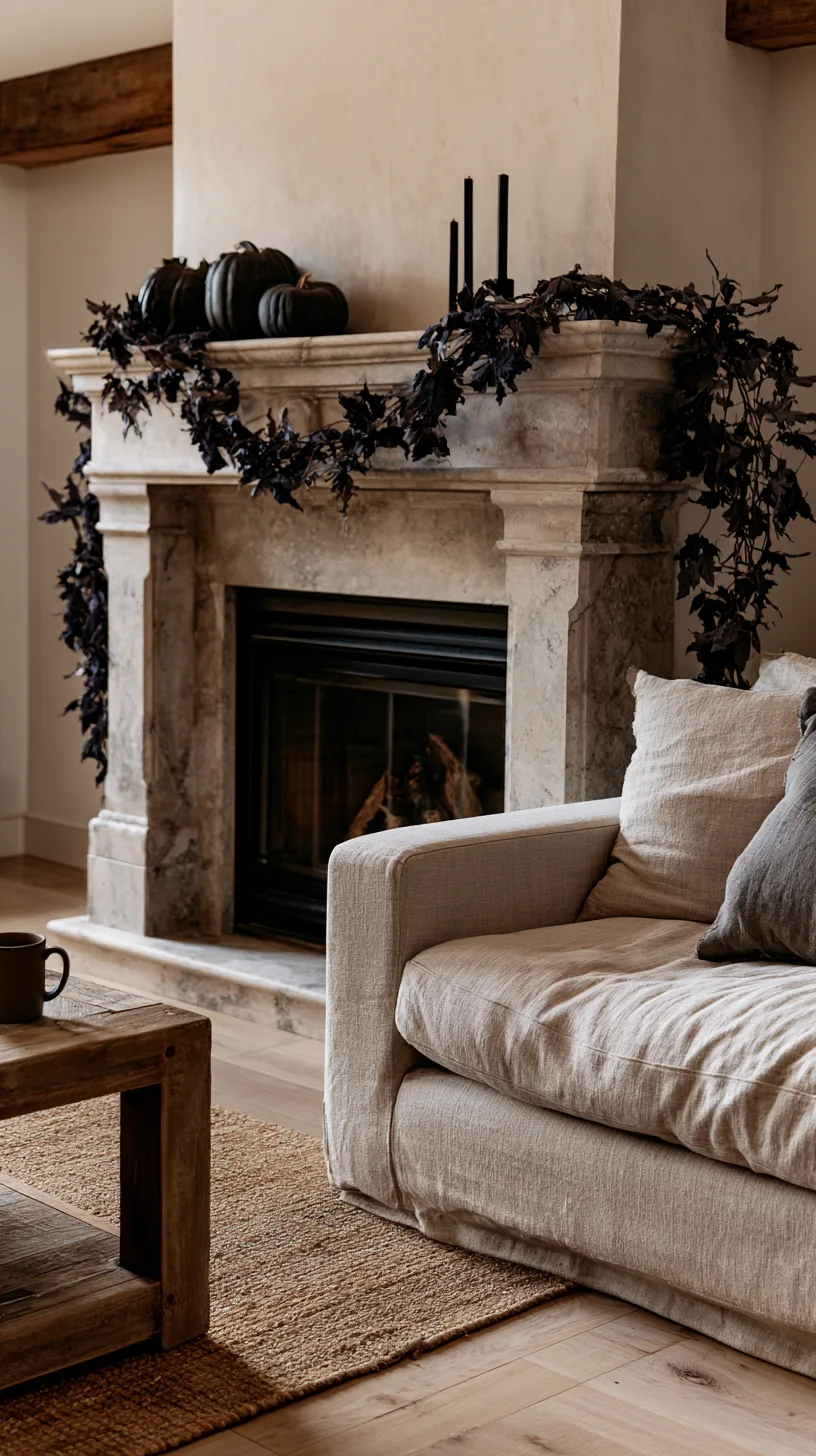
4/4A garland that slides forward all evening is the most annoying part of decorating a mantel. Anchor it underneath the front lip with small adhesive hooks every 18 inches or so, and let the swags hang from those fixed points rather than balancing on the ledge.
Hooks under the lip stay completely invisible from the room and take all the weight, which means you can add pumpkins and stems on top without the whole thing creeping forward. Two anchors at the ends and one in the middle is usually enough for a standard mantel.
Quick Tips
- Place the hooks on the underside of the lip where nobody sees them
- Anchor the ends first, then set the center swag depth
- Add weight on top only after the garland is anchored, never before
11. Keep the Halloween Layer From Clashing With Your Living Room
 1/5
1/5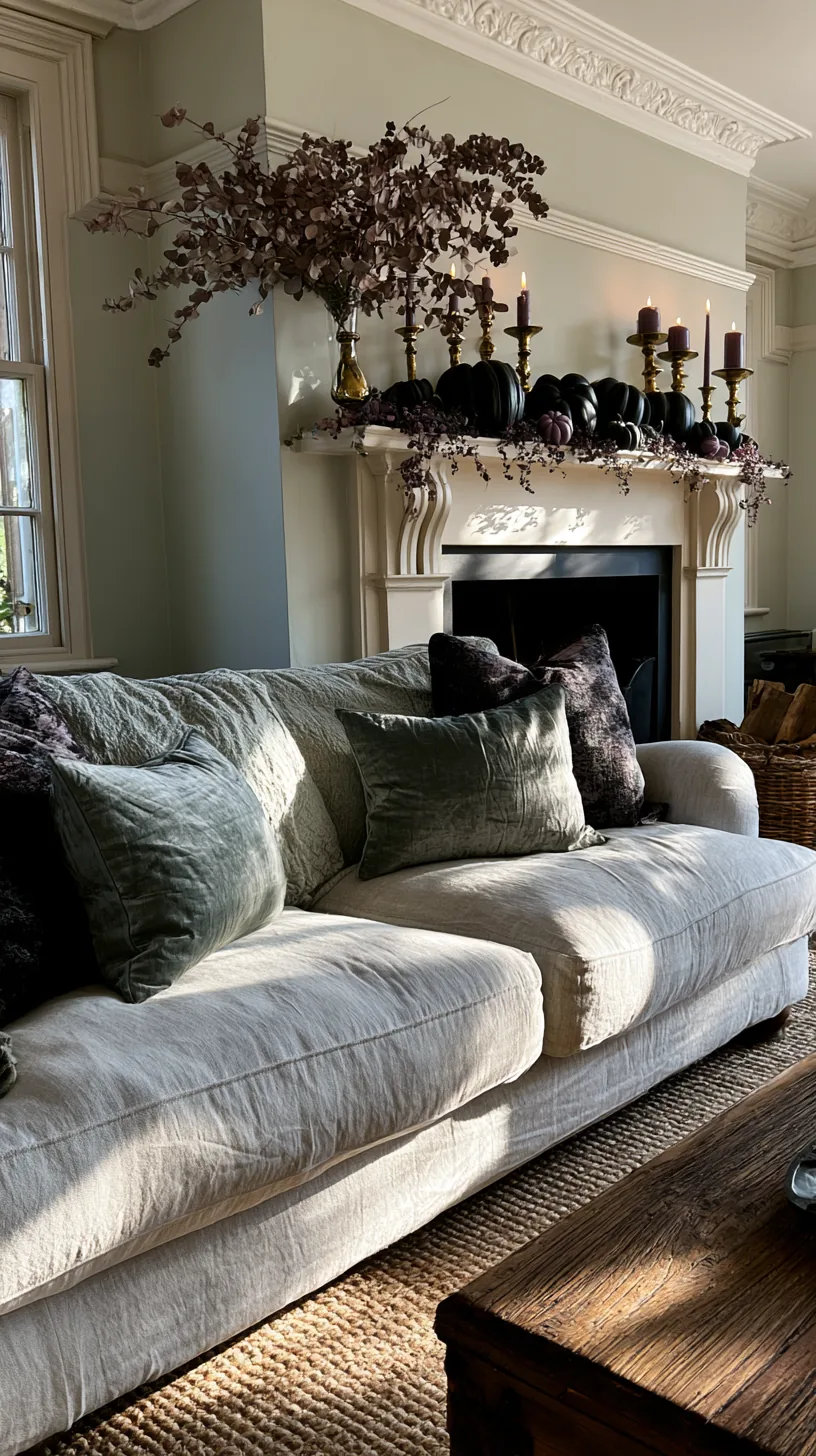 2/5
2/5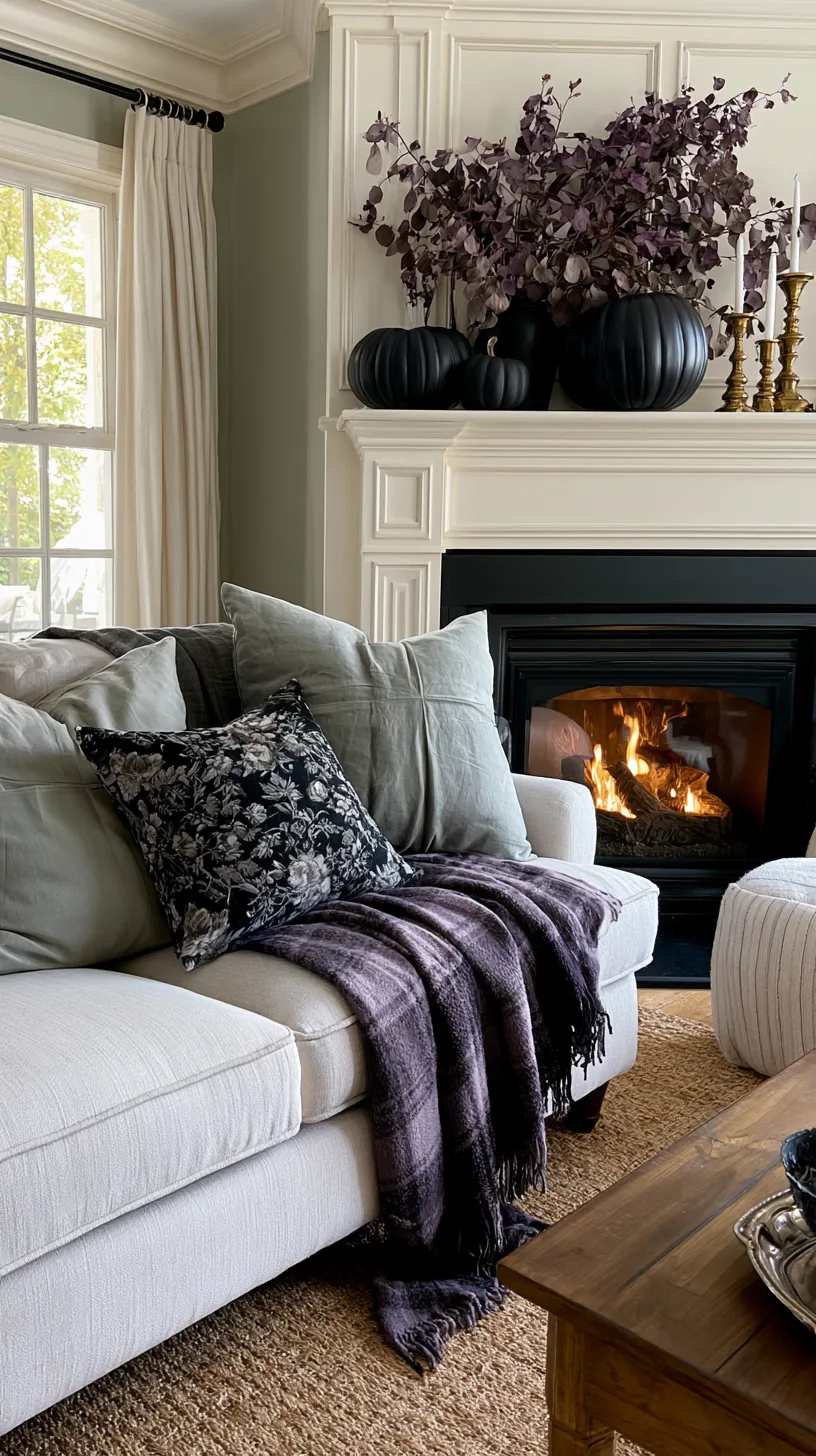 3/5
3/5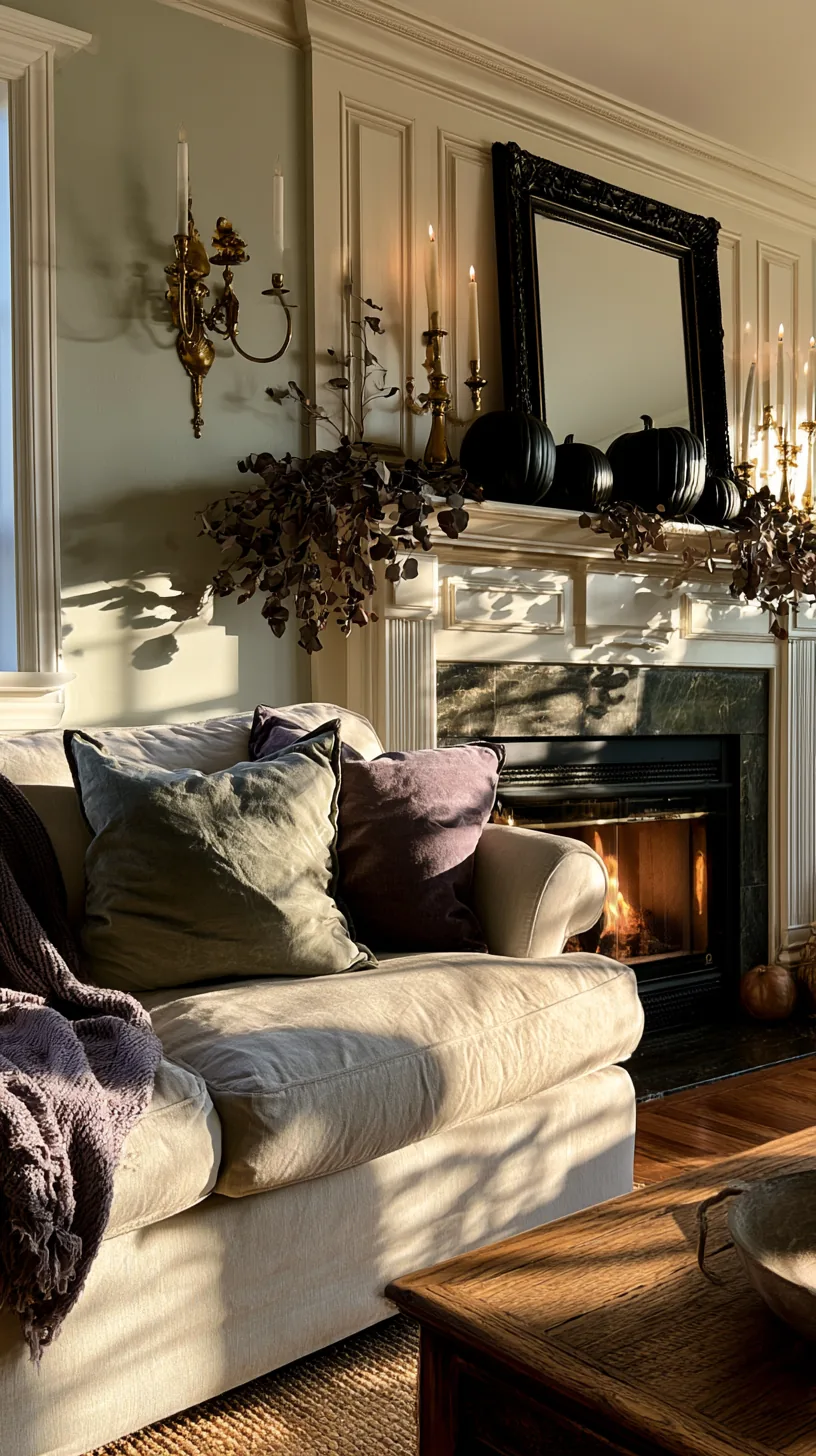 4/5
4/5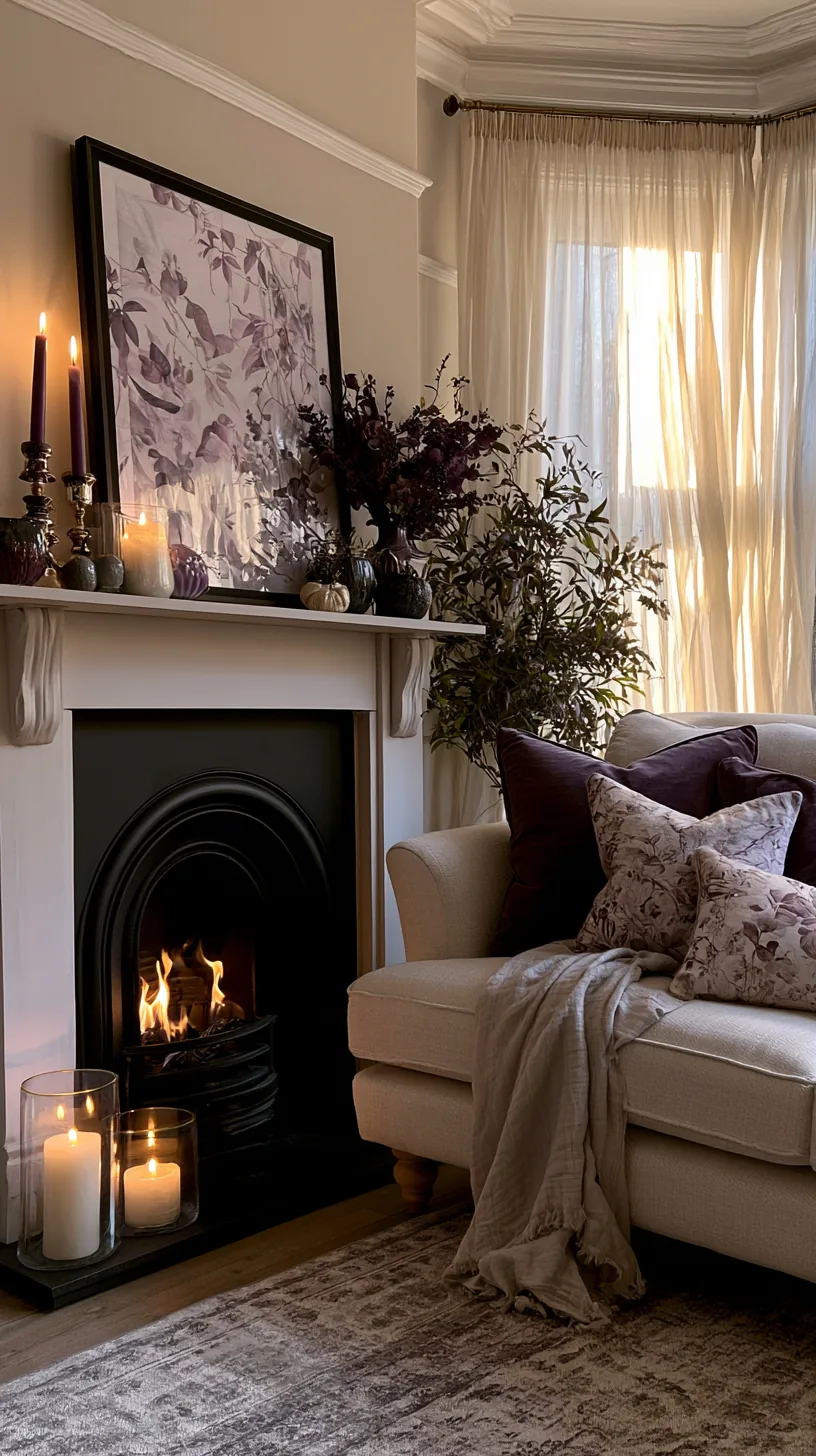 5/5
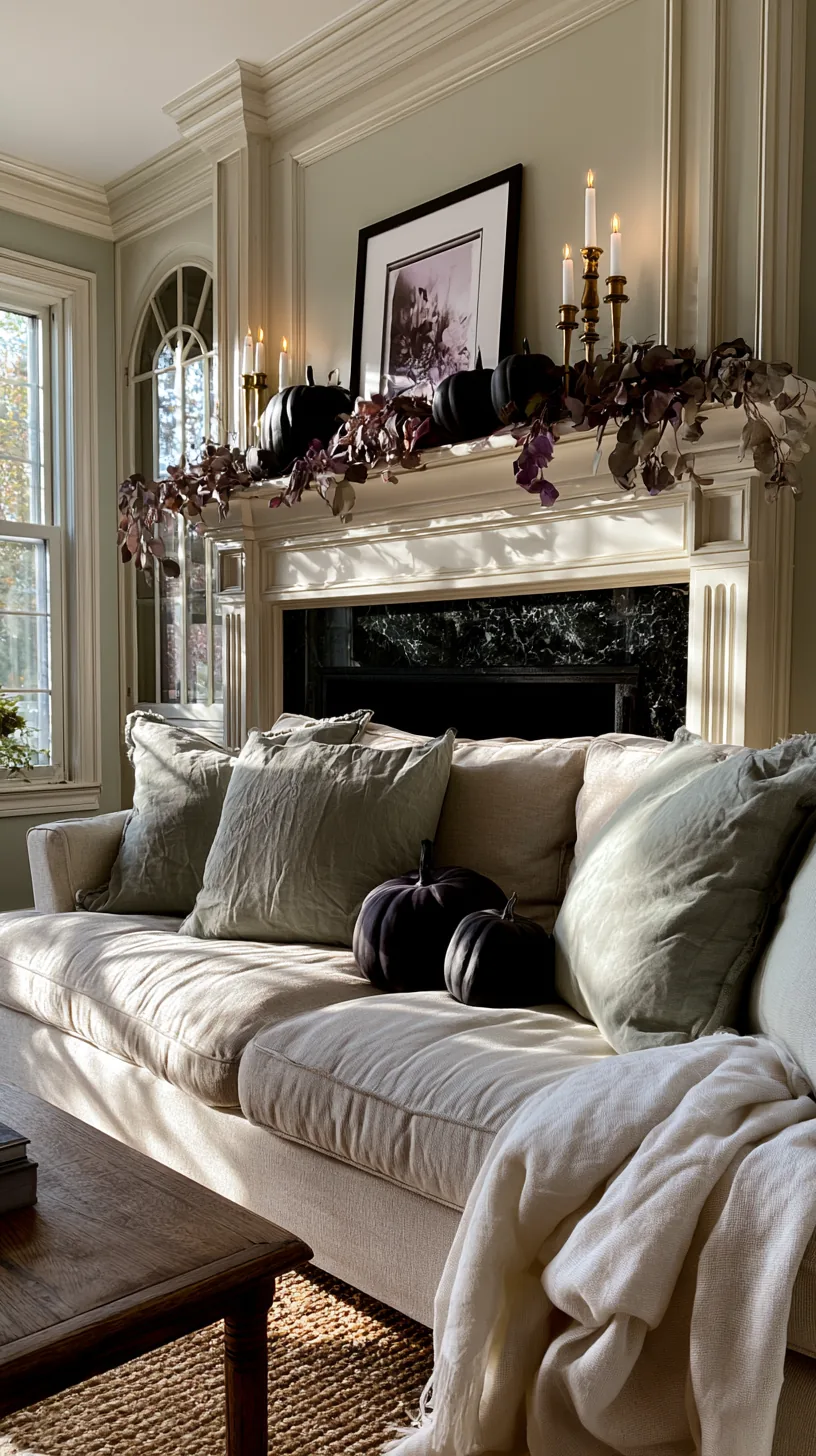
5/5Orange plastic against a sage-and-cream room is exactly why some people skip decorating altogether. Pick two colors plus one metal, repeat that palette across the whole mantel, and pull one color from something already in the room so the display looks like it belongs.
Black and cream with brass is the safest combination and reads as elegant Halloween rather than party-store. Deep plum with bronze works if your room already leans warm. The point is that the decor should look like the room got dressed for the season, not like a bin was emptied on the shelf. If your room leans warm and gathered, these cottagecore fall mantel decor ideas show the softer palette in action.
Quick Tips
- Choose two colors and one metal, then hold the line
- Pull one color from an existing pillow, rug, or piece of art
- Anything that does not fit the palette goes in the bin, not on the mantel
12. Get More Than Three Weeks Out of the Whole Display
 1/4
1/4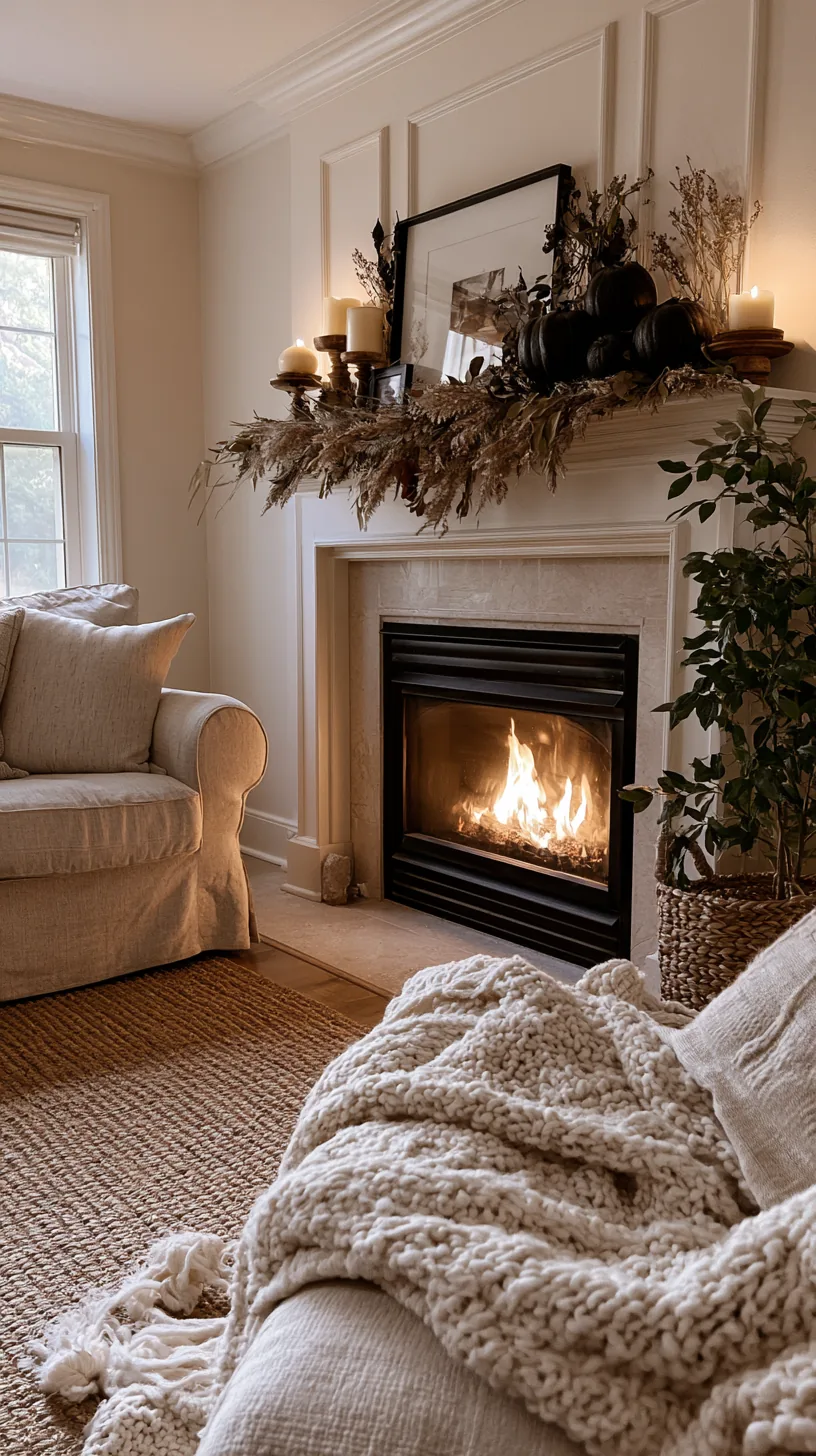 2/4
2/4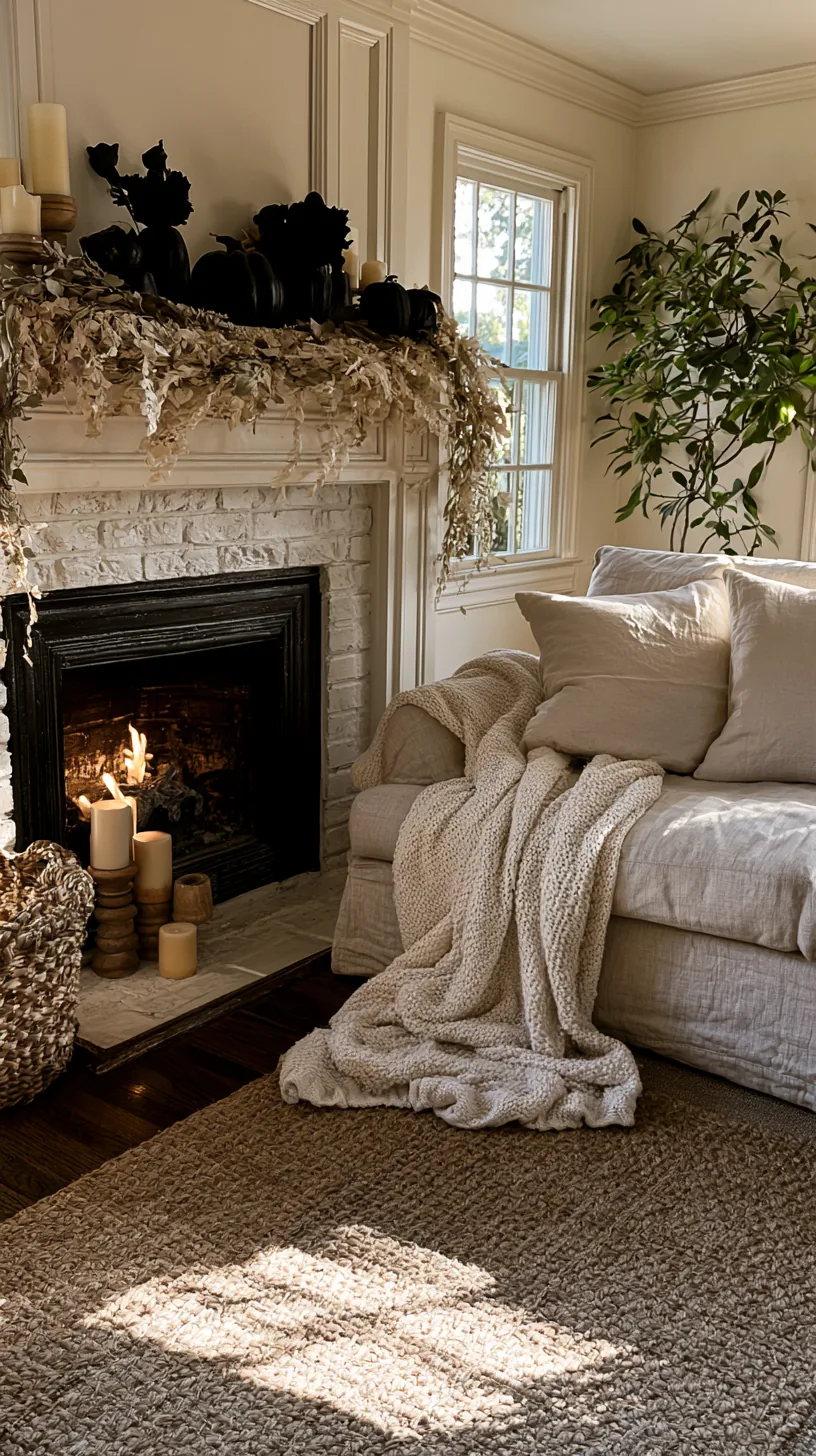 3/4
3/4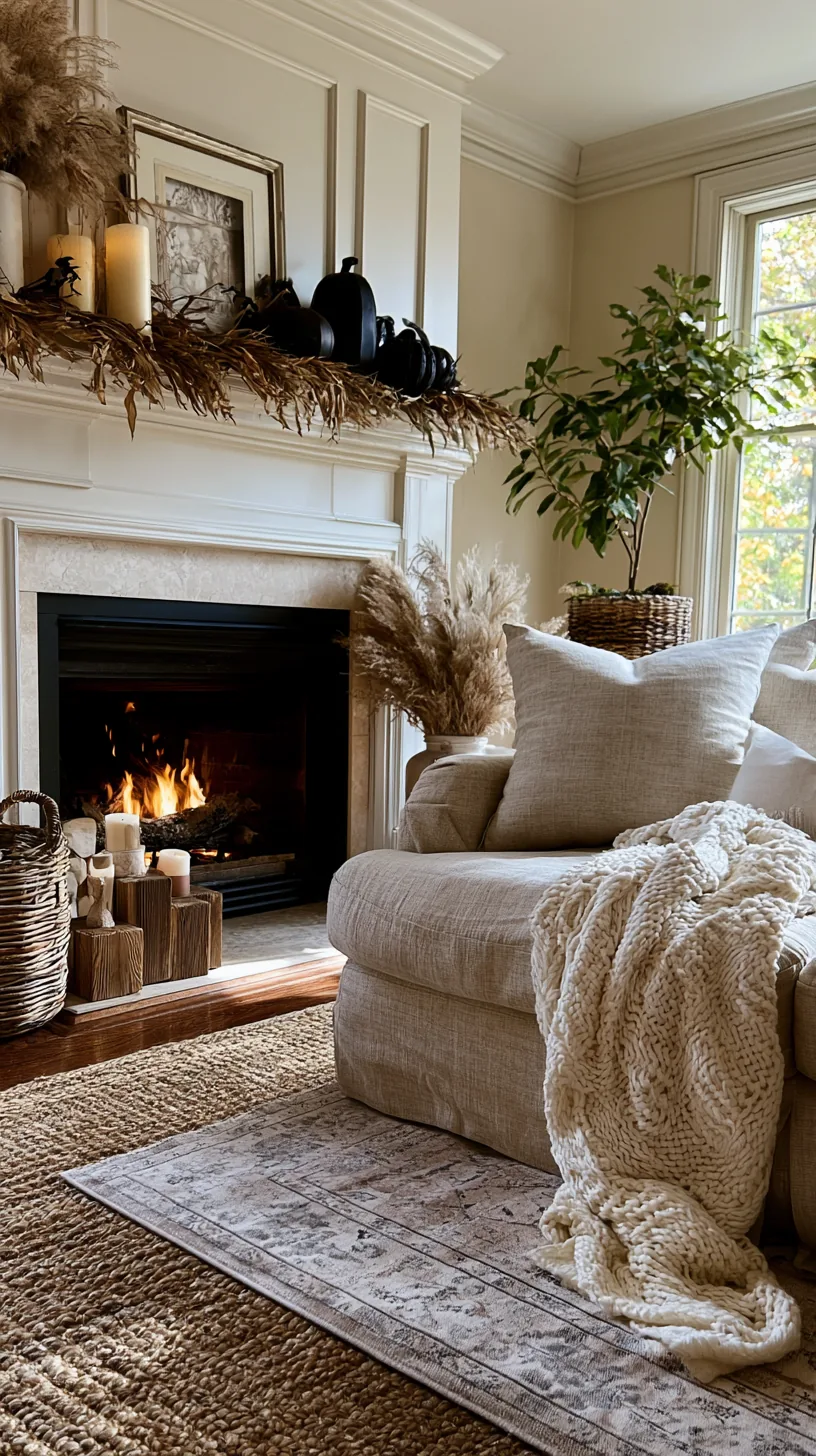 4/4
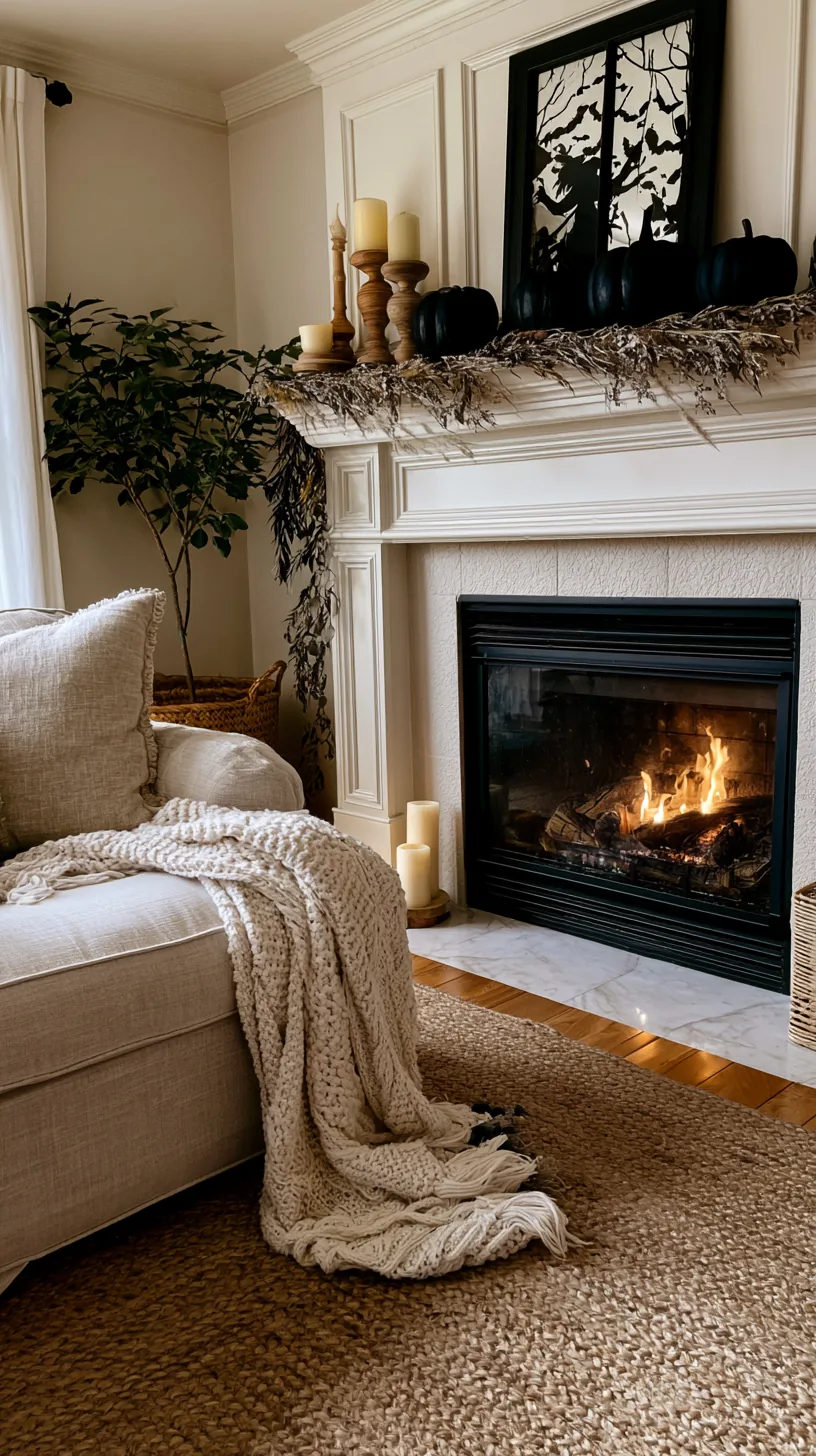
4/4Building a mantel that only works from October 25 to November 1 is a lot of effort for very little payoff. Set a neutral fall base in early October — garland, candles, warm light — then add the Halloween layer on top and simply lift it off on November 1.
The base carries you from the first cool week straight through Thanksgiving with nothing left to do. Keep the seasonal pieces in one small bin so the swap takes ten minutes instead of an evening. Two-stage decorating is genuinely less work than decorating twice, and the mantel never sits empty in between. The neutral base is easiest to build from these neutral fall mantel decor ideas, which carry straight into November.
Quick Tips
- Set the neutral base the first weekend of October
- Keep the Halloween-only pieces separated in one labeled bin
- Photograph the base layer so next year starts from a known good setup
13. Fill the Empty Wall Above a High Mantel
 1/6
1/6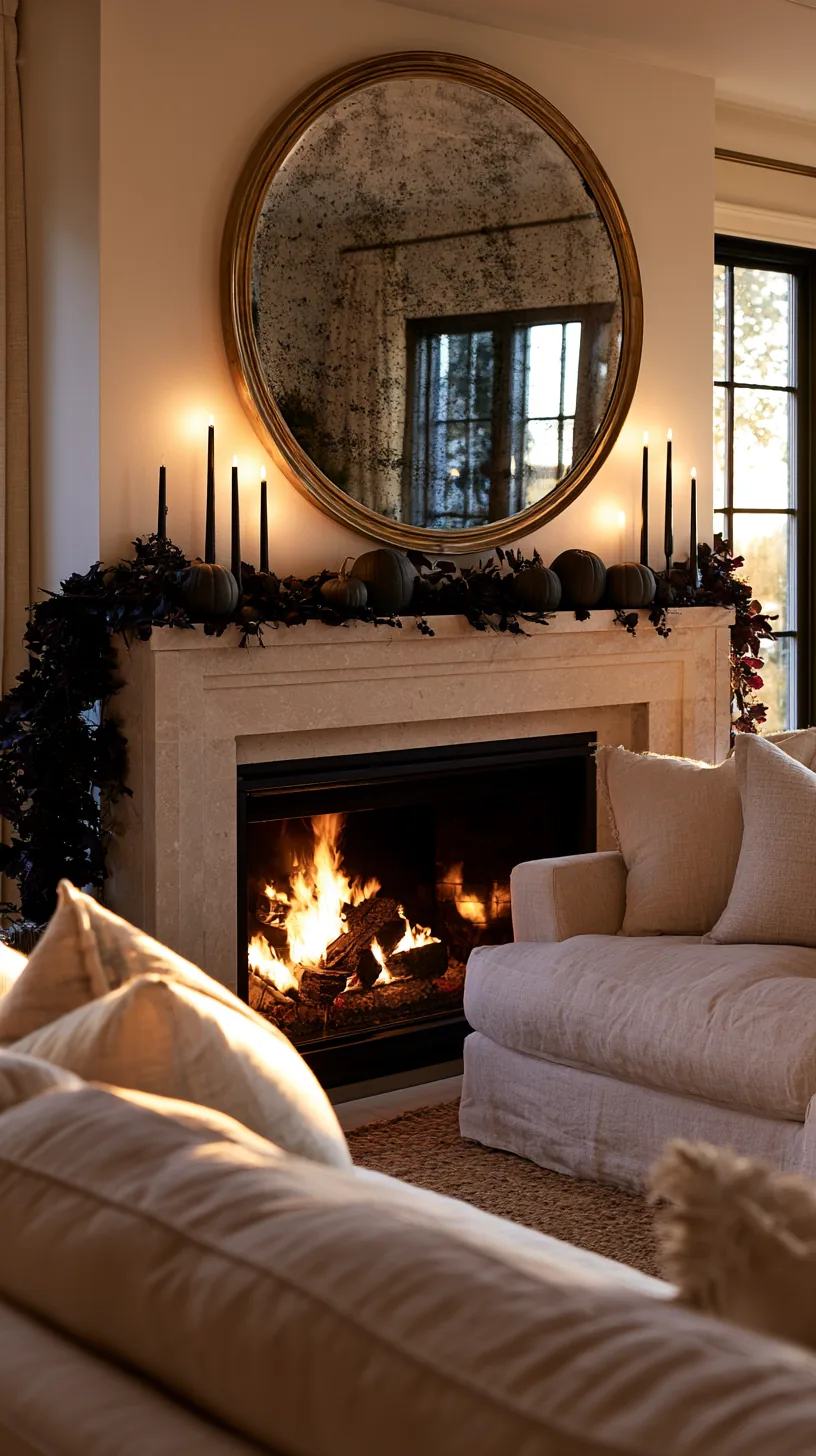 2/6
2/6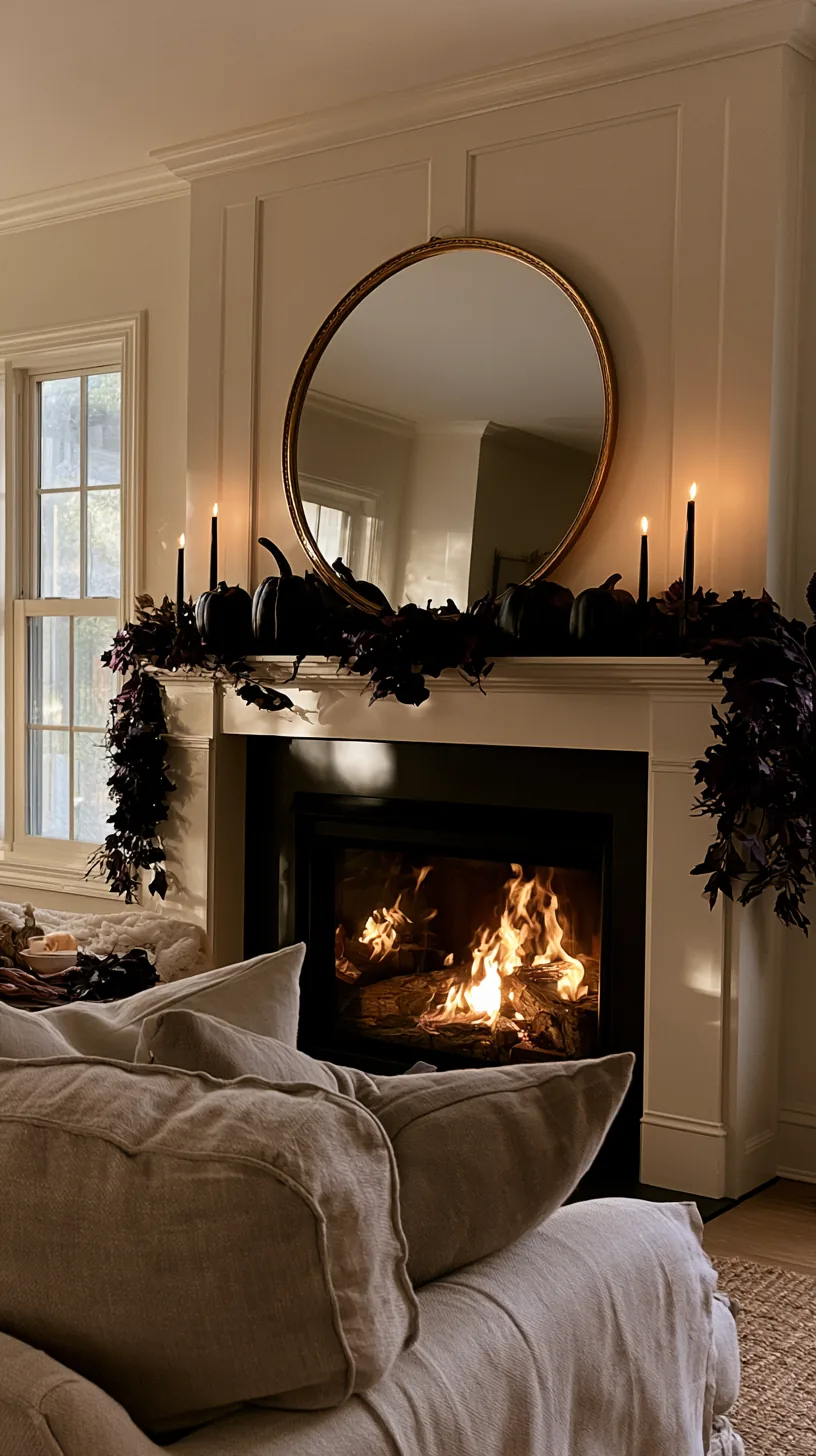 3/6
3/6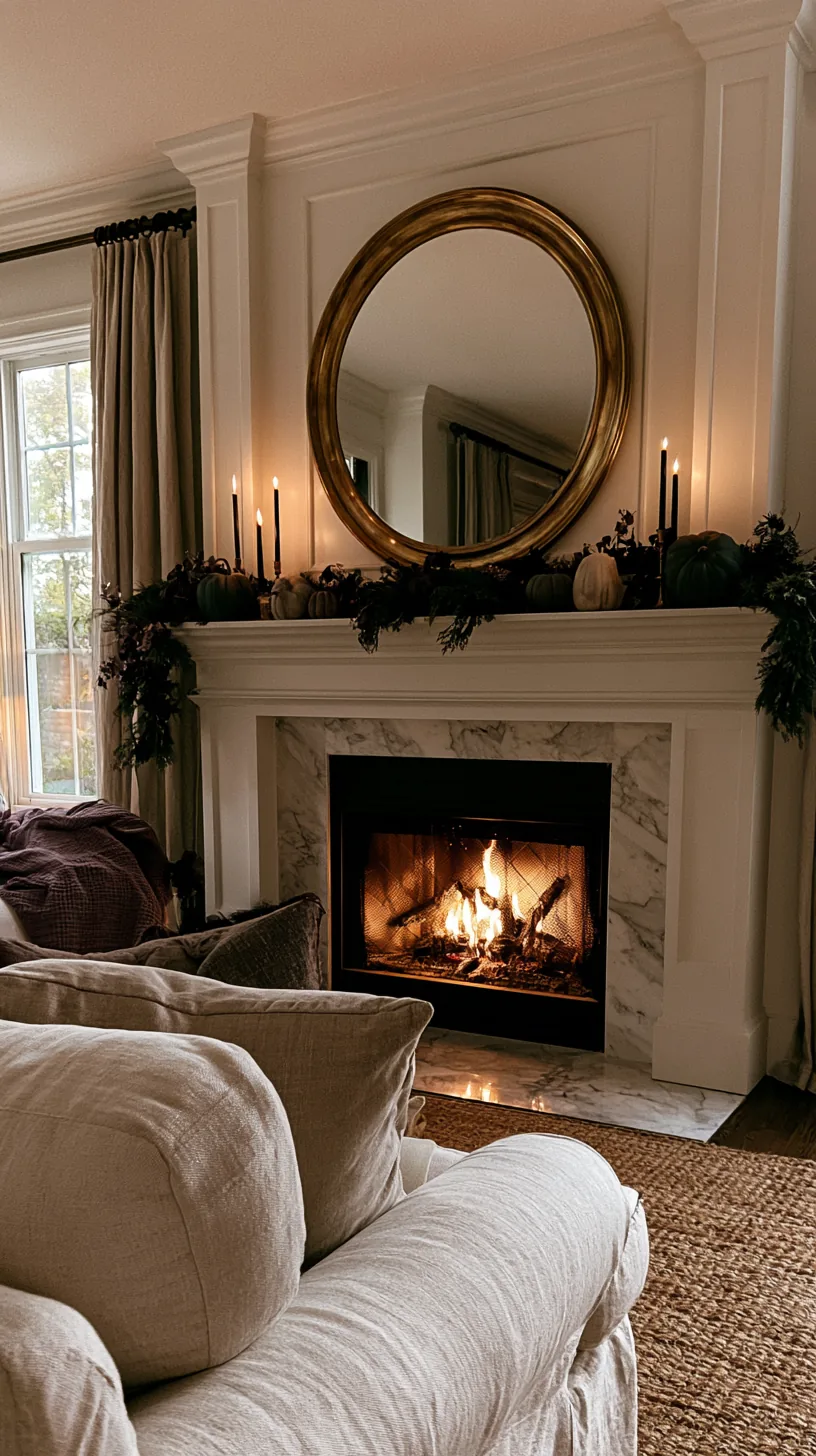 4/6
4/6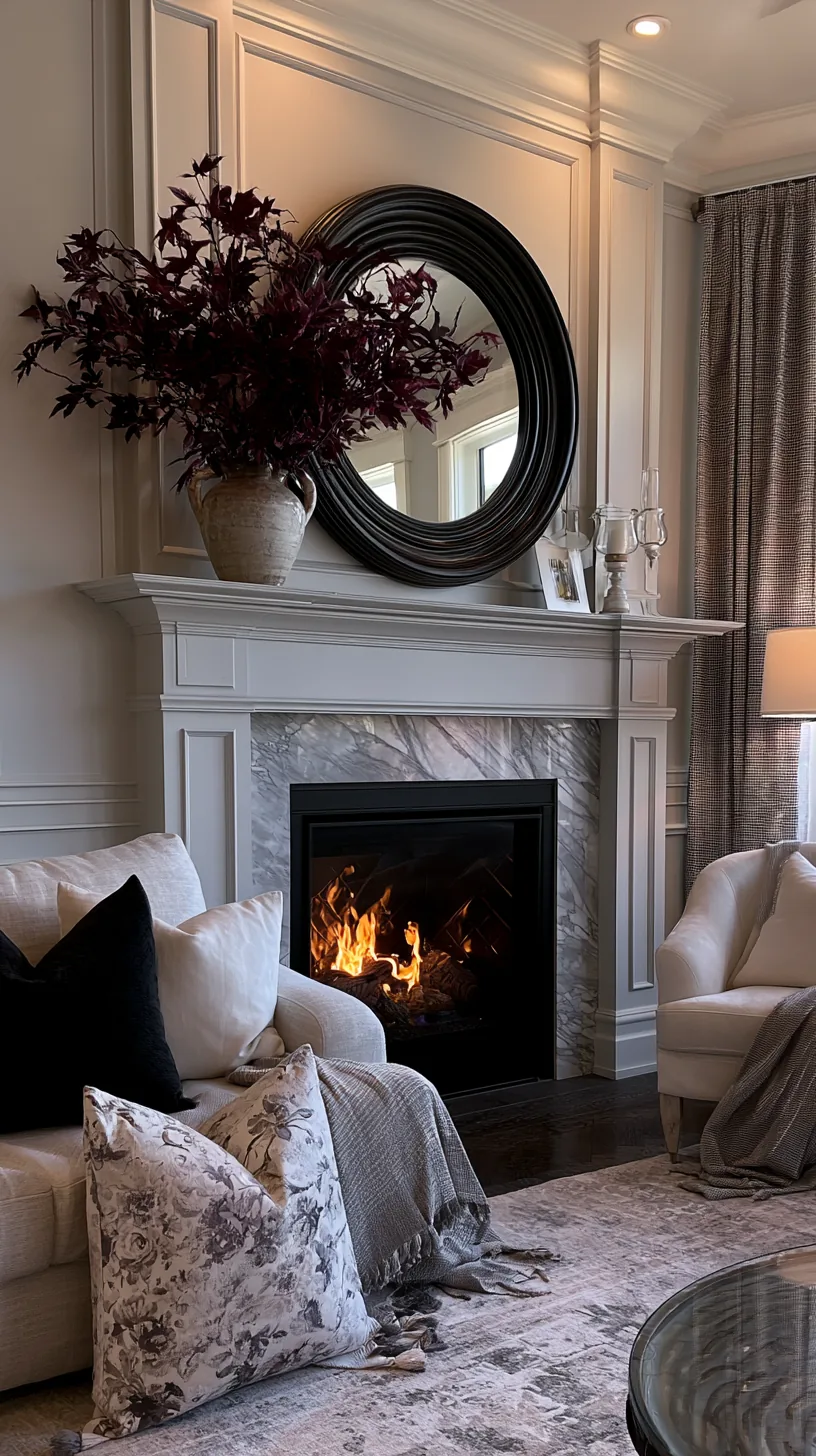 5/6
5/6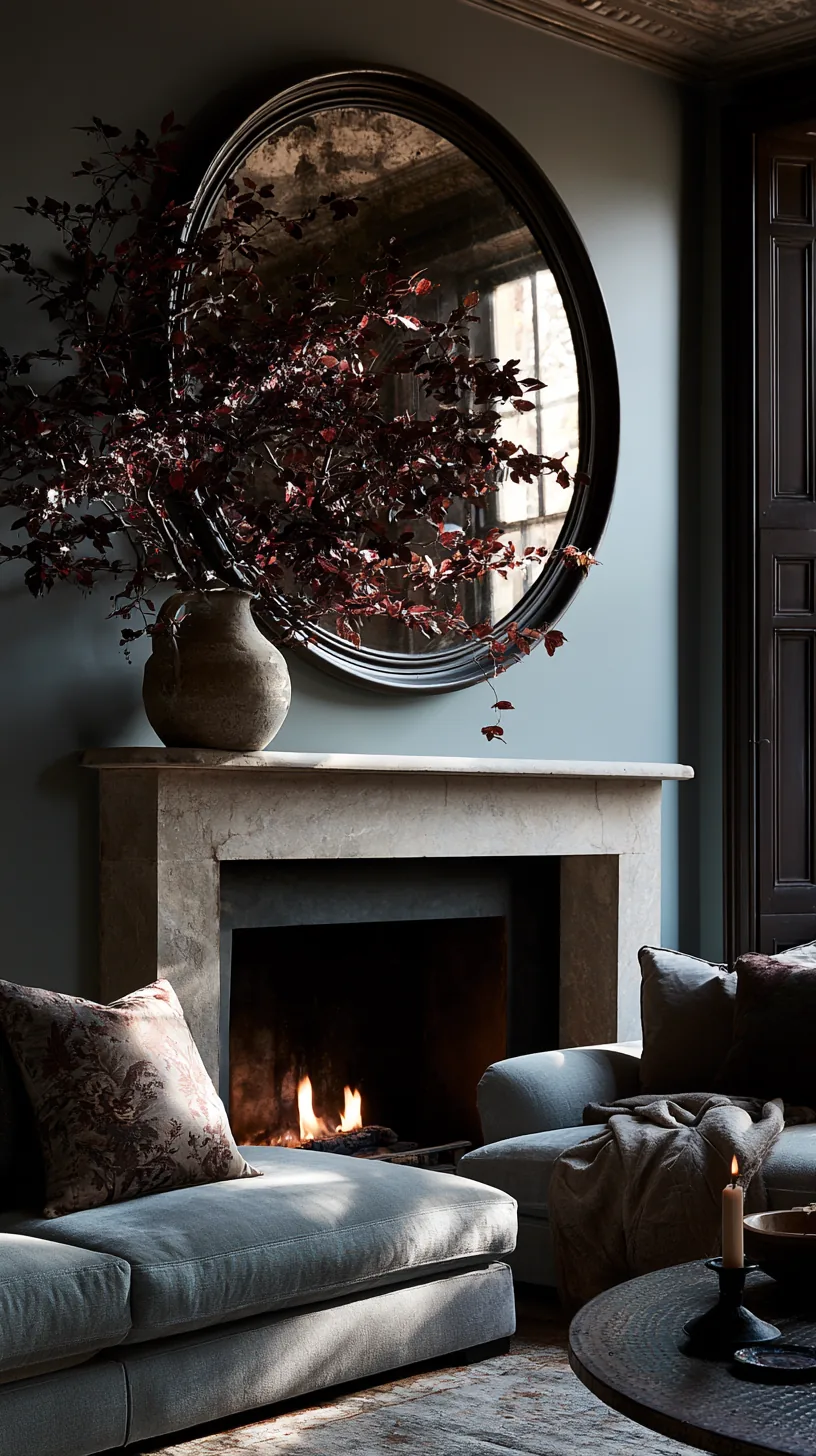 6/6
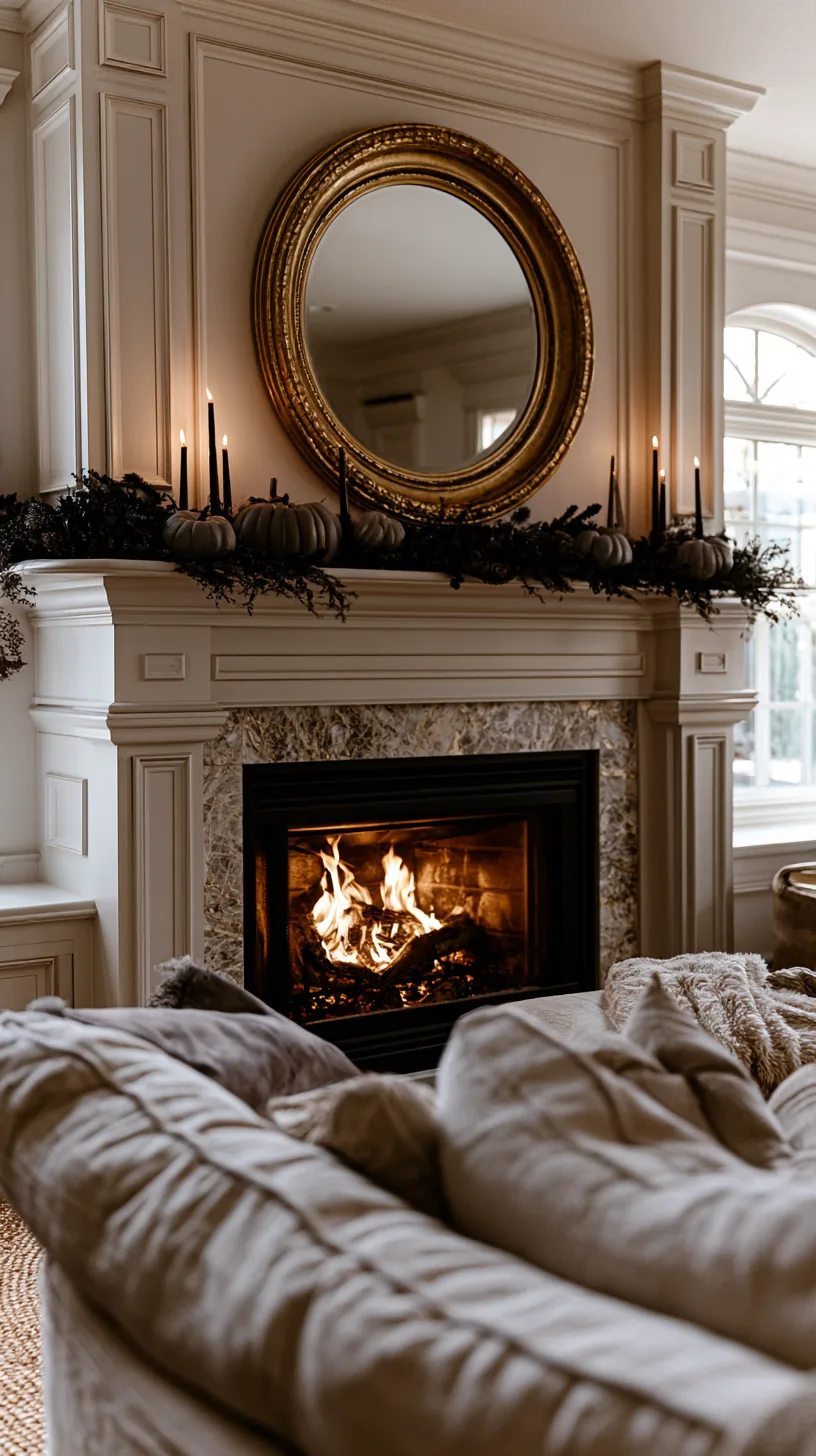
6/6A tall mantel leaves a big blank wall that makes everything on the shelf look small. Hang a mirror or a large piece above it and the whole arrangement gains a frame, plus a mirror doubles every candle flame you put underneath it.
Scale matters more than style here: the piece above should cover roughly two-thirds of the mantel width. Anything smaller floats and makes the wall look emptier than before. If you rent, removable strips rated well above the actual weight will hold a lightweight mirror without touching the wall.
Quick Tips
- Aim for about two-thirds of the mantel width
- Hang so the bottom edge sits 4 to 8 inches above the ledge
- Angle a mirror slightly down if the ceiling light is harsh
14. Cut the Clutter So It Reads as a Display, Not a Pile
 1/4
1/4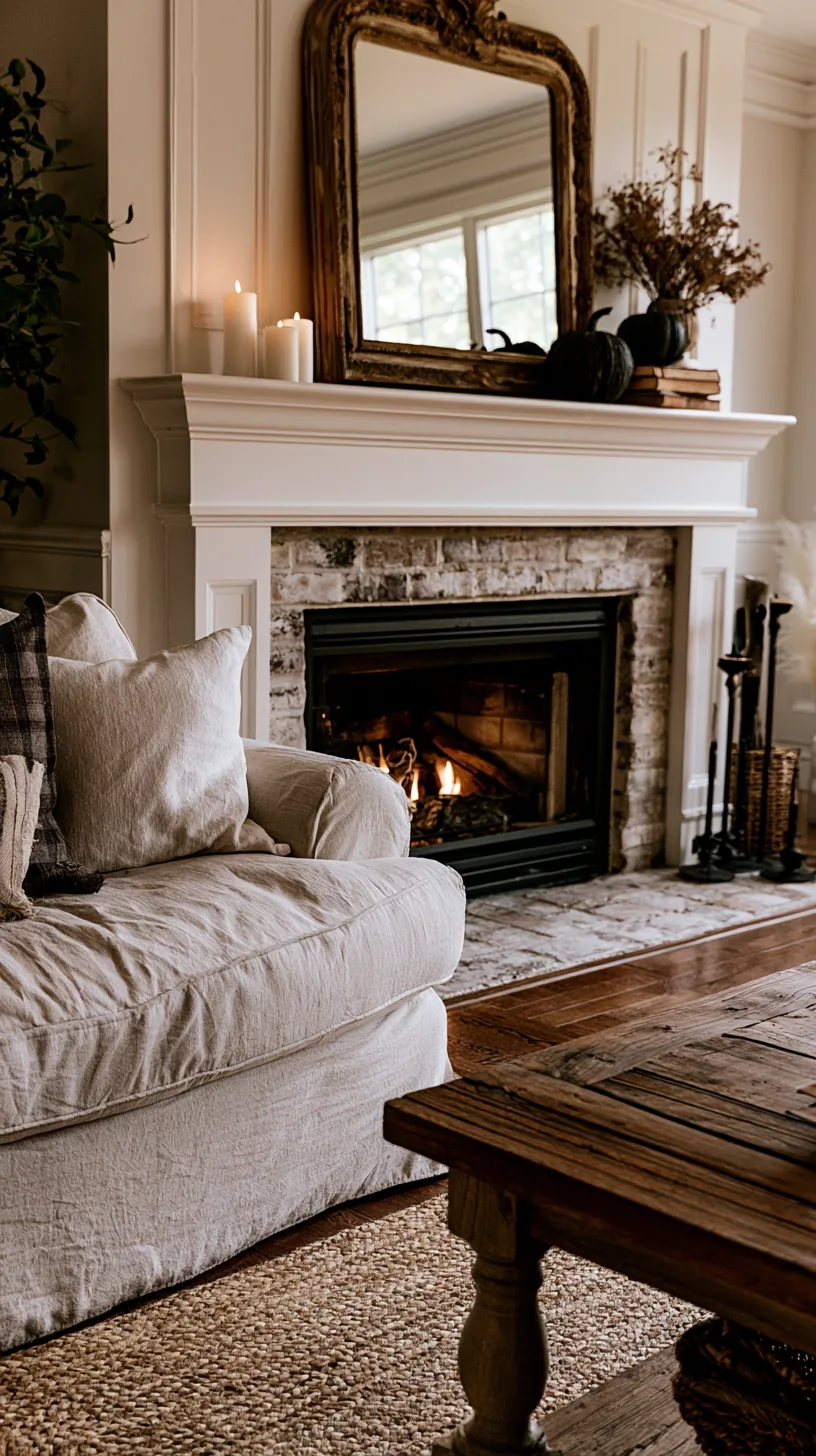 2/4
2/4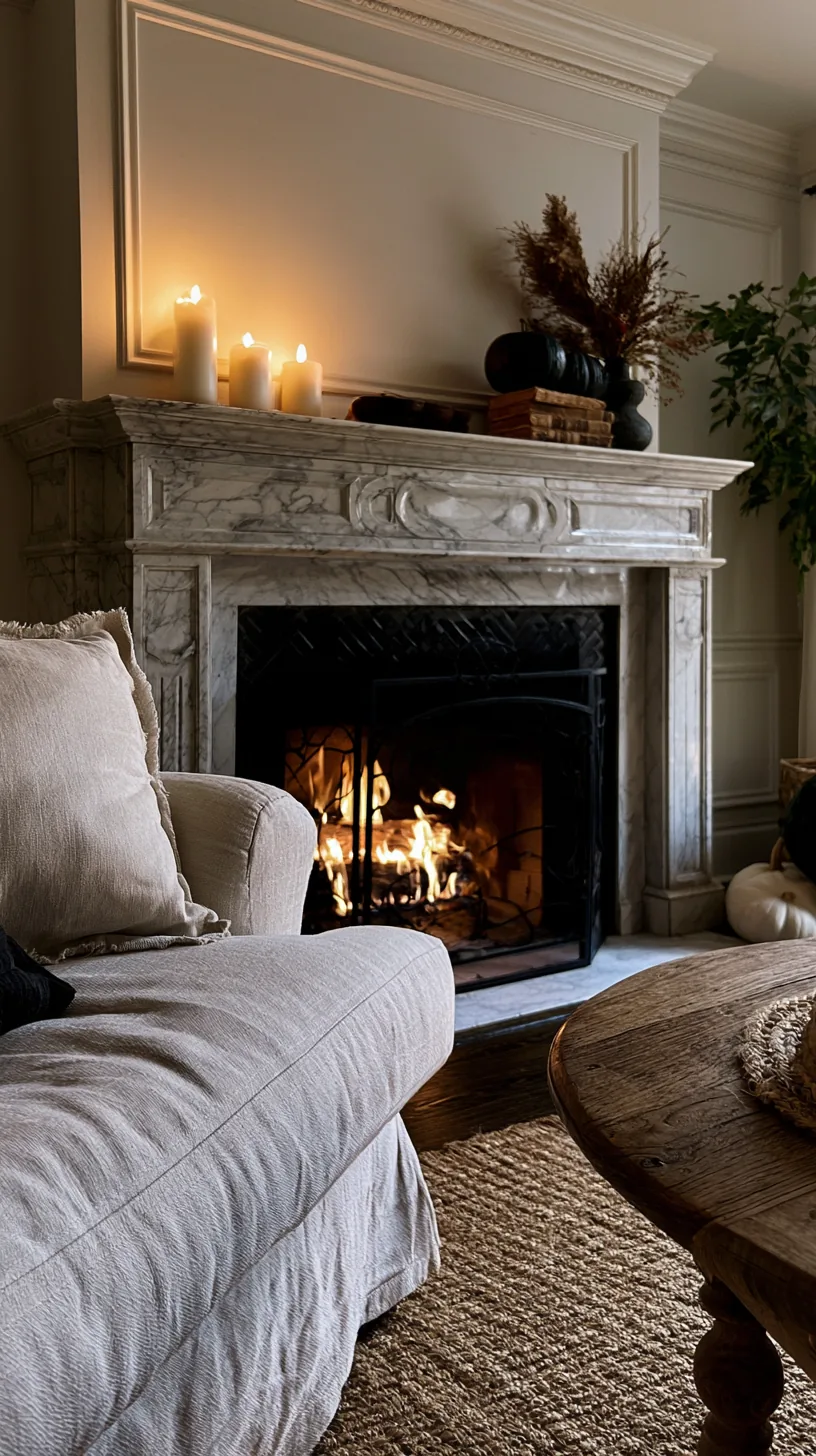 3/4
3/4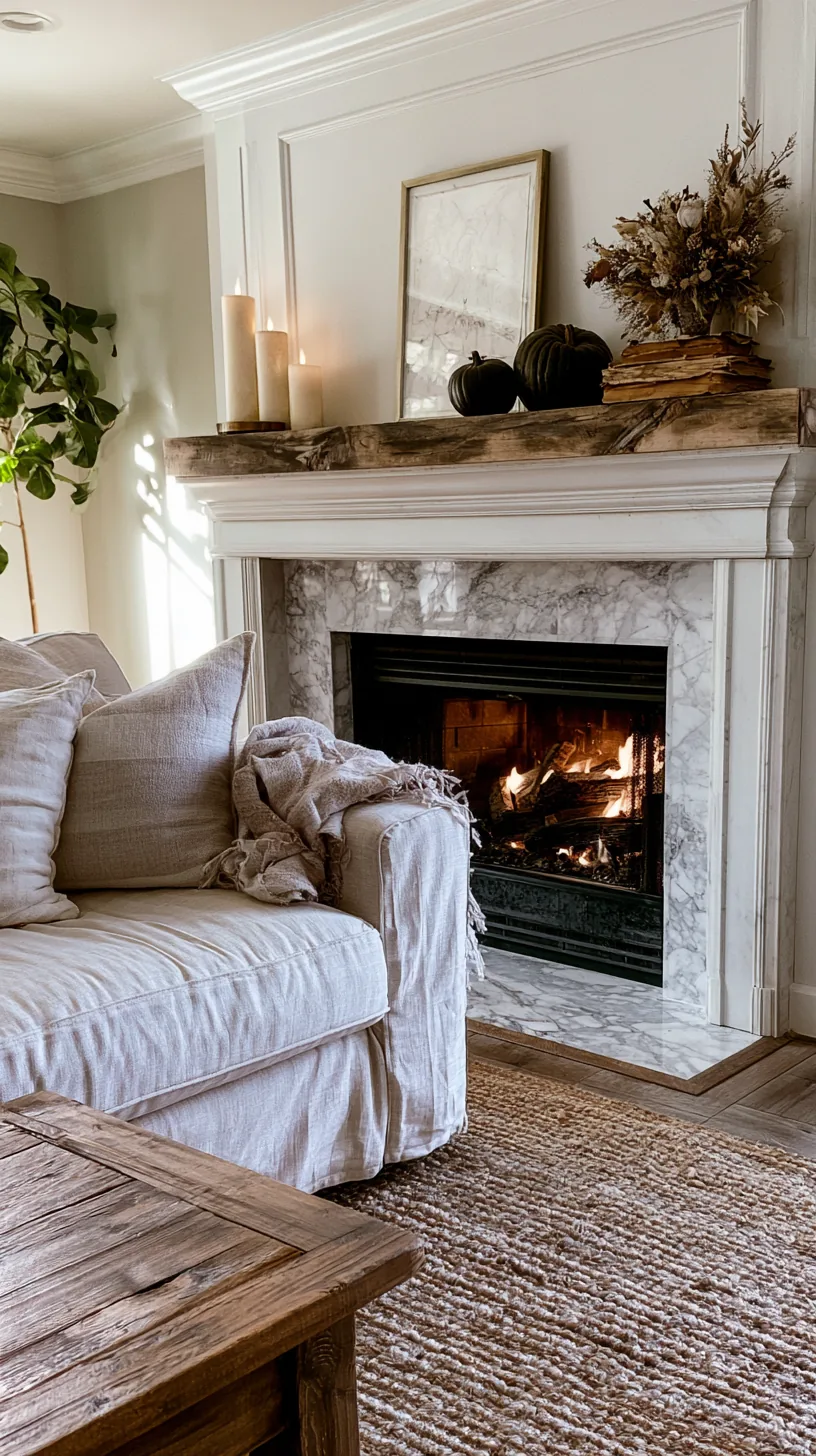 4/4
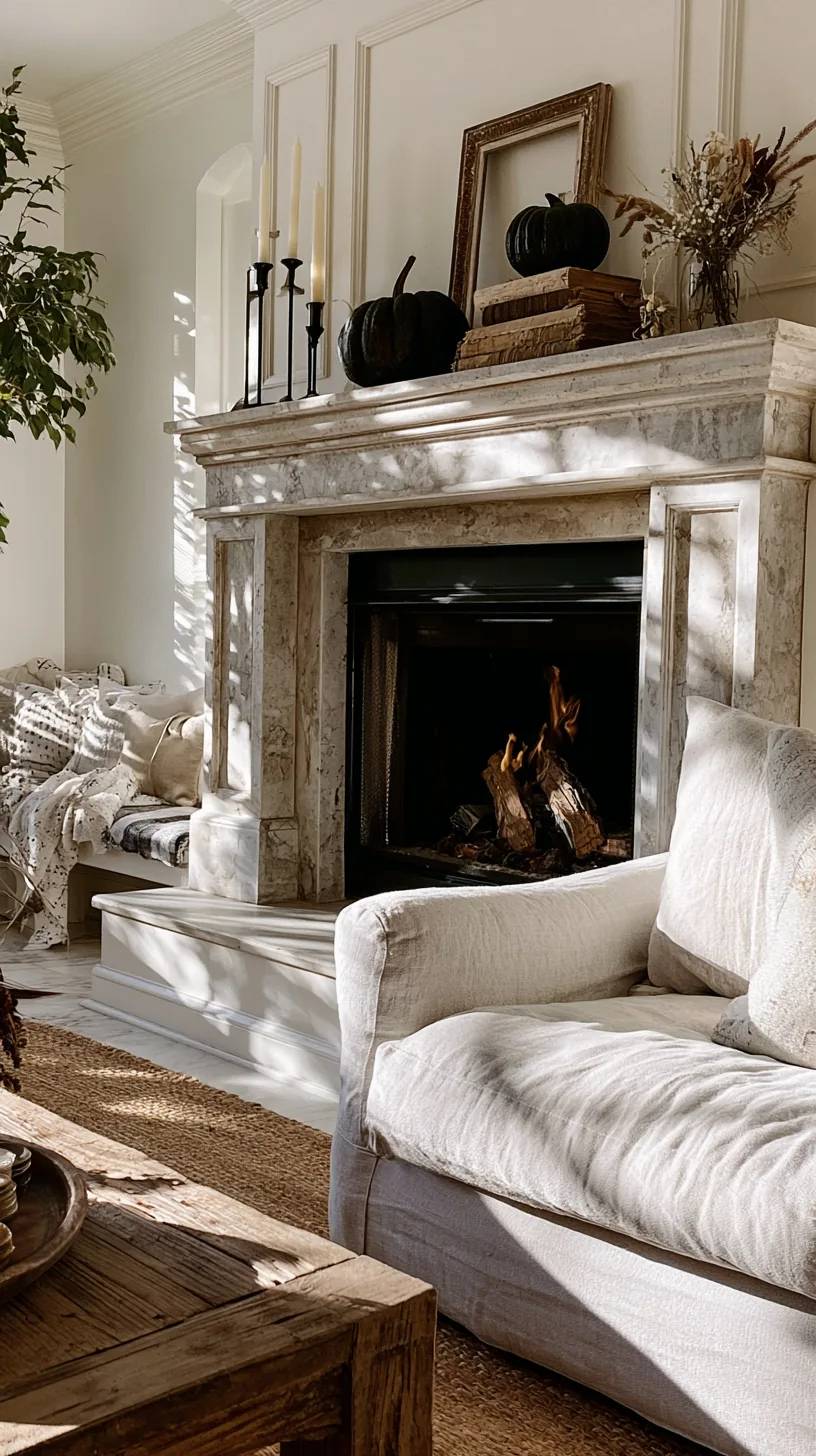
4/4The most common mistake is too many small things spread evenly across the ledge. Group in threes, leave real gaps between the groups, and take away one piece after you think you are finished — the empty space is what makes the rest look deliberate.
Odd numbers group naturally because the eye cannot split them into pairs. Three clusters on a standard mantel is usually the ceiling. If you keep adding and it keeps looking worse, that is a spacing problem, not a shortage of decorations, and the fix costs nothing. Editing down is the whole idea behind these simple fall mantel decor ideas too.
Quick Tips
- Three groups maximum on a standard-length mantel
- Leave at least a hand’s width of clear ledge between clusters
- Remove one piece at the end — it almost always improves
15. Hide a Sooty, Empty Firebox Below the Mantel
 1/8
1/8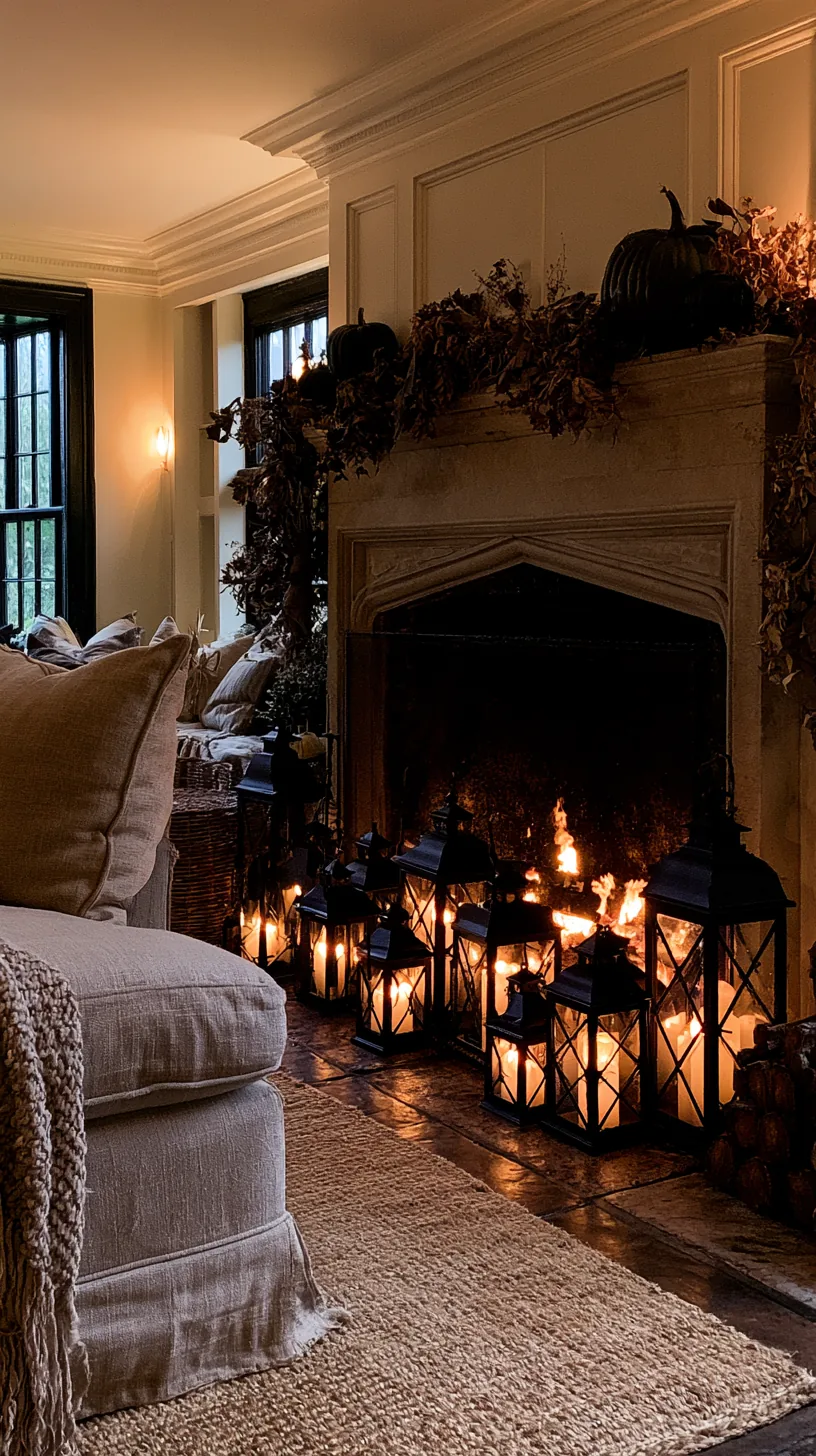 2/8
2/8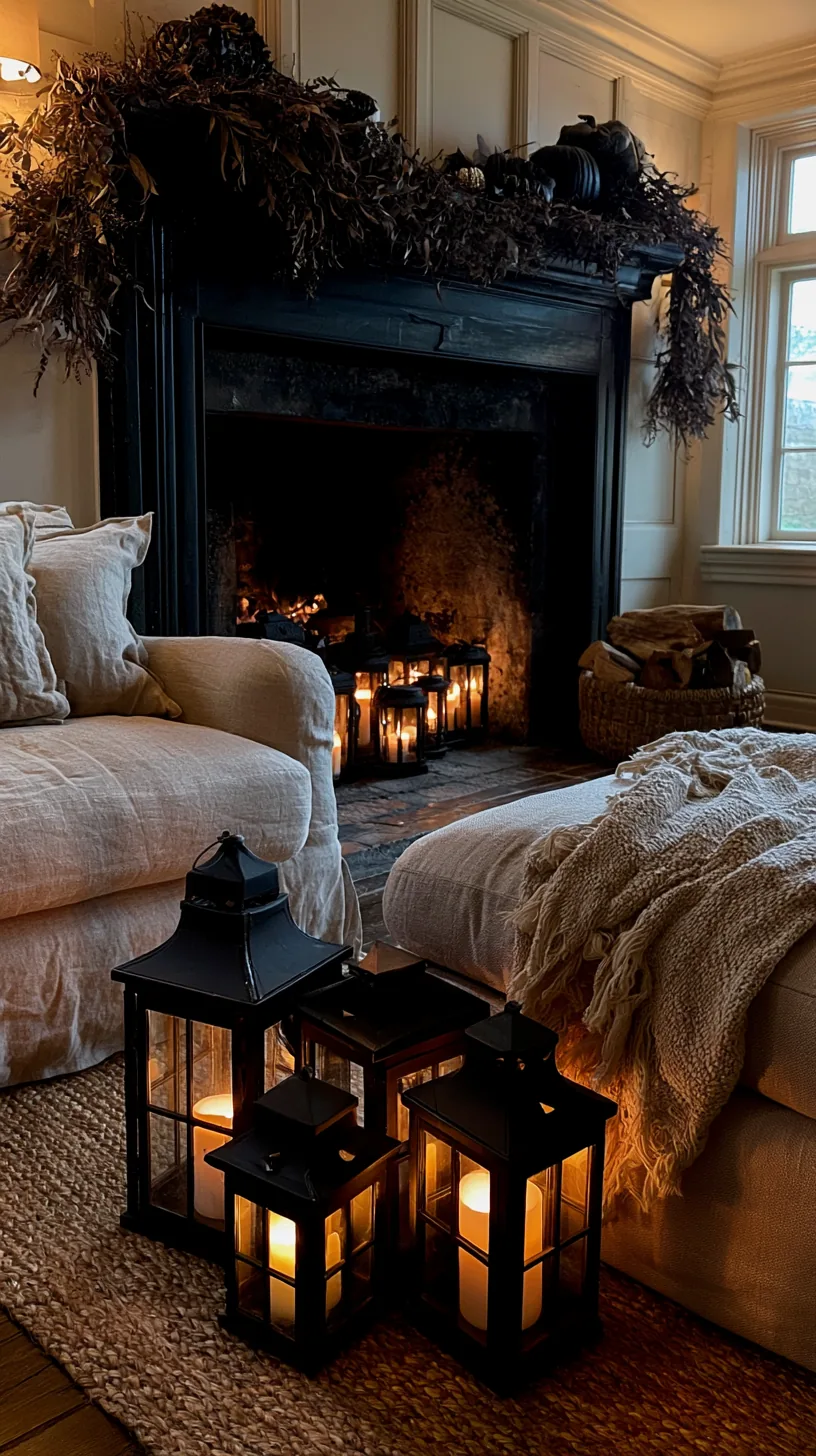 3/8
3/8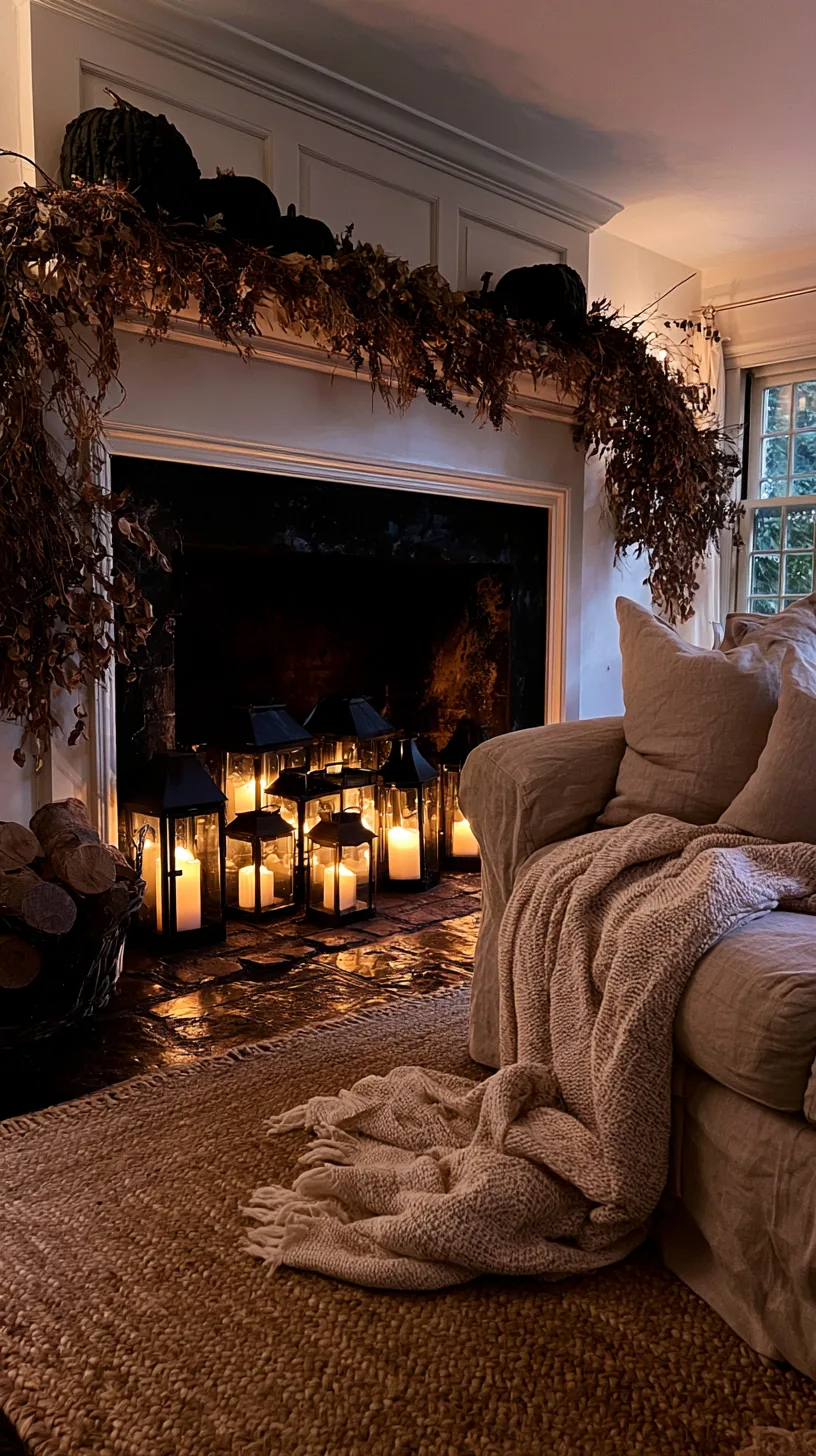 4/8
4/8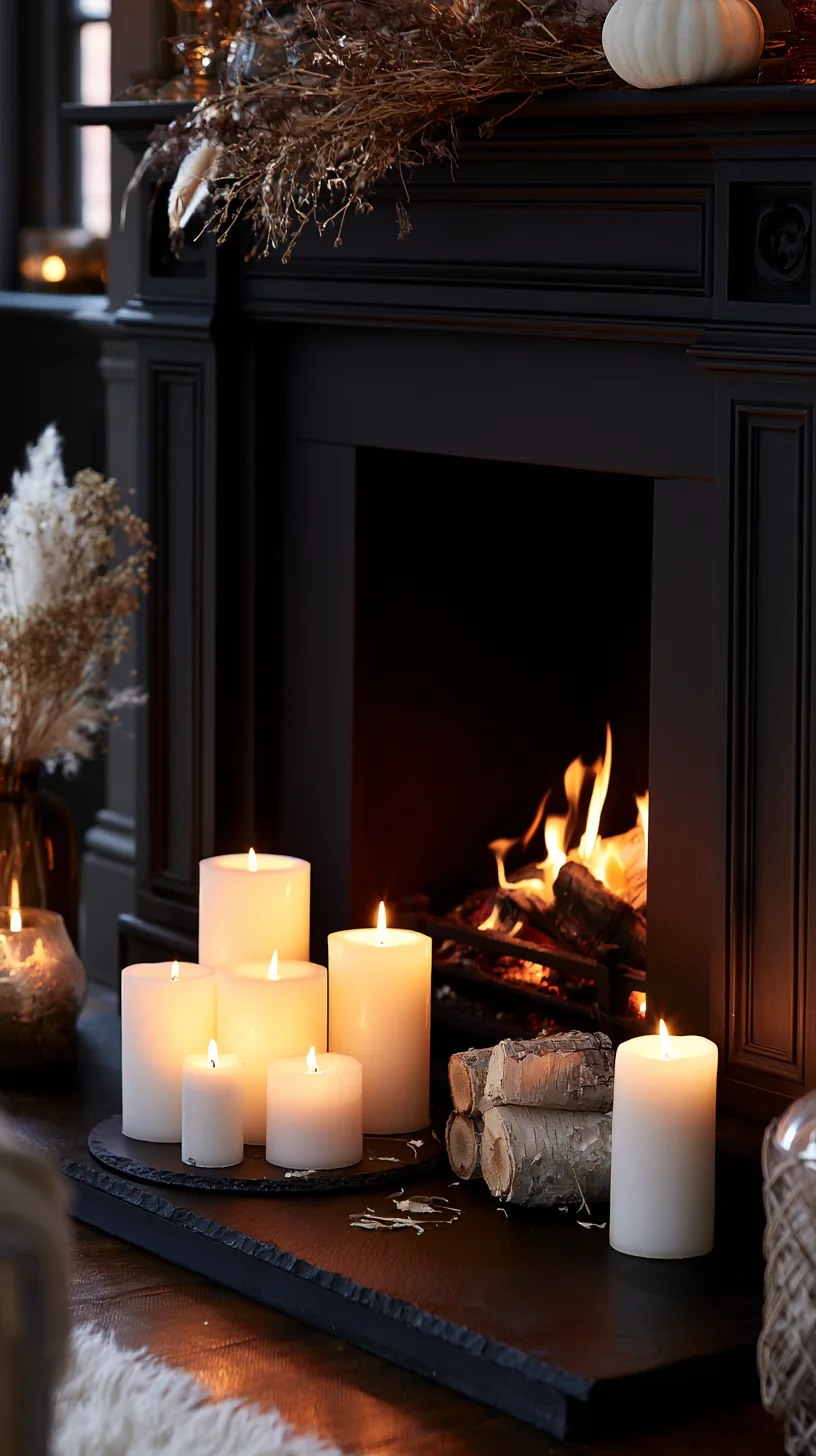 5/8
5/8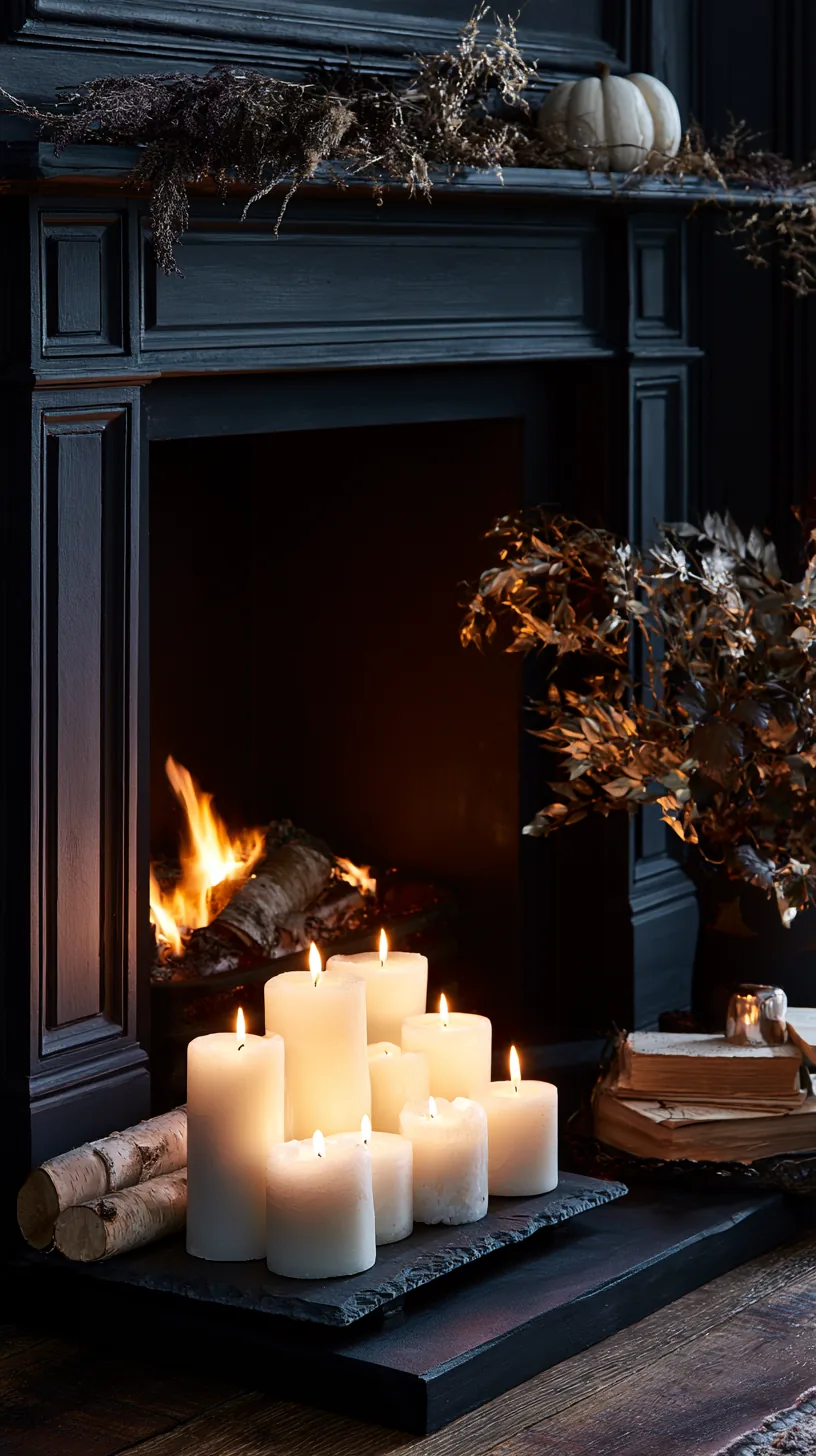 6/8
6/8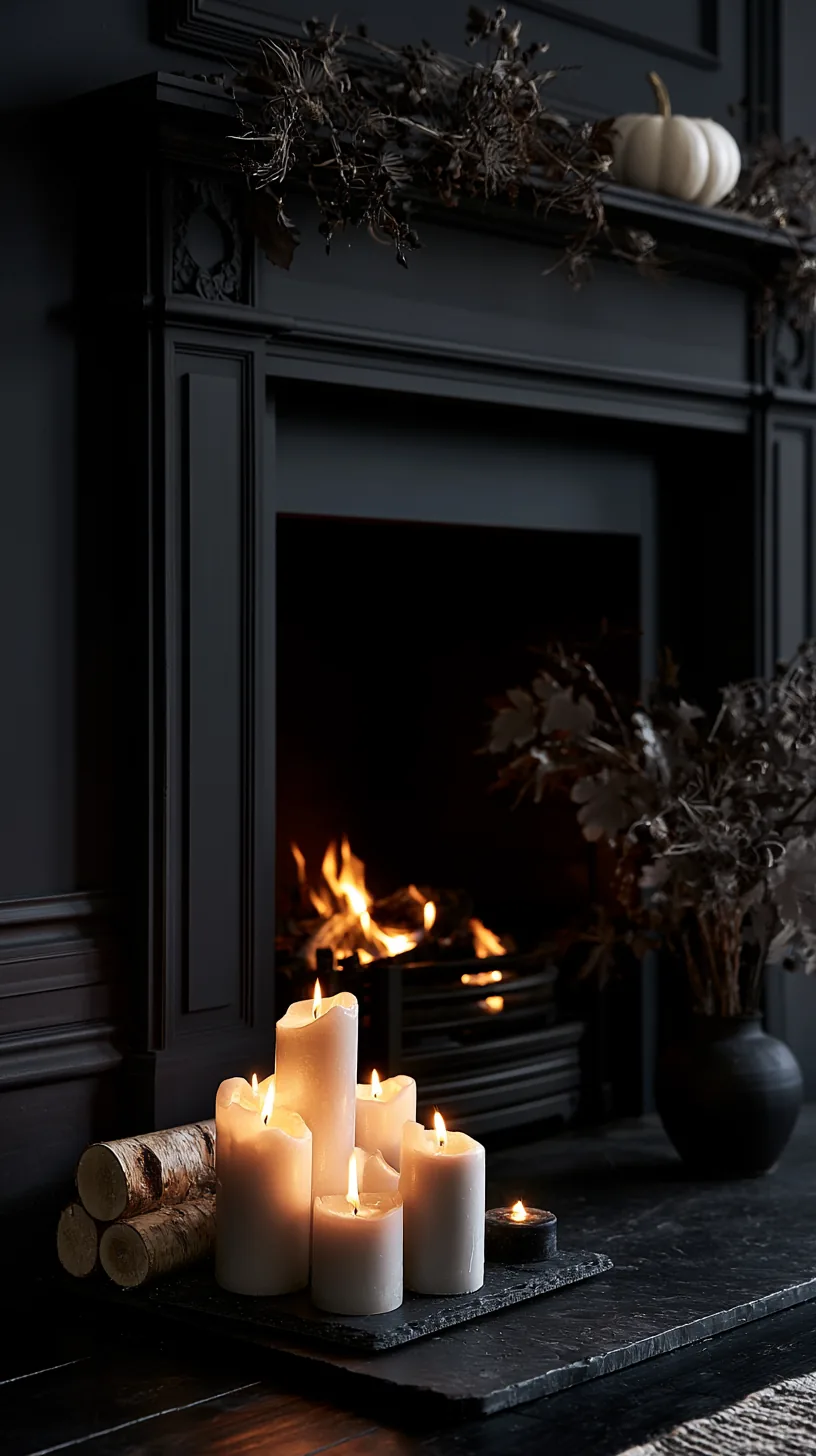 7/8
7/8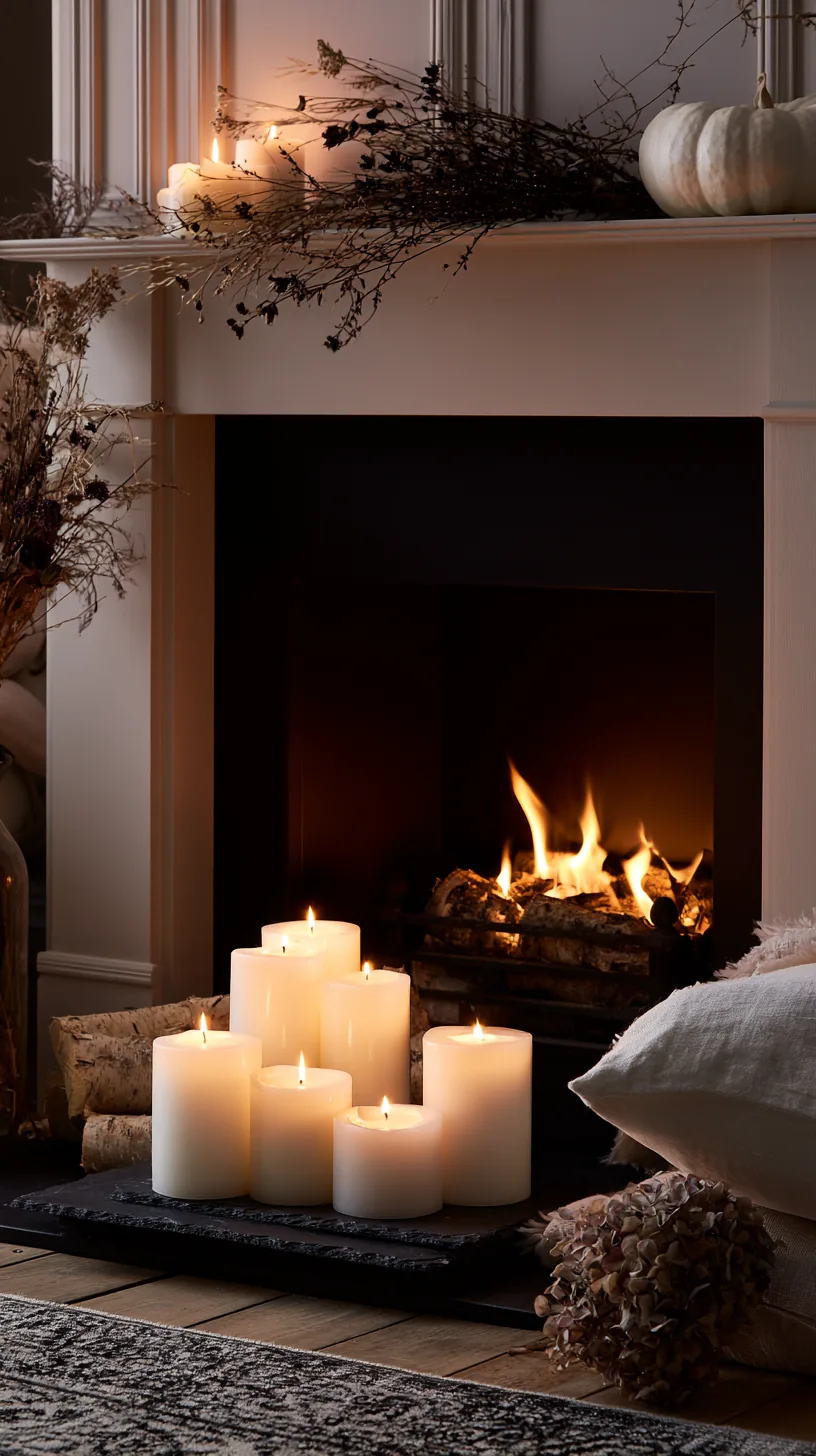 8/8
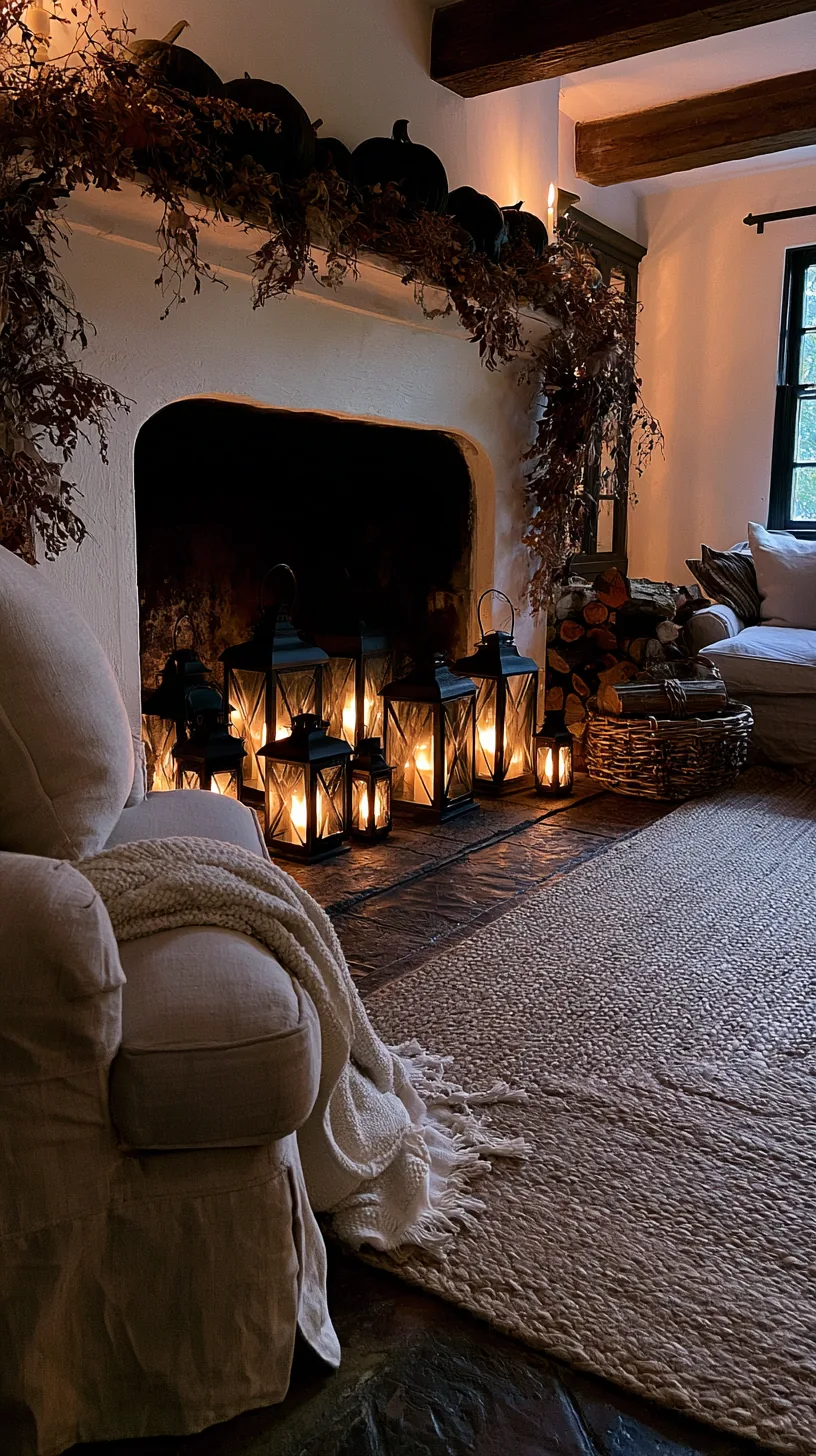
8/8A dark open firebox pulls the eye straight down and undoes everything you did on the shelf. Fill it with a cluster of lanterns holding flameless candles and the empty hole becomes a second glowing layer instead of a black square.
Three lanterns at staggered heights work better than a row of matching ones, and the glow from below makes the mantel above feel intentional. If you never light the fireplace, this is easily the highest-impact change on the whole wall and it takes about five minutes.
Quick Tips
- Stagger three lantern heights rather than lining up matching ones
- Put the tallest lantern at the back corner of the firebox
- Use timers so the firebox and the mantel come on together
16. Contain the Plastic Decor the Kids Insist On
 1/4
1/4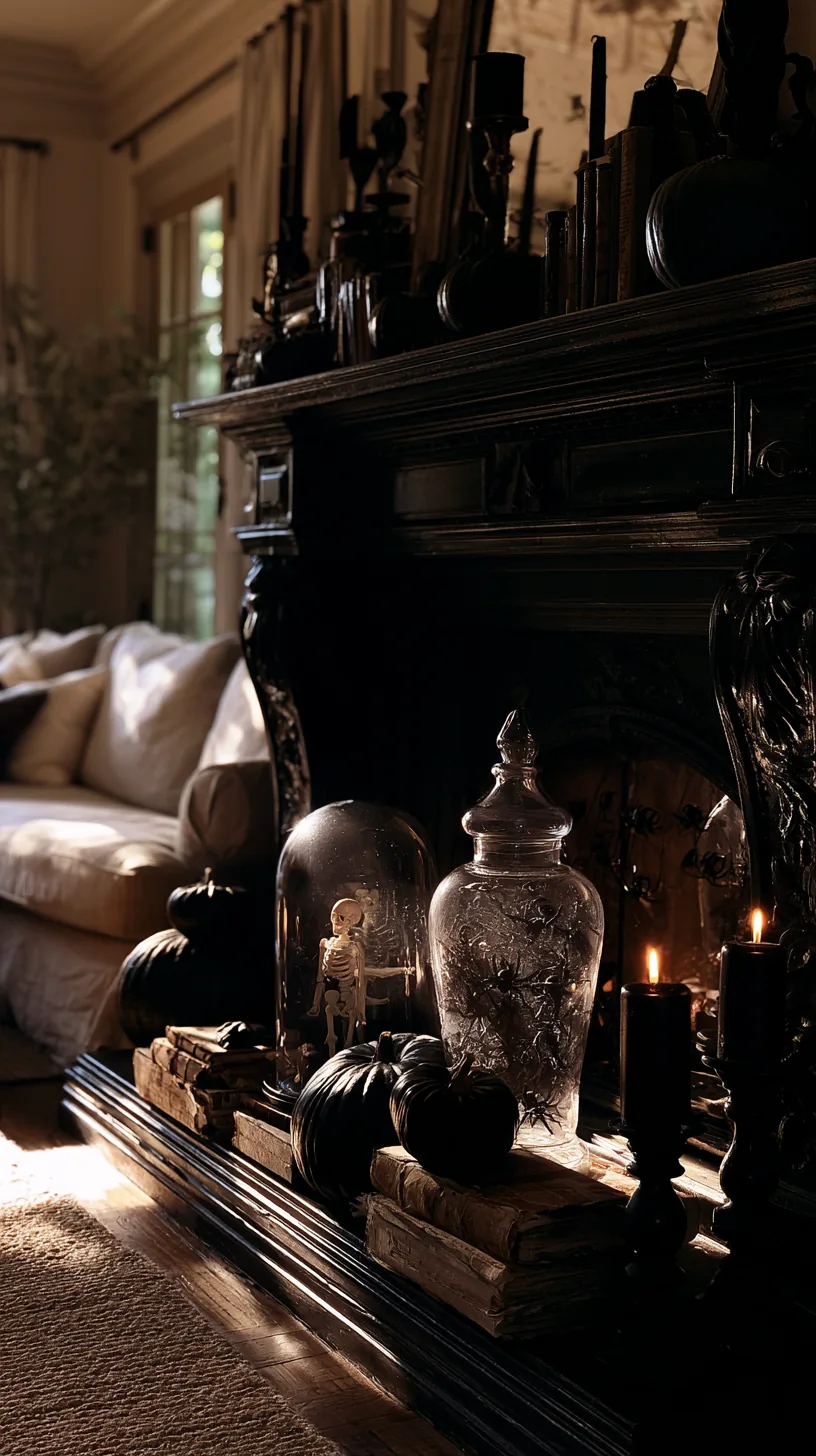 2/4
2/4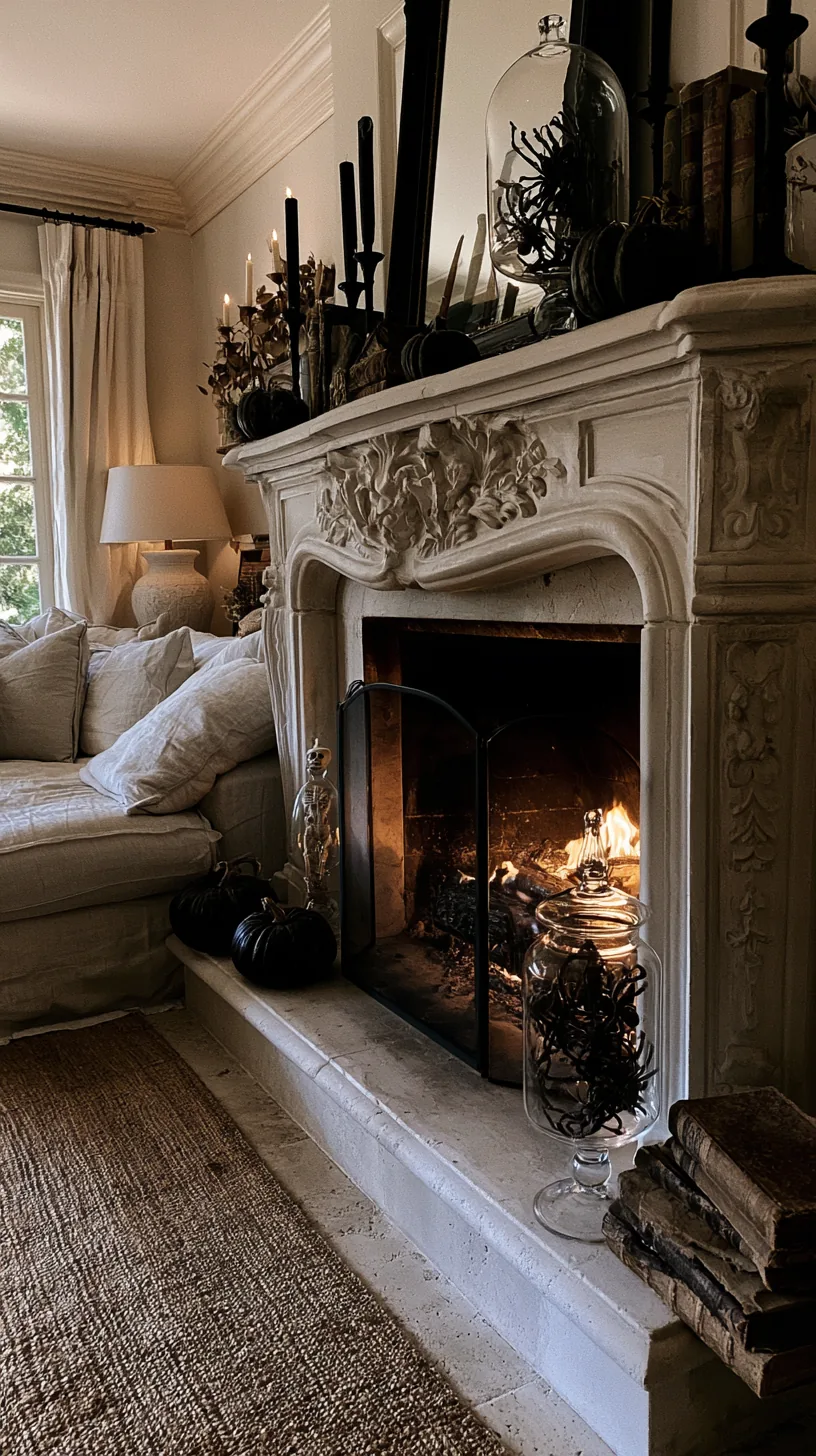 3/4
3/4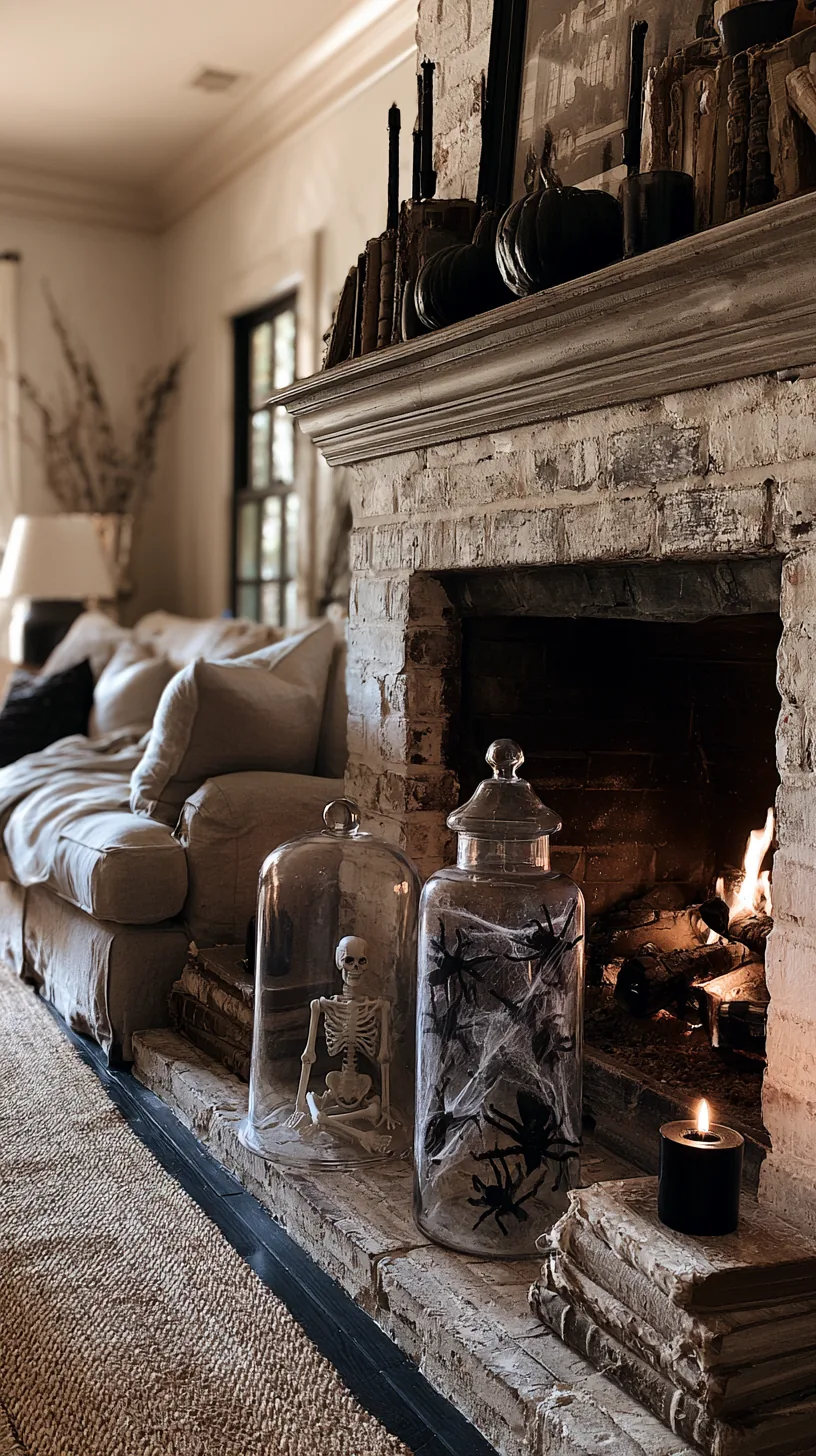 4/4
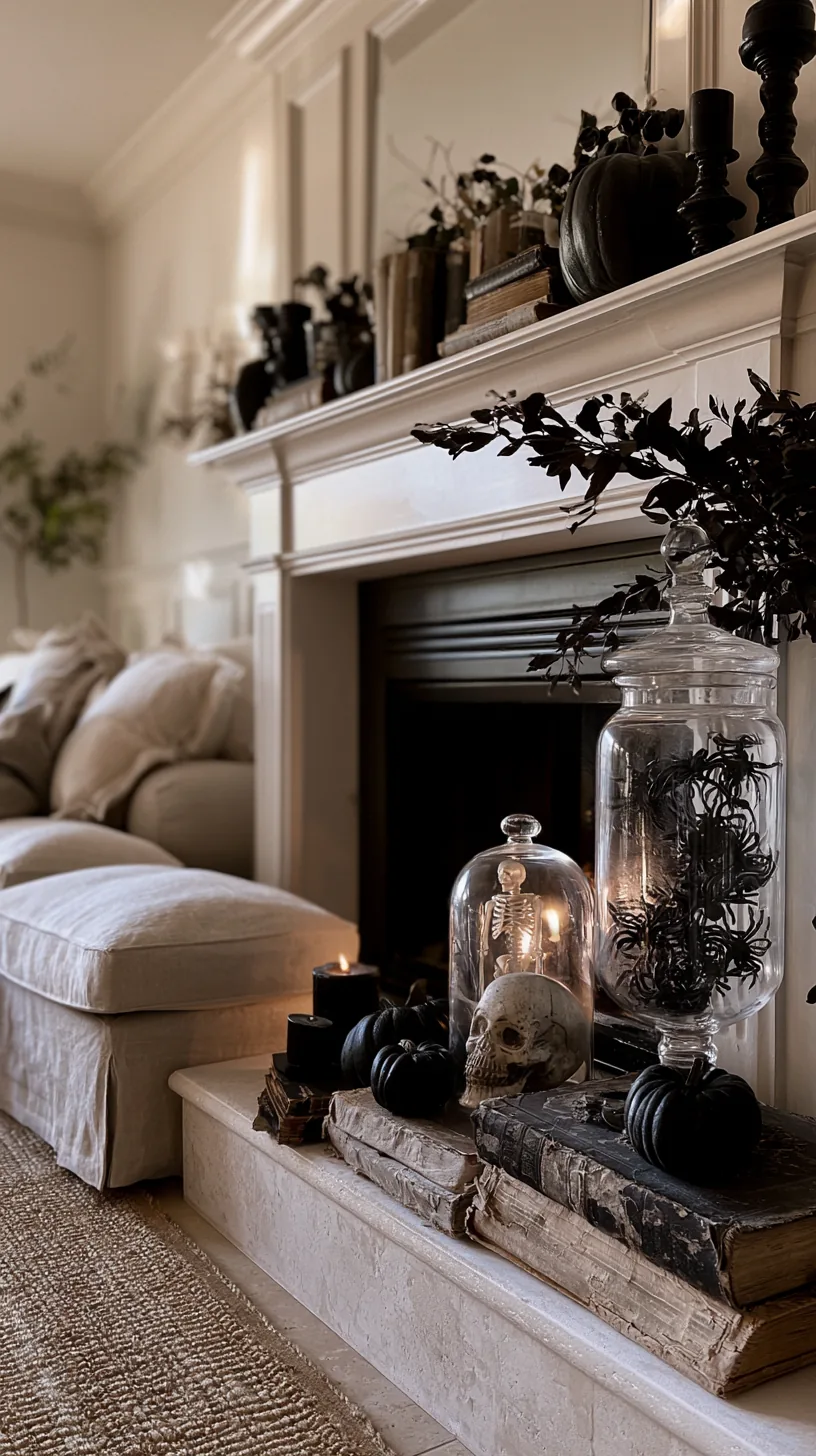
4/4Small plastic skeletons and rubber spiders will end up on the mantel one way or another. Put them under a glass cloche or in an apothecary jar and they instantly look like a curated specimen rather than a toy that got left out.
Glass does something odd and useful: it frames whatever is inside and tells the eye that the placement was on purpose. It also keeps small pieces from migrating around the house. This is the easiest compromise between a mantel you like and a family that wants to join in.
Quick Tips
- One item per cloche — a crowded dome just looks like storage
- Set the cloche on a riser so it sits above the surrounding pieces
- Let the kids choose what goes inside; it buys you the rest of the shelf
17. Protect the Mantel From Wax, Rings, and Scratches
 1/4
1/4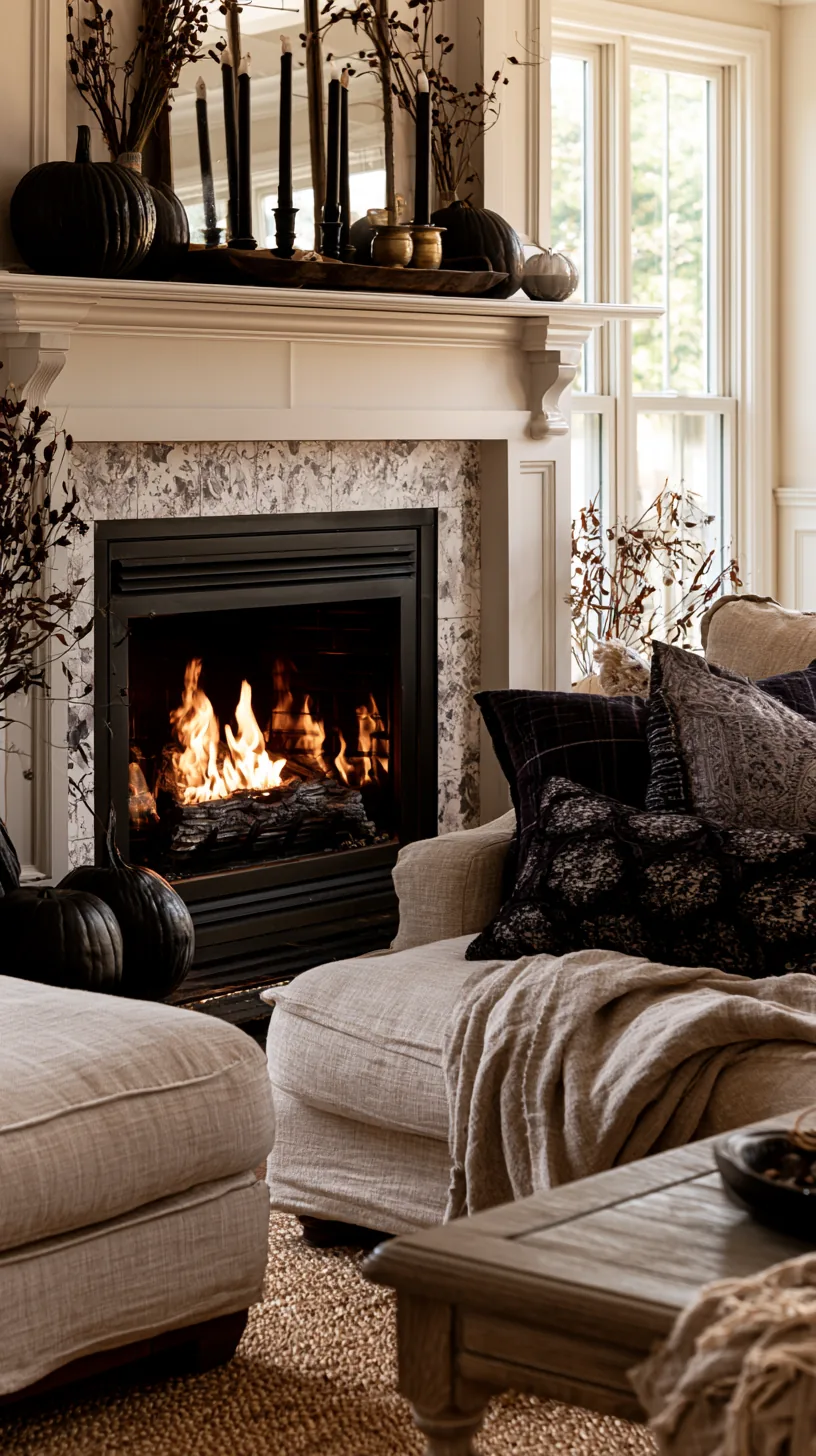 2/4
2/4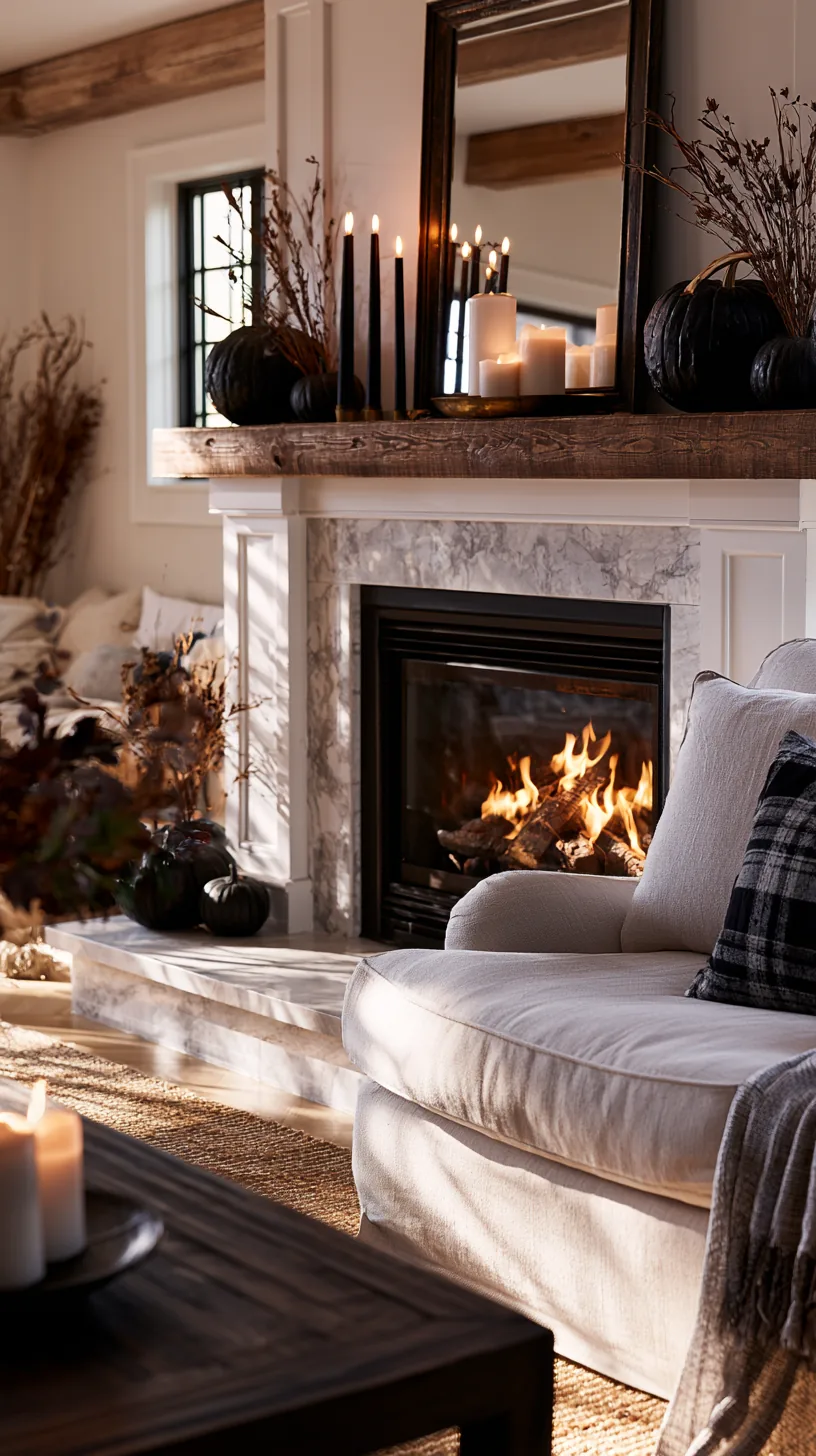 3/4
3/4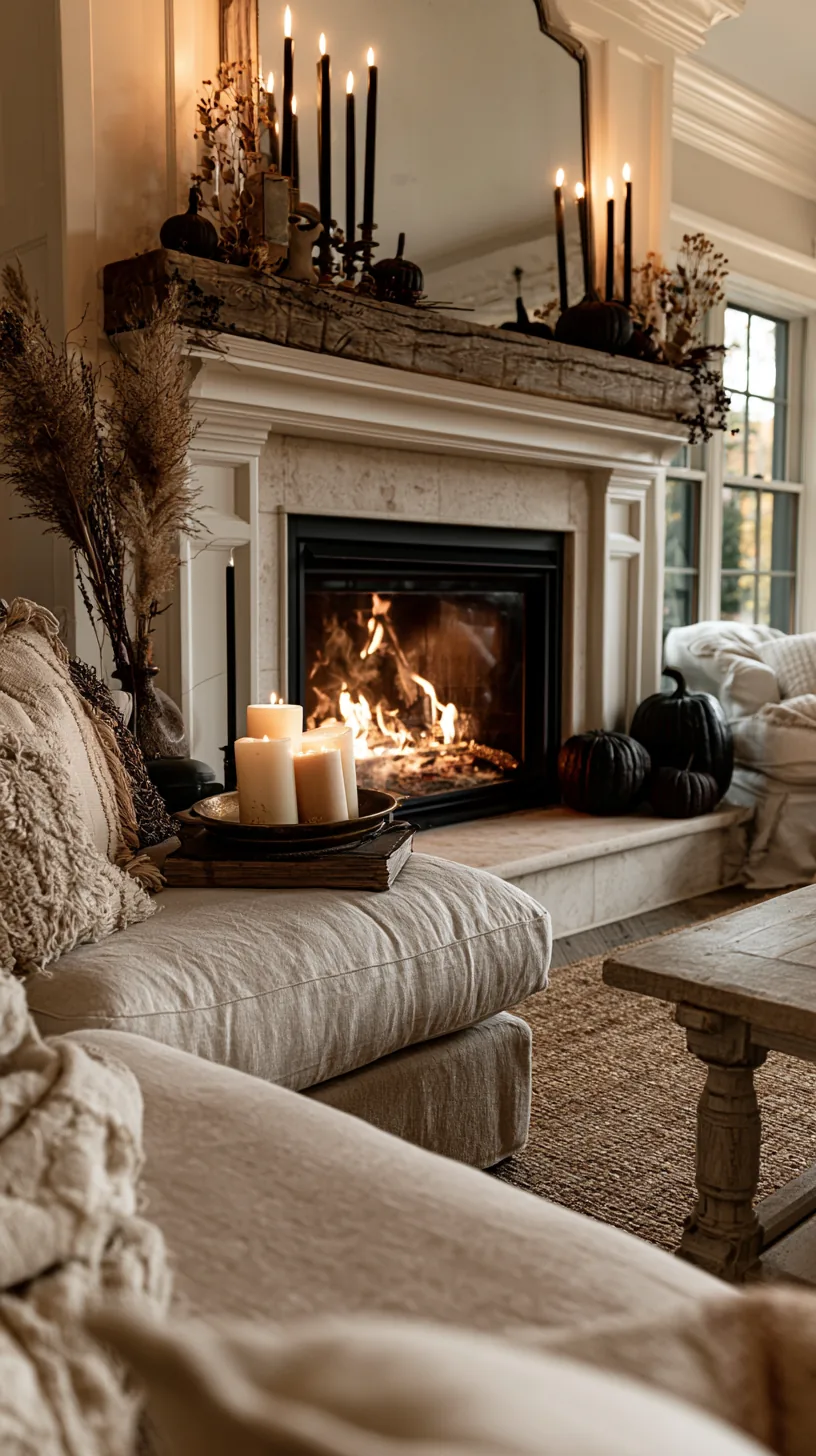 4/4
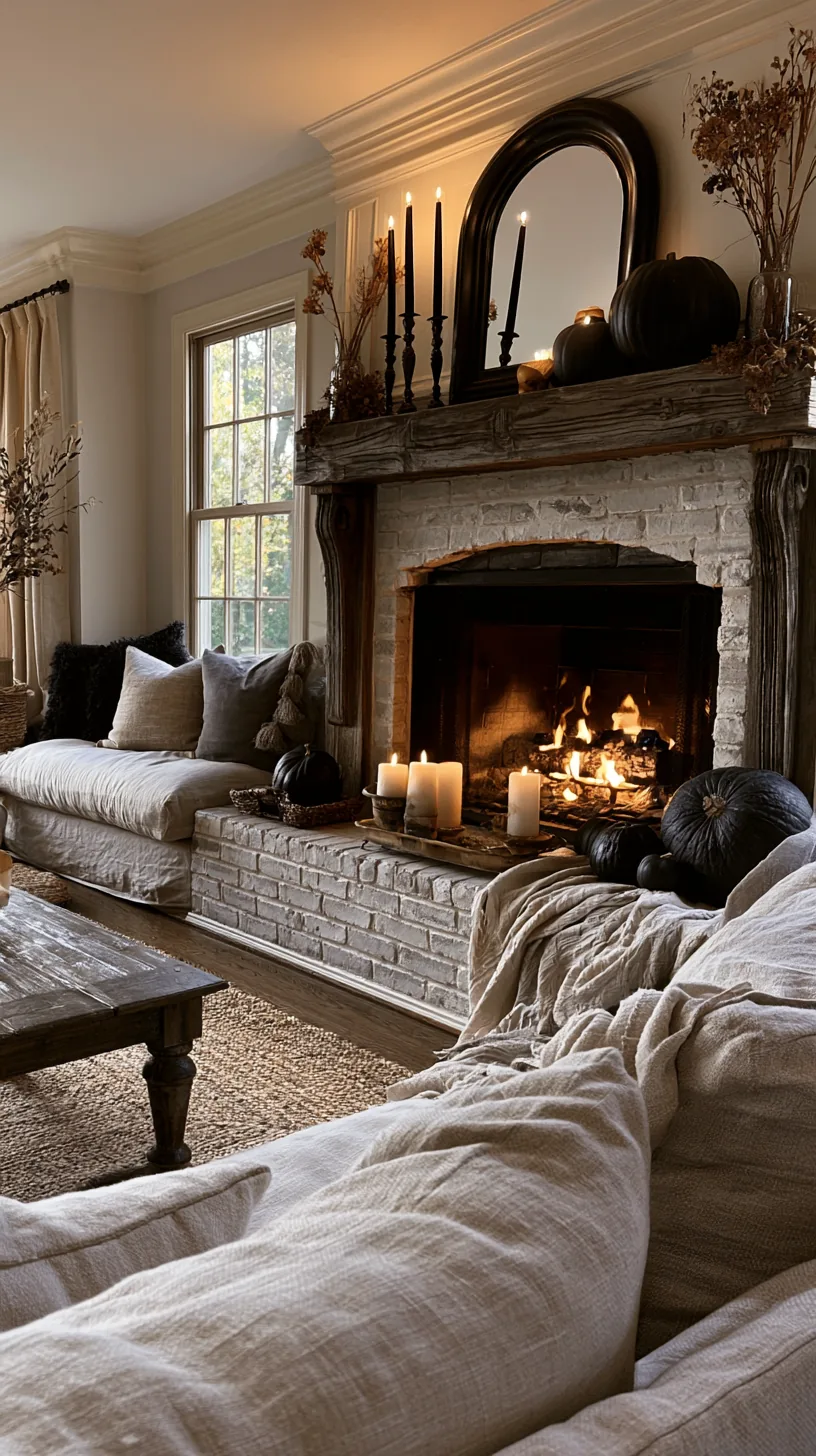
4/4Wax drips and metal bases will mark a painted or wood mantel, and the damage usually shows up right where you cannot hide it. Set every candle group on a tray and you get protection plus a visual boundary that keeps the arrangement tidy.
A tray also lets you lift a whole cluster off in one motion when you need the ledge for something else, which is genuinely useful during a party. Choose one long enough to hold the group with a little breathing room rather than one that is packed edge to edge.
Quick Tips
- Match the tray finish to your one chosen metal
- Leave a small margin inside the tray so it does not look crammed
- Felt pads under the tray corners protect painted surfaces
18. Build Vertical Drama With Graduated Candle Heights
 1/4
1/4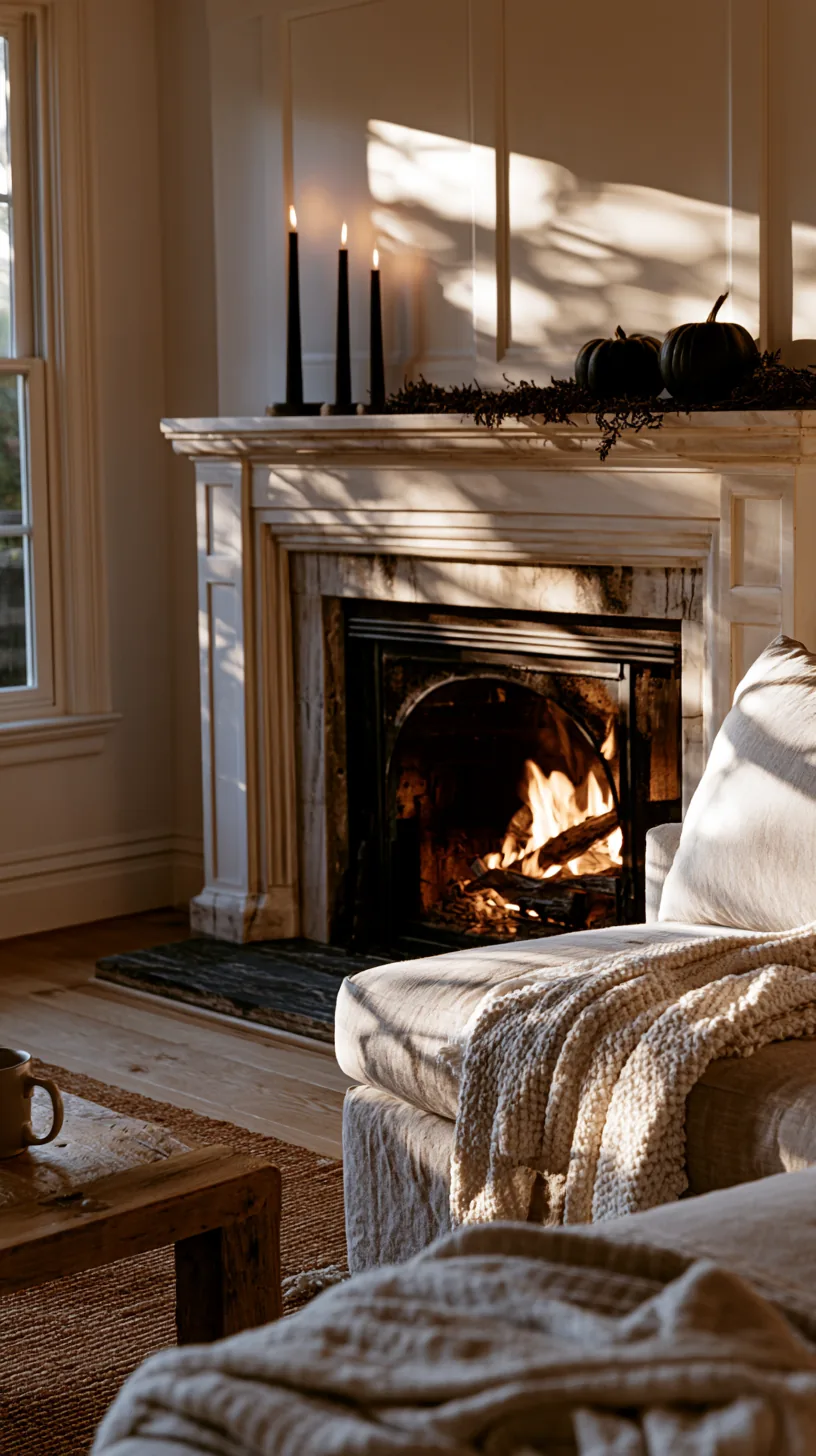 2/4
2/4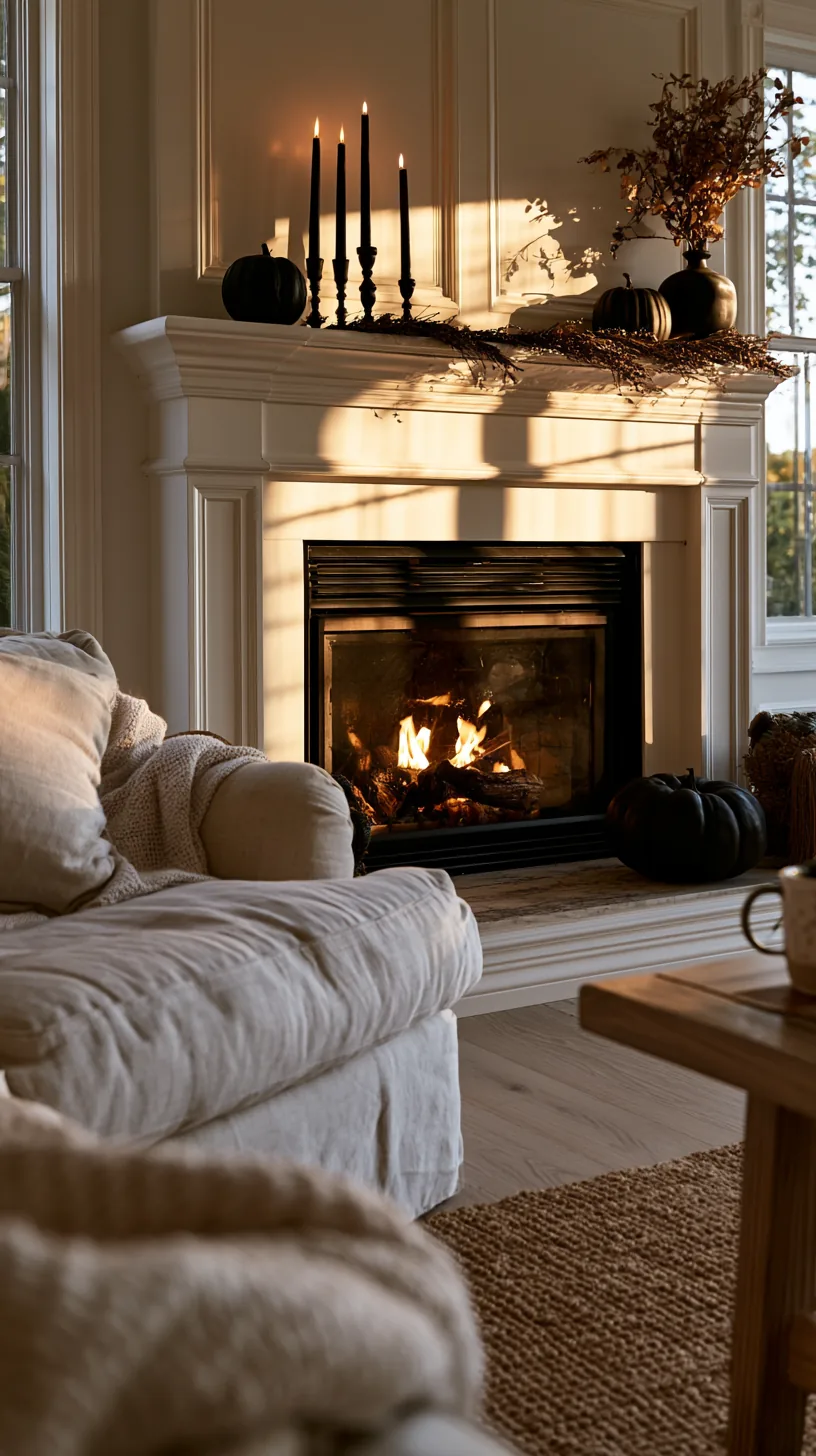 3/4
3/4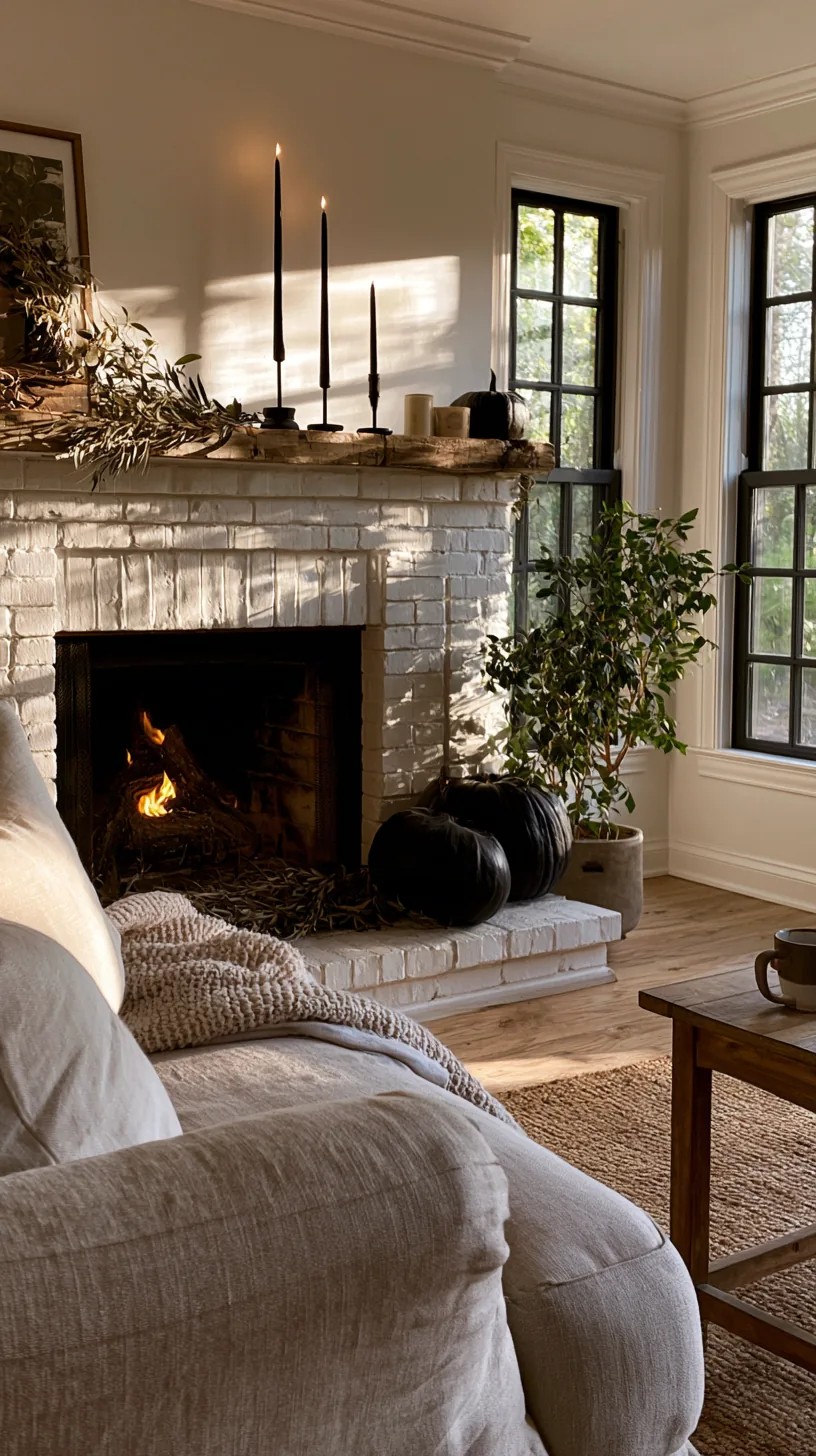 4/4
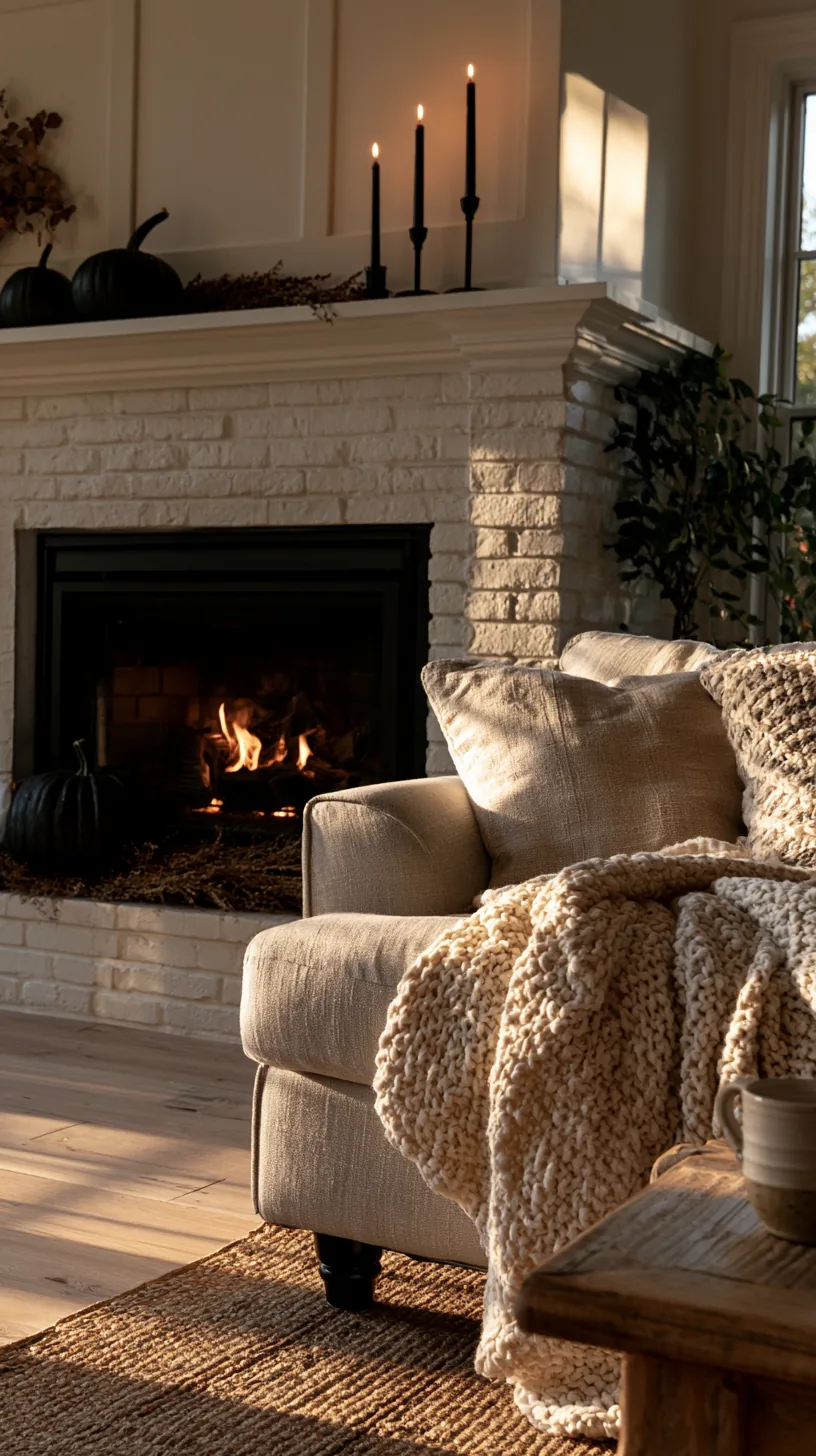
4/4A row of identical candles reads flat from across the room. Three tapers at clearly different heights create a rising line that gives the whole mantel a shape, and it is the cheapest possible way to add drama for Halloween.
The difference has to be obvious — a couple of inches will not register from the doorway. Aim for a visible step between each one, cluster them slightly rather than spacing them evenly, and let the tallest sit closest to your off-center focal point. Candles do most of the heavy lifting in halloween mantel decor, and these cozy fall mantel decor ideas show the warmer version of the same grouping.
Quick Tips
- Make the height difference obvious, not subtle
- Cluster the candles rather than spacing them evenly along the ledge
- Put the tallest nearest your focal grouping, not at the far end
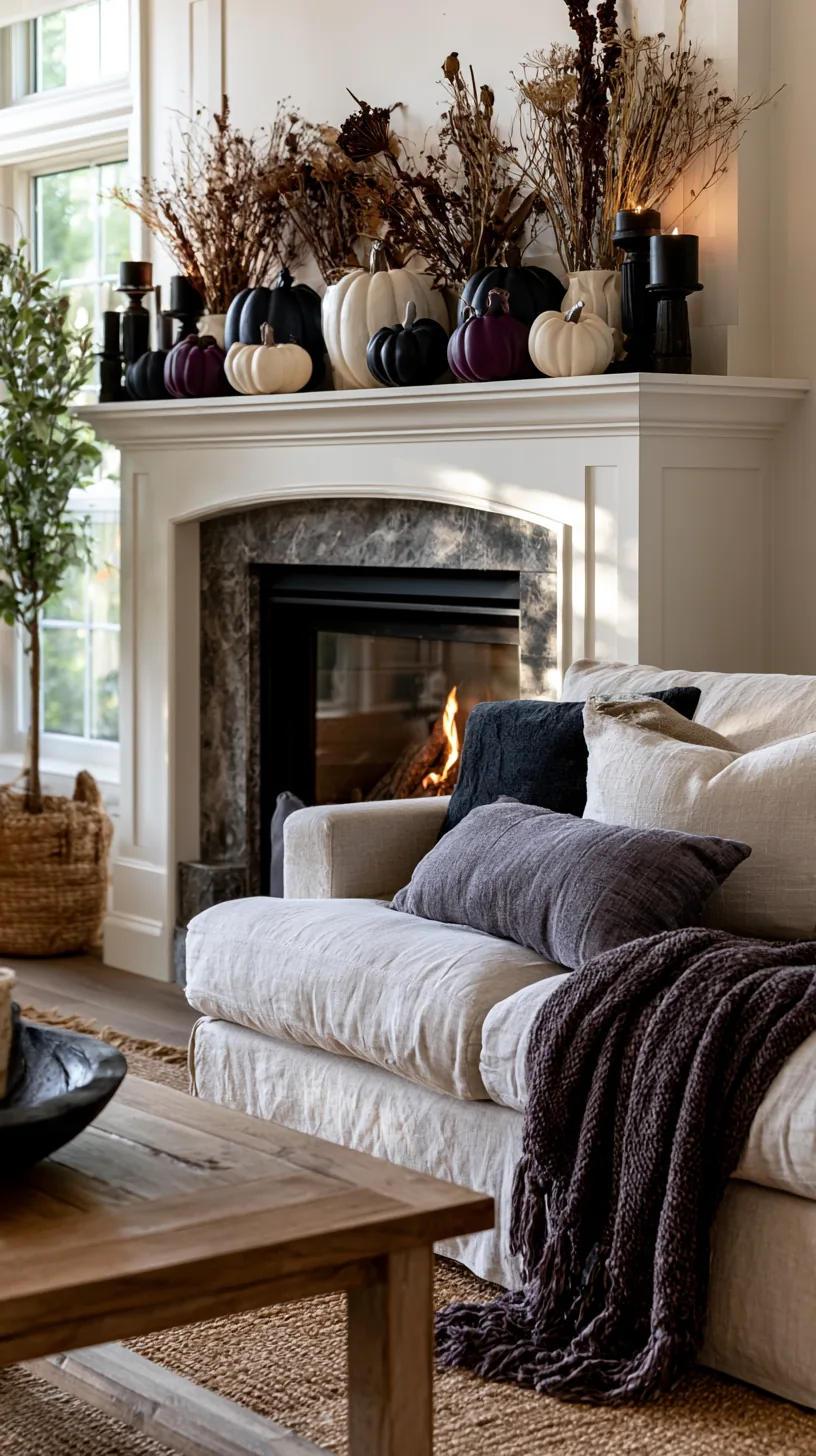
19. Make Faux Pumpkins Look Less Like Plastic
 1/4
1/4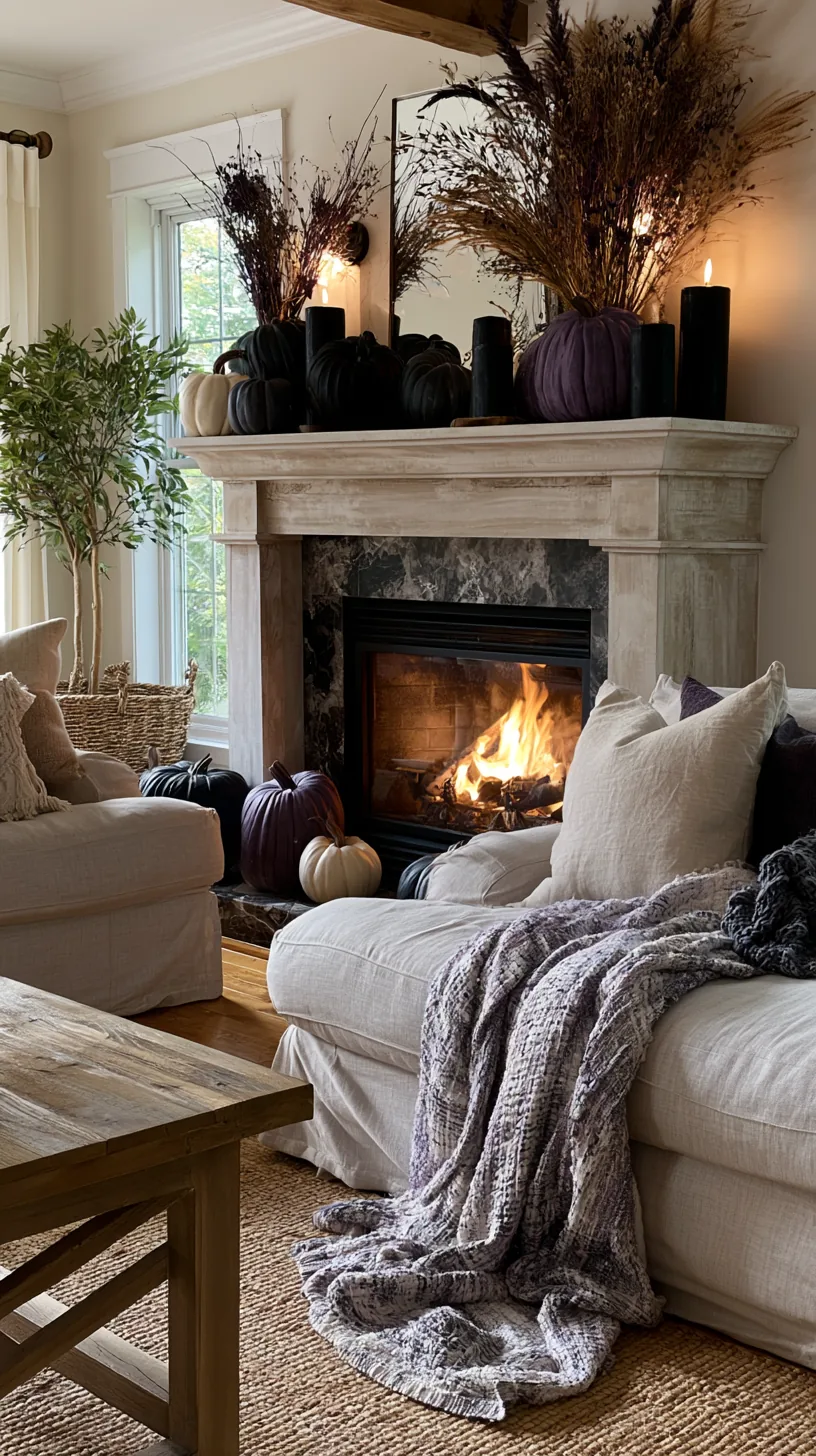 2/4
2/4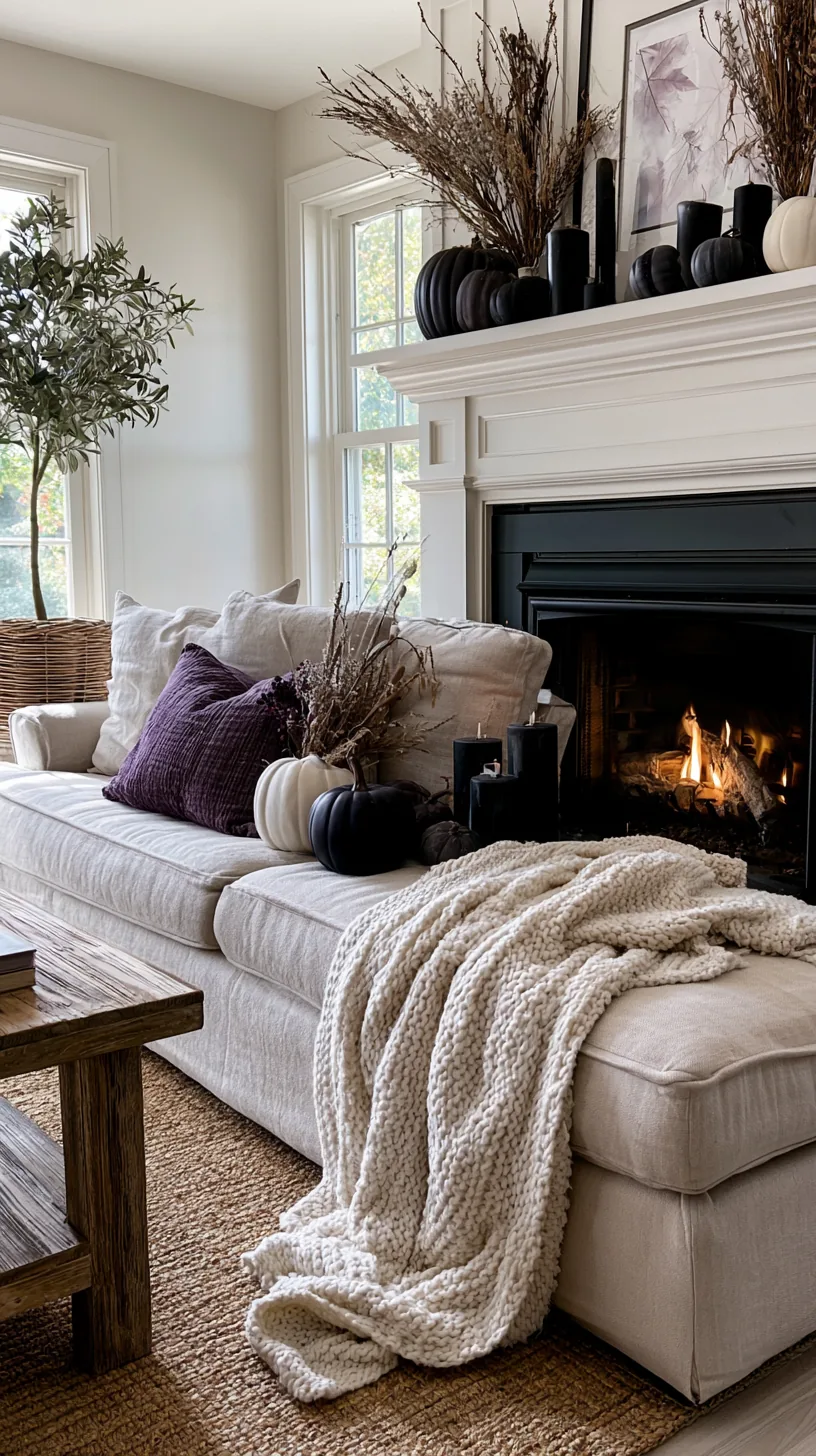 3/4
3/4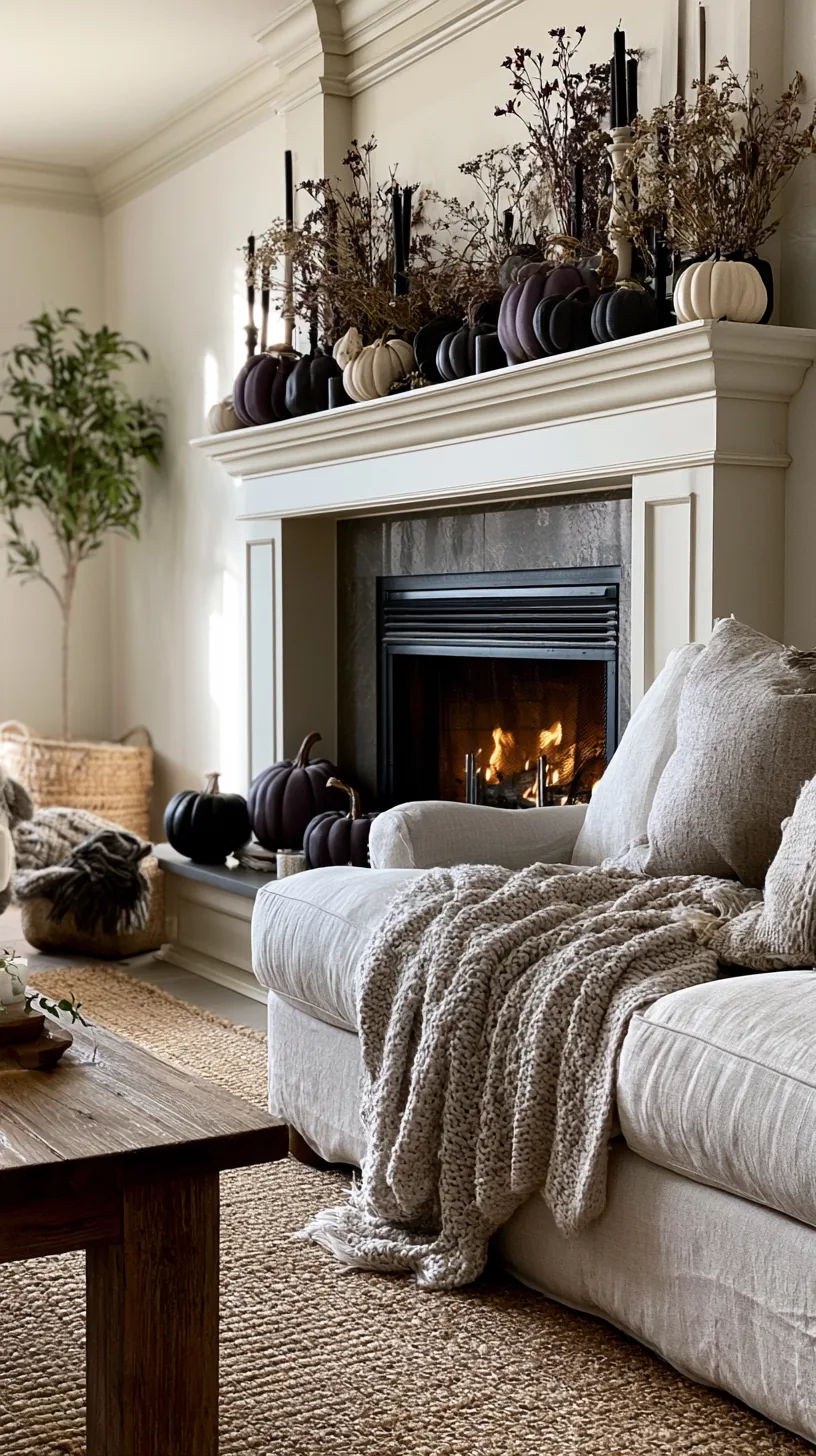 4/4
4/4Shiny orange faux pumpkins are the fastest way to make an otherwise good mantel look cheap. Dark matte pumpkins in charcoal, deep plum, or bone skip the problem entirely and sit far better with a moody October palette.
Matte surfaces absorb light instead of bouncing it back, which is what kills the plastic look under a ceiling fixture. Group three in different sizes, tuck the smallest partly behind a larger piece so it does not read as a display row, and the whole thing looks collected rather than bought.
Quick Tips
- Matte finishes always read more expensive than glossy
- Three sizes in one group, never three of the same size
- Partly overlap them so they look gathered, not lined up
20. Steady Everything on a Sloped or Uneven Mantel Top
 1/4
1/4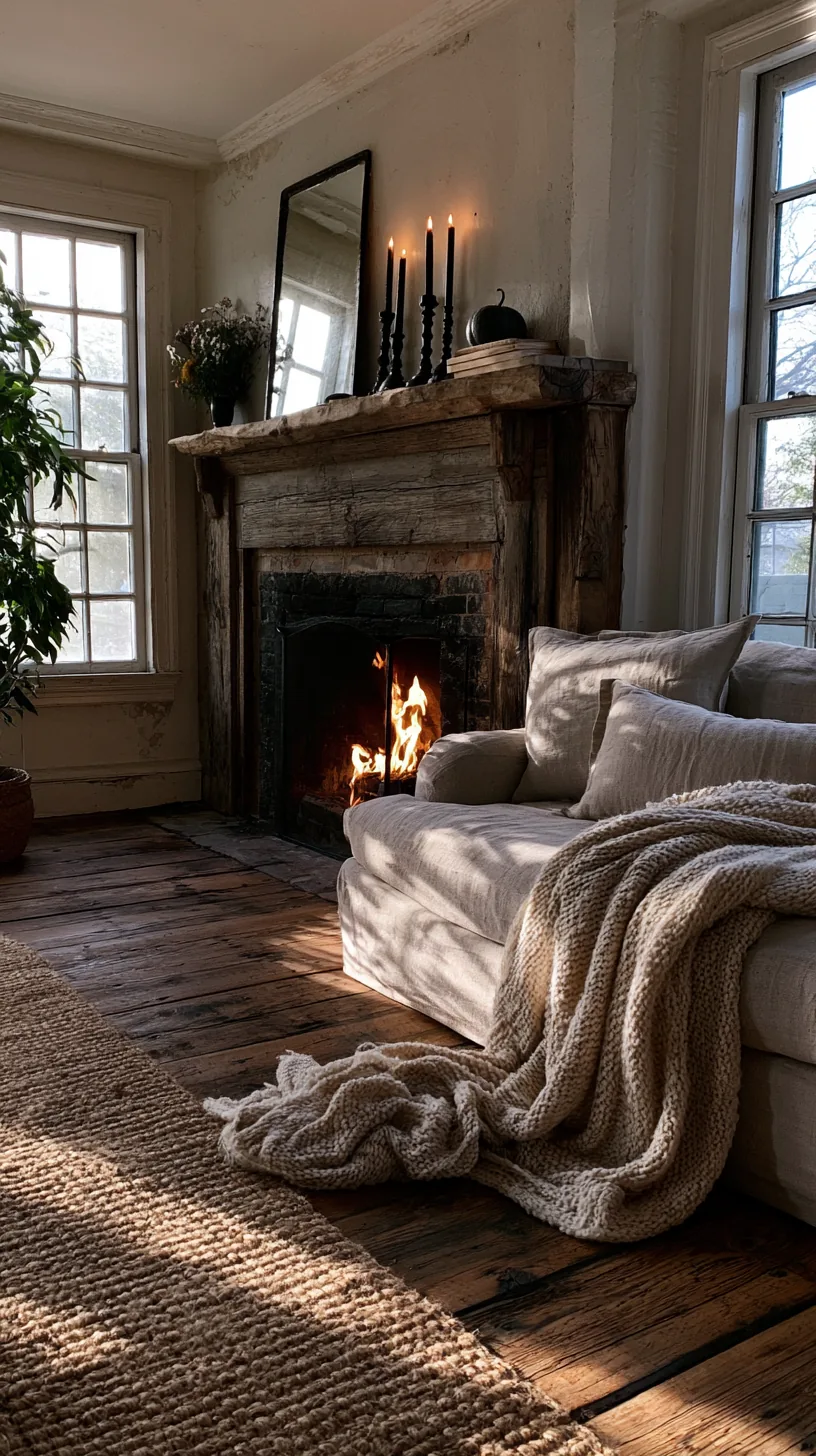 2/4
2/4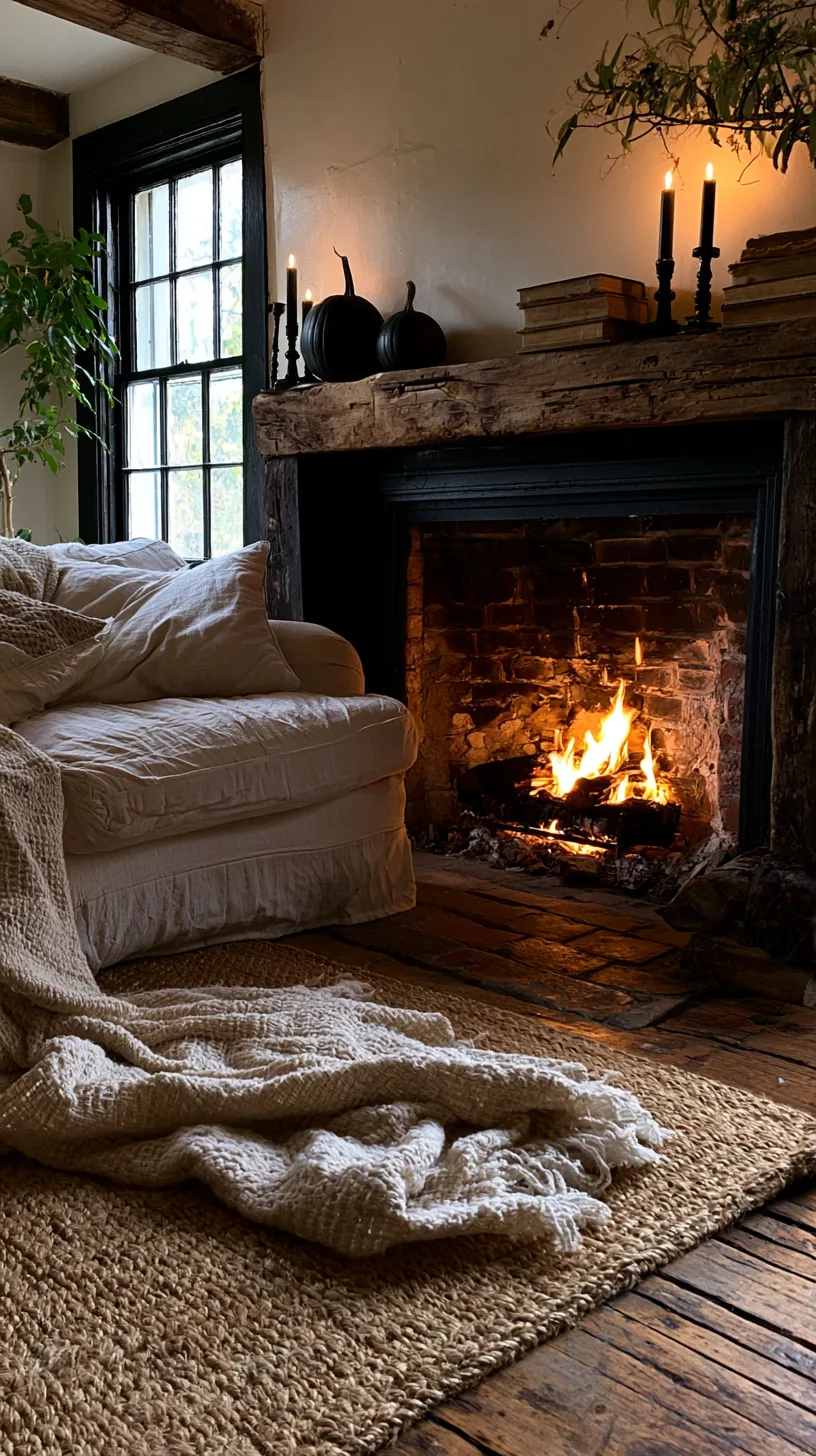 3/4
3/4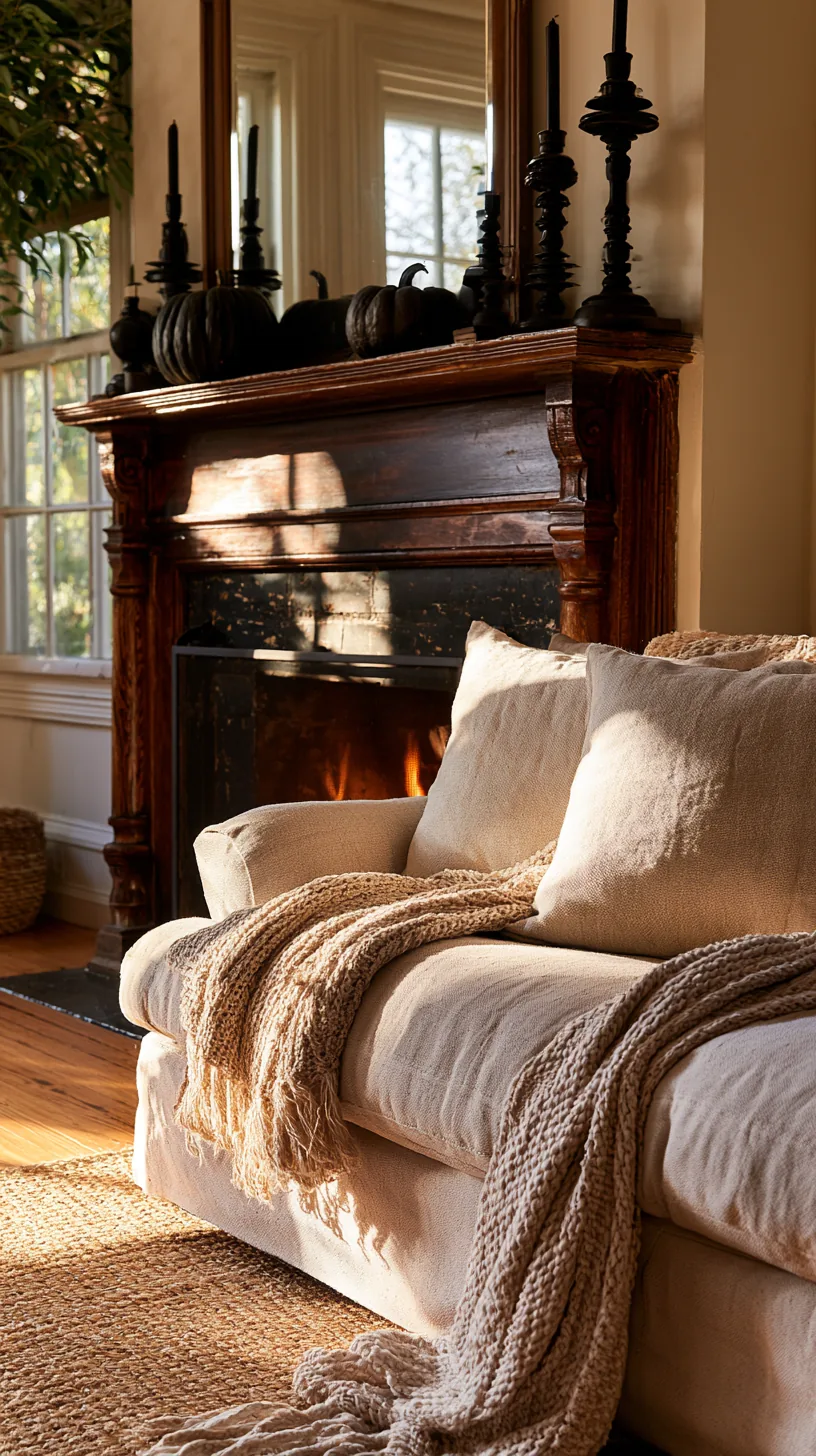 4/4
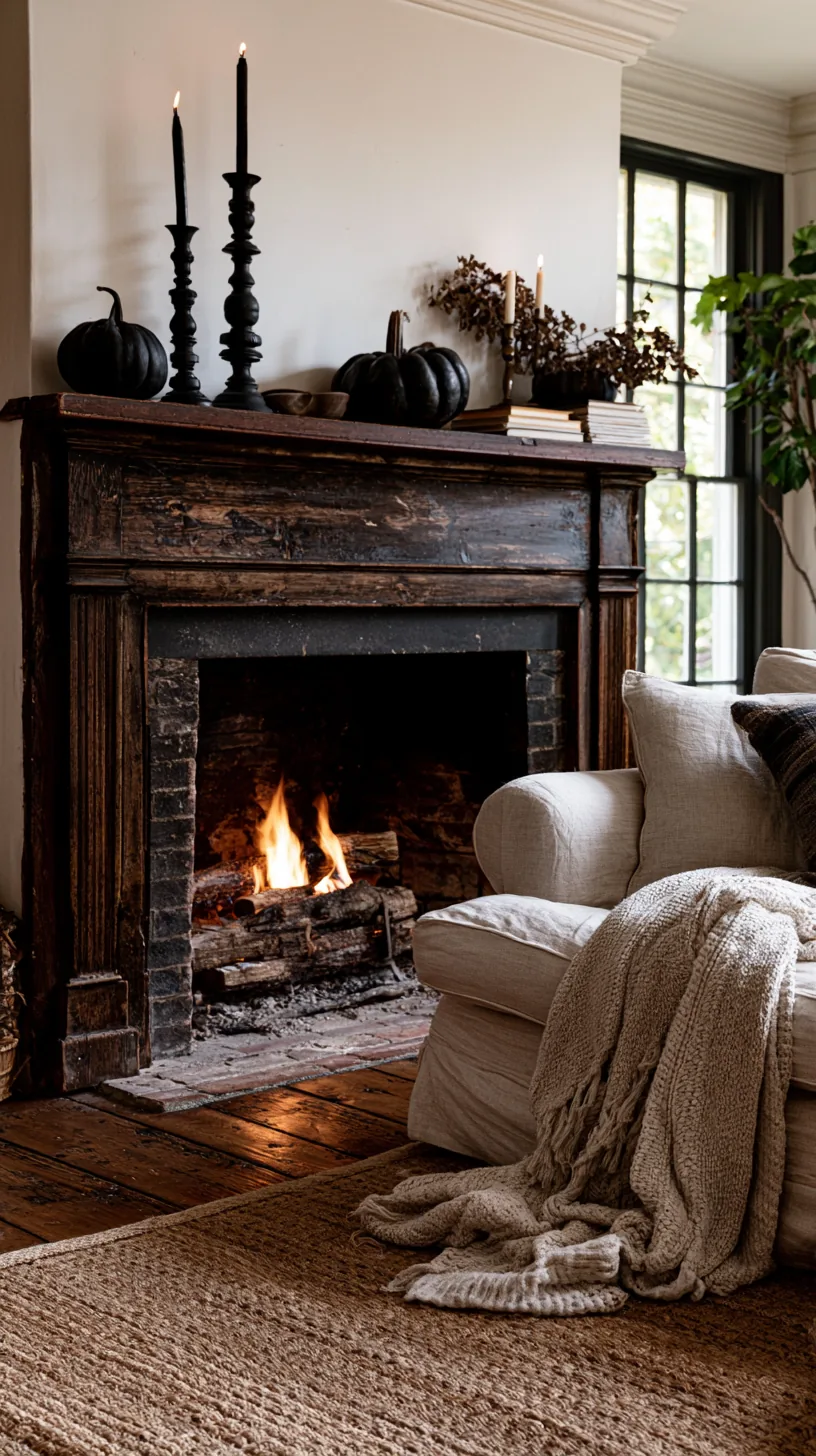
4/4Older mantels are rarely level, and a slight forward tilt is why candlesticks creep toward the edge over a few days. Felt pads and a dab of putty under each base stop the drift and stop the scratching at the same time.
Check with a small level or simply set a pencil on the ledge and watch which way it rolls. Once you know the direction of the slope, you can weight the low side and put the tallest, tippiest pieces on the high side where gravity is working with you.
Quick Tips
- Roll a pencil along the ledge to find the direction of the slope
- Put tall pieces on the high side, heavy pieces on the low side
- Felt pads plus putty solve both the sliding and the scratching
21. Add Texture So the Mantel Is Not All Hard Surfaces
 1/4
1/4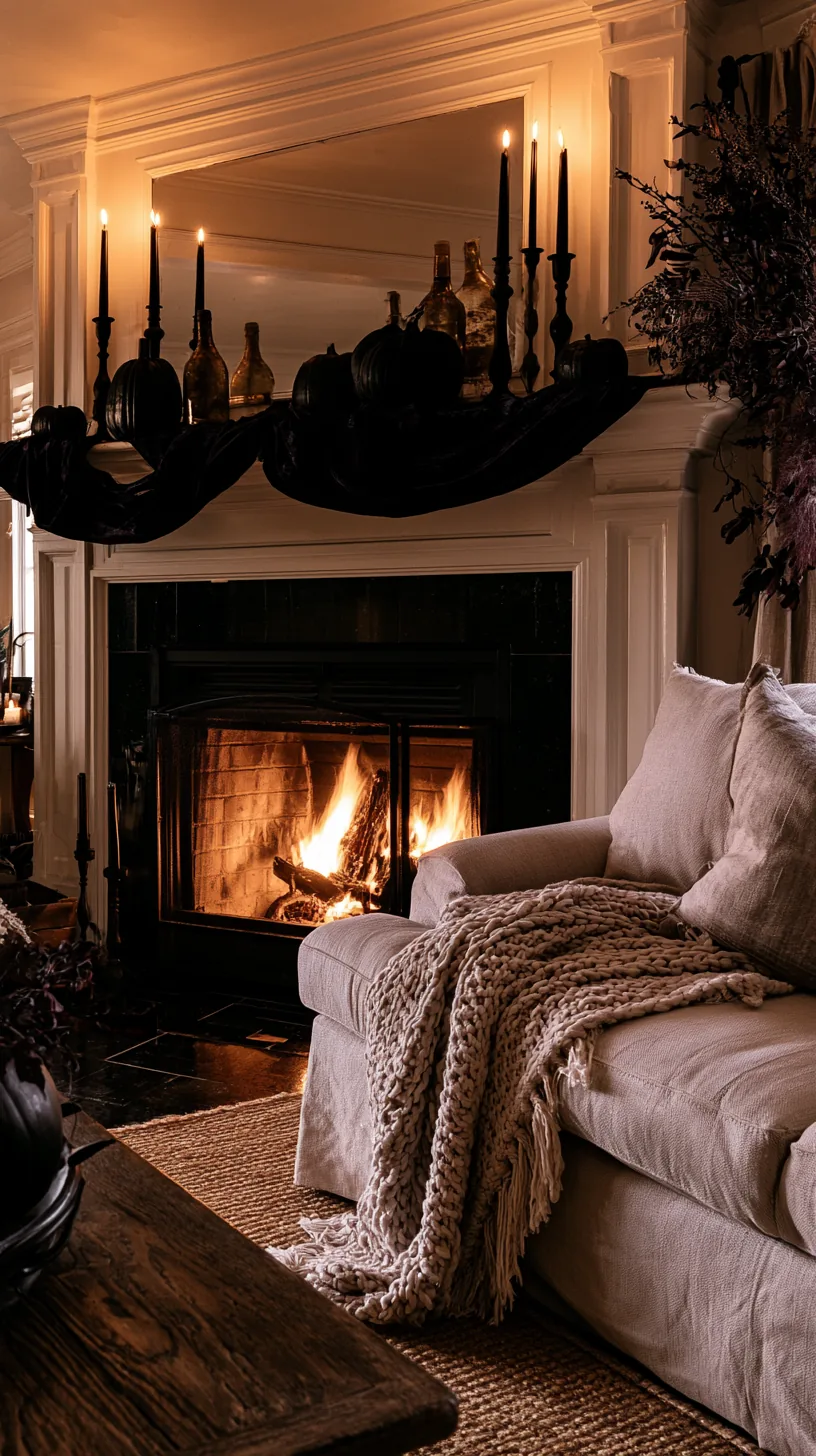 2/4
2/4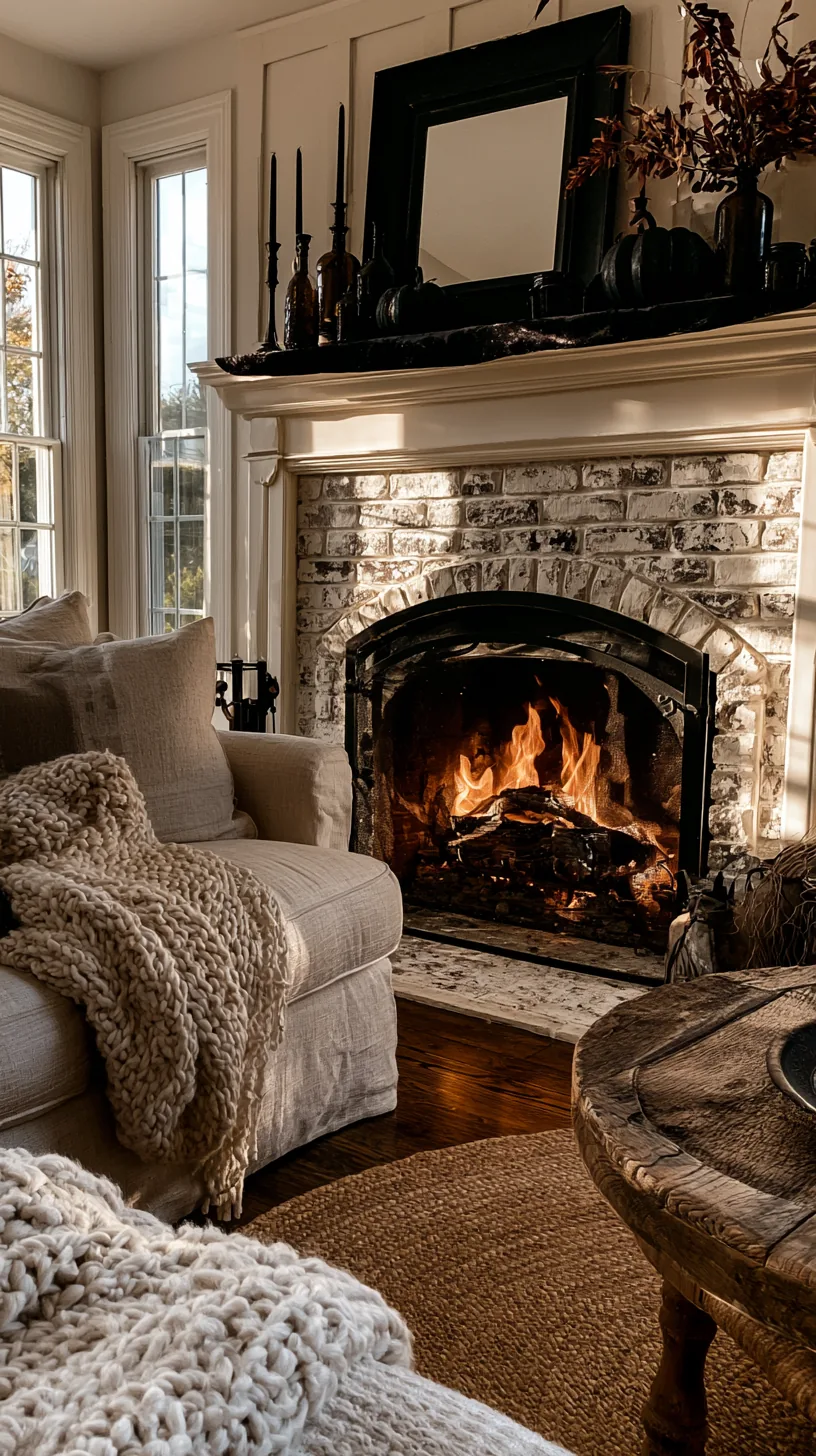 3/4
3/4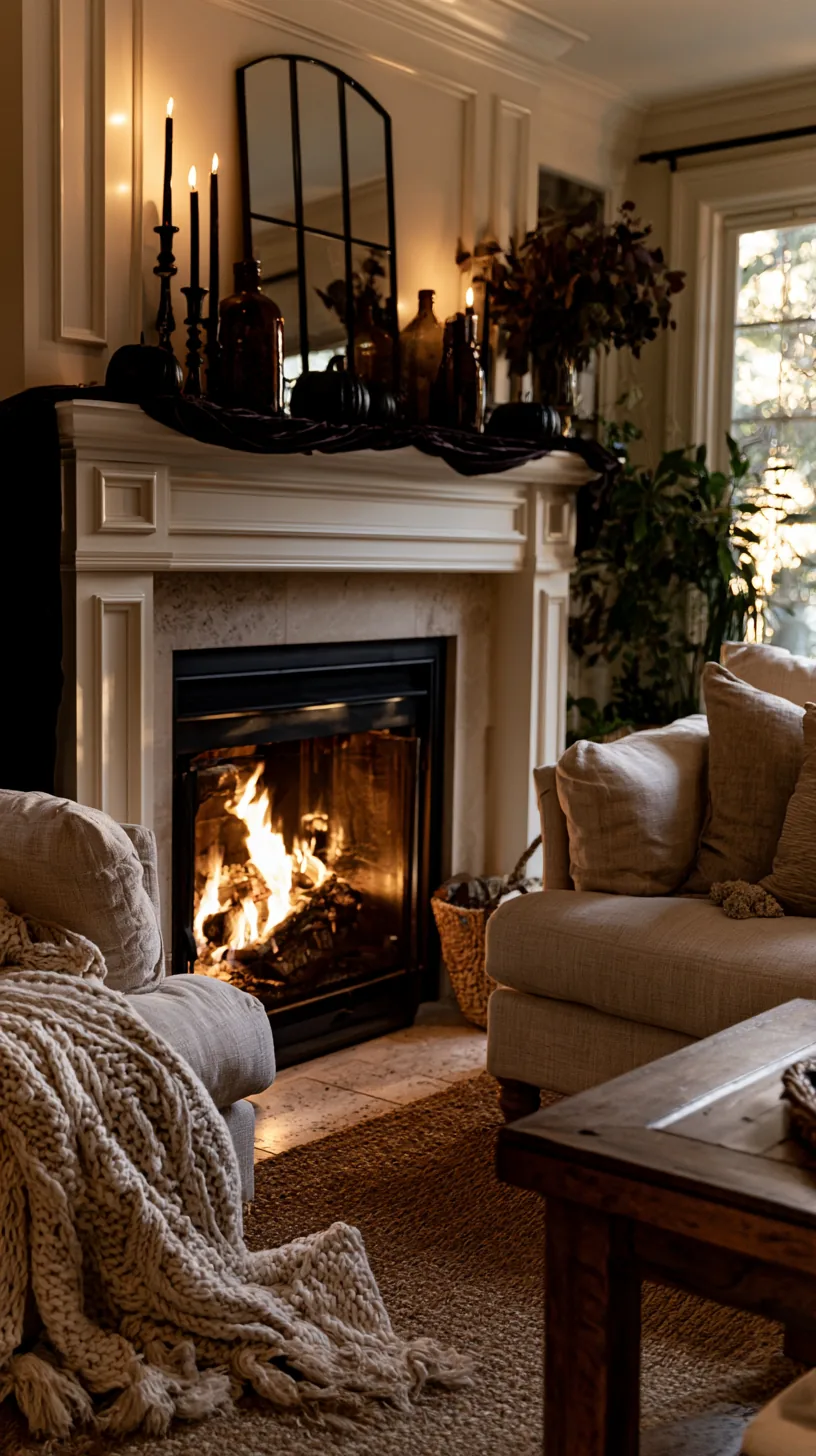 4/4
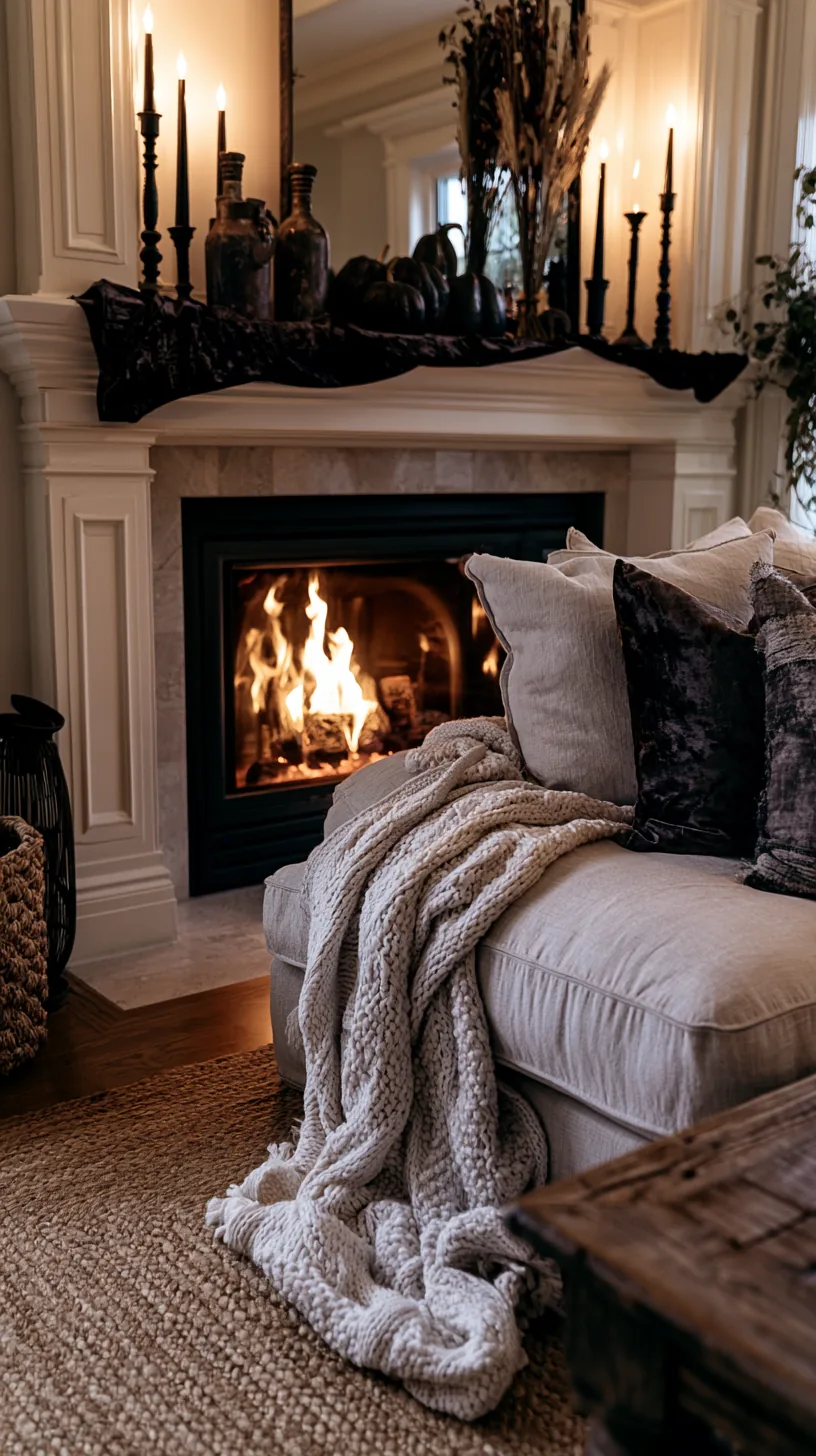
4/4Glass, metal, and painted wood together make a mantel feel cold under evening light. A dark velvet runner or a length of soft fabric along the ledge softens the whole line and gives every hard object a place to sit.
Fabric also solves two practical problems at once: it hides a scuffed mantel edge and it stops metal bases from clicking and scratching. Let it drape slightly over the front, keep the drop short so it does not look like a tablecloth, and everything above it will look more finished. Fabric and layered texture also drive these boho fall mantel decor ideas, which lean soft rather than spooky.
Quick Tips
- Keep the drop short — a few inches over the front edge is plenty
- Deep plum, charcoal, and forest all read moodier than plain black
- Steam or press the fold lines out before it goes up
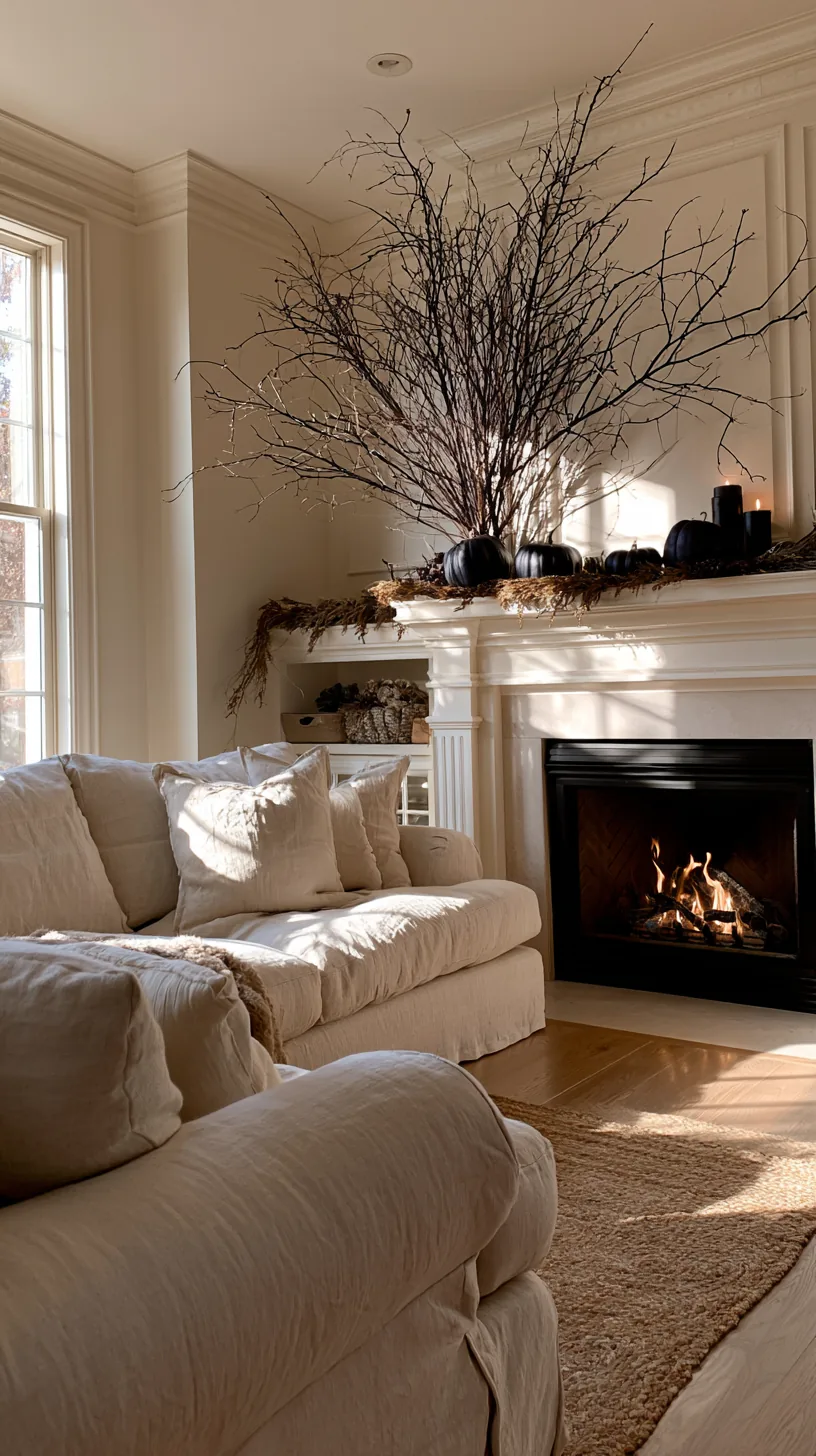
22. Use Dark Branches Instead of Buying More Decorations
 1/4
1/4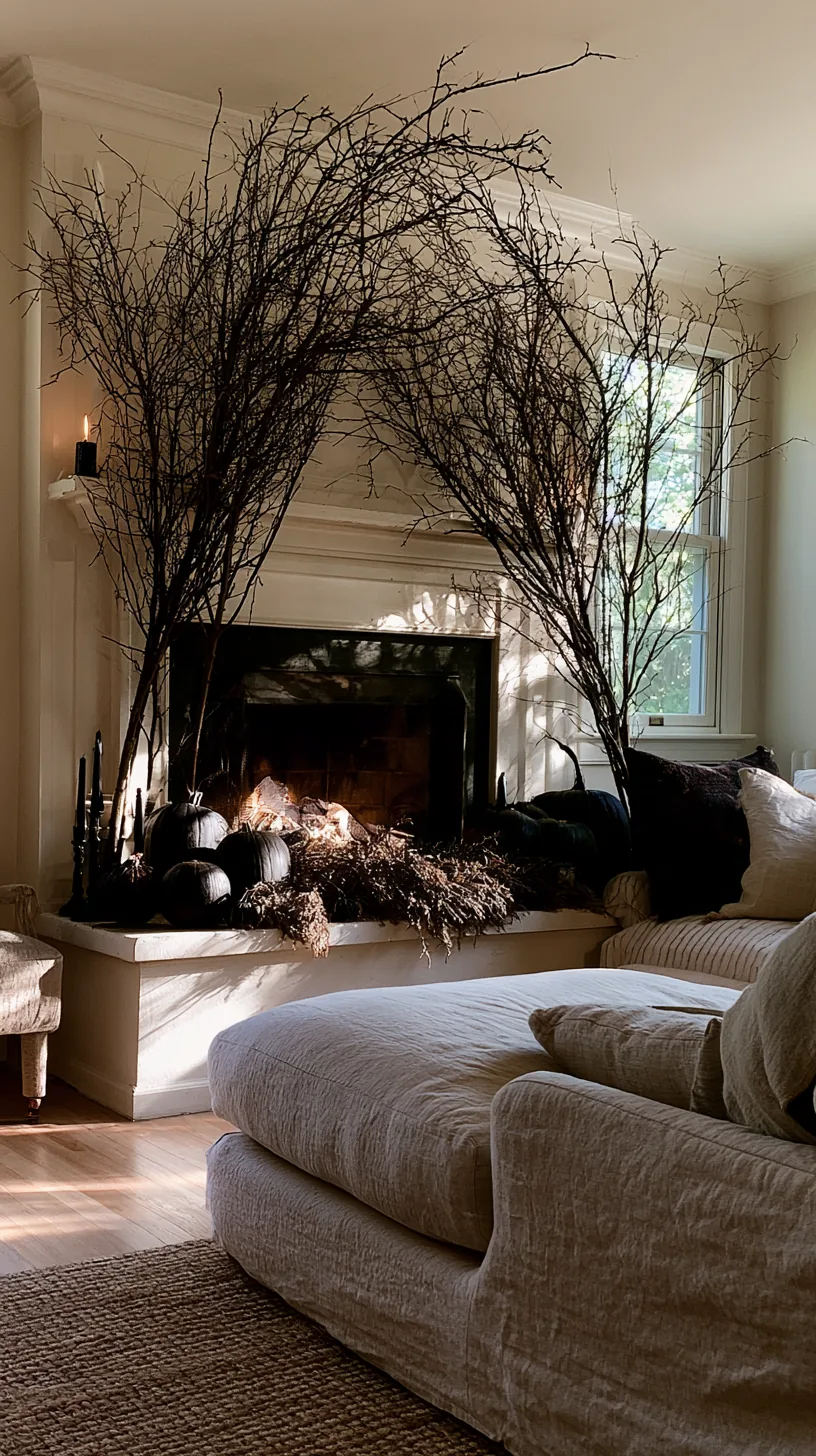 2/4
2/4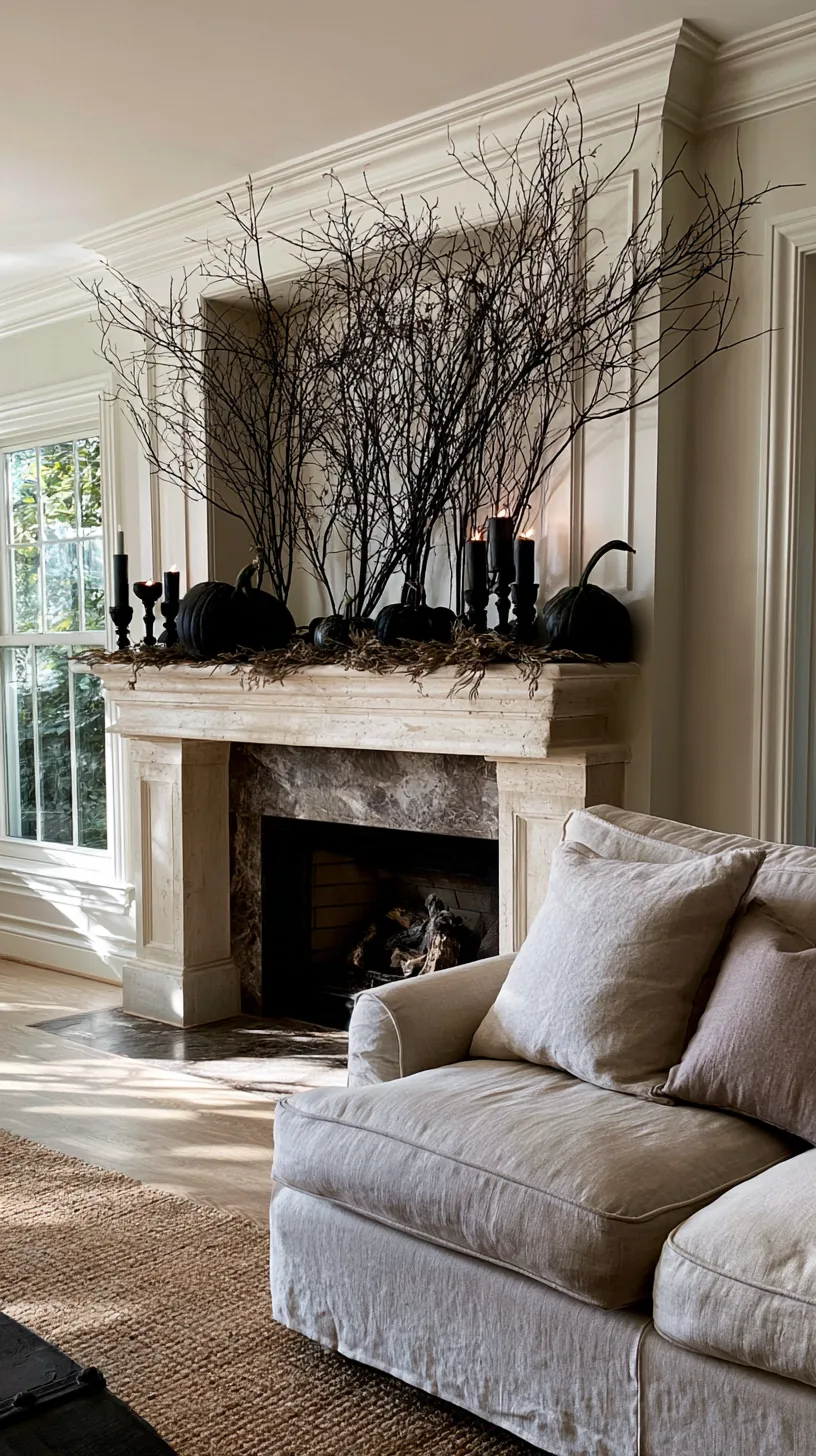 3/4
3/4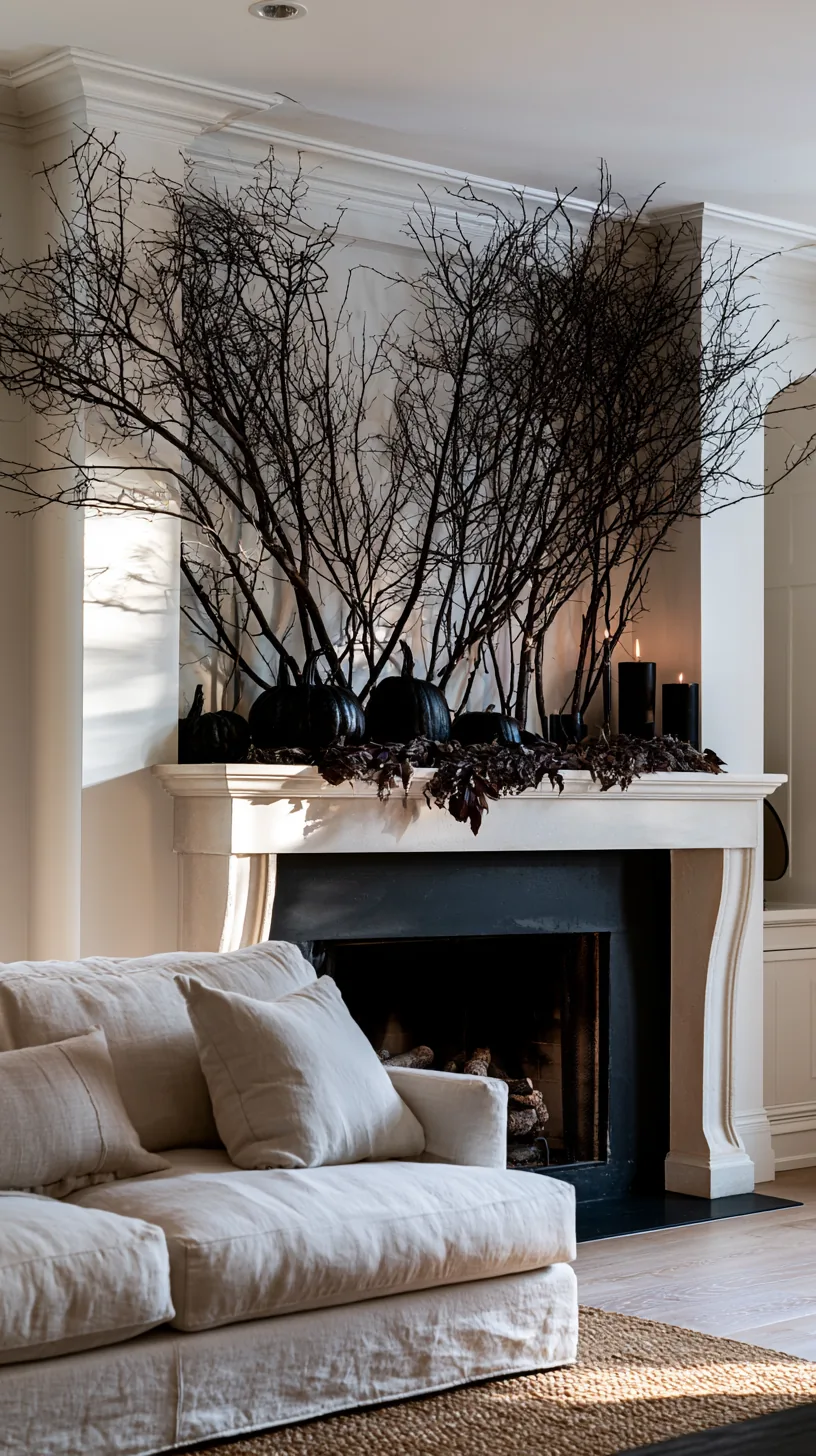 4/4
4/4The gap between the mantel and the wall above is what usually feels empty, and no amount of small objects fills it. A few tall dark branches lean into that space, cost almost nothing, and give the display the height it has been missing.
Bare branches read as October instantly — they are the shorthand for the season. Put them in a heavy vessel at one end, let them lean toward the center, and if you have the room, wrap two or three strands of the fairy lights up through them for a bit of glow.
Quick Tips
- Use a heavy vessel — tall branches tip light vases easily
- Angle them toward the center of the mantel, not straight up
- Trim any branch that reaches the ceiling; it looks unplanned
23. Warm Up a Mantel That Gets Lost in a Dark Room
 1/4
1/4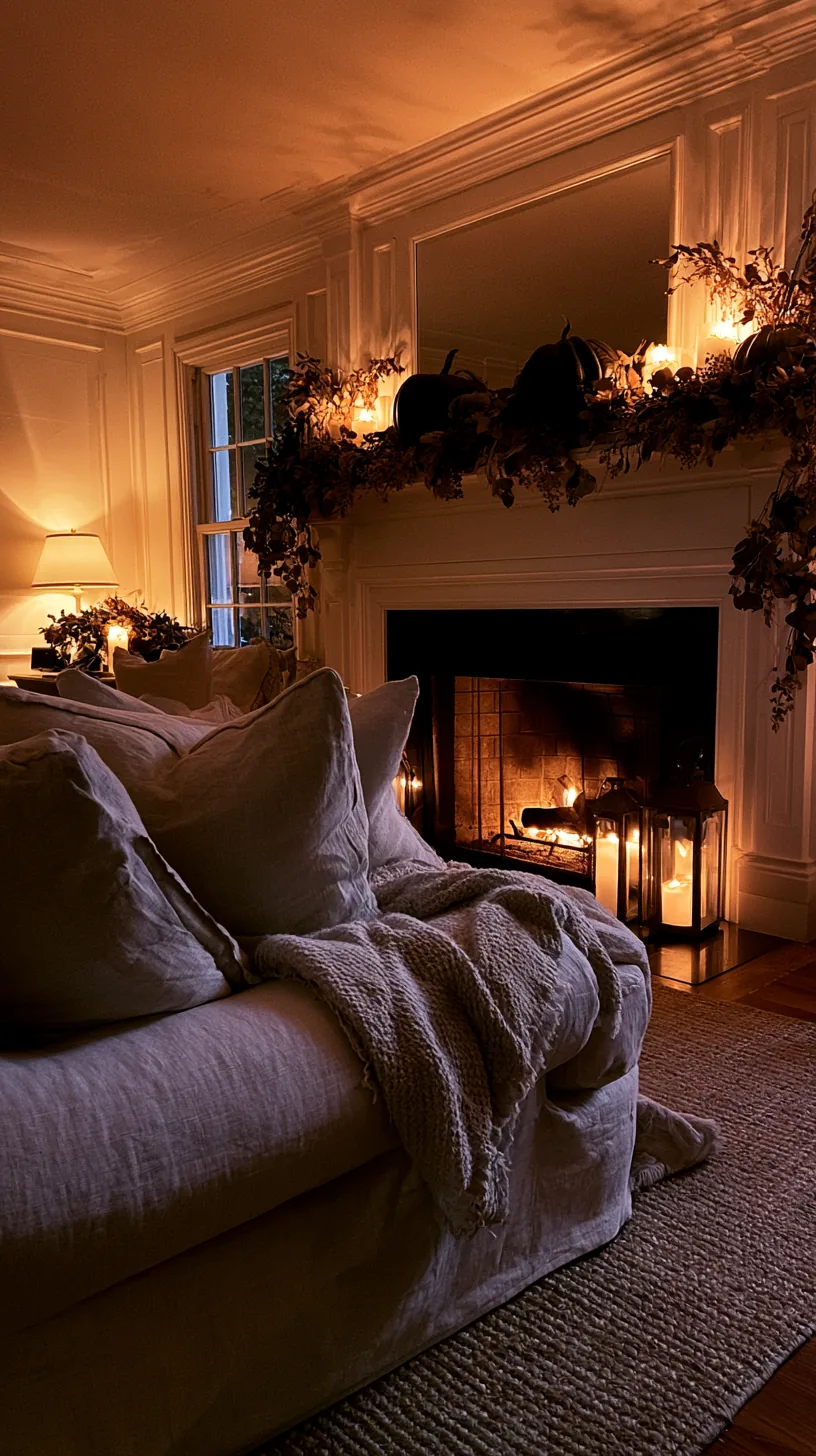 2/4
2/4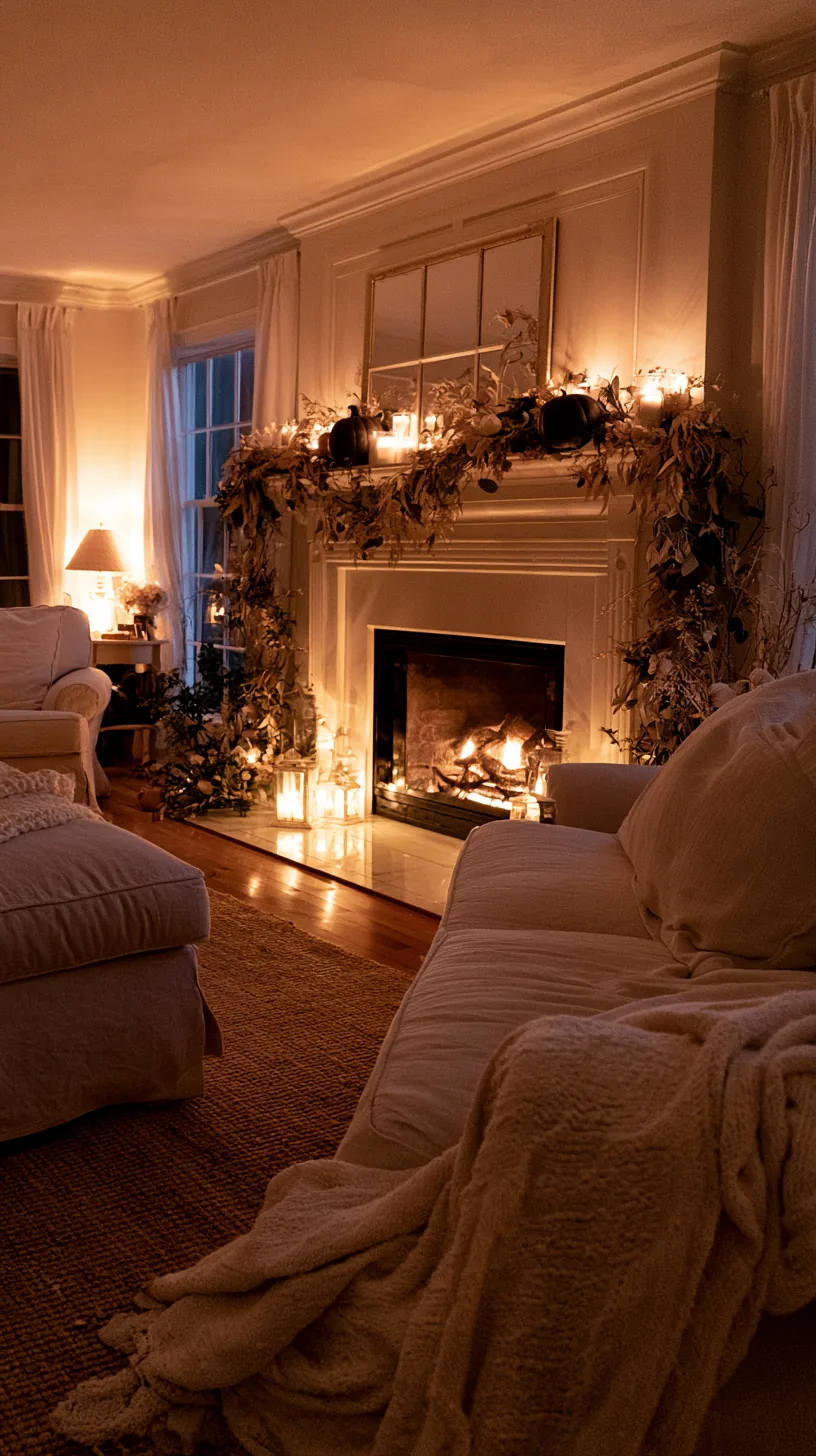 3/4
3/4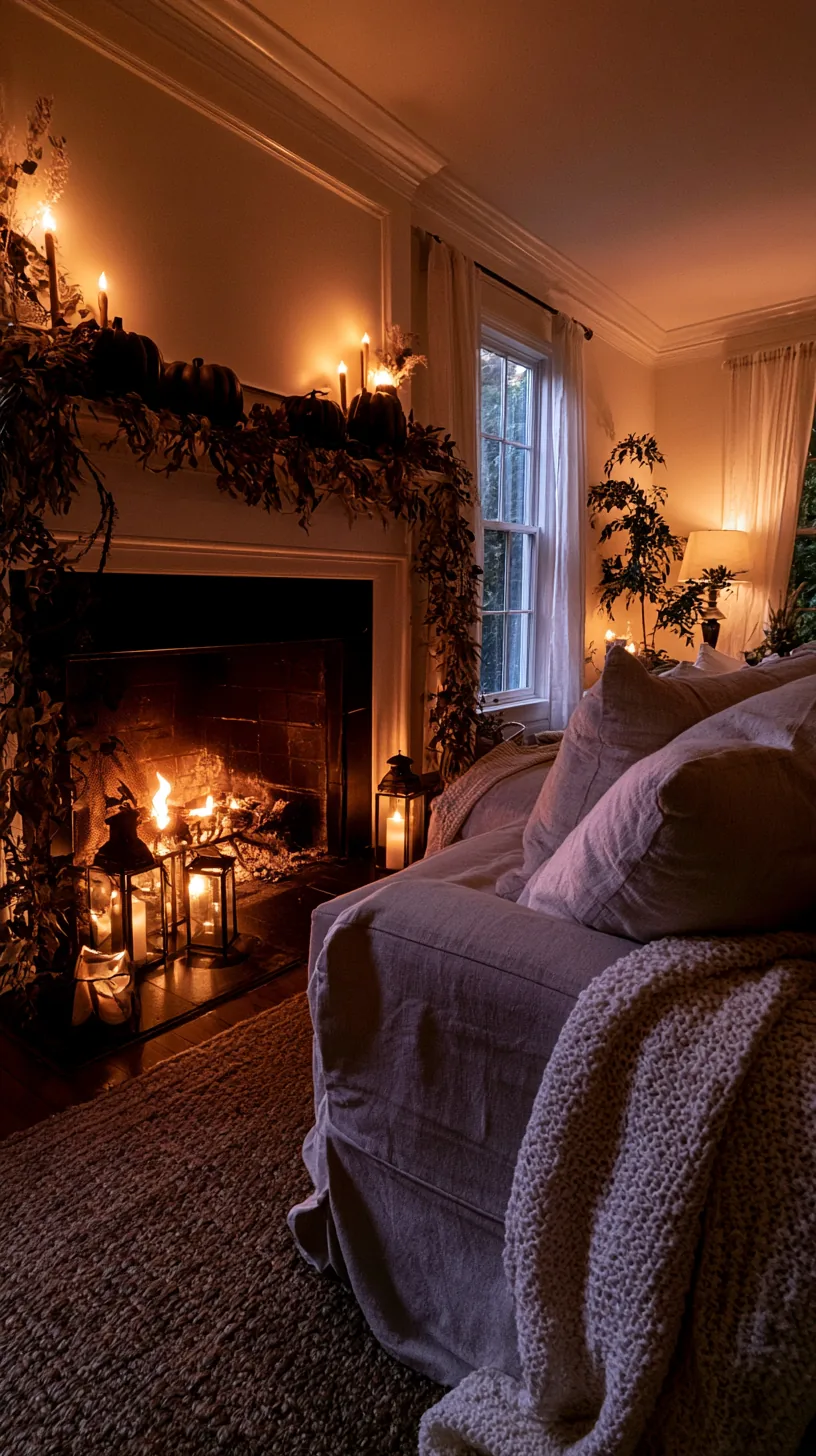 4/4
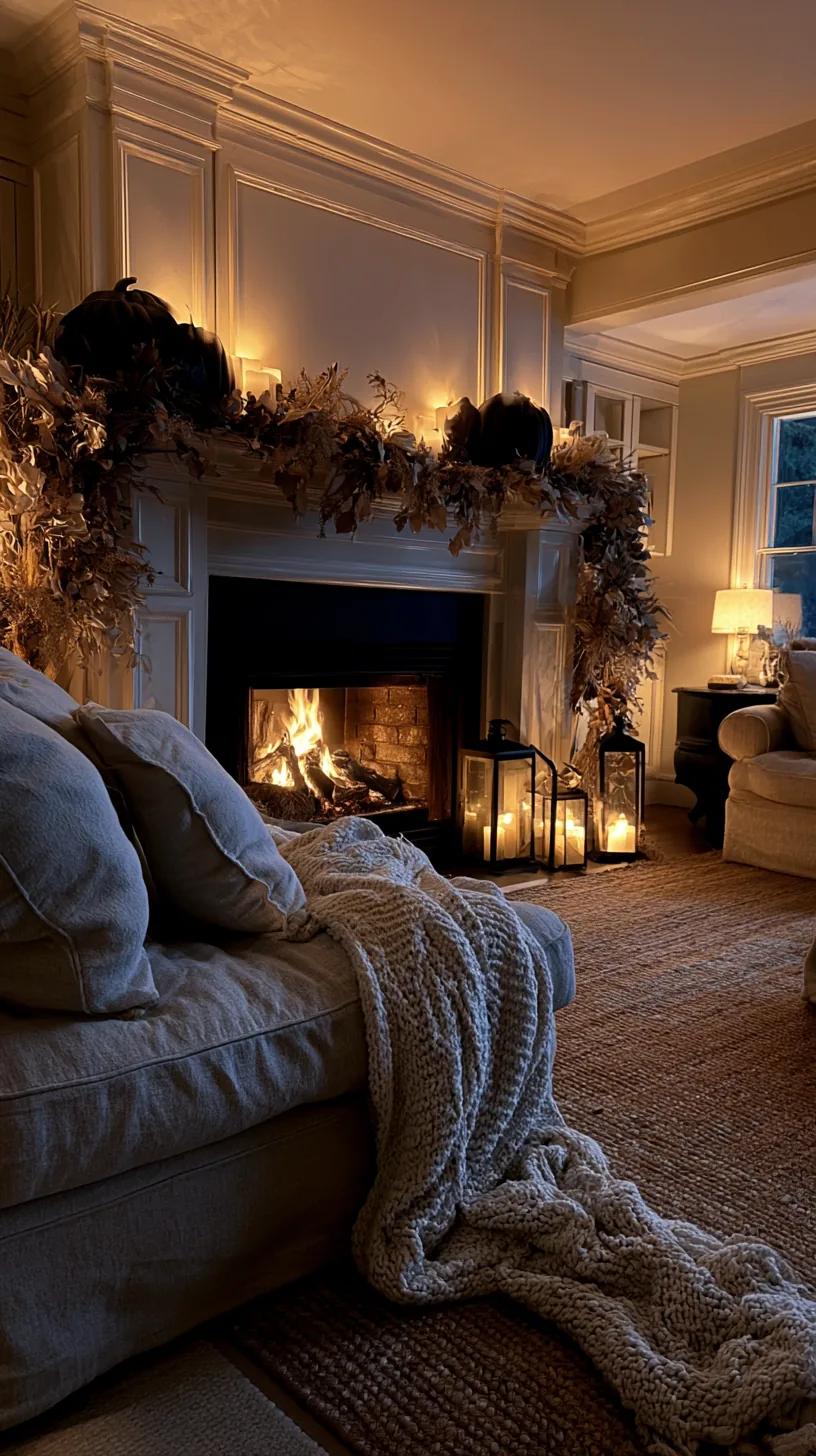
4/4If the mantel is the only lit surface, the rest of the room reads as a black hole and the display feels stranded. Repeat one small pool of light somewhere else in the room — a side table, a shelf, the firebox — and the mantel stops floating.
Two or three glow points at different heights make a room feel layered rather than spotlit. Small battery puck lights hidden behind pieces do this without a single visible cord, which matters when the nearest outlet is across the room.
Quick Tips
- Aim for at least three glow points at different heights in the room
- Hide puck lights behind objects so you see the glow, not the source
- Match the color temperature across every light source in the room
24. Fill a Long, Wide Mantel That Always Looks Half Empty
 1/6
1/6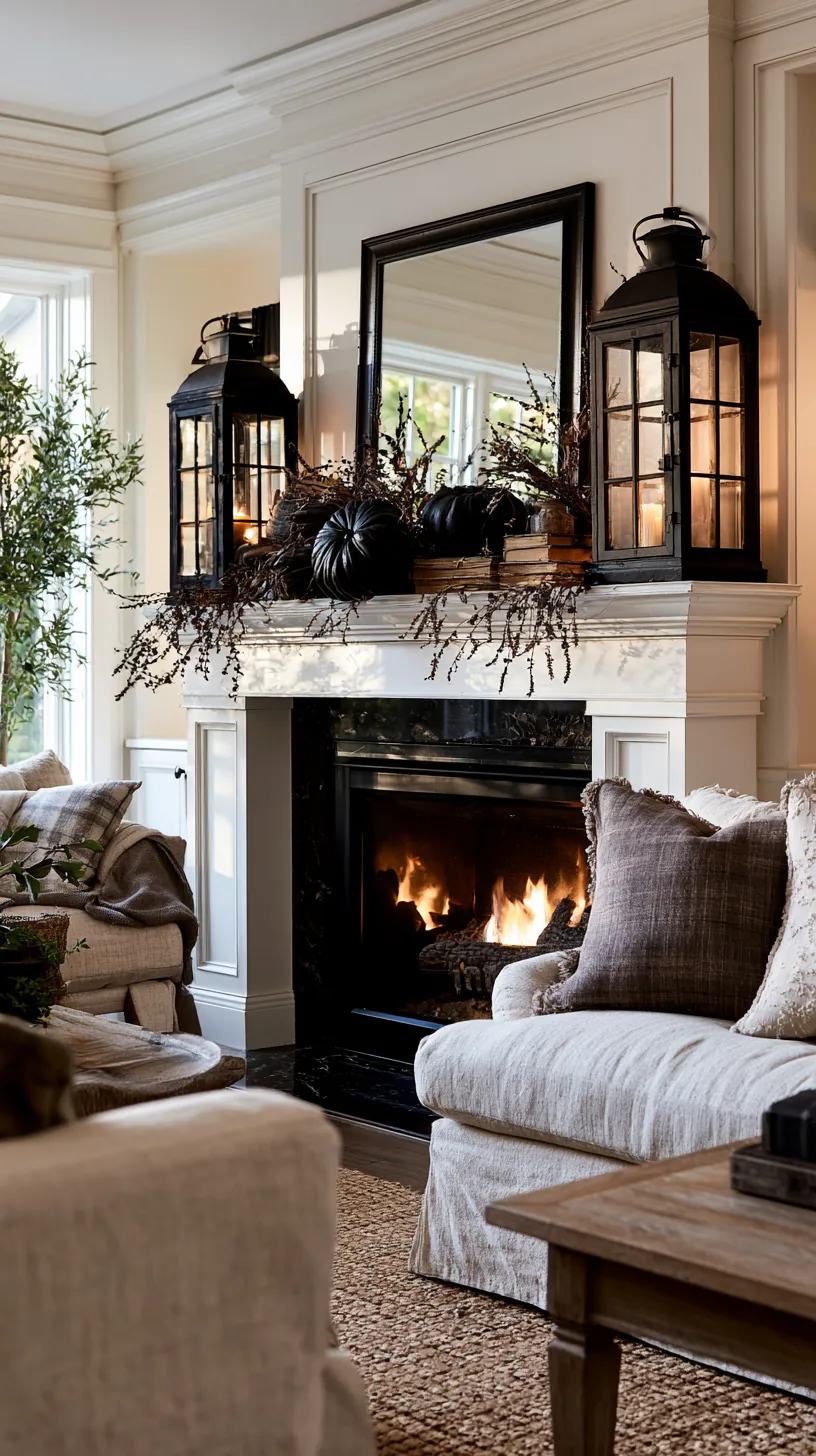 2/6
2/6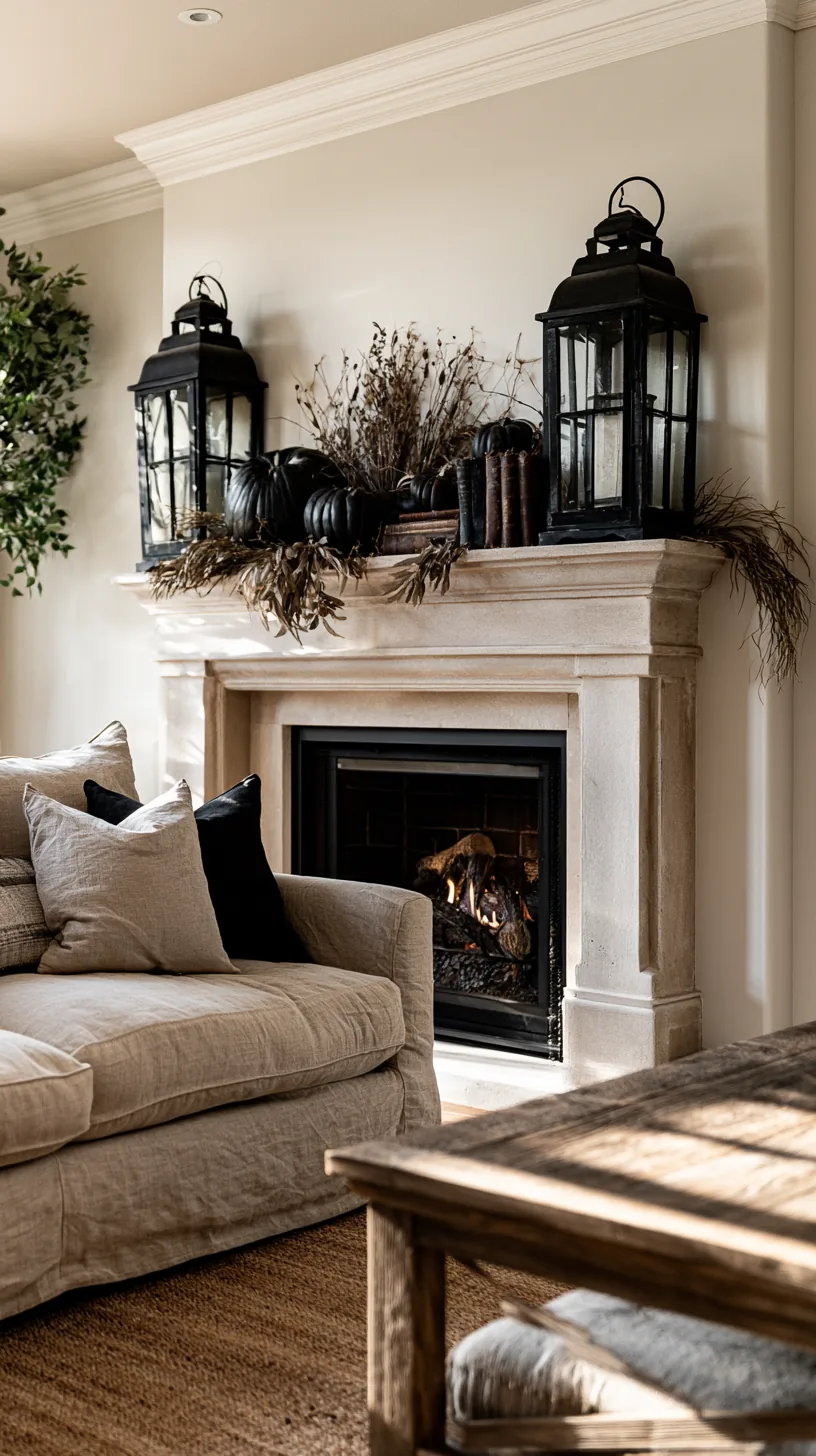 3/6
3/6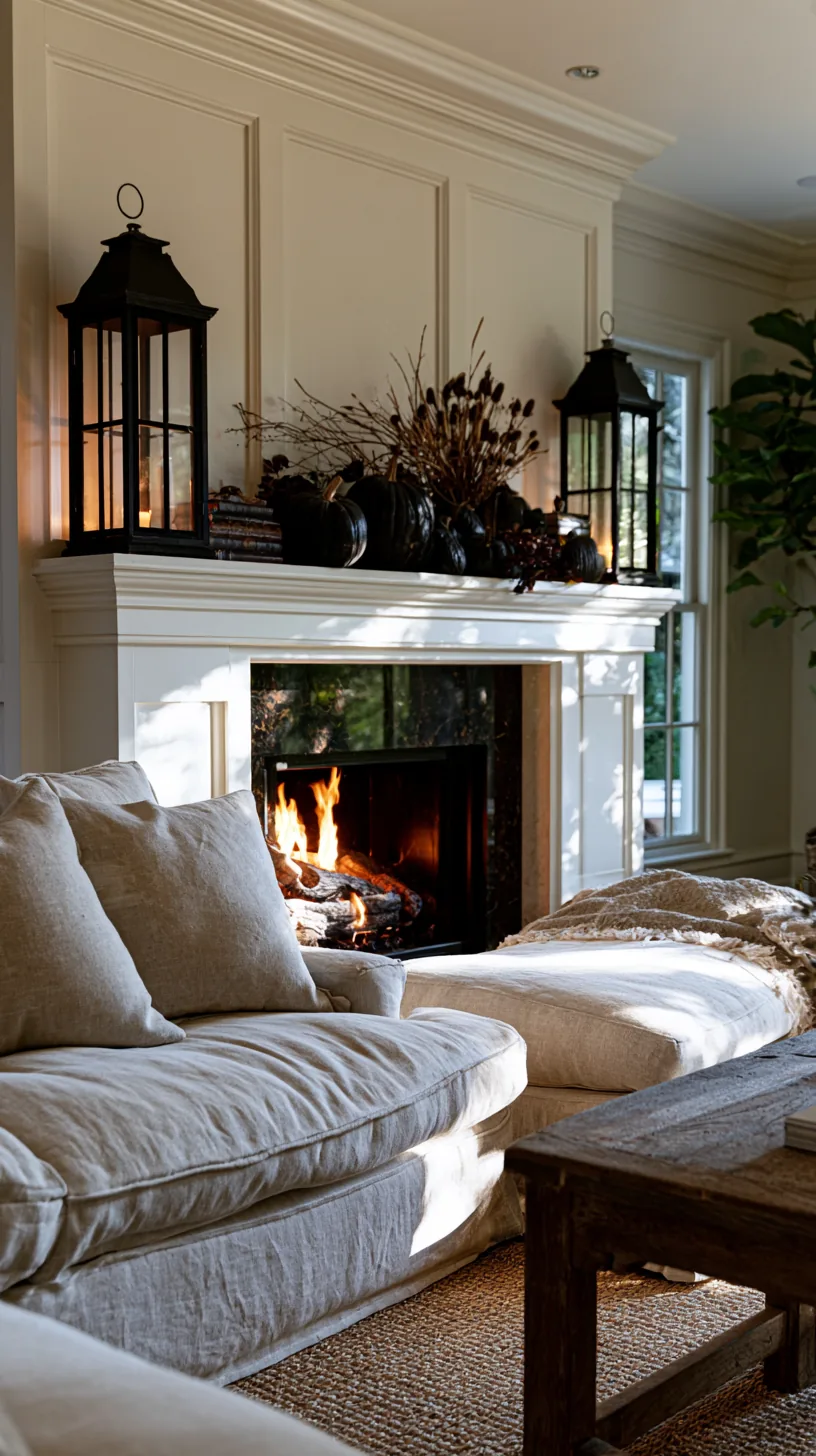 4/6
4/6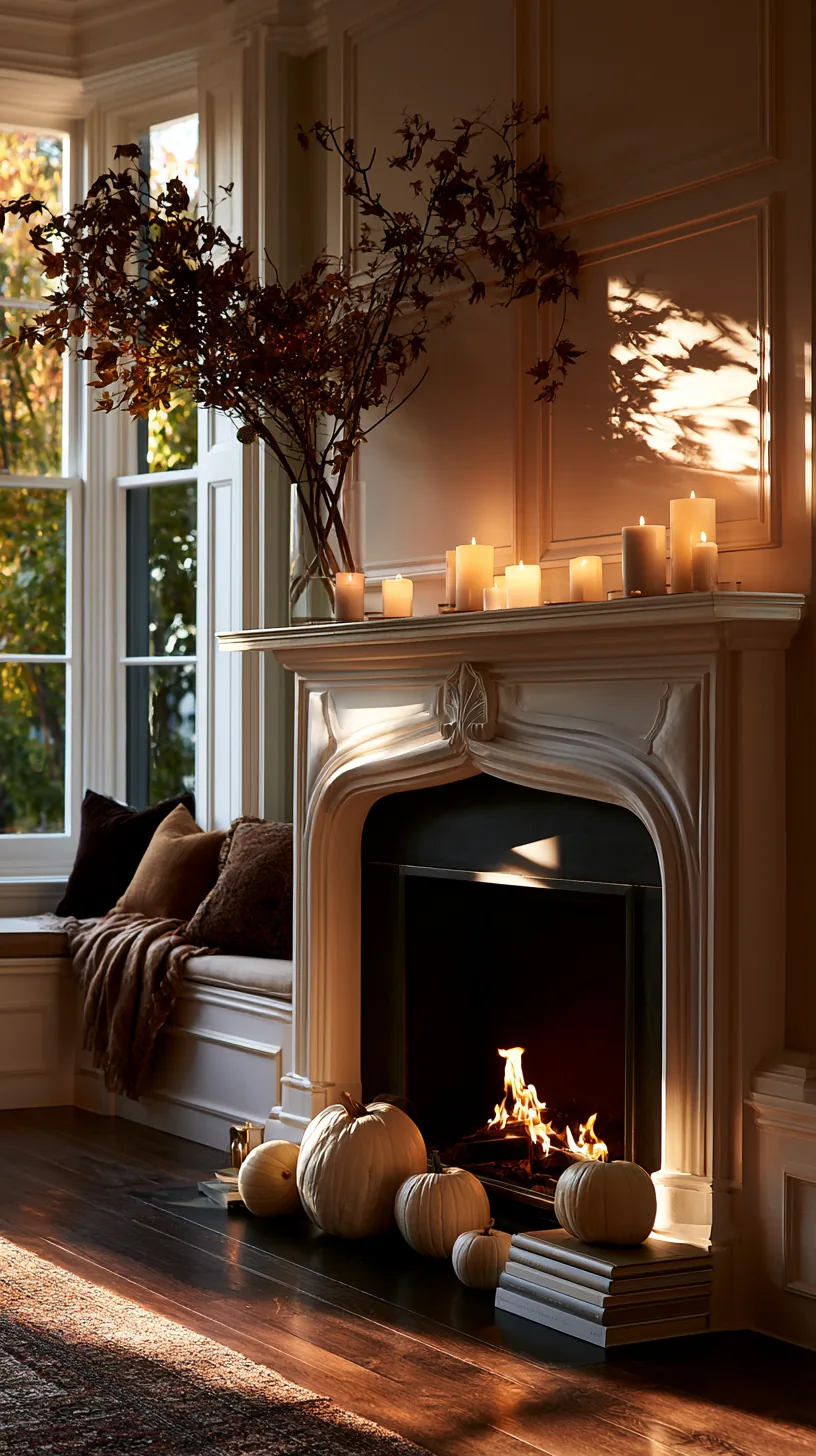 5/6
5/6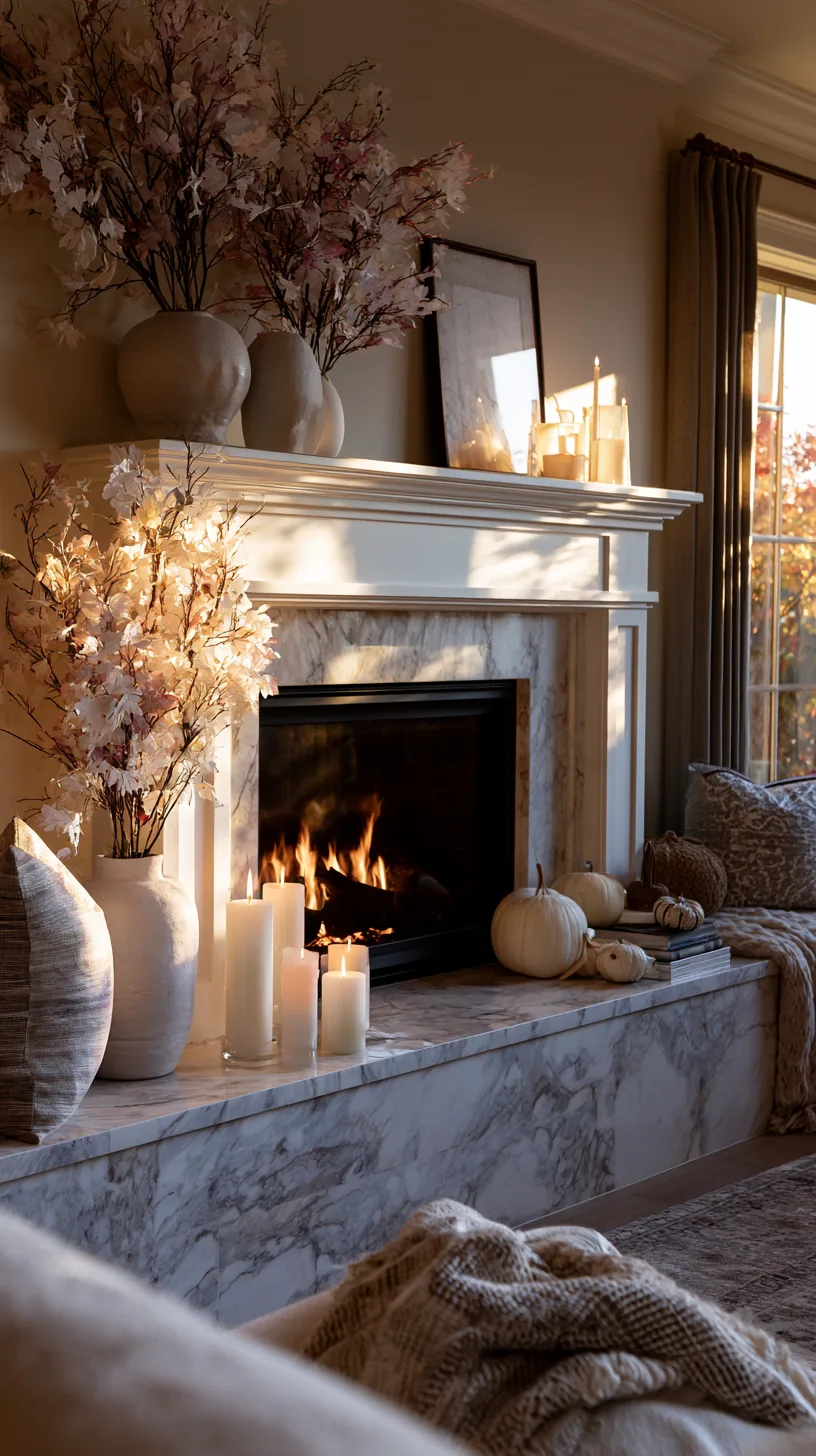 6/6
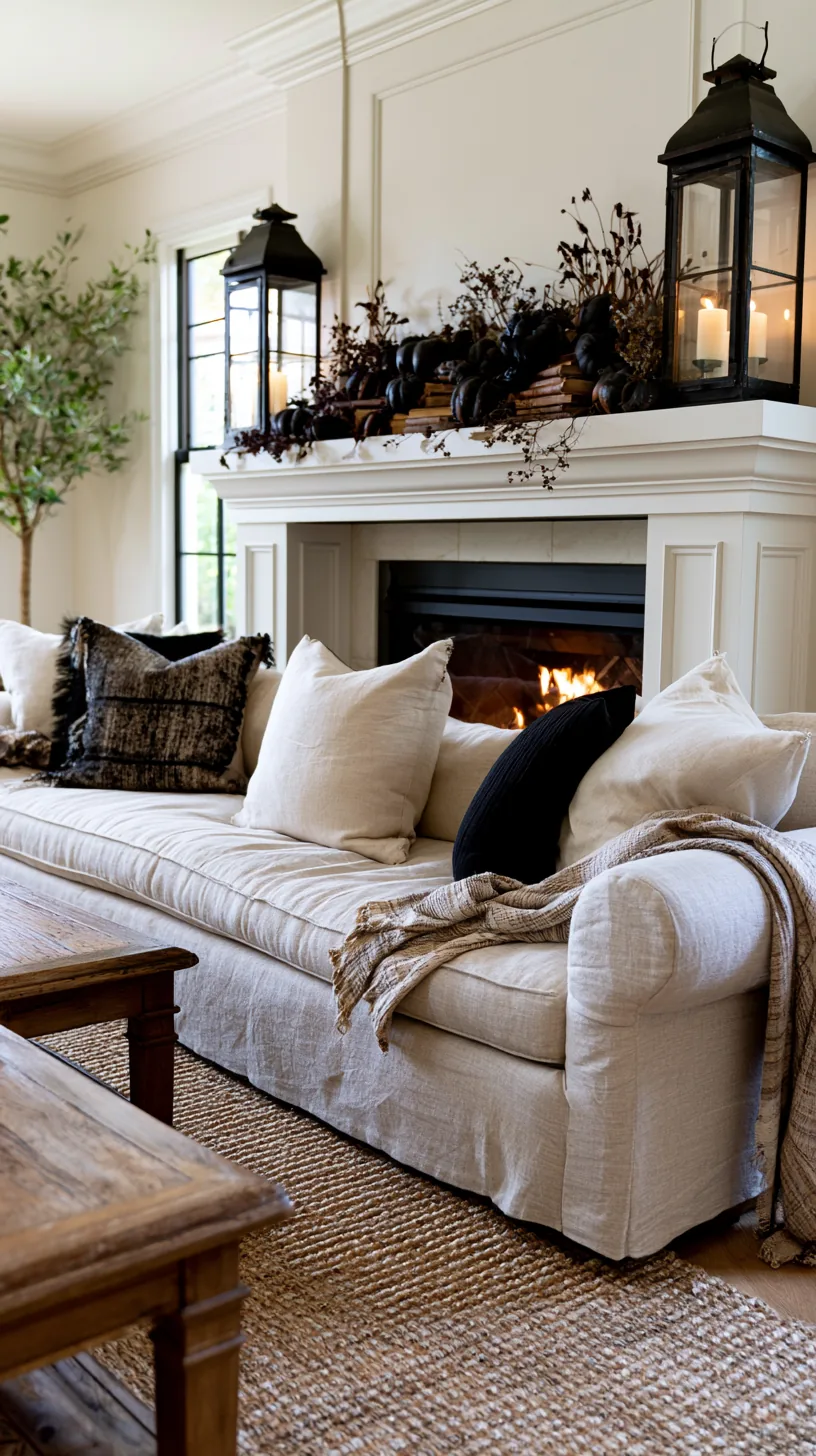
6/6Wide mantels swallow small arrangements and leave awkward gaps at the ends. Anchor both ends with a matched pair of lanterns, then treat the middle as one grouping rather than trying to spread things evenly along the whole length.
Ends first, middle second is the order that works. Anchoring the corners sets the boundaries of the display, so whatever you do in the center automatically looks contained. Without those anchors, a long mantel just drifts and every additional piece makes it worse.
Quick Tips
- Anchor the two ends before you place anything in the center
- Use the tallest pieces you own for the end anchors
- One grouping in the middle beats three small ones spread out
25. Get an Aged, Collected Look Without Antique Shopping
 1/4
1/4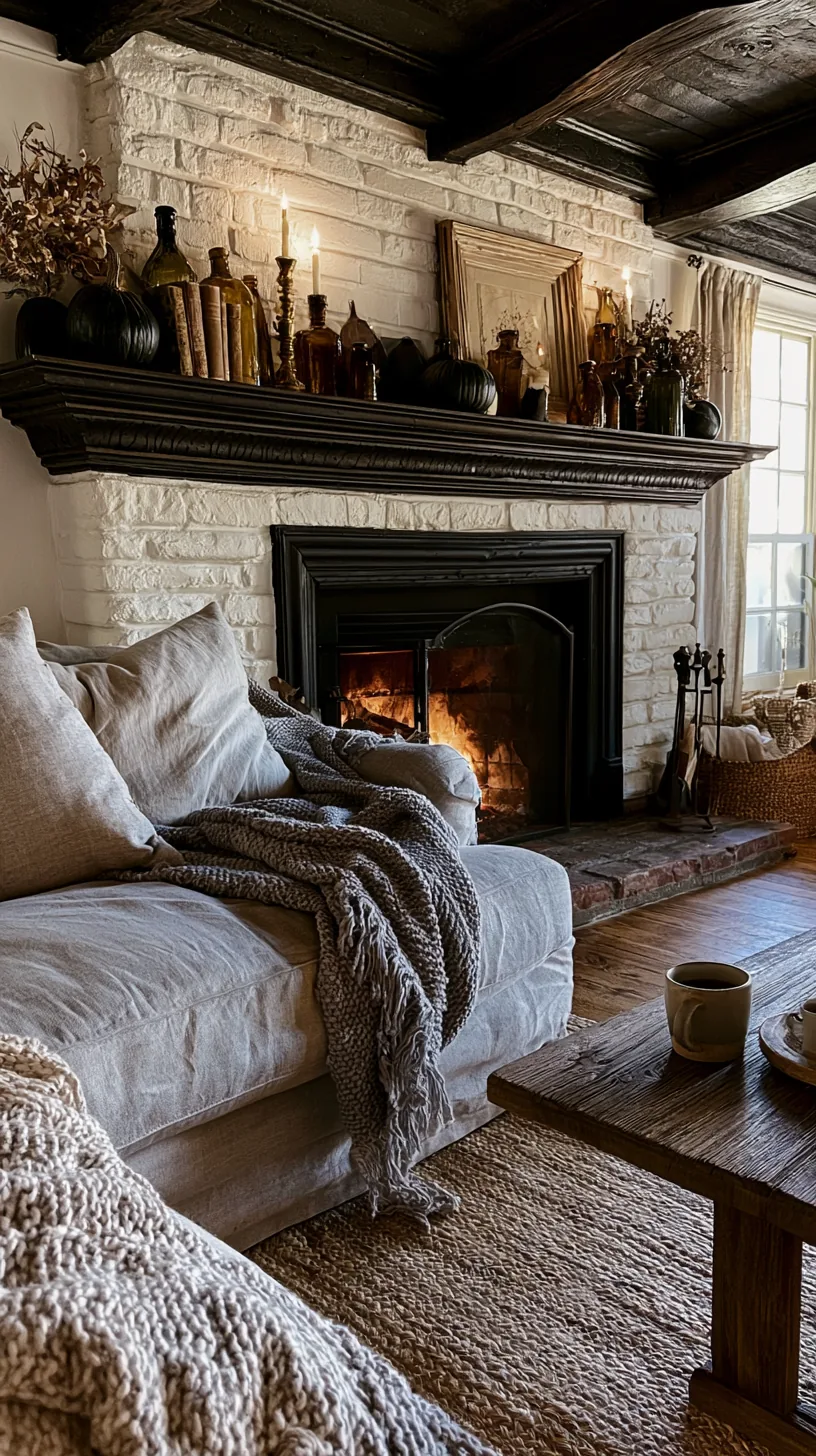 2/4
2/4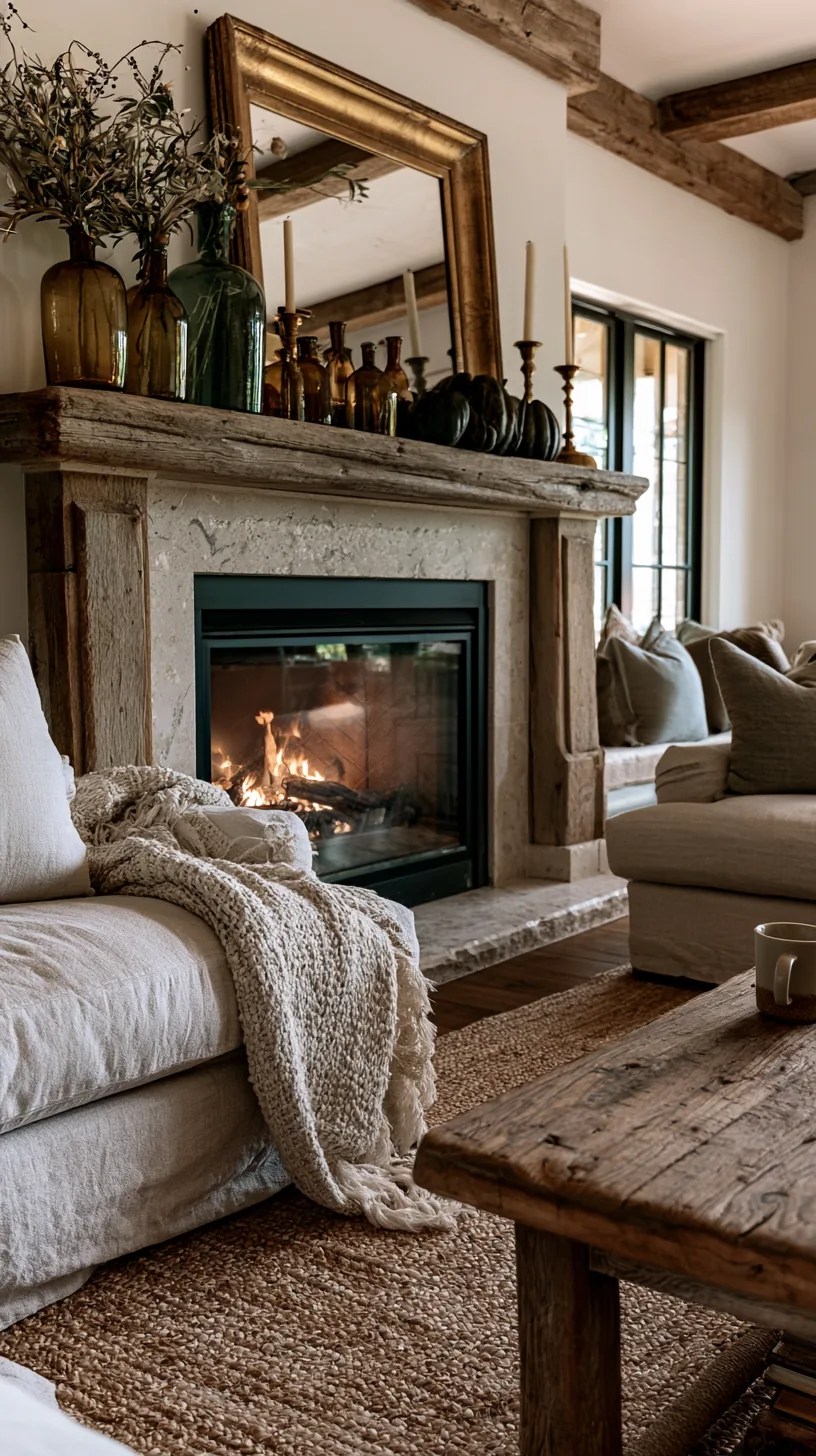 3/4
3/4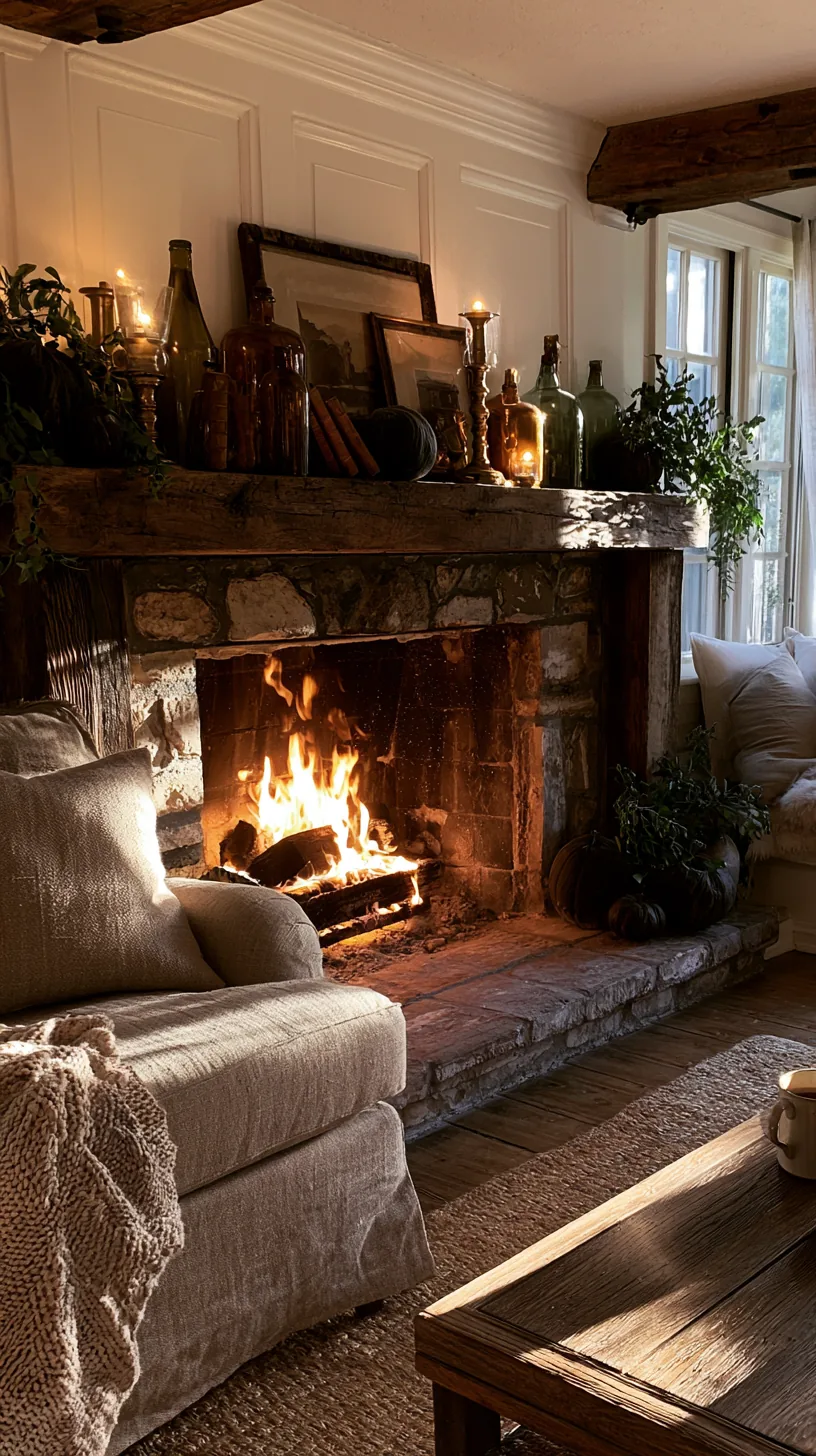 4/4
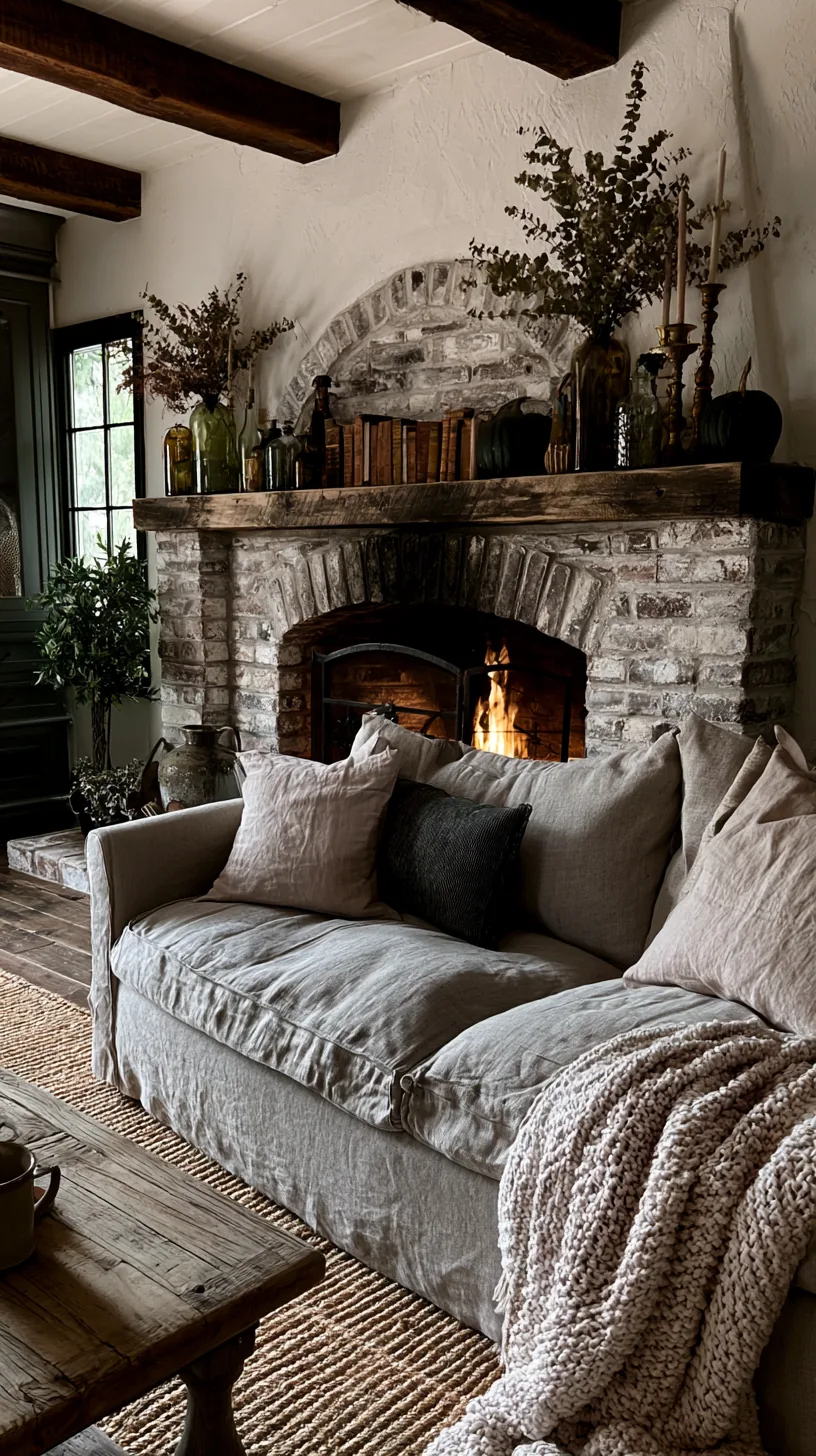
4/4New pieces straight out of the box all share the same finish, which is what makes a mantel look bought rather than gathered. A few aged glass bottles and old-looking books break that uniformity and add the sense that things arrived over time.
Vintage-look glass is the fastest shortcut because the color variation does the work for you. Mix two or three bottle heights, tuck them slightly behind the front row, and the arrangement immediately reads as collected. This is the same trick behind our vintage-leaning fall mantels, just in a darker key. You can see the collected look in daylight in these vintage fall mantel decor ideas.
Quick Tips
- Vary the bottle heights — matched sets defeat the purpose
- Set them slightly back so they layer rather than line up
- Amber and smoke tones read warmer than clear glass in candlelight
26. Keep Greenery Safely Clear of a Working Firebox
 1/4
1/4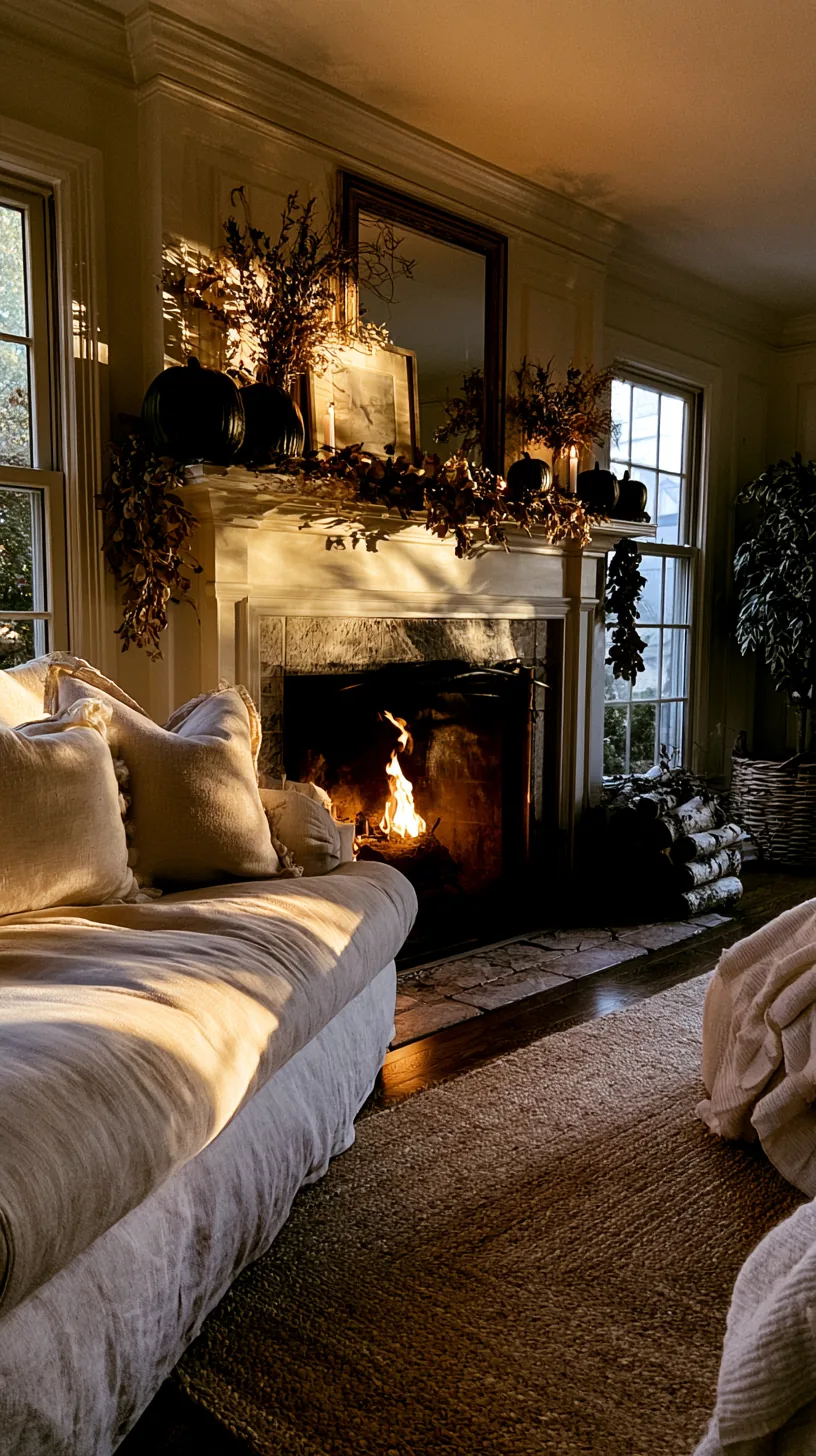 2/4
2/4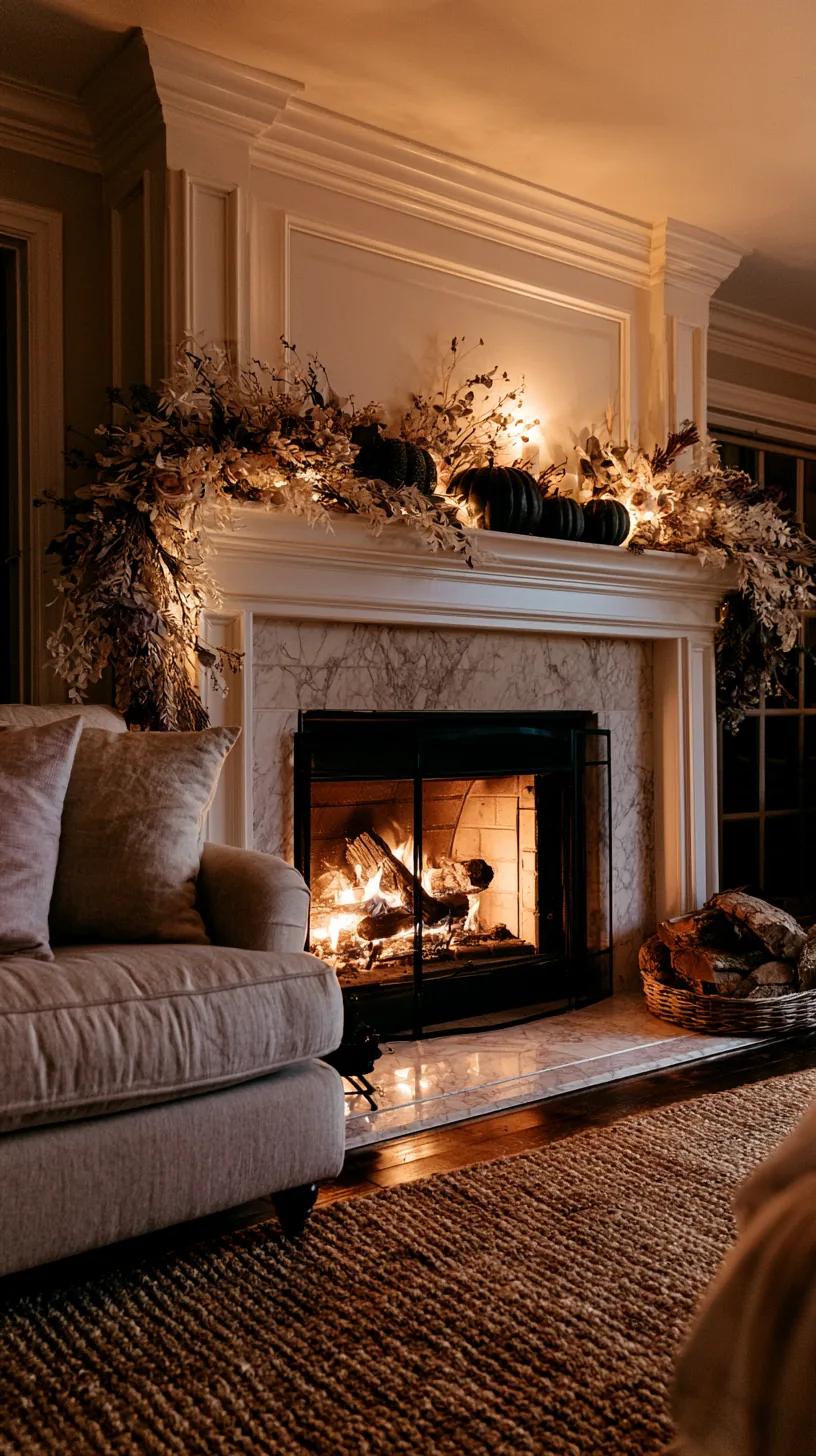 3/4
3/4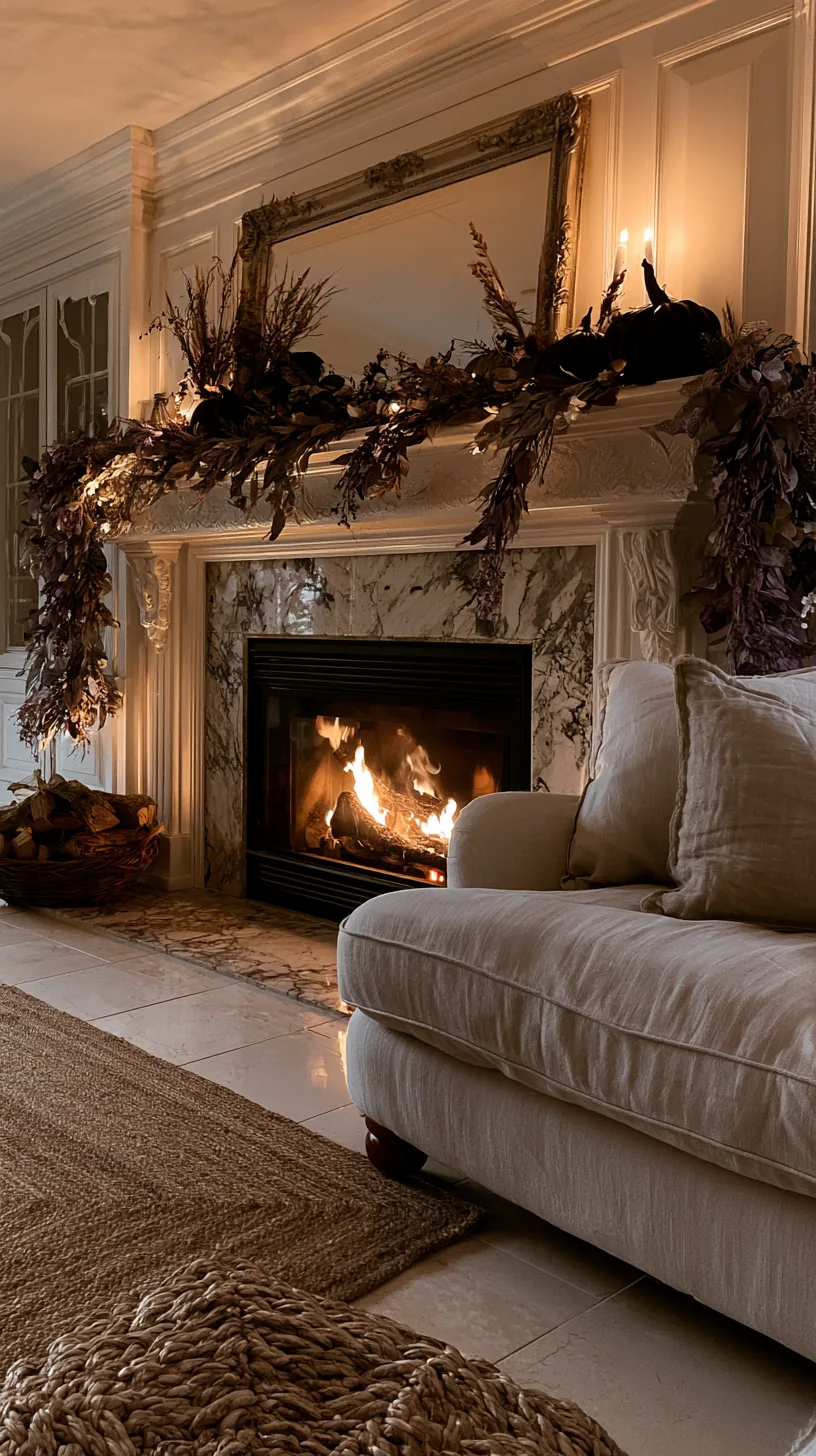 4/4
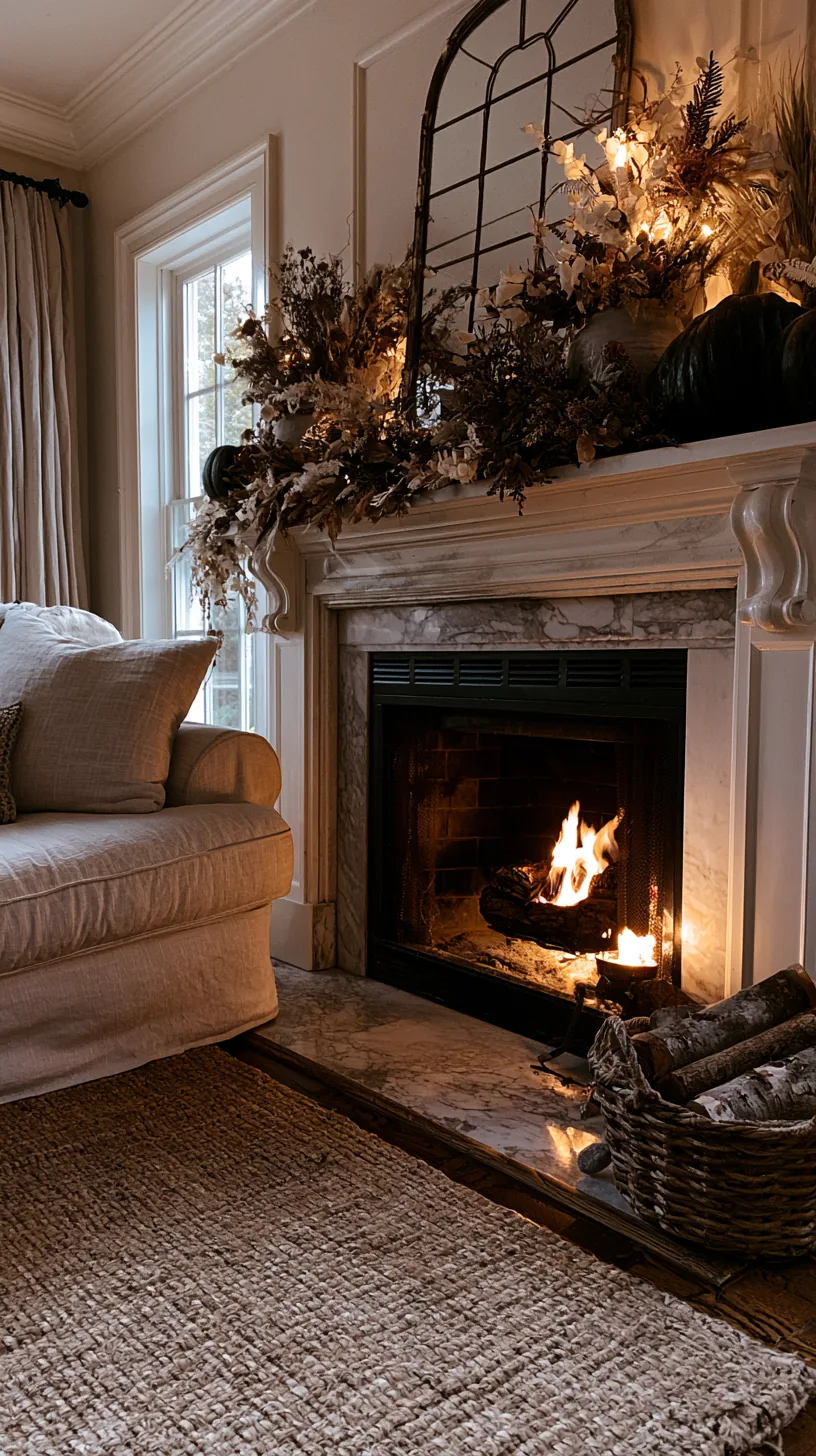
4/4Dried stems and faux garland near an open flame are a genuine hazard, and it is the part of mantel decorating people think about last. Keep every combustible piece back from the front edge and well above the firebox opening, and switch to flameless anywhere the clearance is tight.
Check your fireplace manufacturer’s stated clearance and treat it as a floor, not a target. Anything hanging below the mantel line above a working firebox is a bad idea no matter how good it looks. The safe version of this display is also the version you can leave lit while you are in another room.
Quick Tips
- Nothing combustible should hang below the mantel line above a live firebox
- Keep dried and paper elements at the back of the ledge
- If clearance is uncertain, go flameless and stop worrying about it
27. Reuse the Same Base Pieces Year After Year
 1/4
1/4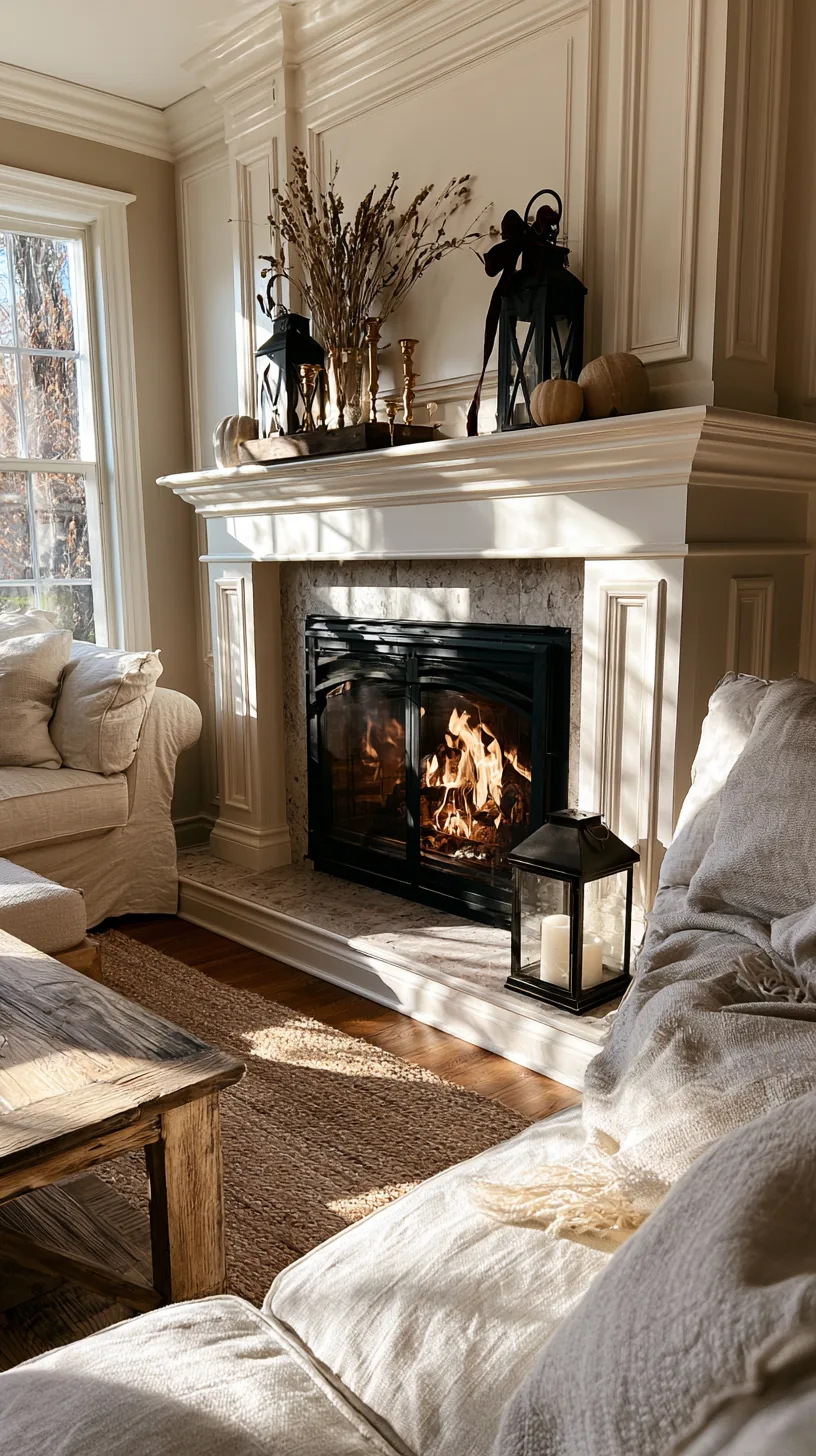 2/4
2/4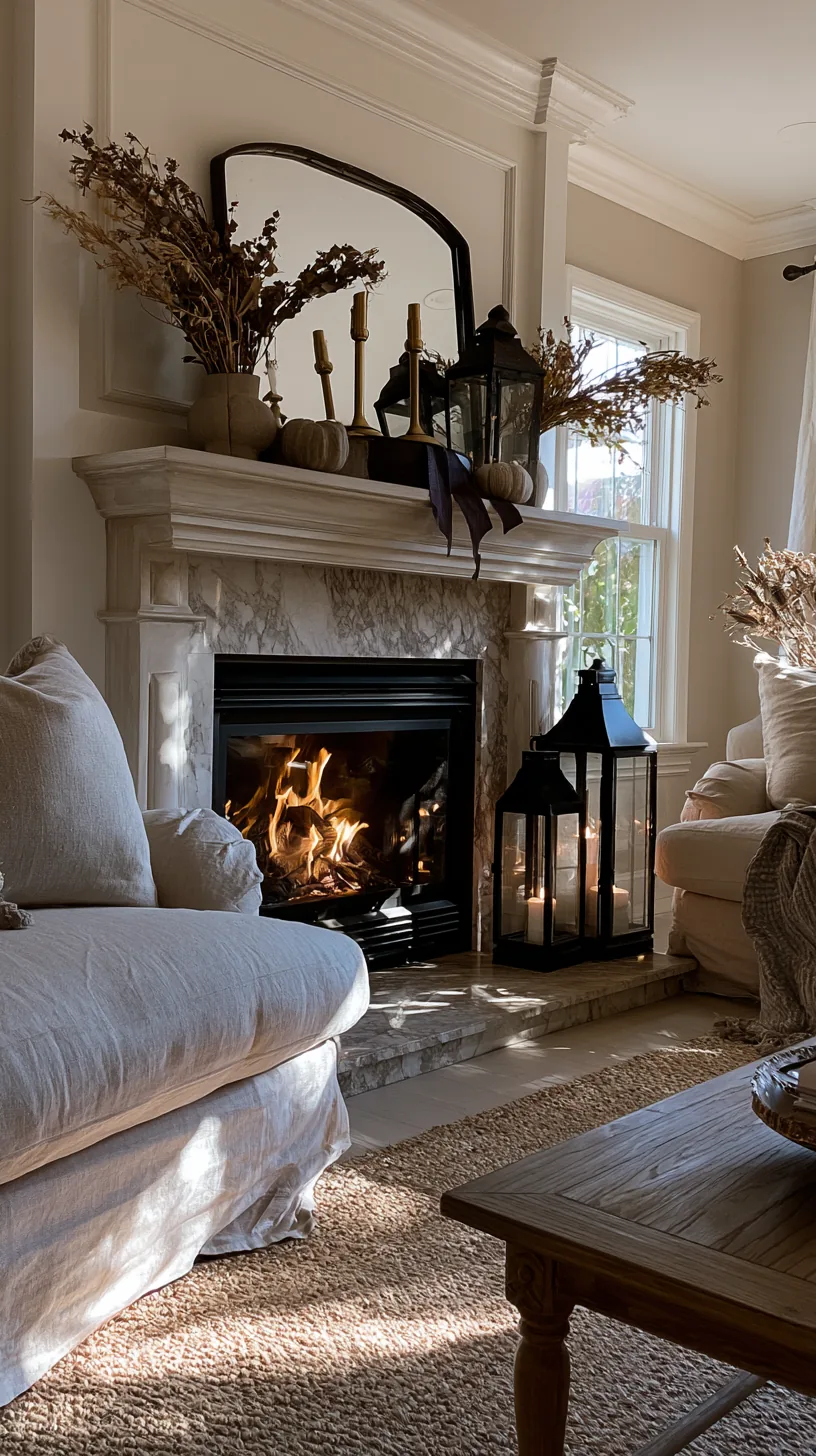 3/4
3/4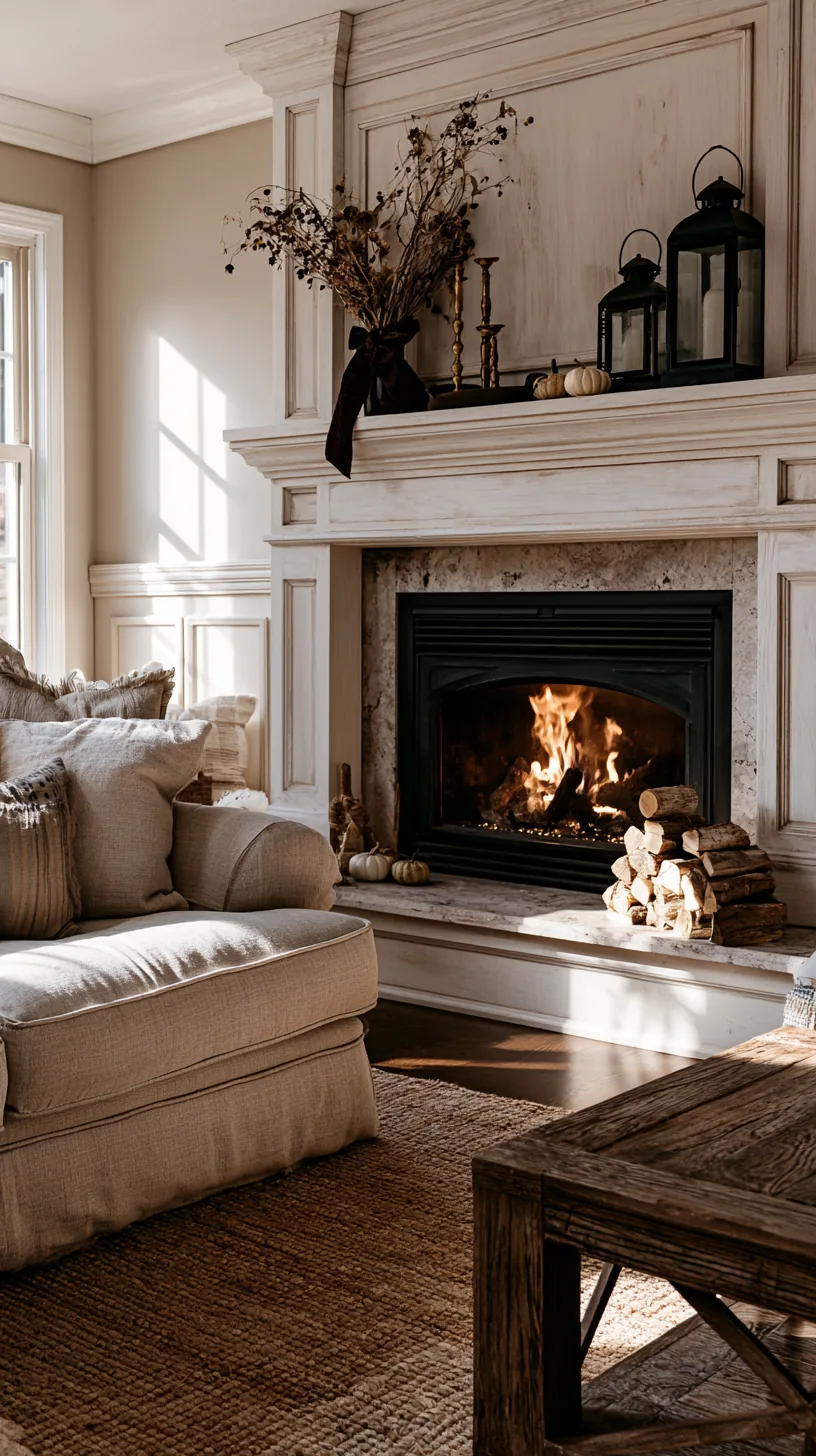 4/4
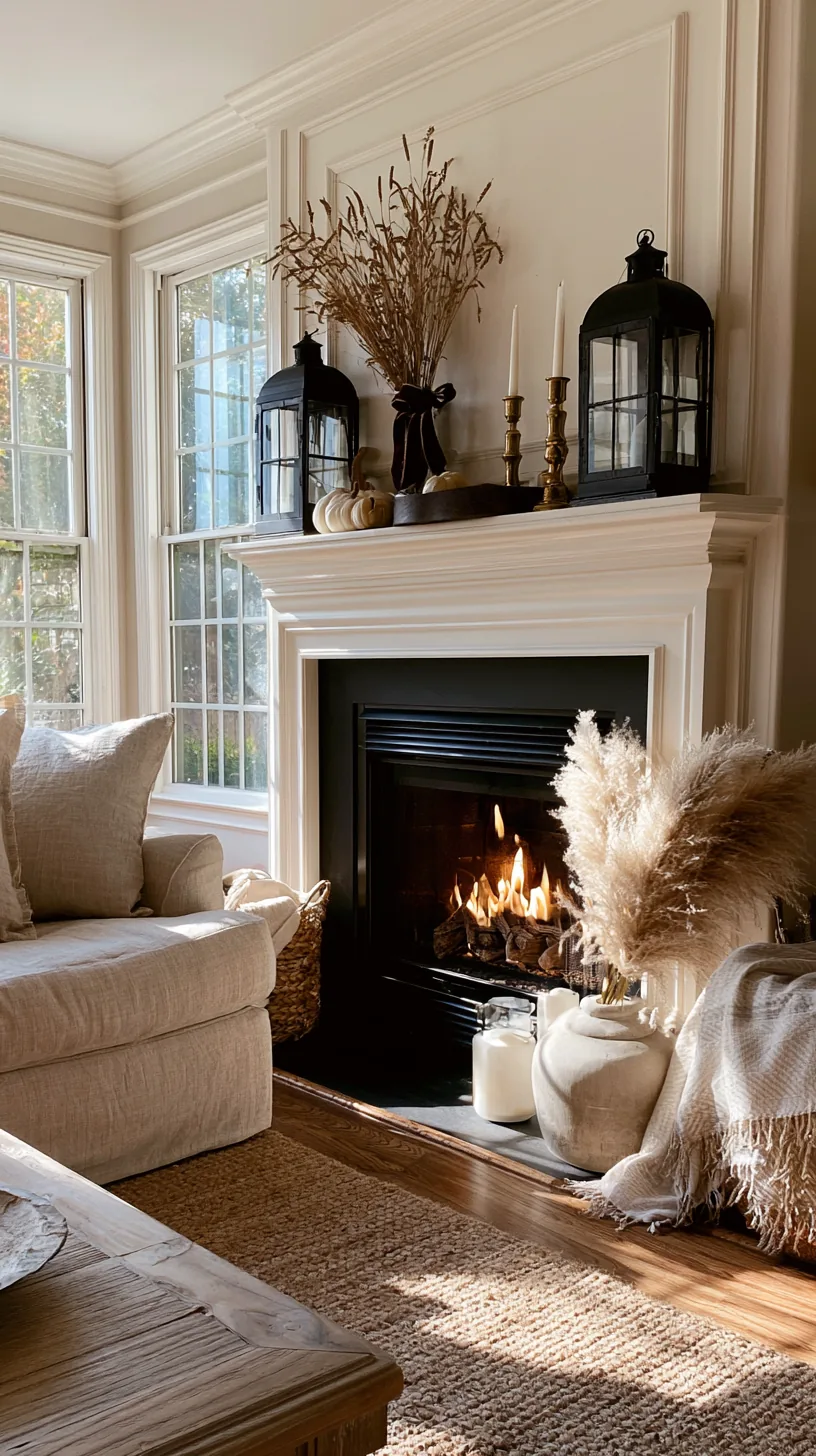
4/4Buying a whole new mantel look every October adds up fast. Invest in neutral structural pieces — holders, trays, risers, lanterns — and change only the cheap seasonal layer each year, which is stems, ribbon, and a couple of small accents.
Structure lasts, decoration does not. Brass and black hardware carries you through Halloween, Thanksgiving, and Christmas with only the fillers changing. Over three seasons this is the difference between one purchase and three, and the mantel actually looks more coherent because the bones stay the same. Structural pieces are exactly what makes these budget fall mantel decor ideas work year after year.
Quick Tips
- Spend on structure, save on the seasonal filler
- Choose one metal finish and stay with it across every season
- Store the structural pieces separately from the seasonal bins
28. Add Moss and Aged Green for an Overgrown, Haunted Feel
 1/4
1/4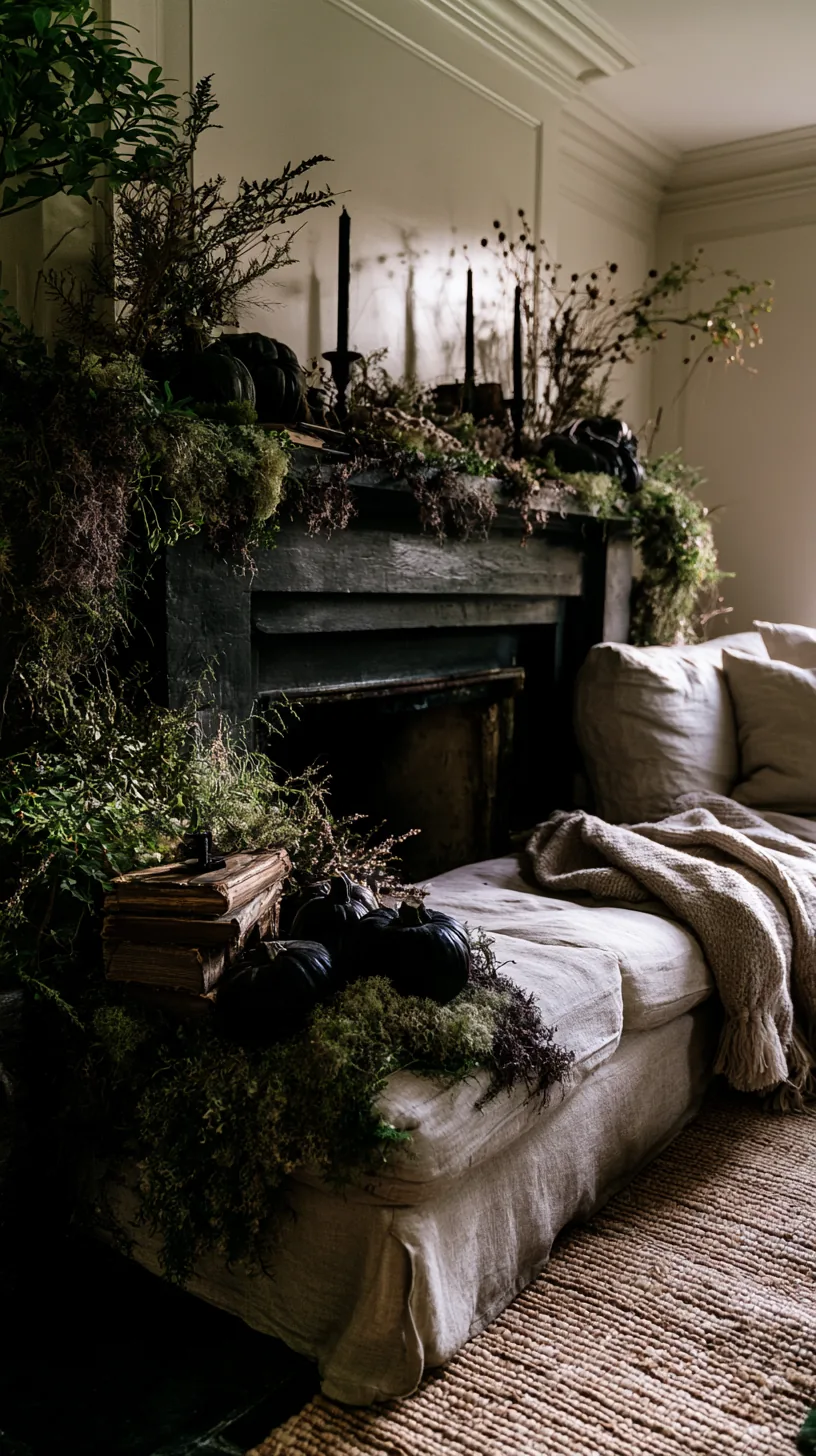 2/4
2/4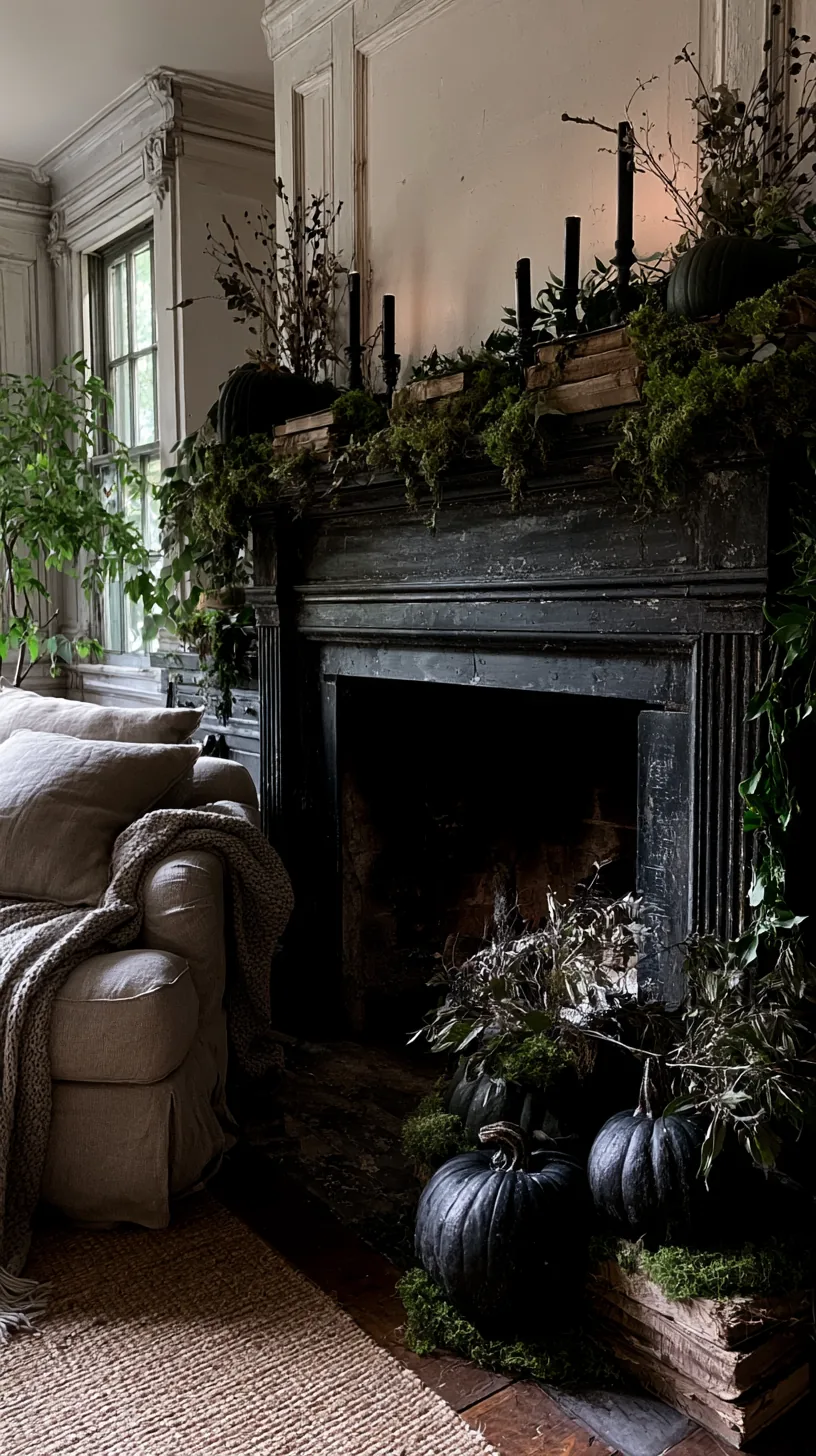 3/4
3/4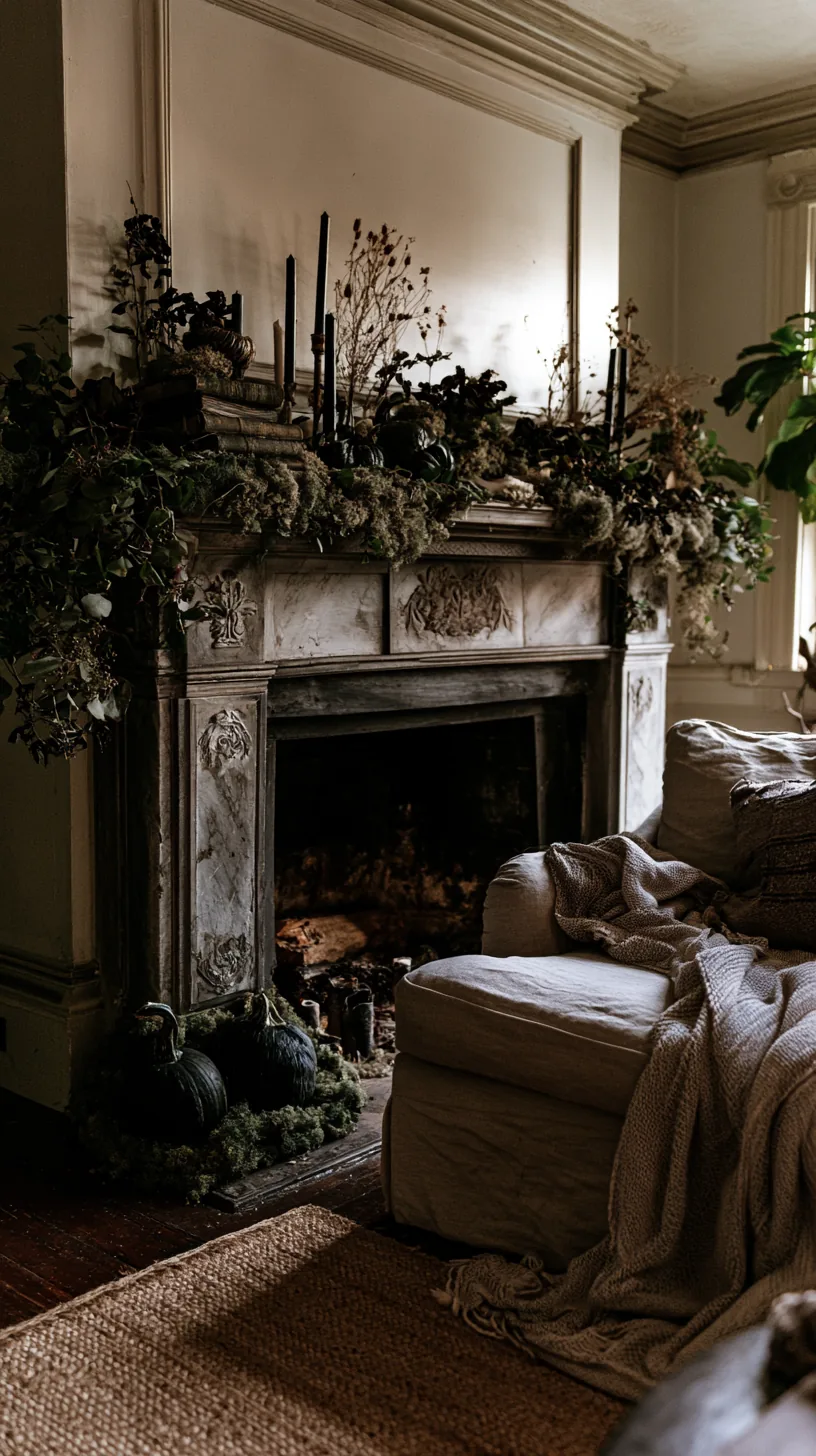 4/4
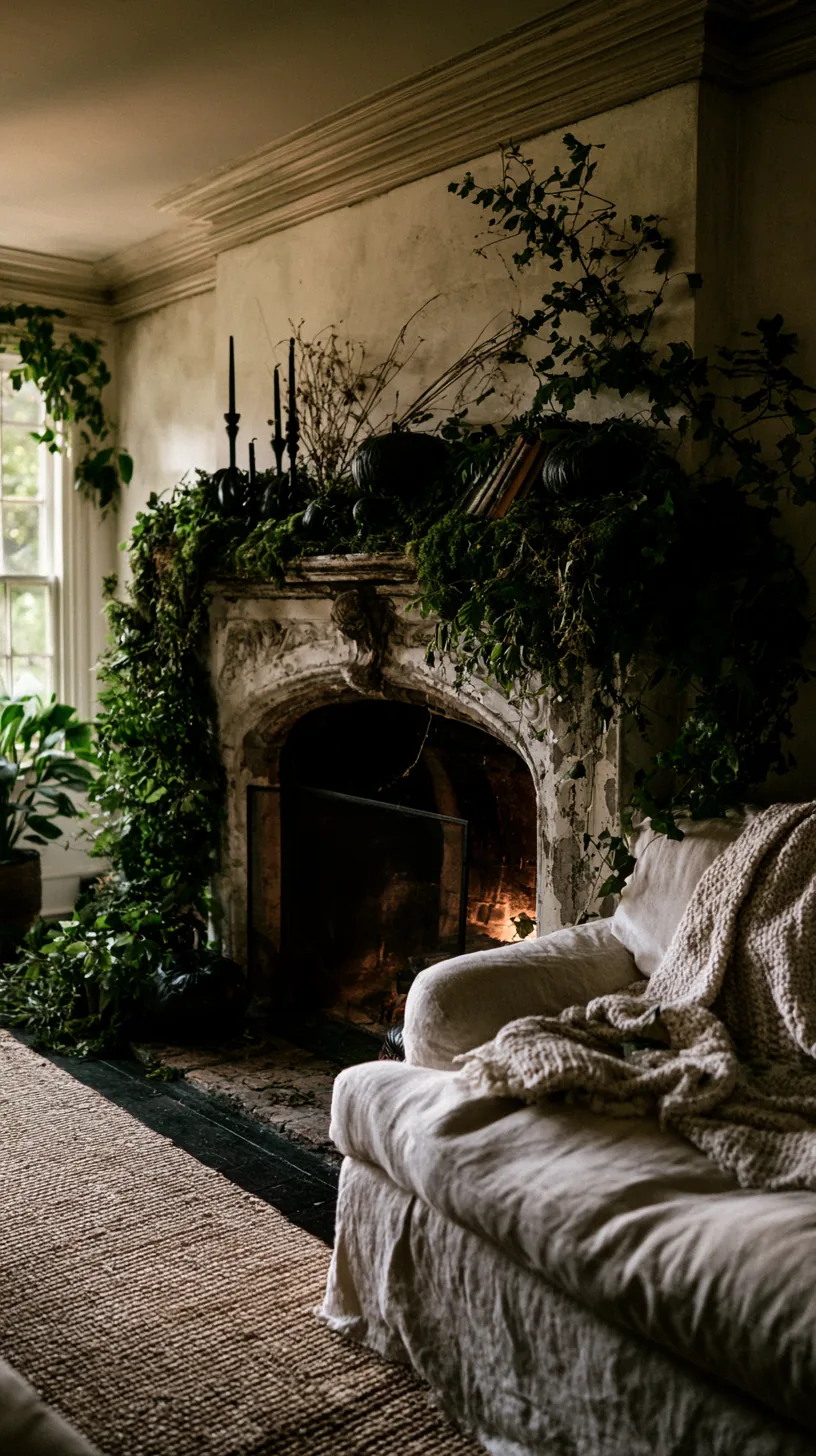
4/4Straight black-and-orange starts to look flat by the third week. A little moss or aged green in the arrangement suggests something abandoned and slowly overgrown, which does more for a haunted mood than anything explicitly scary.
Moss reads as time passing, and that is exactly the feeling a good October mantel needs. Tuck it around the base of candlesticks and under cloches so it looks like it settled there rather than being placed. Keep the amount small — a hint of green is atmospheric, a pile is a craft project.
Quick Tips
- Tuck moss into gaps and bases rather than laying it in a strip
- Aged, greyed green reads spookier than bright green
- A little goes a long way; stop before it looks like a terrarium
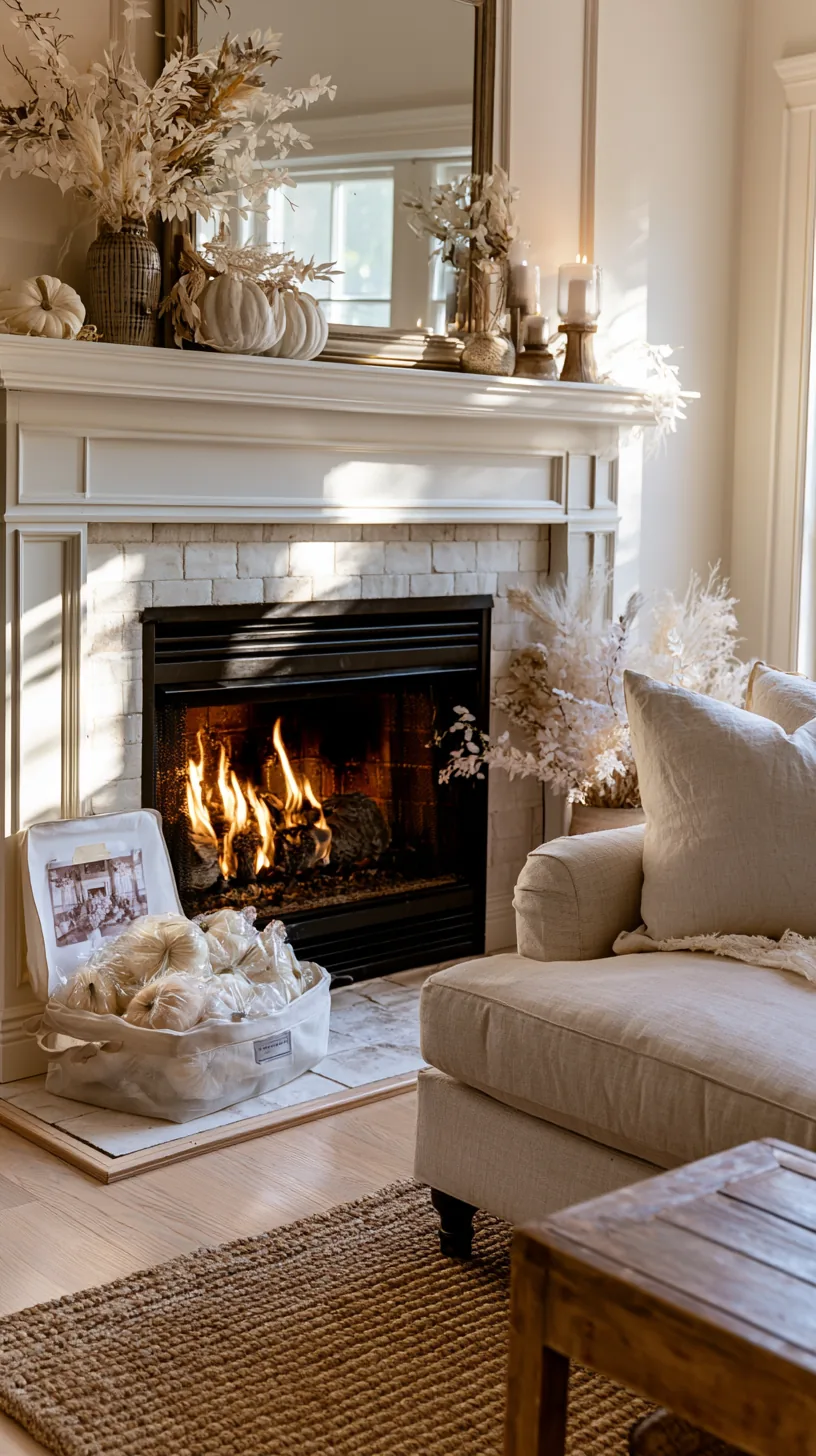
29. Pack the Mantel Down So Next October Takes Ten Minutes
 1/4
1/4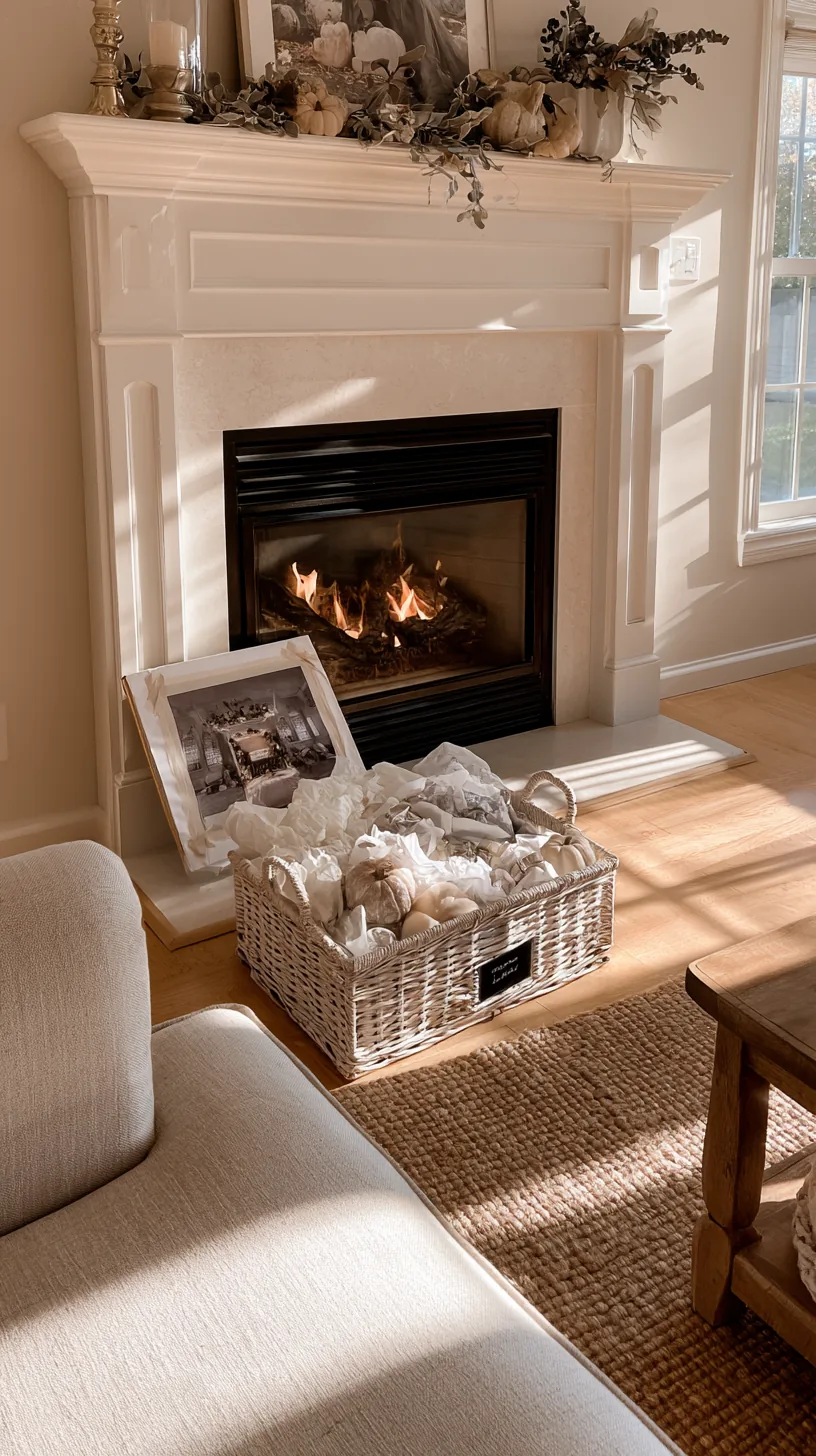 2/4
2/4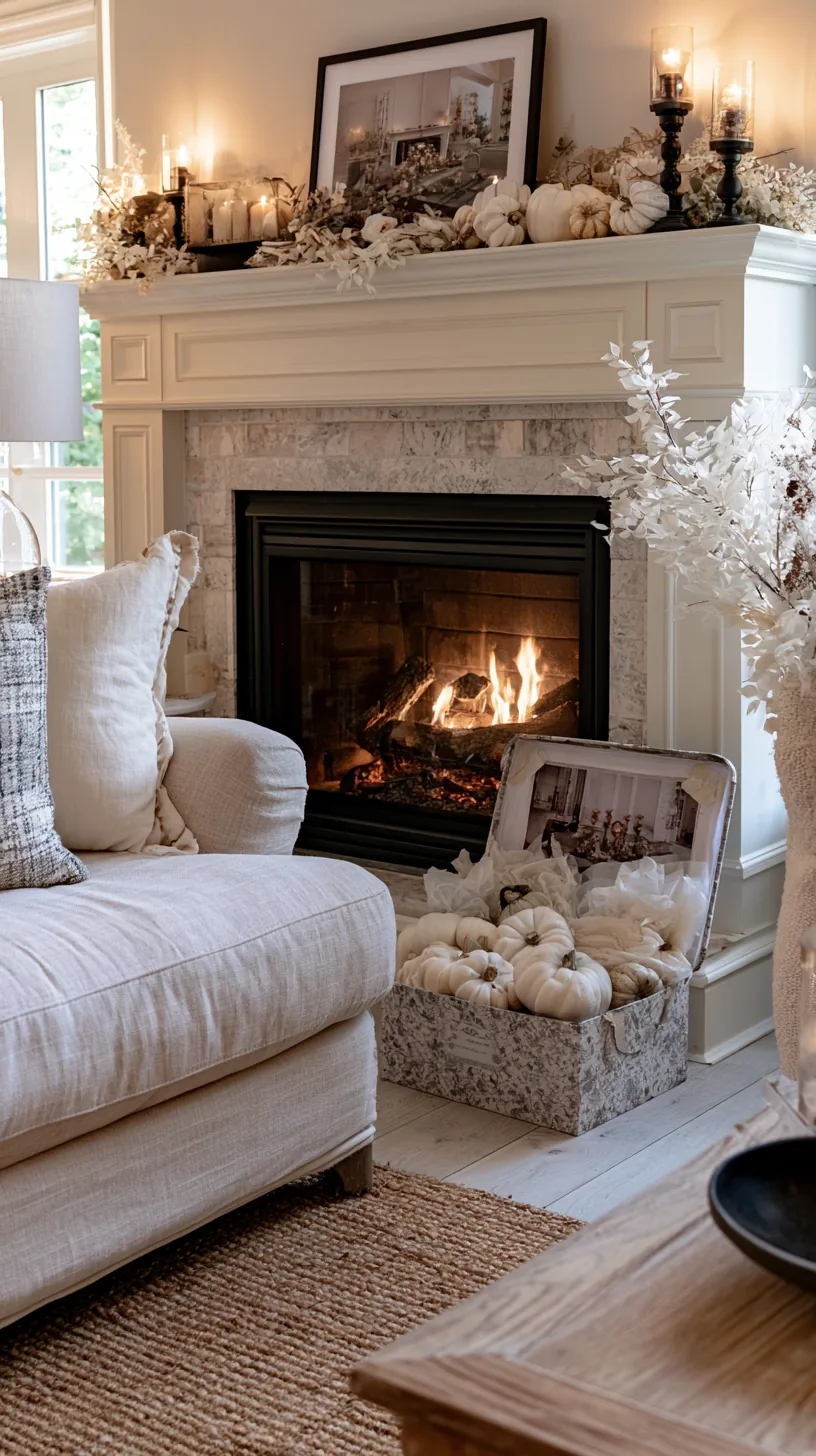 3/4
3/4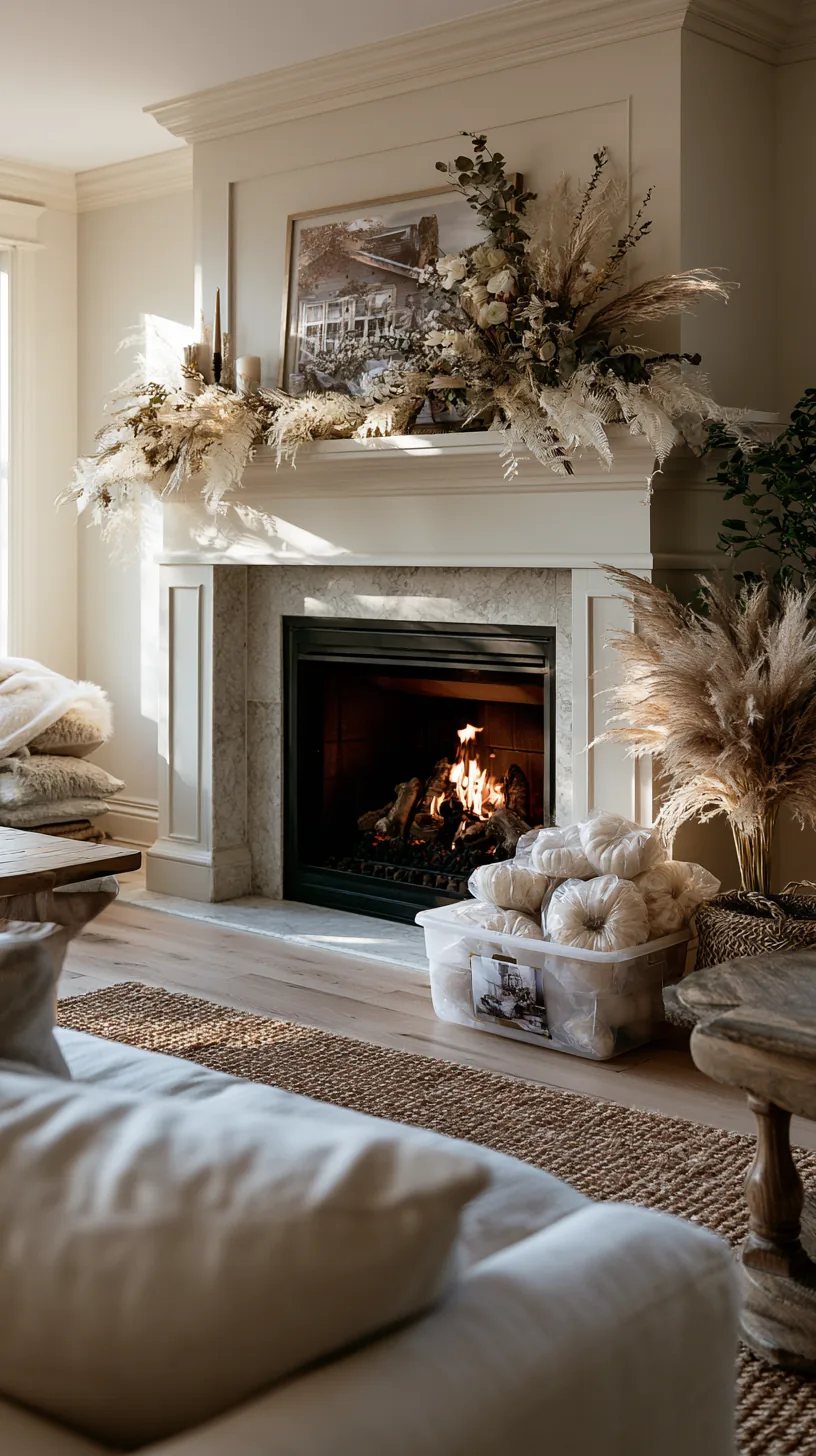 4/4
4/4The real cost of a good mantel is the hour you lose next year figuring out what you had. Photograph the finished display, pack by category into one labeled bin, and tape the photo inside the lid so next October starts from a known good layout.
Wrap glass in the fabric runner rather than buying packing material, coil the fairy lights around a piece of cardboard so they do not tangle, and keep the batteries out of the flameless candles over the summer so nothing corrodes. Next year the whole thing goes back up in an evening. Happy decorating!
Quick Tips
- Photograph the finished mantel before you take anything down
- Pull batteries out of flameless candles before storing them
- Pack by category — candles, glass, greenery — not by position on the shelf
Final Thoughts
The mantels that stop you in a room are almost never the ones with the most on them. They are the ones where somebody thought about height, contrast, and light before they thought about buying anything — three heights, one clear palette, a couple of glow points, and real gaps between the groupings.
Start with whichever of these halloween mantel decor ideas solves the thing that has been bugging you, whether that is the sliding garland, the dark brick, or the empty wall above. Set a neutral fall base early, add the moody layer at the end of the month, and put the lights on a timer so the whole thing takes care of itself every evening. Happy decorating!
Frequently Asked Questions
Push everything back against the wall and keep the front inch of the ledge clear. Reserve a shallow mantel for flat-bottomed pieces like candlesticks, jars, and framed art, and add a dab of museum putty under anything that might slide. Height comes from risers and leaning pieces rather than depth.
Real wax candles soften and lean from the heat rising up the mantel face, so flameless LED candles are the practical choice above a live firebox. They hold their shape all season, come on with a timer, and let you leave the display lit while you are in another room.
Skip the nails entirely. Museum putty holds lightweight pieces in place on the ledge, and removable adhesive strips rated well above the actual weight handle anything on the wall above. Wipe the surface with rubbing alcohol first, and remove strips by pulling the tab straight down.
Two colors plus one metal is the reliable formula. Black and cream with brass reads as elegant rather than party-store, and deep plum with bronze suits a warmer room. Pull one of the colors from something already in the room so the mantel looks like it belongs there.
Set a neutral fall base during the first week of October, then add the Halloween-specific layer in the last week of the month. On November 1 you lift off the spooky pieces and the base carries the mantel straight through Thanksgiving with no extra work.