
Your cubicle isn’t just a box—it’s your tiny command center. When it’s cluttered, your brain short-circuits. When it’s organized? You’re unstoppable. Let’s turn your desk into a productive, good-vibes-only zone with nine smart ideas that don’t cost a fortune and won’t annoy your office neighbors.
1. Build Vertical Storage Like You Mean It
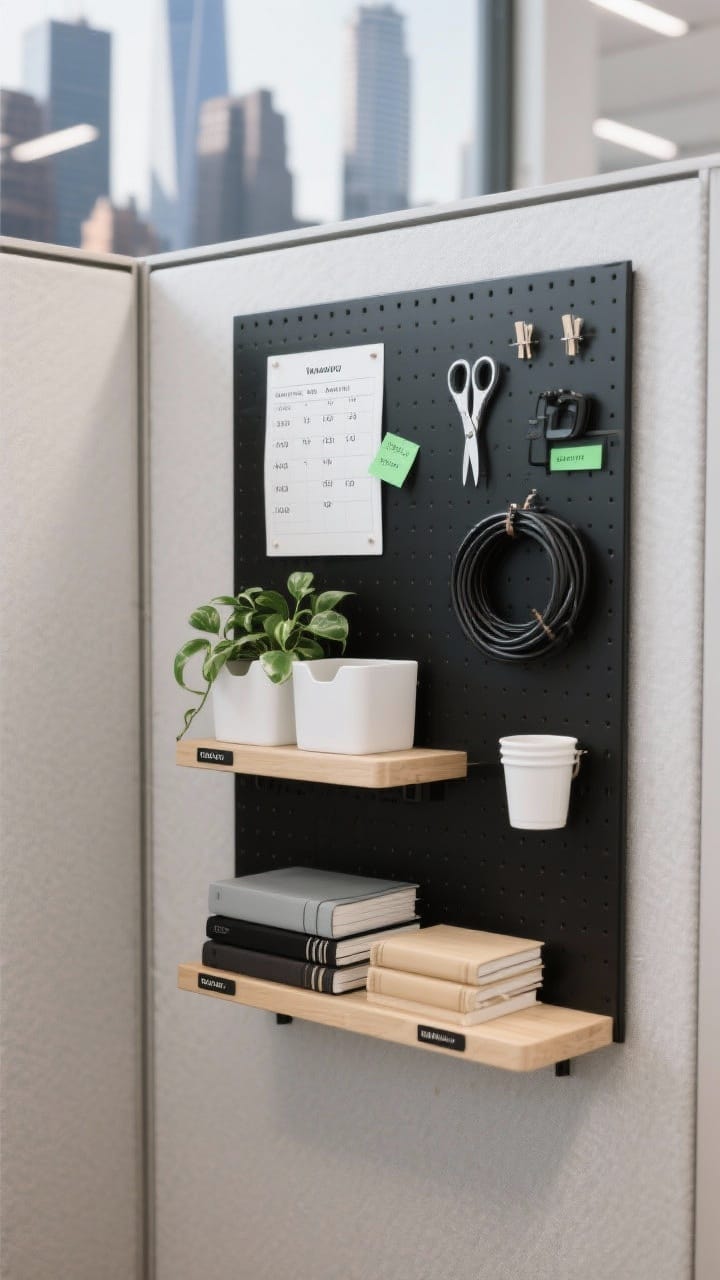
Desk space is prime real estate. The walls of your cubicle? That’s your Manhattan skyline. Use them.
A few years ago, I tried adding vertical storage in a small workspace, and it instantly made the desk feel larger. Having supplies at eye level reduced constant reaching and desk clutter.
What to Add
- Magnetic boards for quick notes, reference charts, and weekly priorities.
- Floating shelves (command-mounted if needed) for notebooks, plants, and supplies.
- Pegboards or grid panels to hang scissors, cables, and small bins.
Why It Works
Vertical storage pulls clutter up and off your desk. You’ll reach for what you need faster, and your space will look intentional, not chaotic.
- Use matching bins or clip-on cups to keep it cohesive.
- Keep frequently used items at eye level; decorative stuff goes higher.
- Label shelves lightly so nothing becomes a “mystery box.”
2. Create a Two-Zone Desktop (Brains + Basics)
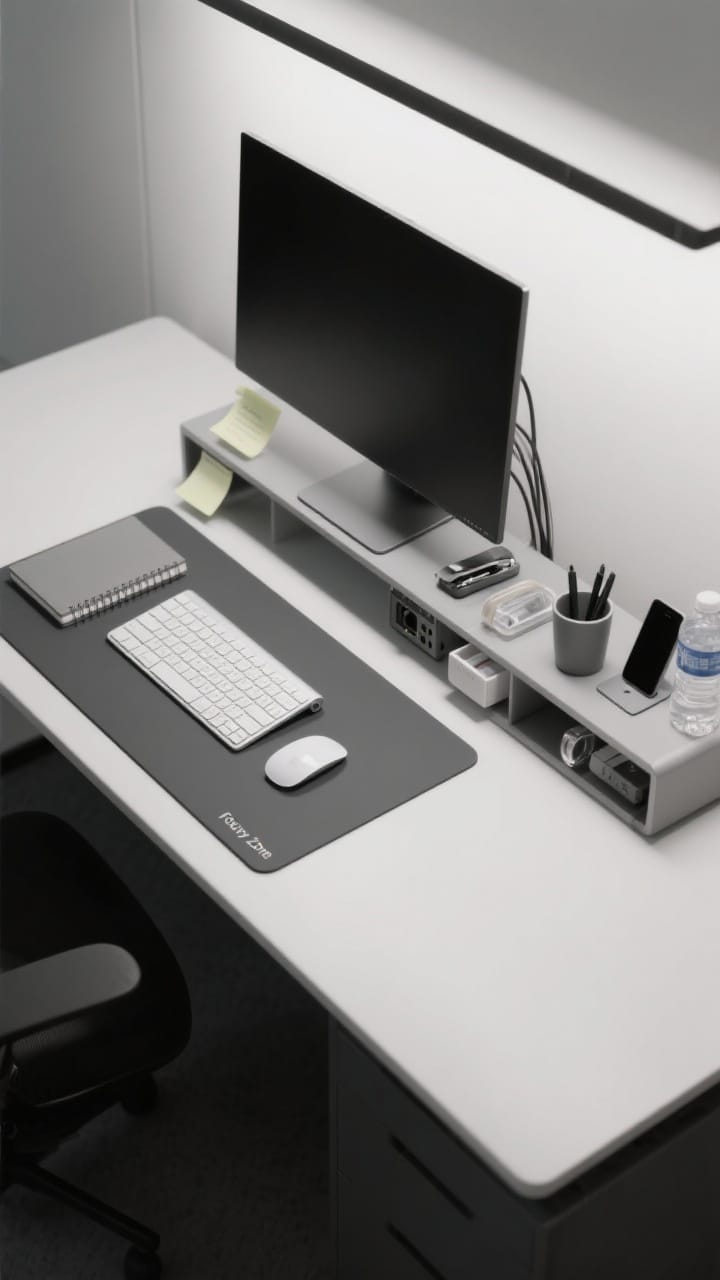
One zone for focused work, one for tools. No more sticky notes attacking your keyboard mid-meeting.
How to Set It Up
- Focus Zone: Keyboard, mouse, notebook. Clear, calm, and centered.
- Utility Zone: Pen cup, phone stand, stapler, tape, water bottle—corralled on a tray.
Trays are magic—they make random items look curated. Plus, you can slide the whole tray aside when you need extra space.
- Use a monitor riser to reclaim space beneath for sticky notes and tech.
- Try a slim desk mat to visually mark your Focus Zone.
- Keep only 1–2 pens out. The rest go in a drawer. Yes, really.
3. Tame Cables So They Stop Haunting You
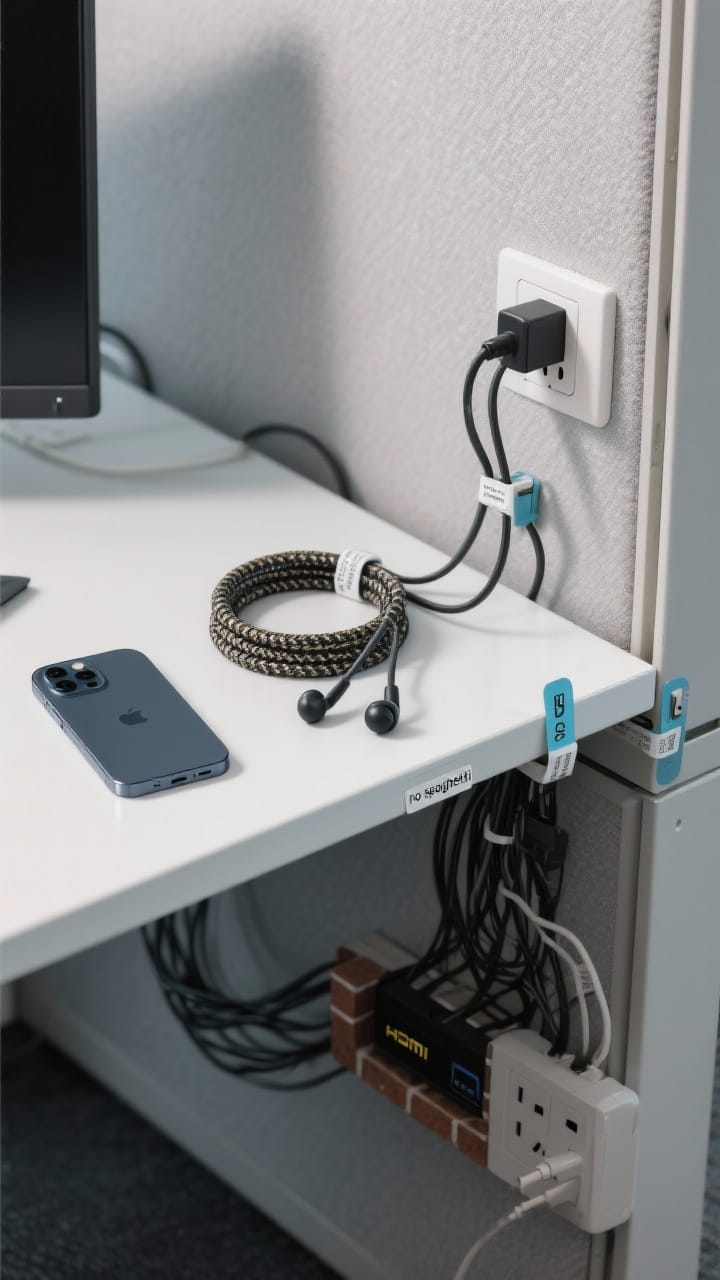
Nothing kills a clean vibe faster than spaghetti wires. Let’s tuck them away like a pro.
Quick Fixes
- Cable clips along the back edge for charger ends and earbuds.
- Cable sleeve or braided wrap to bundle monitor/charging cables.
- Under-desk raceway to hide strips and power bricks.
Label both ends of every cable—FYI, future you will thank you when tech asks you to unplug “the HDMI” and you don’t cry.
- Stick a charging station under your monitor or on a riser.
- Use a right-angle adapter to flatten bulky plugs against the wall.
4. Drawer Systems That Don’t Become Junk Traps
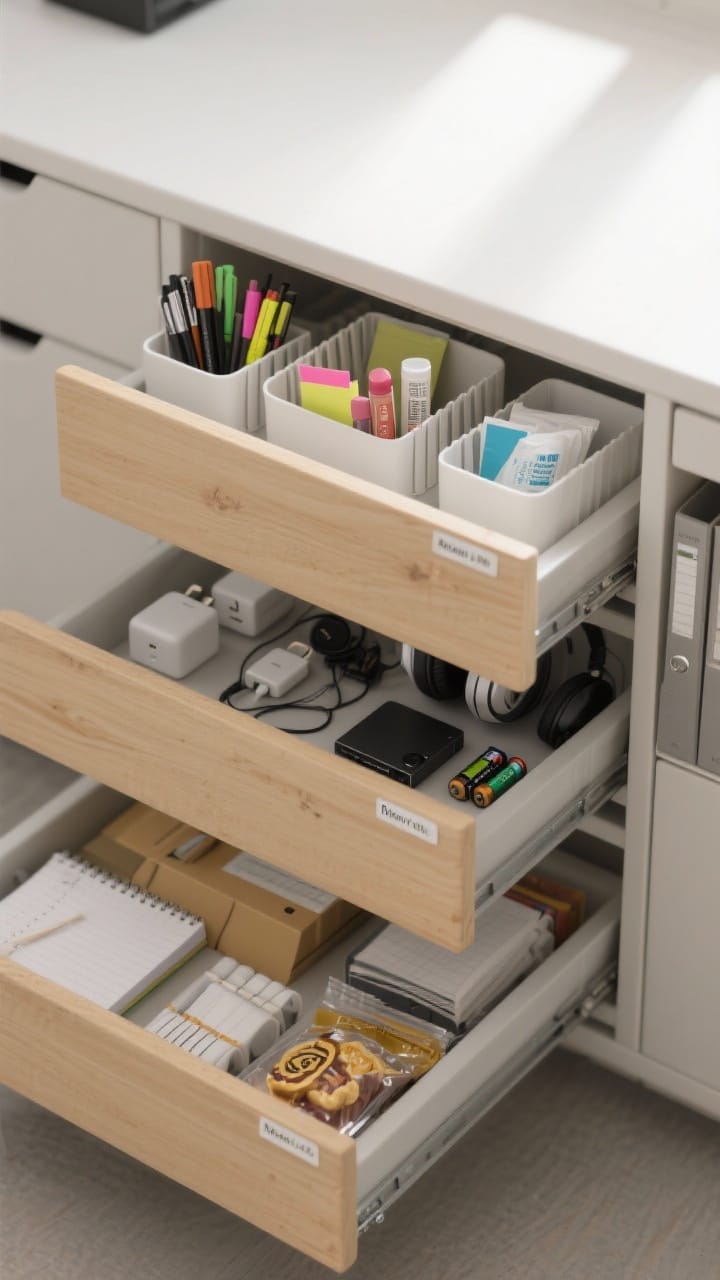
Drawers are not black holes. Give every item a home and you’ll stop hoarding paperclips “just in case.”
The 3-Drawer Method
- Top Drawer: Daily essentials—pens, highlighters, sticky notes, lip balm, sanitizing wipes.
- Middle Drawer: Tech—chargers, adapters, headphones, external drive, spare batteries.
- Bottom Drawer: Backup supplies—note pads, file folders, snacks (the good kind).
Use adjustable dividers or small bins so items can’t roam. Bonus: a slim file organizer for active projects.
- Apply micro-labels inside the drawer lip—clean look, huge clarity.
- Do a 30-second purge on Fridays. If it doesn’t belong, out it goes.
5. Paper Management That Doesn’t Require a Degree
Paper still happens. The trick is controlling the flow so it never piles up.
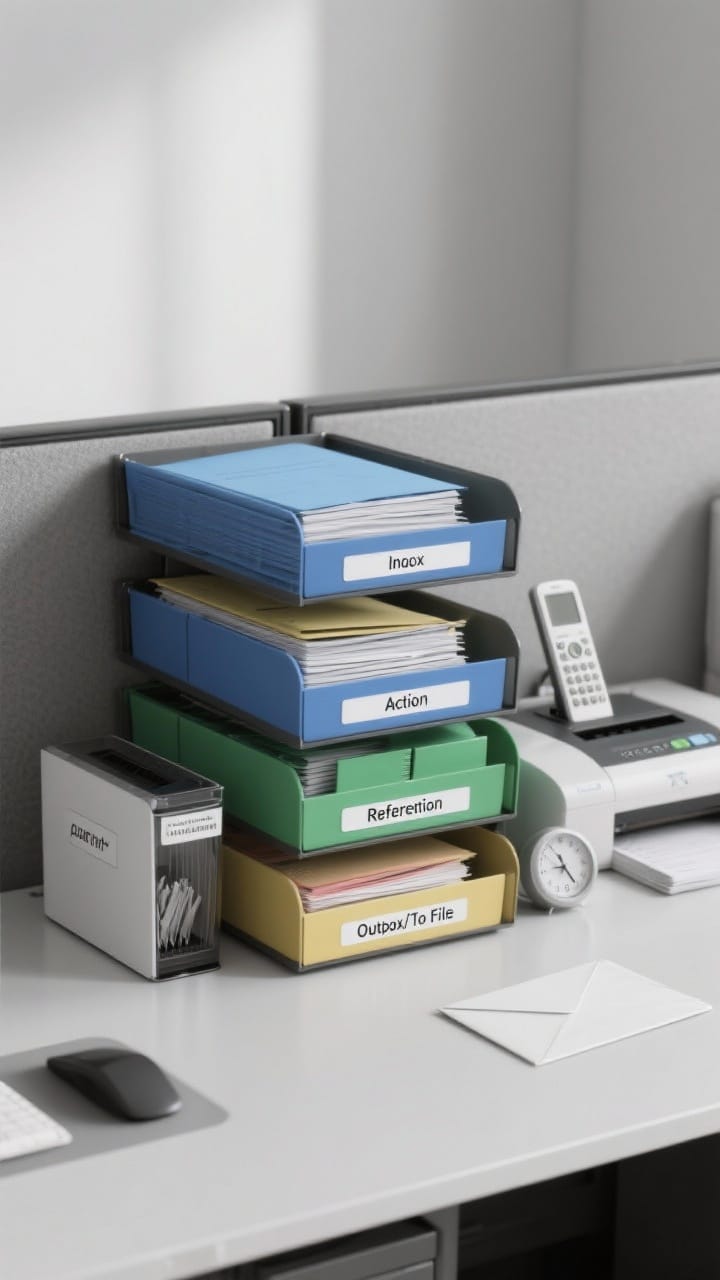
I’ve found that paper piles grow fastest when there’s no clear system. A simple inbox and action folder setup has saved me from last-minute stress more than once.
Your Paper Pipeline
- Inbox tray: New items land here first.
- Action folder: Only items you must do this week. Keep it thin.
- Reference folder: Quick-access info you consult often.
- Outbox/To File: For filing or handing off at day’s end.
Keep a small shredder bin or labeled envelope for confidential tosses. And scan anything that doesn’t need to be physical.
- Use color coding for projects—blue for clients, green for budgets, etc.
- Set a 10-minute “paper reset” after lunch. It’s the productivity palate cleanser.
6. Personalize With Intention (Yes, You Can Have Cute Stuff)
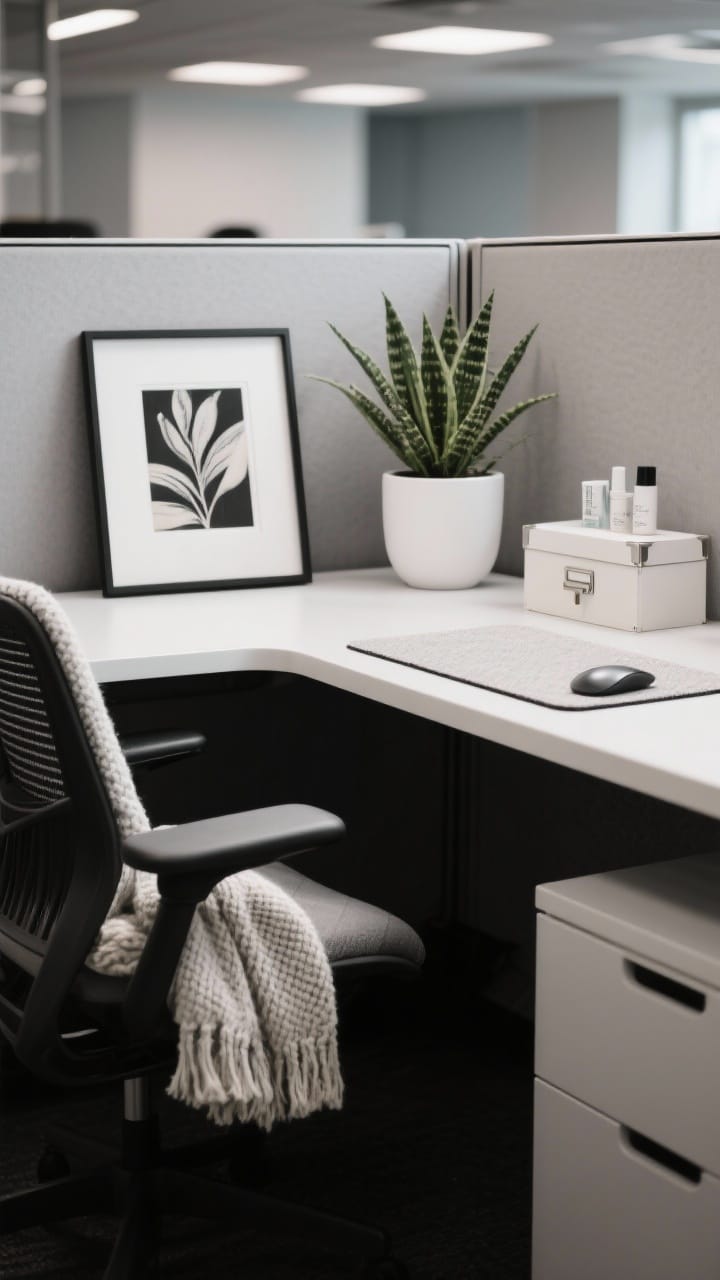
A sterile cube kills motivation, but a cluttered one tanks focus. The sweet spot: a few personal touches that spark joy without stealing attention.
Style Rules That Work
- One hero piece: A framed photo, a small art print, or a statement mug.
- One plant: Low-maintenance options like pothos, snake plant, or ZZ. Faux is fine, IMO.
- One texture: A soft mousepad, knit throw on your chair, or cork accents.
Keep your palette to two or three colors for instant cohesion. Black and white plus a pop is foolproof.
- Swap seasonal decor with small items—postcard prints, a tiny wreath, or colored binder clips.
- Use closed storage for any personal care items so your desk still reads “professional.”
7. Light It Right For Energy And Focus

Overhead office lights are… not it. A little lighting upgrade can change your whole mood and help you focus longer.
Lighting Game Plan
- Task lamp with adjustable neck for documents and keyboard.
- Warm-white bulb (around 3000–3500K) to reduce eye strain.
- Screen light bar if you’re tight on desk space.
If your office allows it, add a tiny LED strip under a shelf for soft glow. It looks luxe, costs little, and helps evenings feel less harsh.
- Position the lamp on your non-dominant side to minimize shadows.
- Use anti-glare filters if your monitor faces a window.
8. Set Up a Daily Reset Ritual (Takes 5 Minutes, Saves Your Sanity)
Organization isn’t a one-and-done. It’s a daily habit—and it can be quick and painless.
This daily reset habit has worked surprisingly well over time. Walking into a clear desk the next morning genuinely makes it easier to start working.
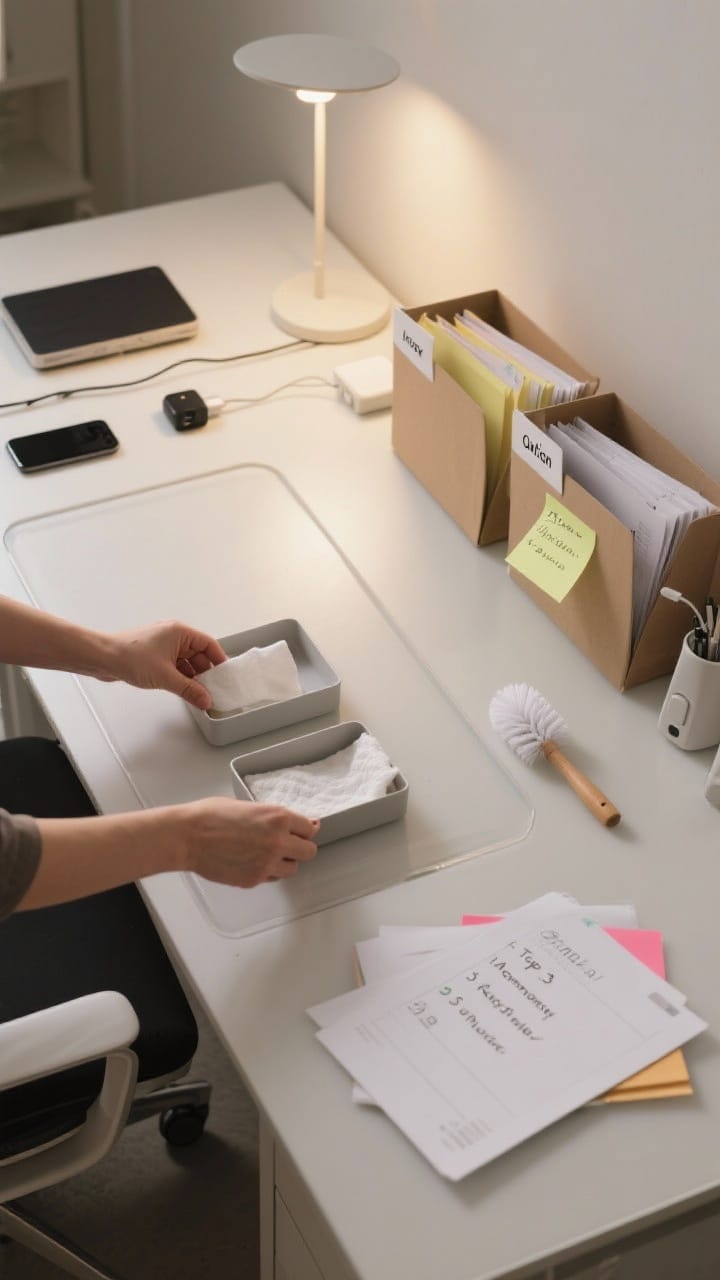
Your 5-Minute Reset
- Minute 1: Put stray items back in their zones.
- Minute 2: Clear paper into Inbox, Action, or Outbox.
- Minute 3: Wipe desk and keyboard. Hydrate. Stretch.
- Minute 4: Update tomorrow’s top 3 tasks on a sticky or digital list.
- Minute 5: Close tabs, charge devices, and dim lights. Done.
It’s tiny, but it stops clutter creep—and Monday You will love Friday You for it. FYI: Pair it with a calendar reminder so it actually happens.
- Keep wipes and a mini duster in your utility drawer—no excuses.
- Leave your desk with a clear surface; it’s a visual “fresh start” every morning.
9. Optimize Your Ergonomics So You Actually Want To Sit There
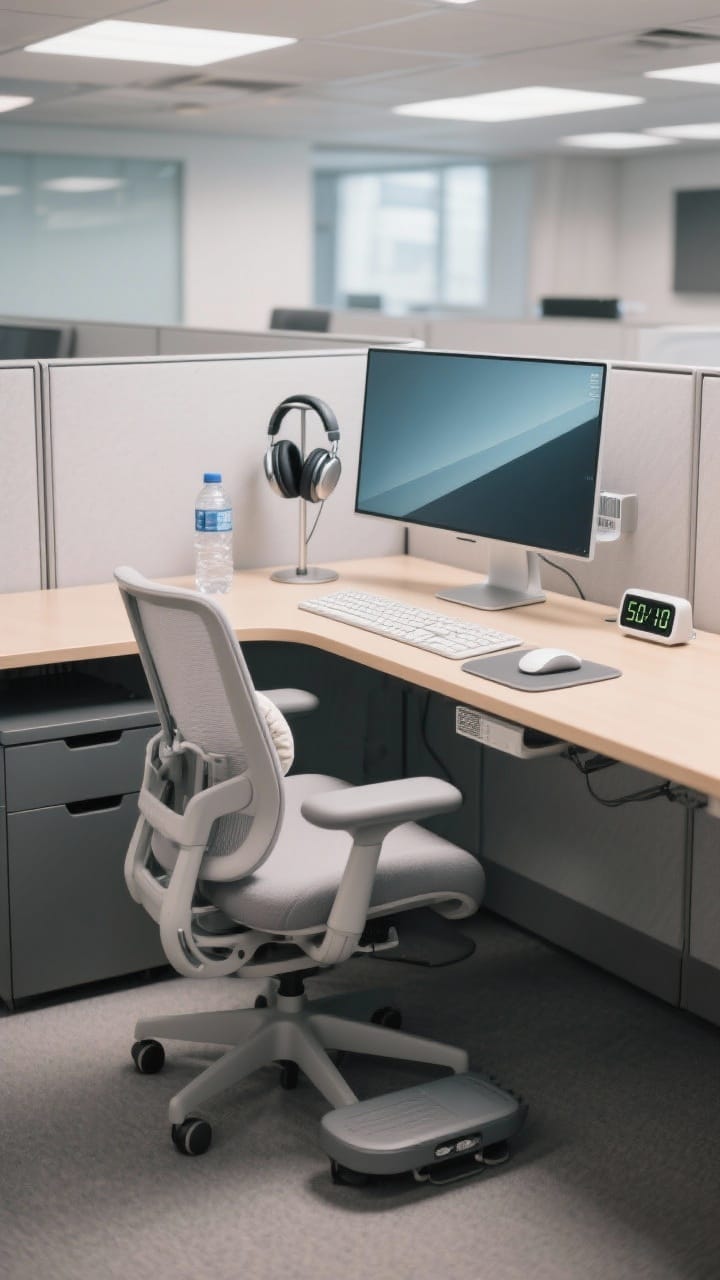
If your setup hurts, you’ll fidget, procrastinate, and accidentally scroll for 20 minutes. Ergonomics isn’t just comfort—it’s productivity.
Adjust the Basics
- Monitor height: Top third of the screen at eye level; arm’s length away.
- Chair setup: Feet flat, hips slightly above knees, lower back supported.
- Keyboard and mouse: Elbows at 90 degrees, wrists neutral (add a wrist rest if needed).
Add a footrest if your feet dangle, and a lumbar pillow if your chair is meh. A small standing mat works if you use a sit-stand desk.
- Place a water bottle within reach to encourage micro-breaks (hydration = focus).
- Use a timer for 50/10 cycles—50 minutes focused, 10 minutes stretch and reset.
Bonus: Sensory Cues
- A subtle desk diffuser with peppermint or citrus—if your office allows scents.
- Noise-canceling headphones for focus blocks; keep a “heads-down” signal with a small desk sign.
When your space feels good, your brain shifts into “let’s go” mode. It’s science—and a little bit of vibe.
Quick Recap Cheatsheet
- Go vertical with shelves, grids, and boards.
- Create clear desk zones and corral tools on a tray.
- Hide cables, label everything, and keep a weekly Action folder.
- Personalize with one plant, one hero piece, and one texture.
- Light smarter, reset daily, and dial in ergonomics.
You don’t need a full makeover to transform your cubicle—just a few smart moves and a weekly routine. Start with one idea, then layer in the rest as you go. Your future, wildly productive self is already applauding.
FAQ
1. How can cubicle organization improve productivity at work?
2. What are the best cubicle organization ideas for small spaces?
3.How do I keep my cubicle organized long term?
4. Are cubicle organization ideas allowed in professional offices?
5. What is the easiest cubicle organization idea to start with?
If you enjoyed these office decor ideas, explore more office decor ideas for extra inspiration.
- 11 Small Cubicle Decor Ideas on a Budget That Feel Luxe
- 15 Decorating Your Office at Work Ideas You’ll Love
- 10 Office Cubicle Decorating Ideas That Boost Joy and Focus
You Might Also Like


Get cozy seasonal ideas in your inbox
Seasonal decor, recipes & home inspiration — straight to you. No spam, unsubscribe anytime.