📌 Love these ideas? Follow us on Pinterest for daily home decor inspiration! Follow @SeasonalHomeMagic →
DIY pantry cabinet: how to build a stylish storage solution that fits your space perfectly. You don’t need a sprawling kitchen to create a pantry that works hard and looks custom. With a few sheets of plywood, basic tools, and a weekend, you can build a DIY pantry cabinet tailored to your needs. This step-by-step guide walks you through planning, materials, assembly, finishing, and organization, so you end up with a functional storage solution you’ll be proud to show off.
Plan Your Pantry Like a Pro
Start with your space. Measure the height, width, and depth of the spot where your pantry will live, and note any obstructions like baseboards, outlets, or vents.
Then plan the interior. Think about what you’ll store: tall items like cereal boxes, short jars, small appliances, baking trays. Design shelf spacing around real items, not guesses.
Ideal Dimensions and Clearances
- Depth: 14–18 inches is ideal for pantry shelves. Deeper than 18 inches can turn into a black hole.
- Width: 24–36 inches is comfortable for a single cabinet. Wider can work, but add a center stile or extra support.
- Height: Go tall if you can—80–96 inches maximizes vertical storage. Leave 1–2 inches clearance from the ceiling for easier install.
- Toe-kick: A 3–4 inch high by 2–3 inch deep toe-kick improves ergonomics and looks built-in.
Smart Shelf Spacing
- Everyday shelves: 10–12 inches between shelves fits most pantry goods.
- Tall shelves: 14–16 inches for cereal boxes and paper towels.
- Small-appliance shelf: 16–18 inches if you want to store mixers or air fryers.
- Adjustable shelves: Add shelf pin holes every 1 inch to adapt as needs change.
Materials and Tools That Make It Easier
Materials matter for a clean build. Plywood is strong, stable, and easier to finish than particle board.
Recommended Materials
- 3/4-inch plywood (cabinet-grade) for sides, top, bottom, and fixed shelf
- 1/2-inch plywood for the back panel
- 1×2 or 1×3 hardwood for face frame (optional but adds strength and style)
- Edge banding (iron-on) for exposed plywood edges
- Shelf pins and sleeves, or cleats for fixed shelves
- Wood screws (1-1/4 inch and 1-1/2 inch), brad nails (if using a nailer)
- Wood glue and wood filler
- Door hardware: hinges (concealed or surface-mount), pulls, magnetic catches or soft-close latches
- Paint, primer, or clear finish; caulk for seams, if painting
Tools You’ll Use
- Circular saw with edge guide or table saw
- Drill/driver and drill bits; pocket-hole jig (optional)
- Router with flush trim bit (optional) or flush-cut saw
- Random-orbit sander and sanding blocks (120–220 grit)
- Clamps (bar clamps or parallel clamps)
- Square, tape measure, level, and pencil
- Iron (for edge banding) and utility knife
- Nail gun (optional) for face frame or back panel
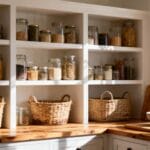
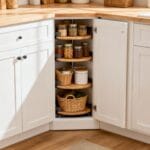
Design Choices: Open Shelves, Doors, or Both?
Your pantry can be a full-height cabinet with doors, an open-shelf unit, or a hybrid. Doors hide clutter and keep dust out, while open shelves make daily access faster.
Door Styles
- Slab doors: Clean, modern, easiest to build from plywood with edge banding.
- Shaker doors: Classic style using a 1/2-inch plywood panel and 1×3 rails/stiles.
- Glass inserts: Great for a lighter look; use tempered glass in busy homes.
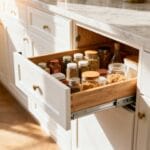
Interior Upgrades
- Pull-out trays for baking supplies or canned goods.
- Vertical dividers for cutting boards and trays.
- Door spice racks or shallow baskets for quick-grab items.
Cut List and Layout Tips
Sketch your cabinet and write a cut list before touching the saw. Label each piece as you cut—it prevents mix-ups later.
Sample Cut List (30W x 80H x 16D cabinet)
- Sides: 2 pieces, 80 x 16 inches (3/4-inch ply)
- Top and bottom: 2 pieces, 28-1/2 x 16 inches (3/4-inch ply) for a 1-1/2 inch face frame
- Fixed shelf: 1 piece, 28-1/2 x 16 inches (3/4-inch ply)
- Adjustable shelves: 4–6 pieces, 28-1/2 x 15 inches (3/4-inch ply) to clear the back panel
- Back panel: 1 piece, 78-1/2 x 28-1/2 inches (1/2-inch ply) if inset
- Face frame: 2 stiles at 80 x 1-1/2 inches, 3 rails at 28-1/2 x 1-1/2 inches
- Doors: Two doors at 39-3/4 x 14-1/4 inches each (account for hinge gaps and reveals)
Adjust all measurements to your specific design and hardware requirements. Always dry-fit parts before assembly.
Grain Direction and Edge Banding
- Run side panel grain vertically for a professional look.
- Band exposed edges on the doors, shelves, and sides after cutting and before assembly.
- Trim edge banding with a sharp utility knife, then sand lightly for a seamless feel.

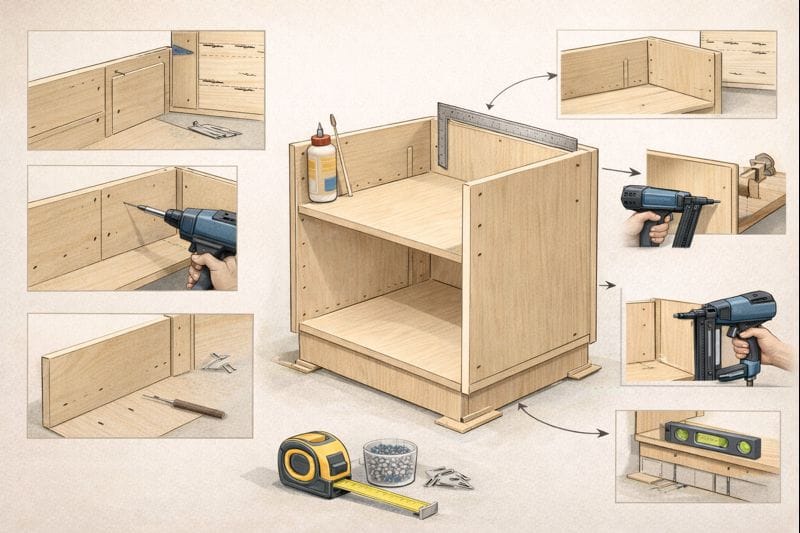
Build the Box: Strong, Square, and Straight
The cabinet box (carcass) sets the tone for everything else. Aim for square and flush joints—everything fits better when the box is right.
Step-by-Step Assembly
- Layout and mark: On the inside of the side panels, mark the locations of the top, bottom, and fixed shelf. The fixed shelf adds rigidity—place it around the midpoint.
- Pre-drill: Drill pilot holes to prevent splitting, especially near edges.
- Joinery choices: Use pocket screws, dowels, biscuits, or simple glued butt joints reinforced with screws. Pocket screws are fast and strong for this project.
- Assemble top and bottom: Glue and screw through the sides into the ends of the top and bottom panels. Use a square to keep things true.
- Add the fixed shelf: Glue and screw it in at your marked height. Check for square again.
- Install the back: Square the box, then attach the back panel with glue and brads or screws. The back locks everything in and keeps the cabinet rigid.
Toe-Kick and Leveling
- Build a separate toe-kick base from 3/4-inch plywood and level it first.
- Anchor the base to studs, then set the cabinet on top and secure through the back and side into studs.
- Use shims liberally to get plumb and level. Trim shims flush with a sharp knife.
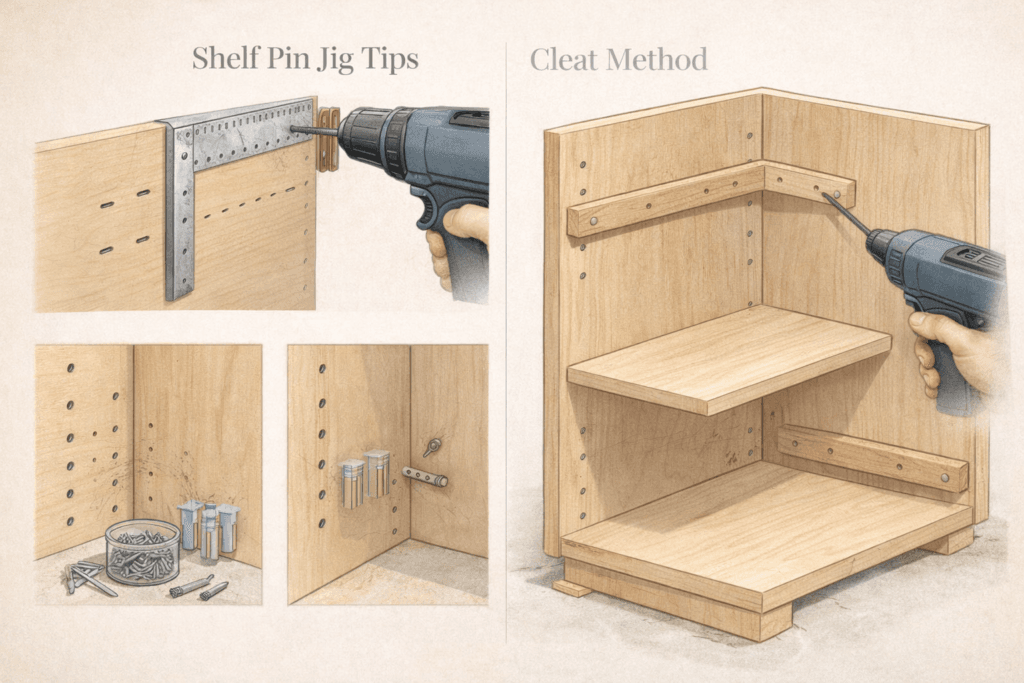
Make It Adjustable: Shelf Pins or Cleats
Adjustable shelves keep your pantry useful for years. Shelf pin holes are the cleanest option.
Shelf Pin Jig Tips
- Use a shelf pin jig or make one from scrap with 1-inch spacing.
- Drill holes 1-1/2 inches from the front and back edges to avoid tear-out.
- Stop 6 inches from the top and bottom to maintain strength.
- Use pin sleeves if you want a refined, durable look.
Cleat Method
- Rip 3/4 x 3/4-inch cleats and screw them to the sides at your desired heights.
- Great for heavy loads and rustic builds, but less flexible than pins.
Add the Face Frame (Optional but Recommended)
A face frame hides plywood edges, stiffens the cabinet, and gives a furniture-grade finish. It also makes door alignment easier.
Building and Attaching the Face Frame
- Assemble the frame using pocket screws or dowels, ensuring square corners.
- Dry-fit the frame, then glue and clamp it to the carcass. Add a few brads to keep it from shifting while the glue sets.
- Sand the face frame flush to the cabinet sides and shelves.
Doors That Hang Straight and Close Smooth
Well-fitted doors elevate the whole project. Decide on overlay (common for face frames) or inset (requires more precision).
Hinges and Gaps
- Concealed Euro hinges offer adjustability and a clean look.
- For full overlay doors on a face frame, use face-frame mounting plates or adapter blocks.
- Maintain even reveals: 1/16–1/8 inch gaps around doors look intentional and prevent binding.
Building Slab or Shaker Doors
- Slab: Cut to size from 3/4-inch plywood. Band edges, sand smooth, and keep the grain direction consistent.
- Shaker: Build a frame from 1×3 rails and stiles with a 1/2-inch plywood panel set in a groove. Glue the frame; leave the panel floating to prevent cracks.
Finishing: Paint, Stain, or Clear Coat
Take your time on finishing. The surface is what you’ll see and touch every day.
Prep for Success
- Fill nail holes and minor gaps with wood filler; caulk tiny seams if painting.
- Sand through 120, 150, and 180 or 220 grits. Vacuum thoroughly and tack cloth the dust.
- Prime if painting—especially plywood edges, which soak up finish.
Finish Options
- Paint: Durable cabinet enamel or acrylic-alkyd blends cure hard and clean easily. Two light coats are better than one heavy coat.
- Stain + Clear: Use a pre-stain conditioner on softwoods. Top with water-based polyurethane for low odor or oil-based poly for warmth.
- Clear Only: If you used a pretty veneer, a clear coat keeps it simple and modern.
Hardware Tricks
- Install pulls 2–3 inches from the door edge for comfortable reach.
- Use a hardware jig for consistent hole placement.
- Add soft-close hinges or dampers for a premium feel.
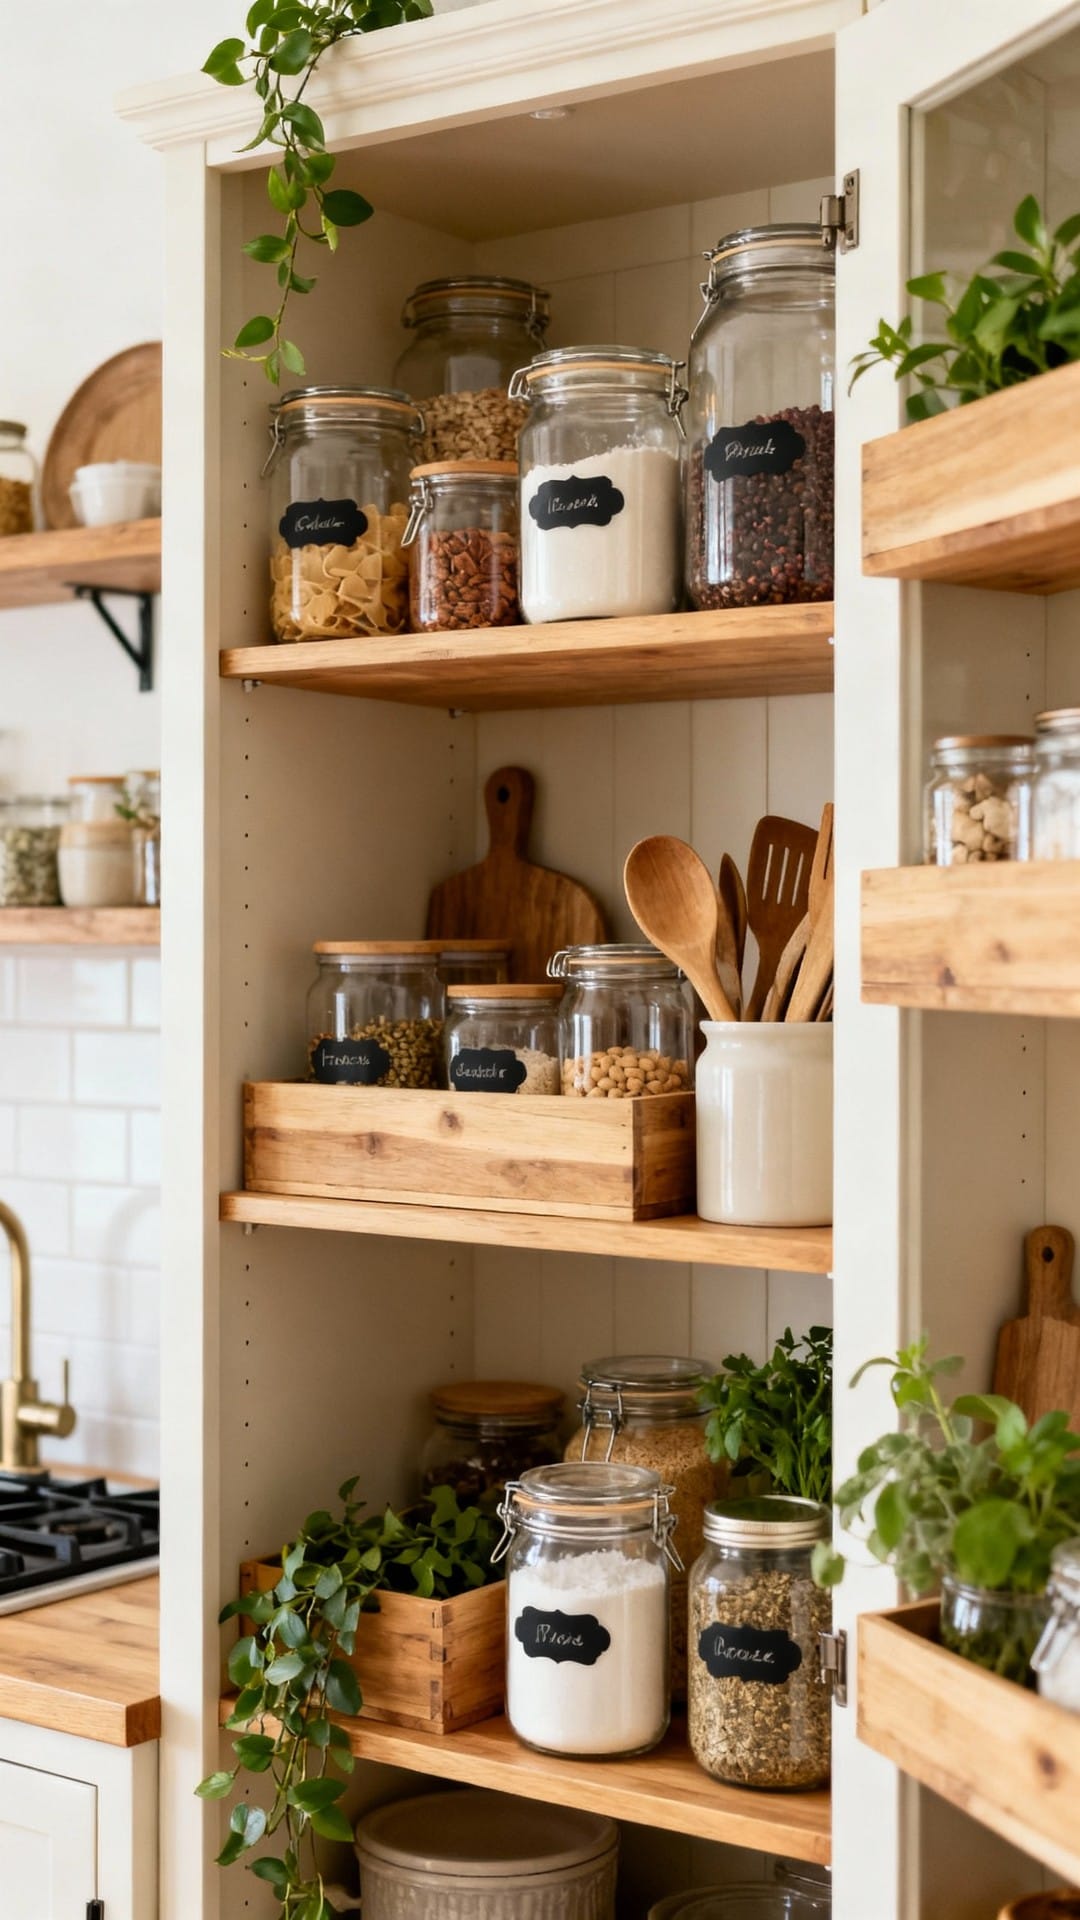
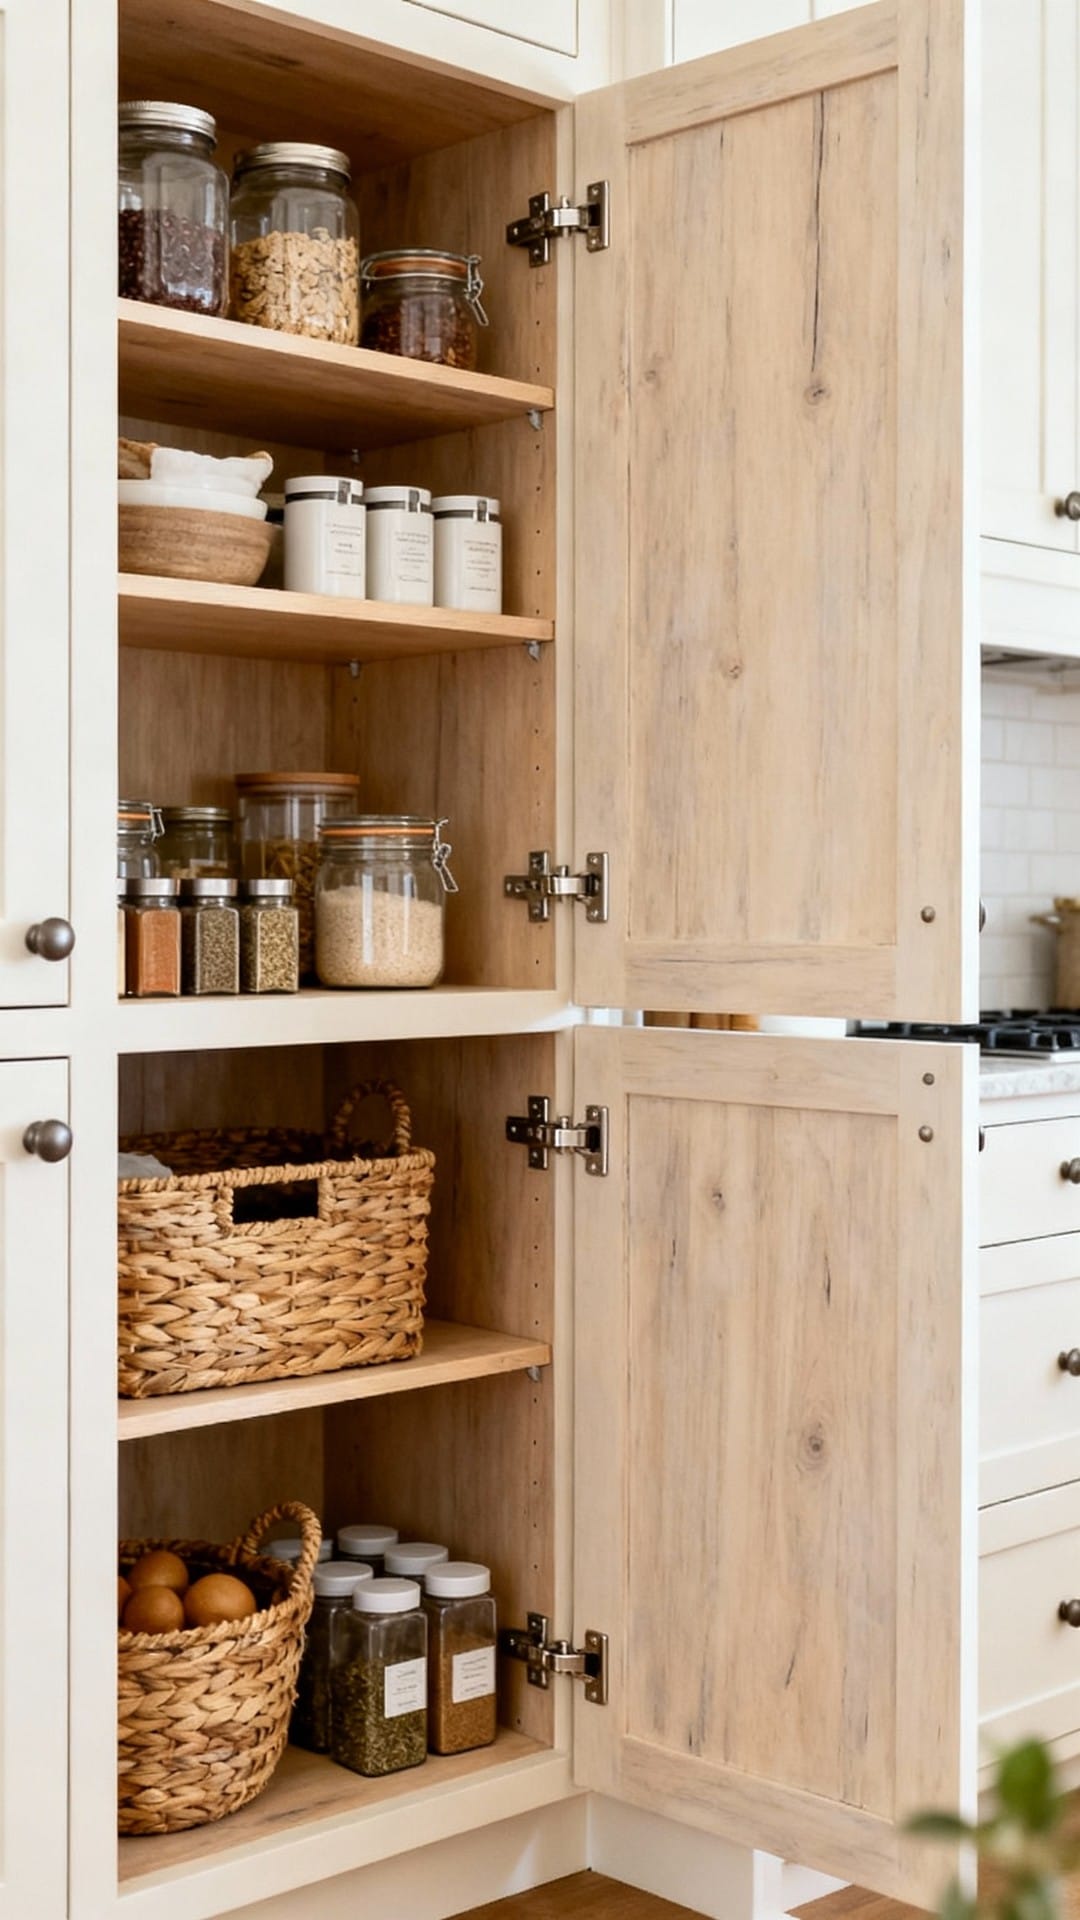
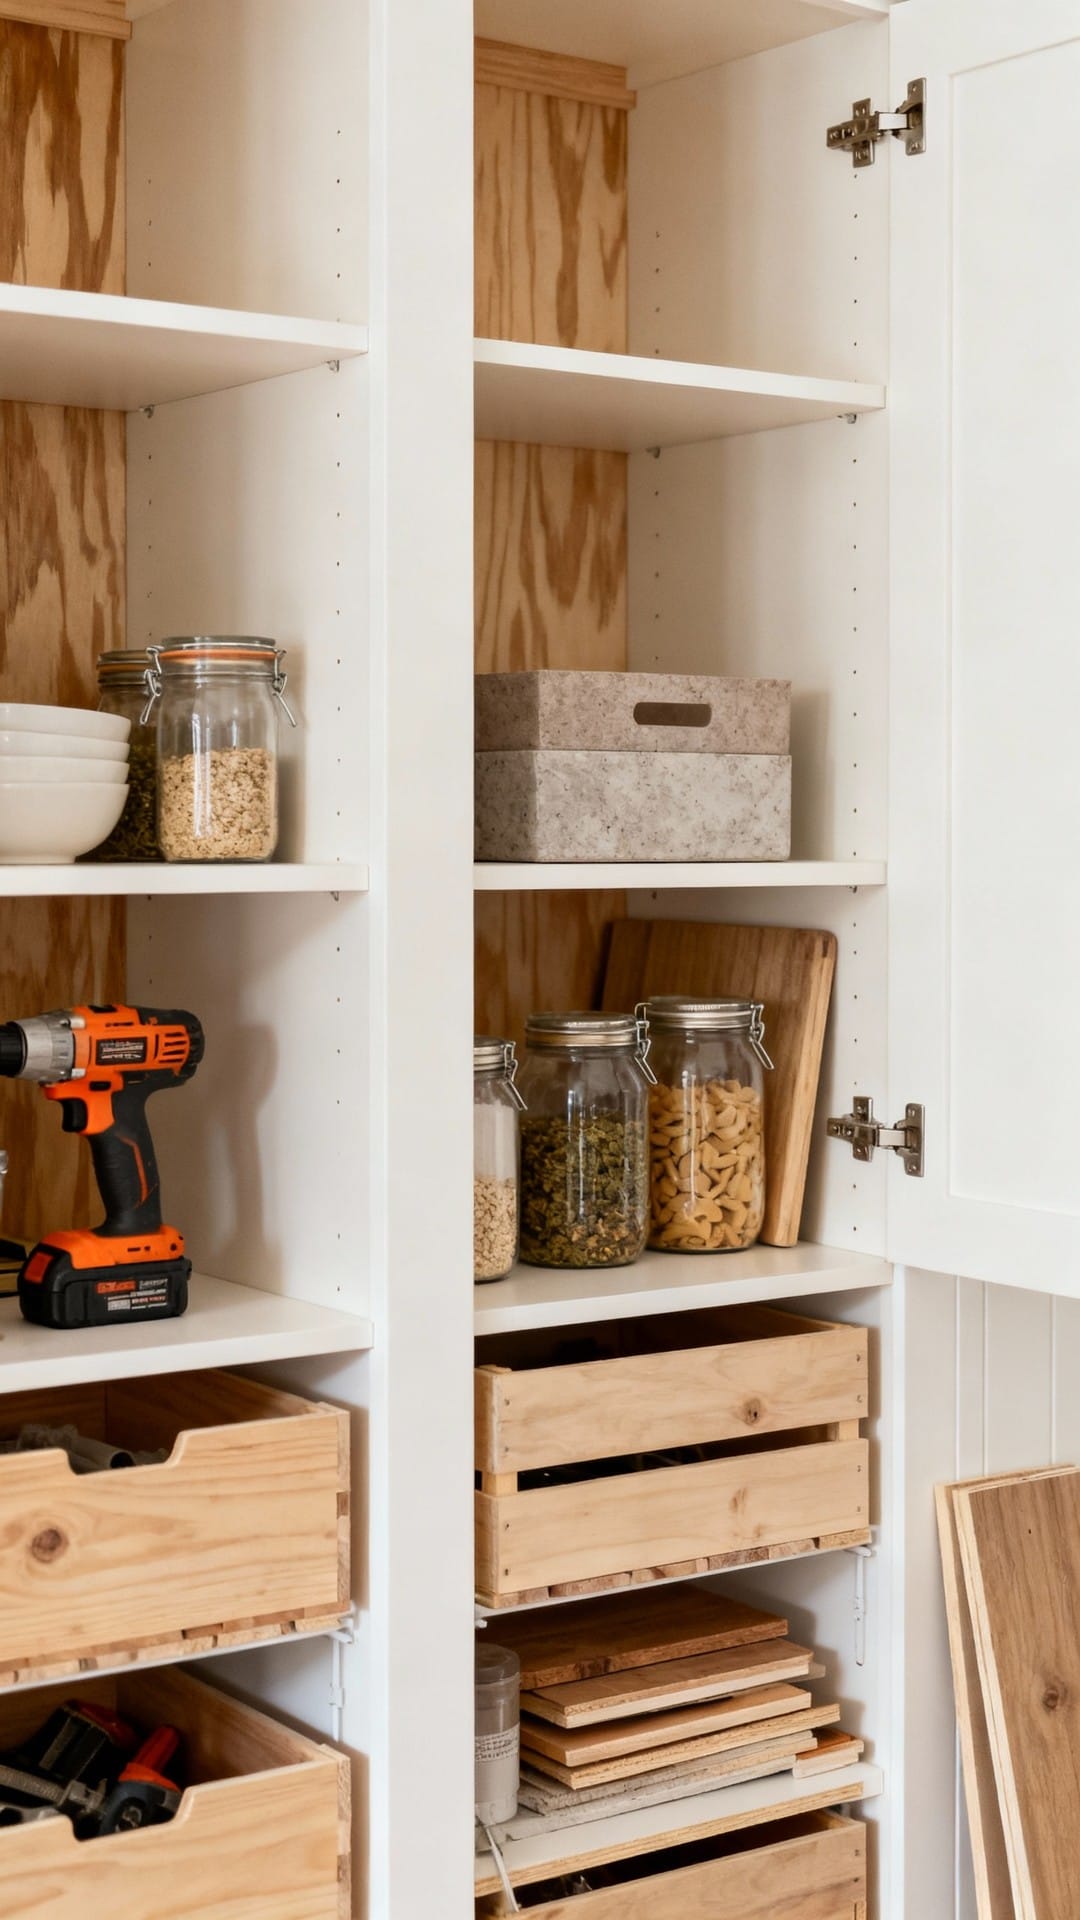
Organize the Inside: Build for Real Life
Now make the inside work for your stuff. Good organization beats more shelves every time.
Zone Your Storage
- Daily use: Eye-level shelves for snacks, coffee, breakfast items.
- Baking: One shelf with clear bins for flour, sugar, and baking powder.
- Cans and jars: Shallow or pull-out shelves keep labels visible.
- Appliances: One deeper, reinforced shelf for heavier gear.
- Backstock: Top shelf for extras and rarely used items.
Low-Cost Upgrades
- Use clear bins with labels. They control chaos and prevent half-open bags from leaking everywhere.
- Add a tiered can organizer or angled shelf for quick scanning.
- Install a spice rack on the inside of a door—just check hinge clearance.
Safety, Anchoring, and Longevity

A tall cabinet must be anchored. It’s a safety essential, especially in homes with kids or pets.
Anchoring and Load Tips
- Find studs and secure the cabinet through the back with 2-1/2 to 3-inch screws.
- If no studs align, use a French cleat or add a horizontal cleat inside the cabinet to hit studs.
- Don’t overload adjustable shelves; add a center support for shelves wider than 30 inches.
Maintenance
- Tighten hinge screws once a year to keep doors aligned.
- Re-seal or touch up paint as needed on high-wear edges.
- Rearrange shelves seasonally to match how you actually cook and eat.
Time and Budget Breakdown
Costs vary based on materials and hardware, but you can build a stylish pantry without overspending.
Typical Budget
- Plywood: $120–$250 depending on grade and number of sheets
- Hardware (hinges, pulls, shelf pins): $40–$120
- Finish (primer, paint or poly, brushes/rollers): $40–$100
- Misc (glue, screws, edge banding): $25–$60
Total rough range: $225–$530, often less than half the cost of pre-made pantry cabinets of similar size.
Timeline
- Planning and shopping: Half a day
- Cutting and assembly: 1 day
- Finishing: 1–2 days with drying time
- Install and organization: Half a day
Common Pitfalls (and How to Avoid Them)
Small mistakes add up. Here’s how to sidestep the usual headaches.
Keep It Square
- Check for square after every major step: top, bottom, fixed shelf, back installation.
- Measure diagonals—if they match, you’re square. If not, clamp and tweak before the glue sets.
Mind Your Hardware Tolerances
- Leave door reveals and overlay clearances per the hinge instructions.
- Pre-drill for hardware; plywood can split if you force screws near edges.
Don’t Overbuild the Depth
- Beyond 18 inches deep, add pull-out trays. Otherwise, you’ll lose items to the back row forever.
- Use light-colored finishes inside for better visibility.
Customization Ideas to Elevate the Look
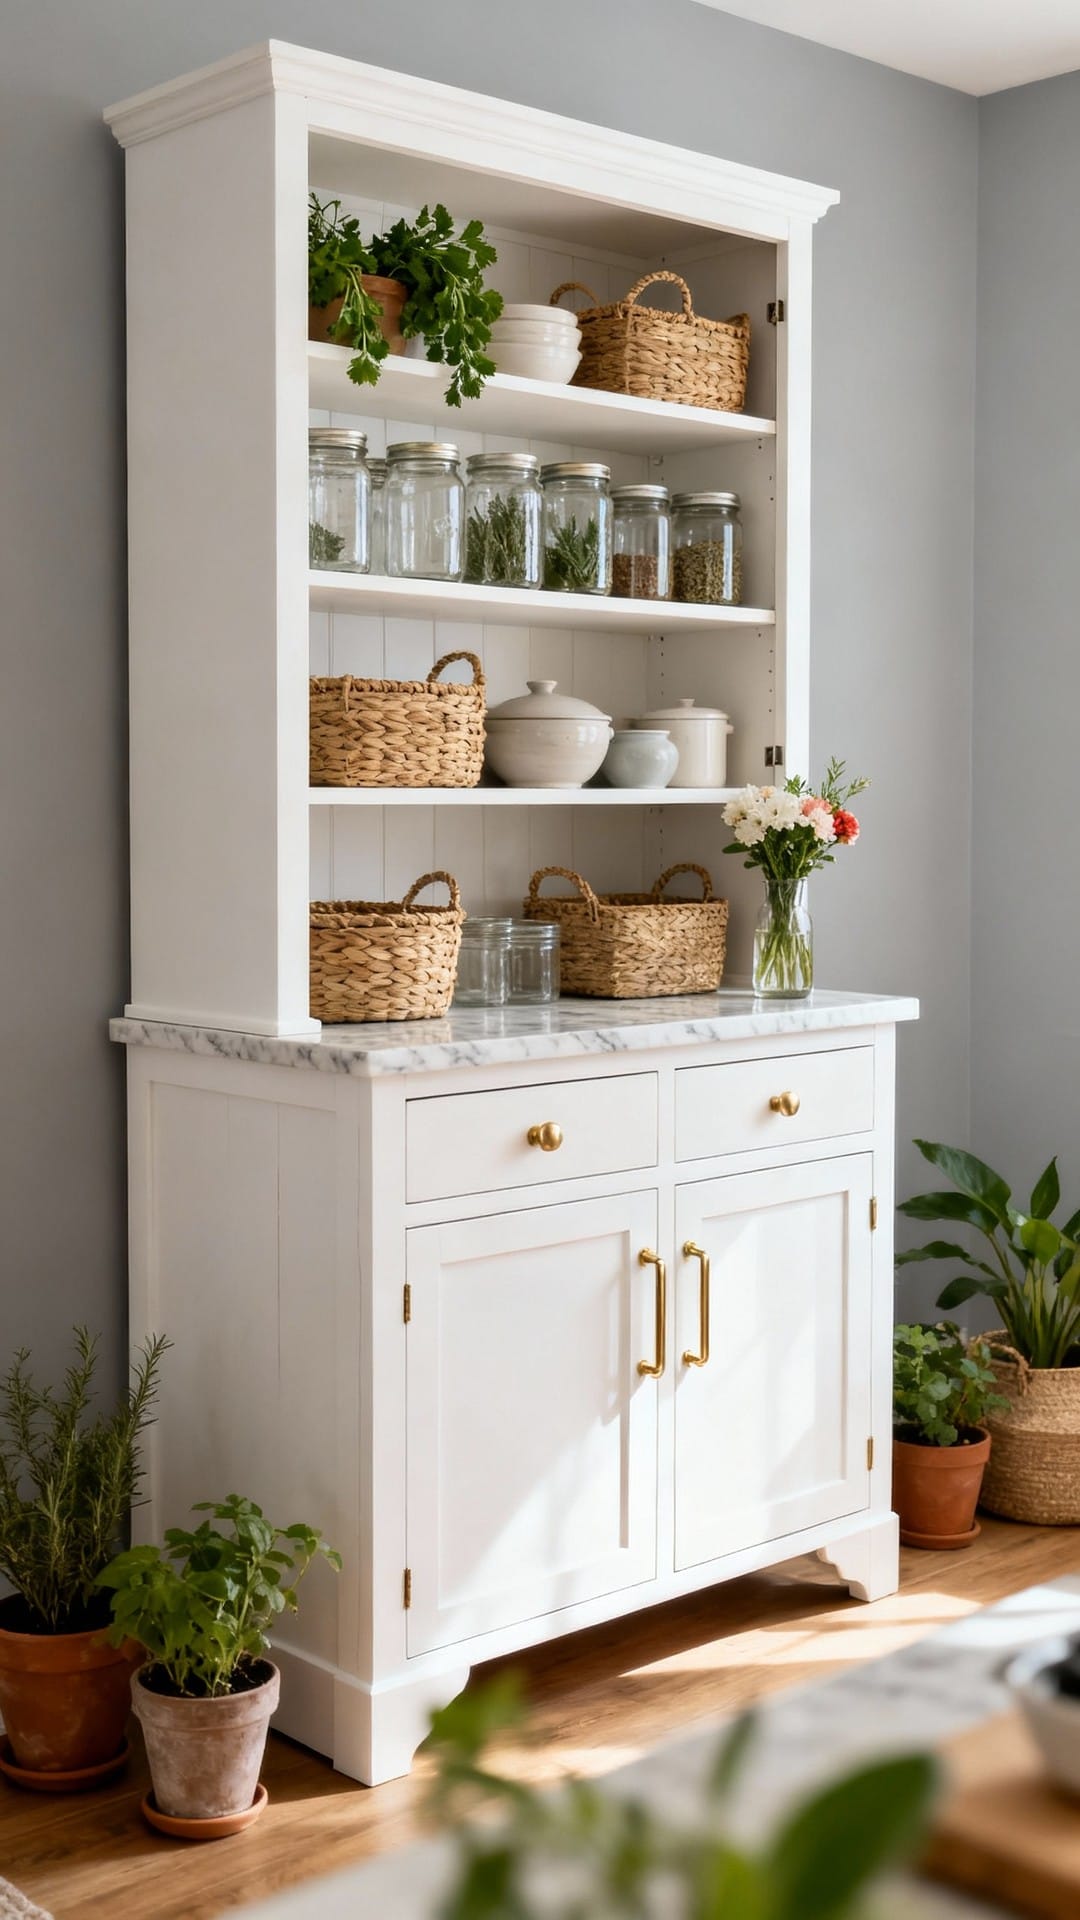
Little design choices can make your DIY look custom. Mix function and style for a cabinet that fits your home.
Style Tweaks
- Crown molding at the top for a built-in feel.
- Beadboard or shiplap back panel for texture (painted to match or contrast).
- Two-tone finish: Painted exterior with a natural wood interior.
Function-First Add-ons
- LED strip lights with a door-activated switch.
- Hidden charging shelf for tablets or small appliances—add a grommet and outlet cutout.
- Vertical wine cubbies or a narrow broom closet section if space allows.
Step-by-Step Quick Summary
- Measure the space and design around real items you’ll store.
- Buy quality plywood and hardware for durability.
- Cut panels, drill shelf pin holes, and edge-band exposed edges.
- Assemble the carcass with glue and screws; add a fixed shelf for stiffness.
- Attach the back panel squarely; build and mount a toe-kick base.
- Add a face frame, sand smooth, and install adjustable shelves.
- Build and hang doors with proper reveals; add pulls and soft-close hardware.
- Finish with primer and paint or stain and clear coat; organize by zones.
- Anchor to studs and enjoy your new storage.
Conclusion
A DIY pantry cabinet is one of those projects that pays you back every day. It organizes your kitchen, expands your storage, and looks like it came from a high-end showroom—without the price tag. Measure carefully, build square, and finish thoughtfully. With a weekend of focused work, you’ll have a stylish, durable storage solution tailored to your space and how you actually cook and live.
Frequently Asked Questions
What are the ideal dimensions for a DIY pantry cabinet?
How should I plan shelf spacing inside the pantry?
What materials and tools do I need to build it?
How can I make a DIY pantry look custom and stylish?
Any tips to avoid common pantry design mistakes?
This article is intended as general guidance and inspiration. Every space, set of tools, and skill level is different, so always adapt the steps to your own situation and work safely. The information provided is for informational purposes only, and any use of the instructions is at your own responsibility.