
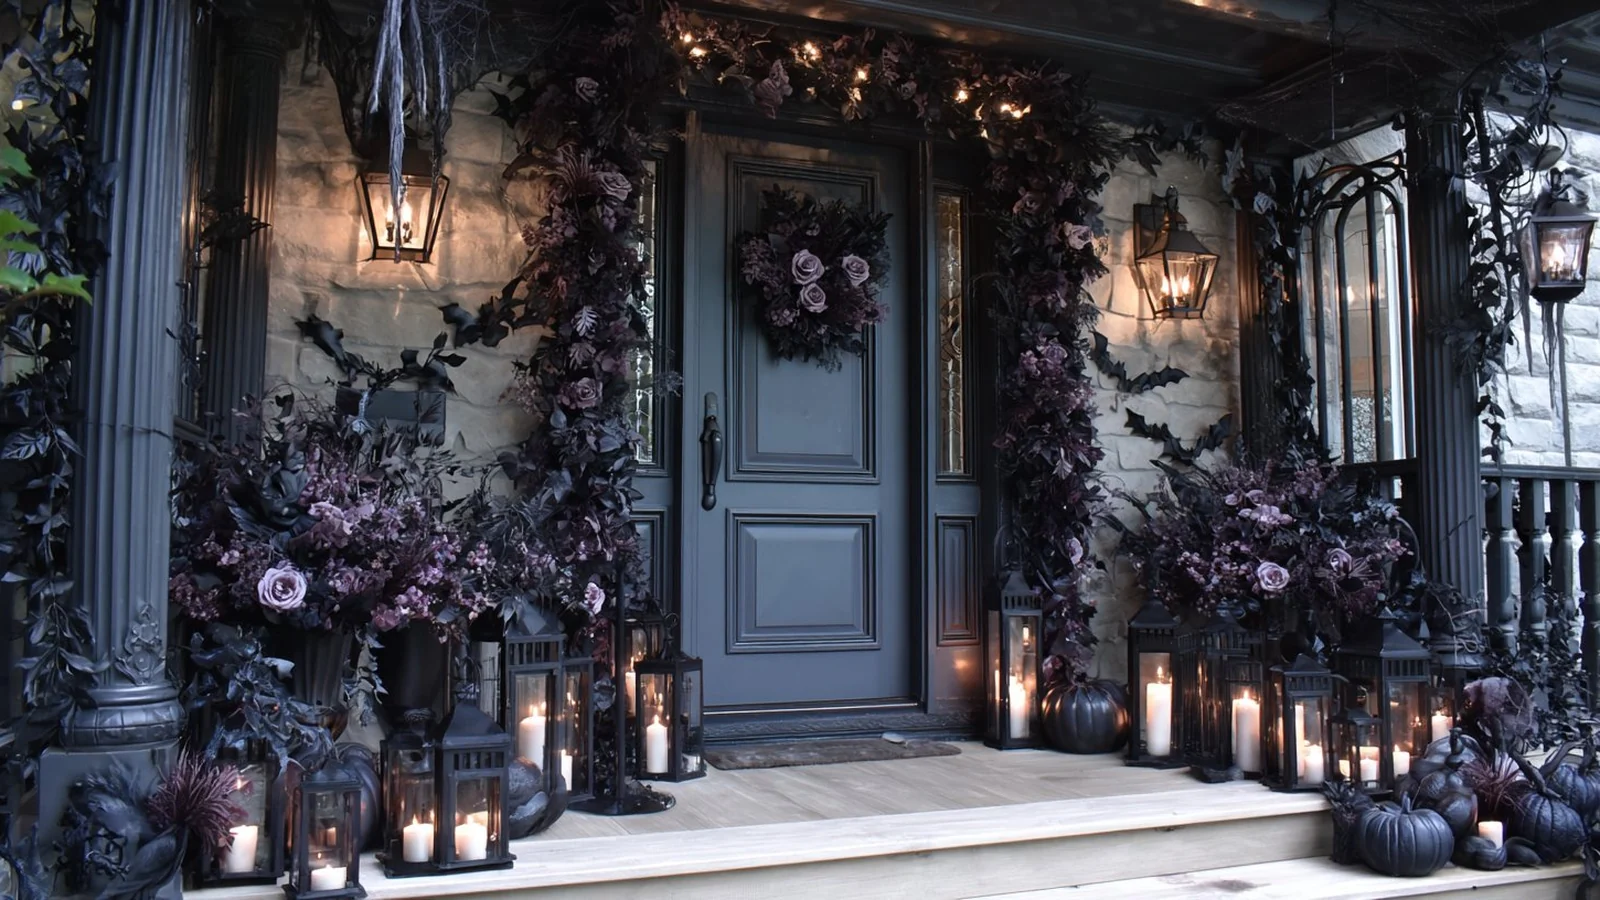
There’s a particular kind of disappointment that comes with walking outside on the morning of October 30th and finding your tombstones face-down in the grass, the spider web sagging off the shrubs in wet gray clumps, and the one strand of lights that worked yesterday now dark. You did the work. The weather simply had other plans.
Every one of these halloween decoration ideas outdoor diy projects starts with a problem like that and ends with a fix you can do this weekend. No tree in the yard, no outlet on the porch, nothing you’re allowed to nail into, a budget of almost nothing, wind that flattens everything by Tuesday. Pick the one that matches the headache you already have, and let’s get your yard looking the way you pictured it.
One rule ran through all of it: every project here had to use hardware-store parts and stay outside for the whole month. That’s the filter these halloween decoration ideas outdoor diy had to pass before they made the list.
1. Anchor Tombstones With Hidden Sandbags
 1/5
1/5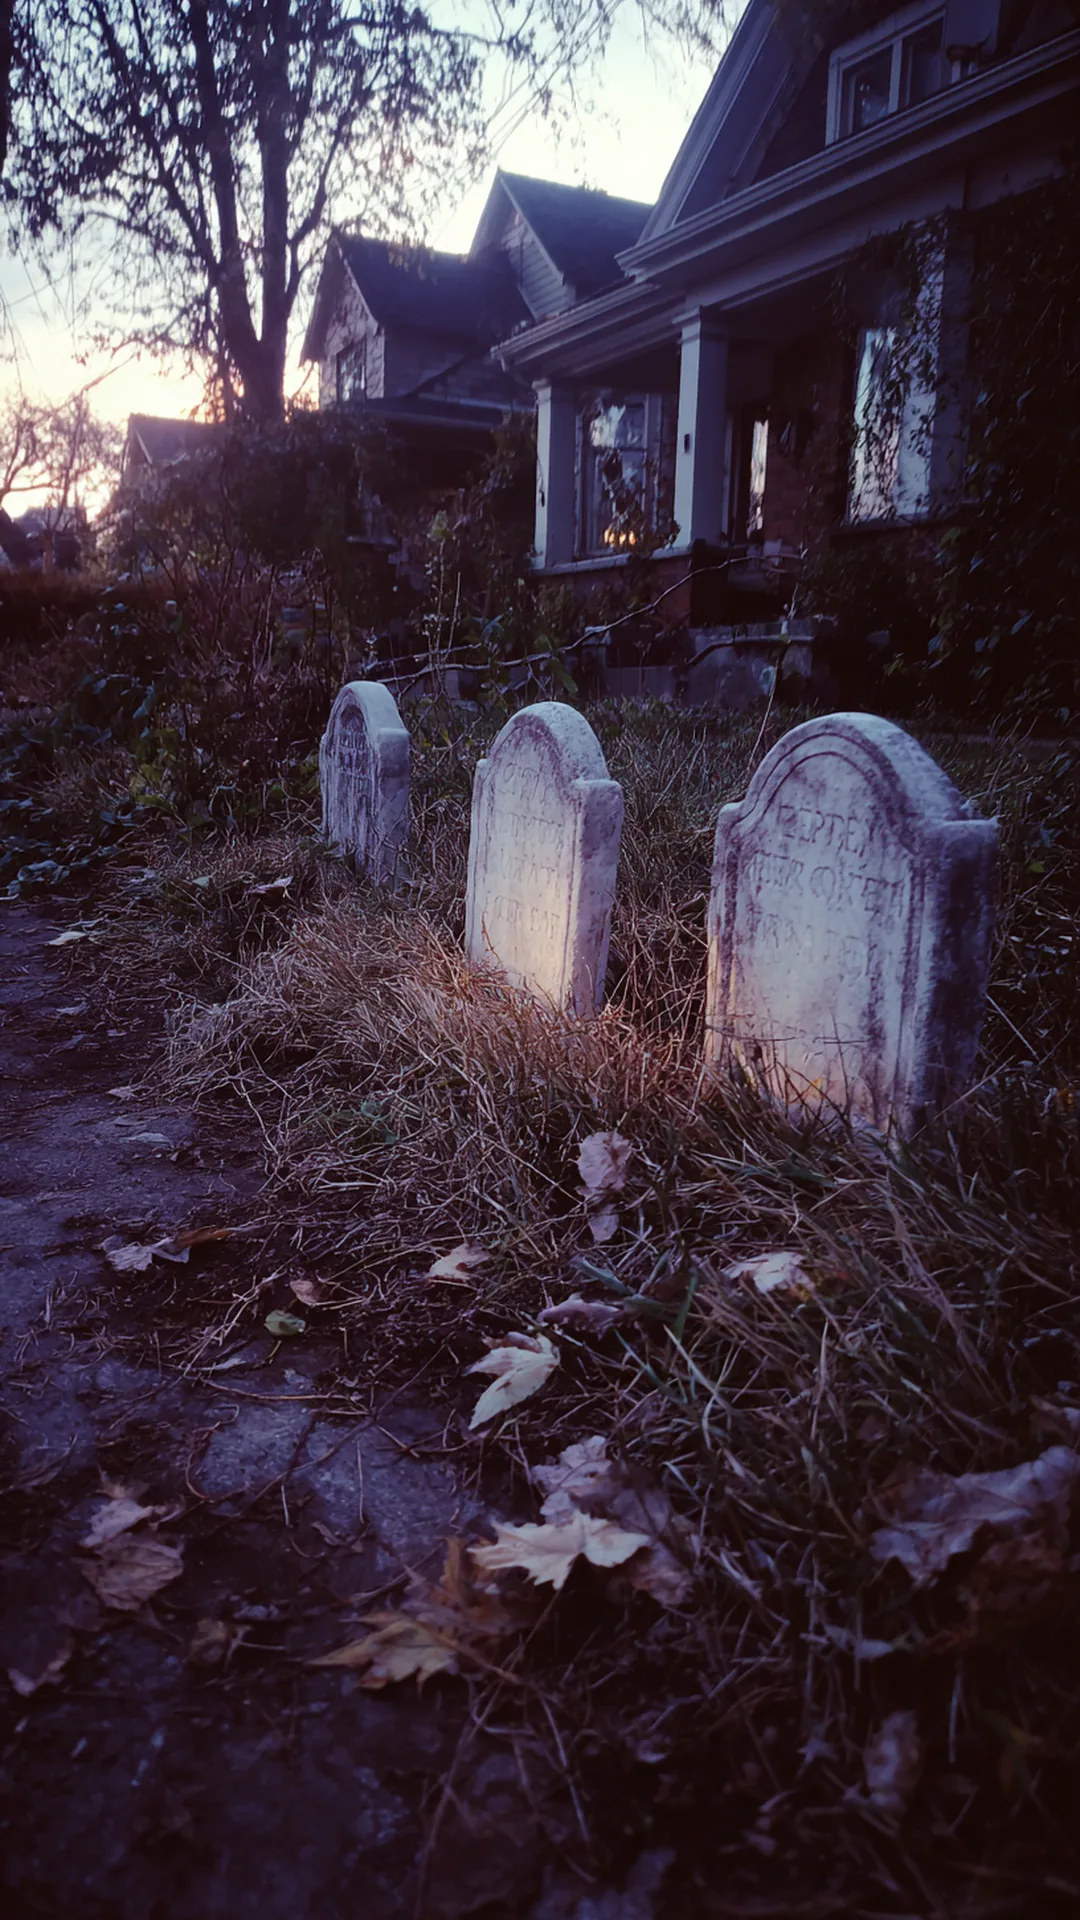 2/5
2/5 1JOYIN 17in Foam RIP Graveyard Tombstones 5 Pack · Shop on Amazon1JOYIN 17in Foam RIP Graveyard Tombstones 5 Pack · Shop on Amazon3/5

Foam tombstones weigh almost nothing, so one gusty night flattens your whole graveyard. The fix is weight you can’t see: set a small sandbag at the base of each stone and drive the stake down through the bag into the soil. The stone stays upright through wind and rain, and nothing shows above the grass.
Start with the cheap bags of play sand from the garden aisle at a hardware store, split into gallon zip bags so you can tuck them anywhere. Lay one flat against the back of each tombstone, then push a long garden stake or a piece of rebar through the sand and about 10 inches into the ground. Scatter a handful of dry leaves or a little straw over the bag and it disappears completely. If your yard is mostly hard clay, soak the spot with a hose an hour before you stake, or you will fight it the whole time.
Quick Tips
- Angle the stake slightly backward so wind pushes the stone into the ground instead of out of it
- Two smaller bags beat one heavy bag, since you can shape them around uneven ground
- Check the stakes after the first real storm and add a bag anywhere a stone leaned
2. Light the Walkway With Solar Stake Lanterns
 1/5
1/5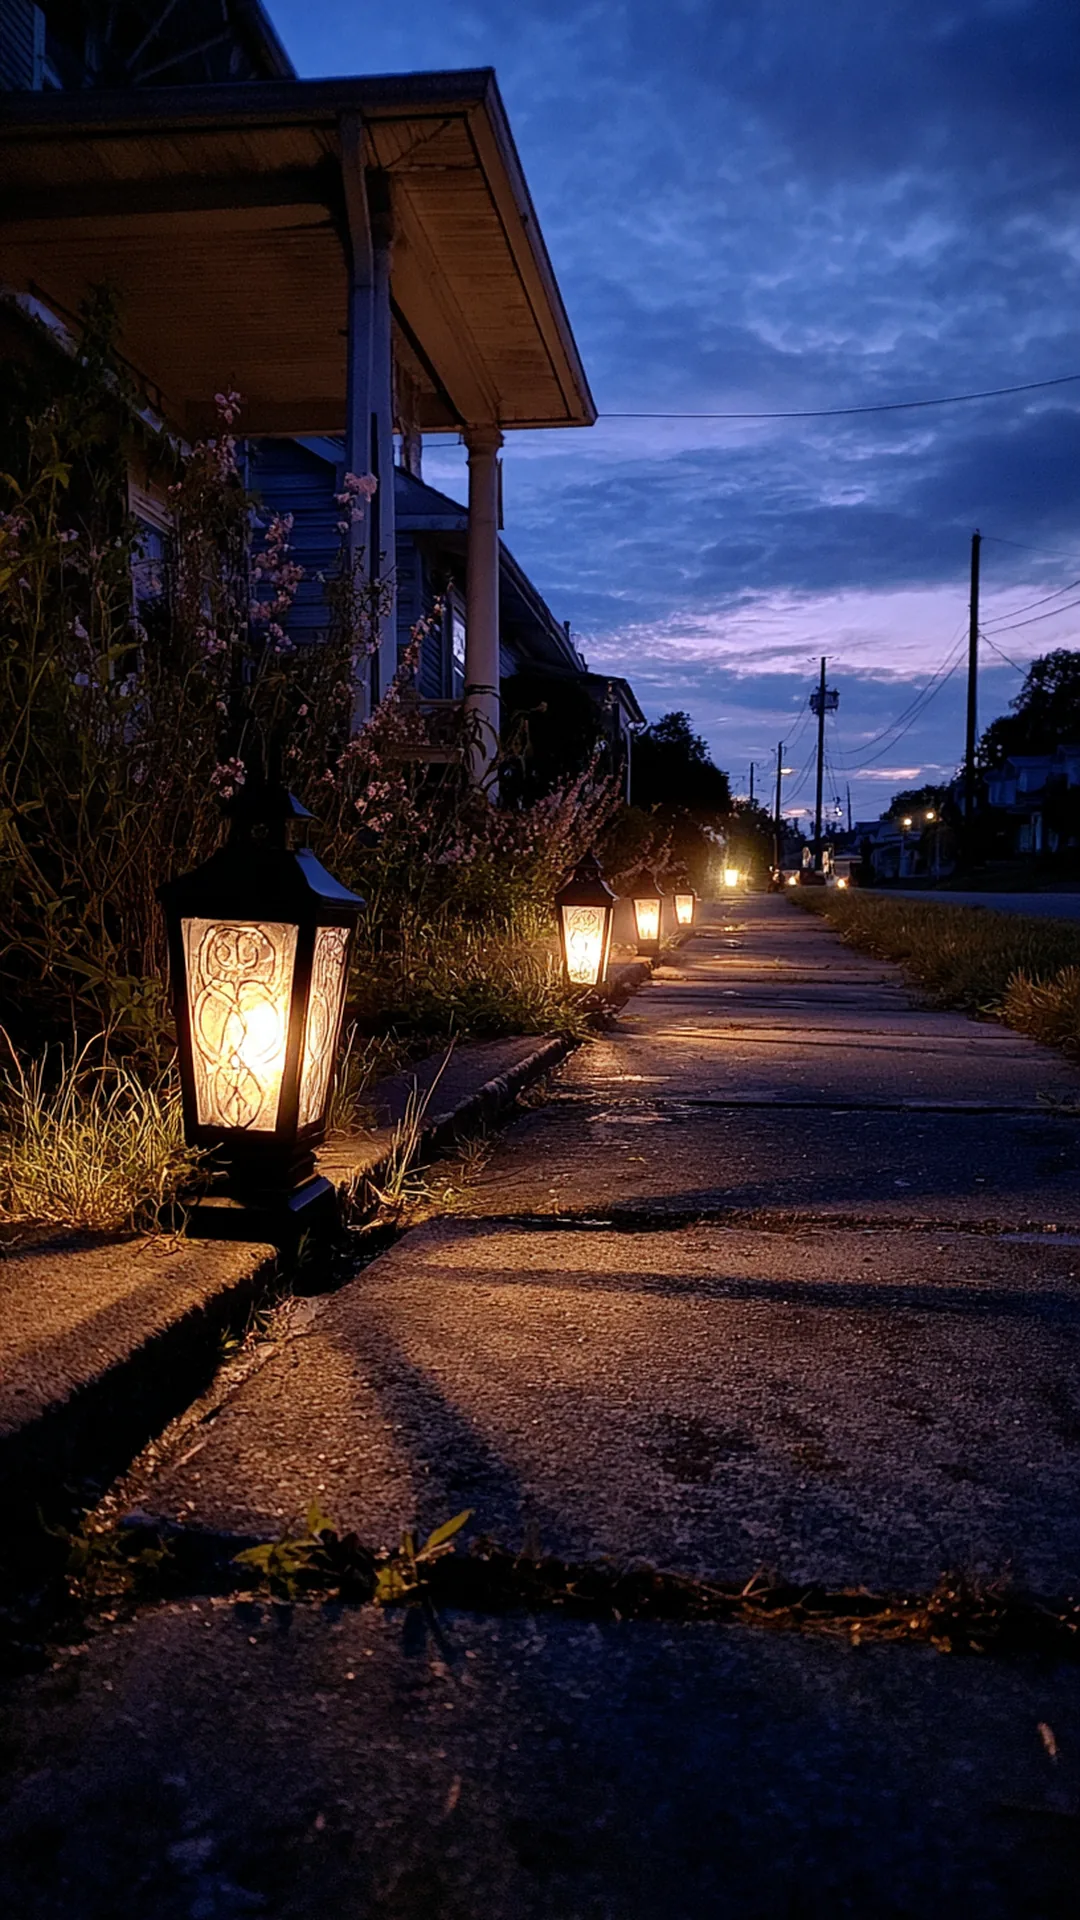
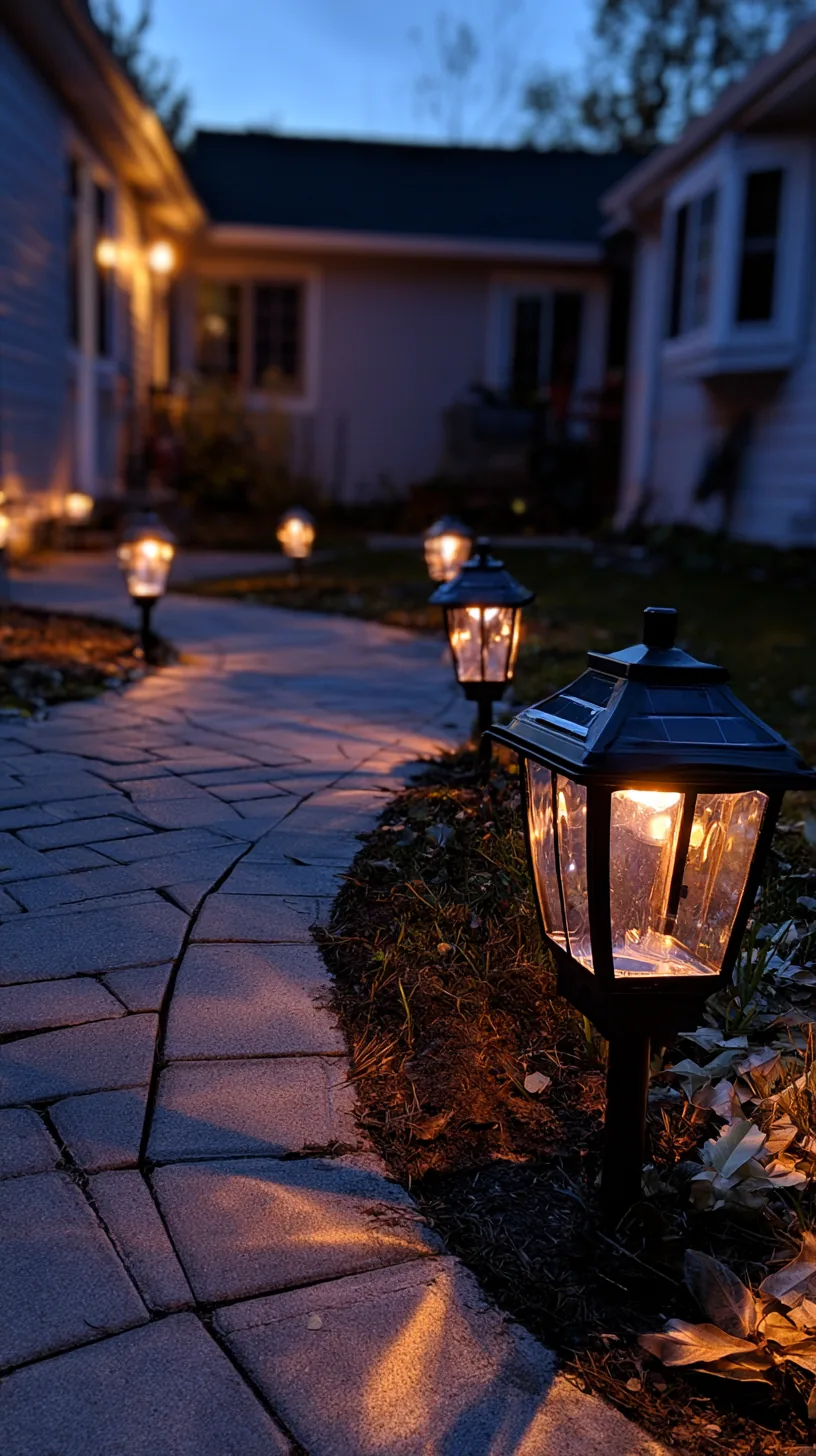 1Black solar lantern with shepherd hook · Shop on Amazon1Black solar lantern with shepherd hook · Shop on Amazon2GIGALUMI Hanging Mason Jar Solar Lights 6 Pack · Shop on Amazon1Black solar lantern with shepherd hook · Shop on Amazon1Black solar lantern with shepherd hook · Shop on Amazon3/5
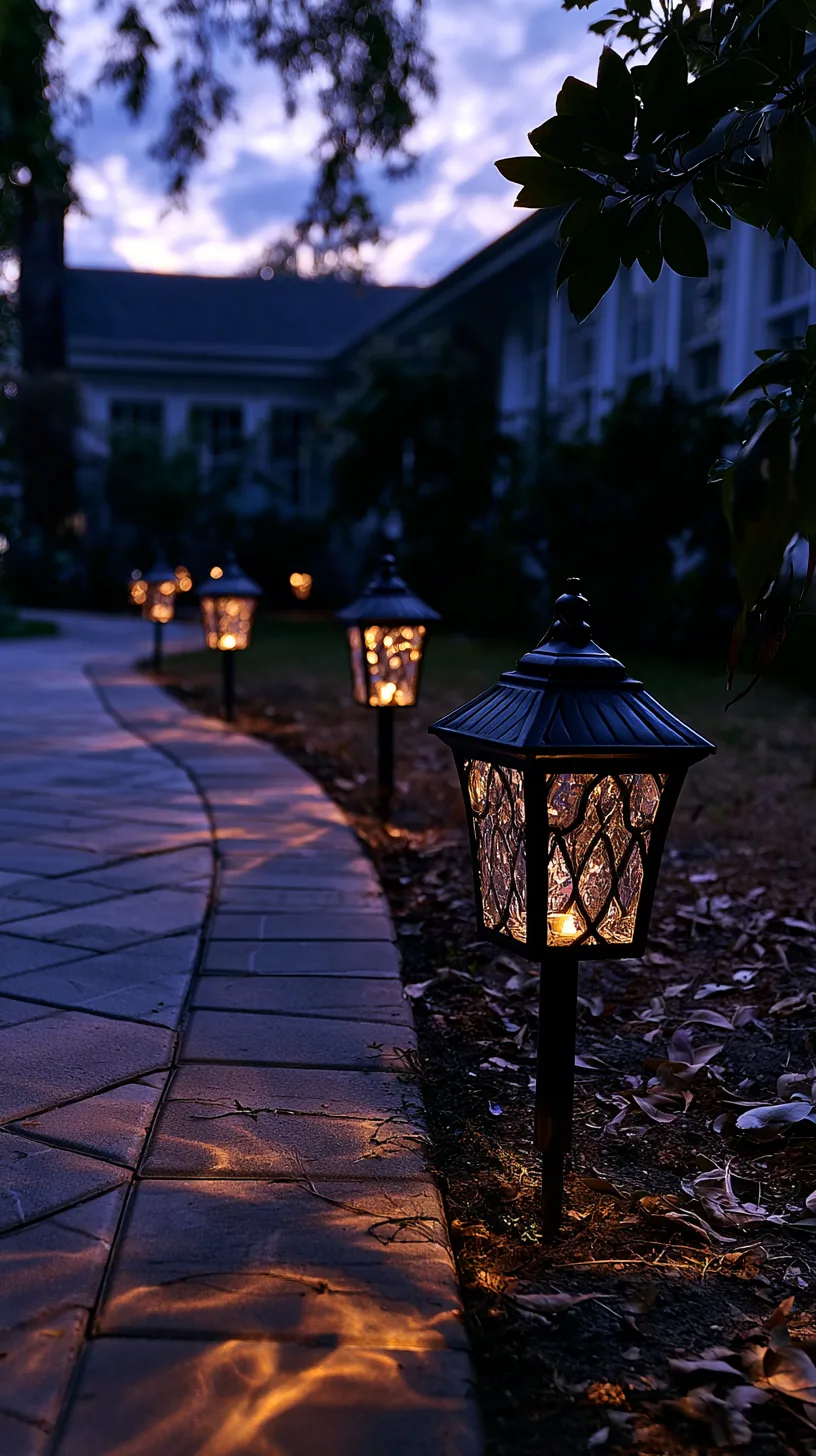 1Black solar lantern with shepherd hook · Shop on Amazon2GIGALUMI Hanging Mason Jar Solar Lights 6 Pack · Shop on Amazon2GIGALUMI Hanging Mason Jar Solar Lights 6 Pack · Shop on Amazon3BesLowe 2-Pack Outdoor Wall Light Fixtures Black Lantern Sconce · Shop on Amazon4/5
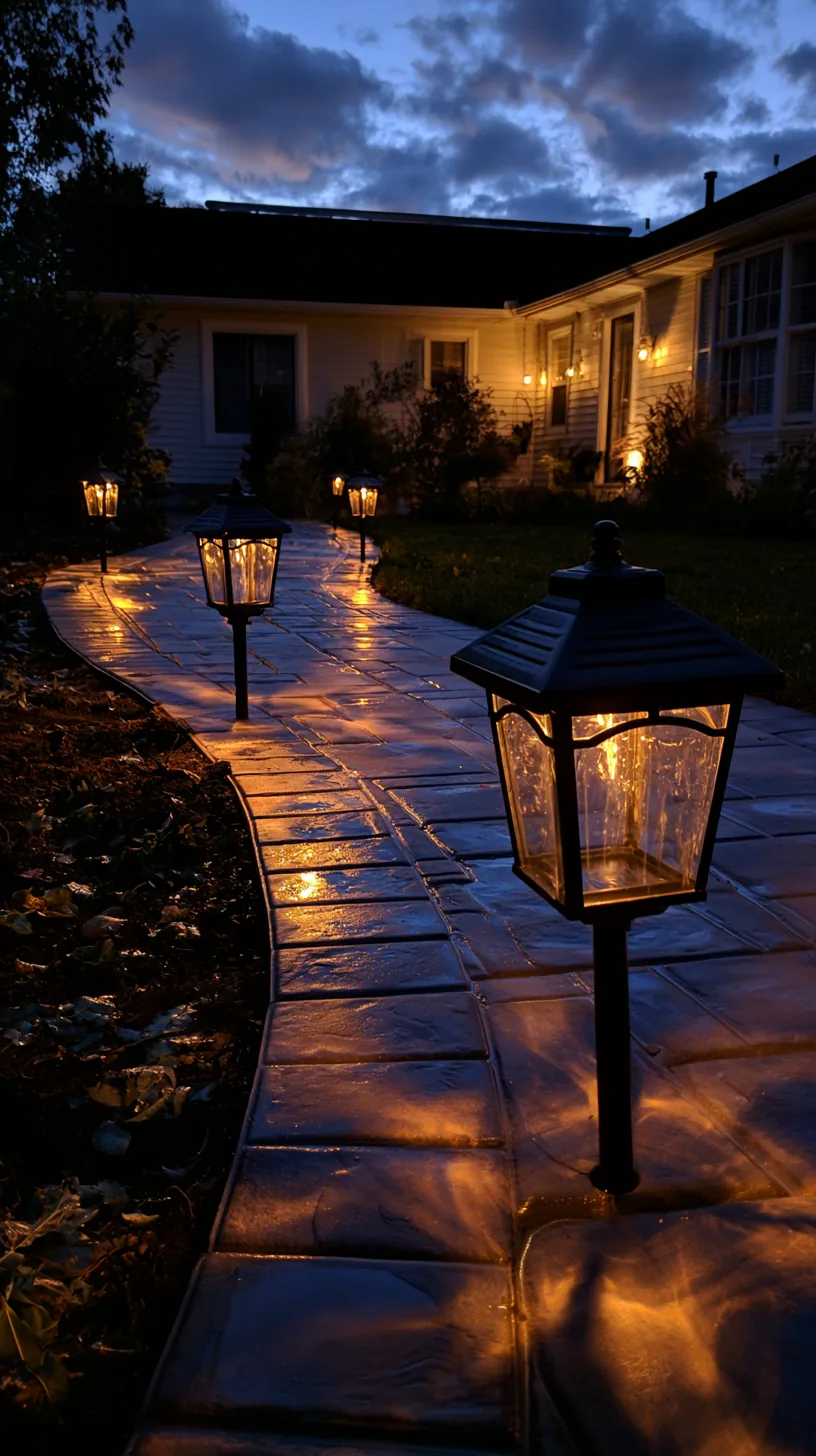 1GIGALUMI Hanging Mason Jar Solar Lights 6 Pack · Shop on Amazon2BesLowe 2-Pack Outdoor Wall Light Fixtures Black Lantern Sconce · Shop on Amazon2BesLowe 2-Pack Outdoor Wall Light Fixtures Black Lantern Sconce · Shop on Amazon2BesLowe 2-Pack Outdoor Wall Light Fixtures Black Lantern Sconce · Shop on Amazon5/5
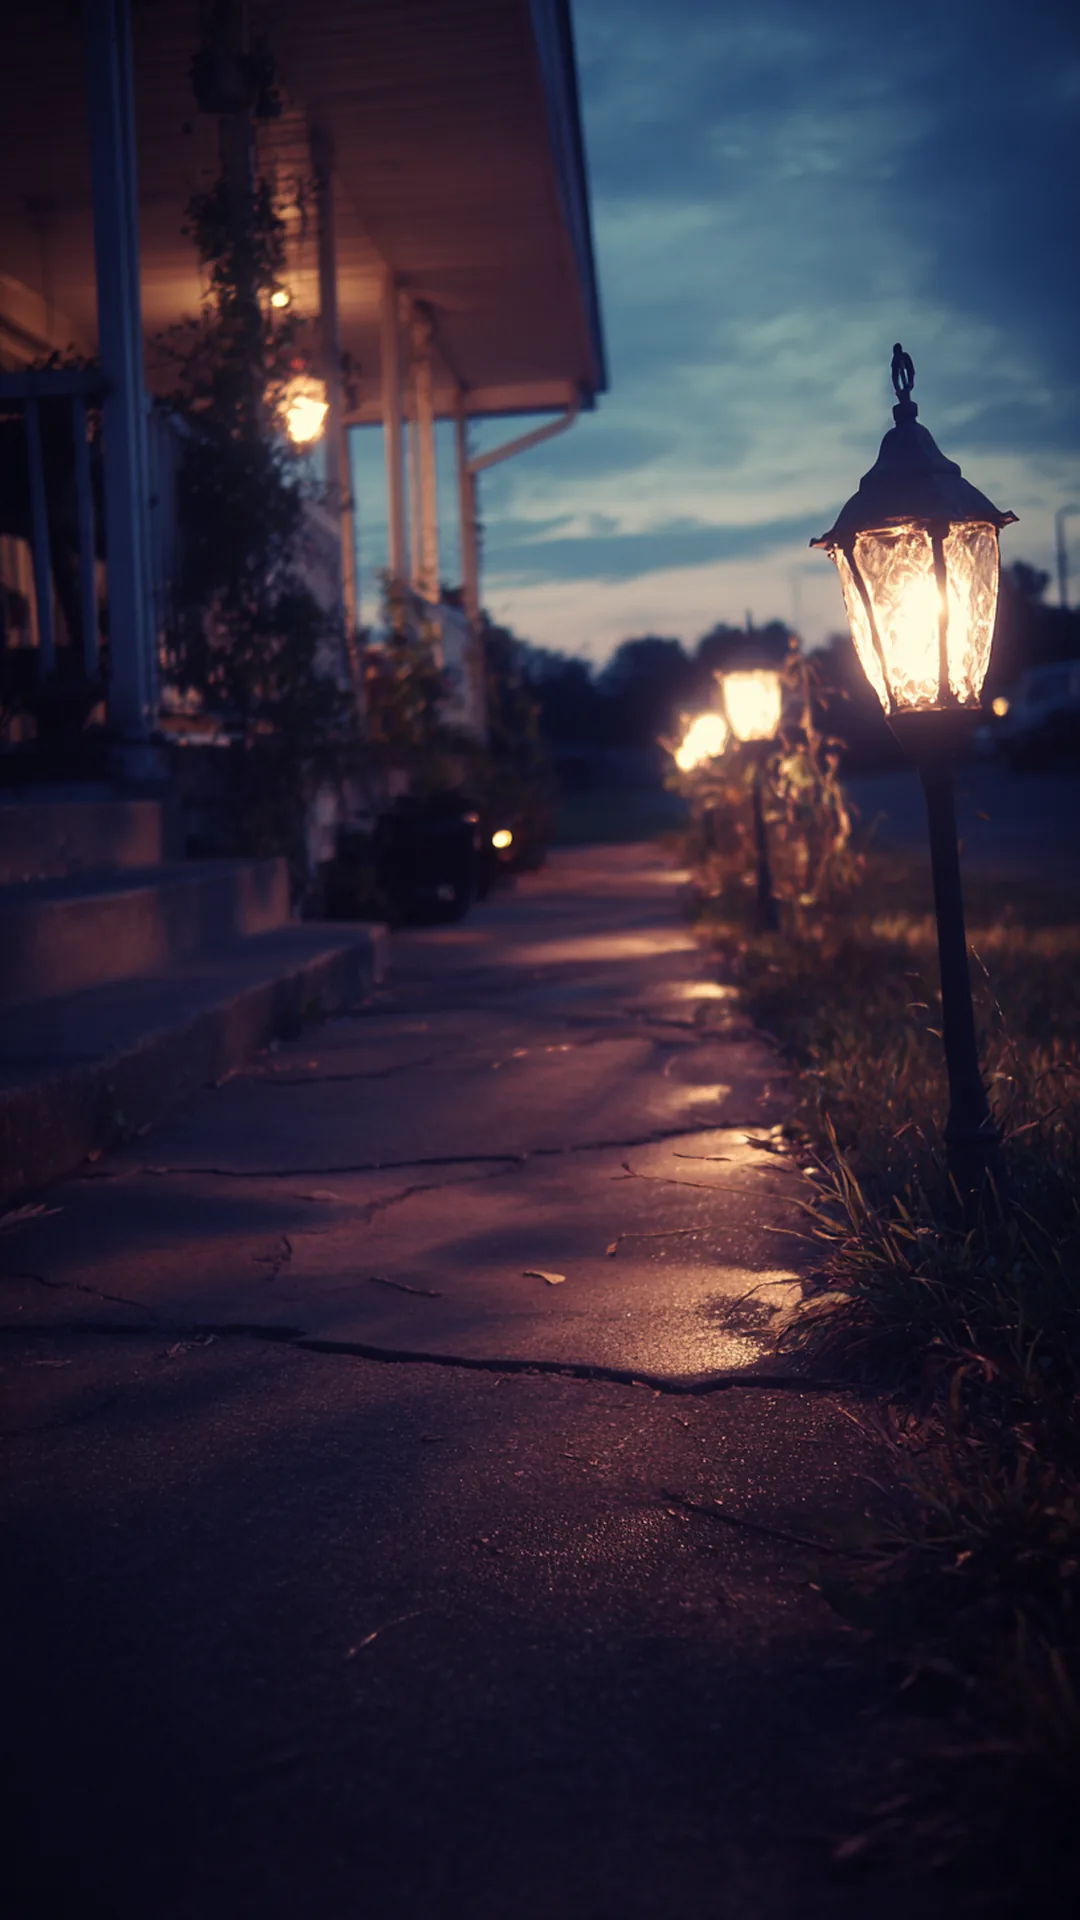
Most front yards have no outdoor outlet anywhere near the walkway, which is exactly where trick-or-treaters need to see their feet. Solar stake lanterns solve it with zero wiring. Push them into the soil along the path in the morning, and they come on by themselves at dusk and run until well past bedtime.
Space them about 4 feet apart and stagger them side to side instead of lining them up like runway lights, which looks softer and covers the path better. Give each panel a spot that gets at least six hours of direct sun, so avoid tucking them under low shrubs where they will only sip light. A quick wipe with a damp cloth every week or two keeps dust off the panel and the glow noticeably brighter. If your fall days turn gray for a stretch, bring one or two inside a sunny window for an afternoon to top them off. For a glow that keeps working long after October, these solar garden light ideas use the very same trick.
Quick Tips
- Warm white light reads cozy and vintage; cool blue-white reads eerie, so pick your mood first
- Pull the stakes and store them indoors before the first hard freeze so the batteries last another season
- Set one right at the driveway edge so nobody steps off the curb in the dark
3. Hang a Porch Garland on Outdoor Hooks, Not Nails
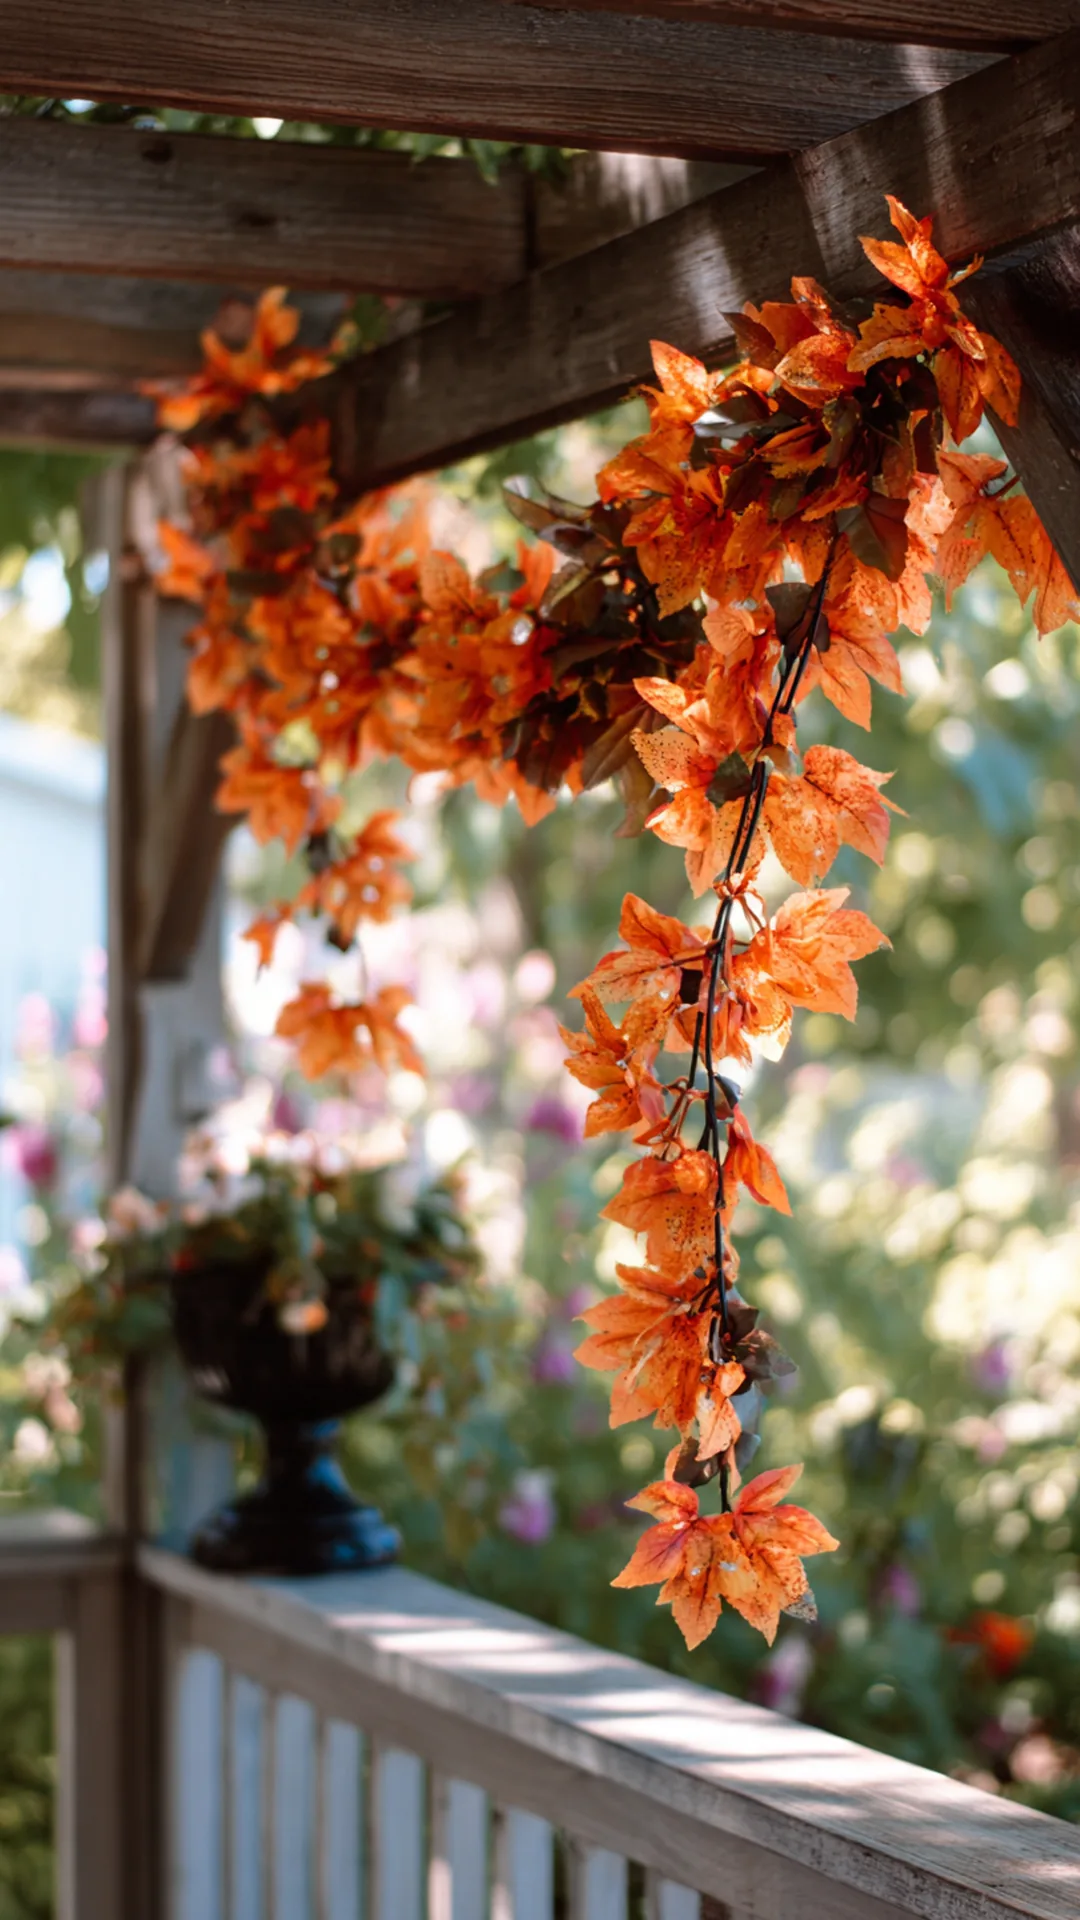 16ft Thick Fall Maple Leaves Garland with Sunflower & Pumpkin · Shop on Amazon16ft Thick Fall Maple Leaves Garland with Sunflower & Pumpkin · Shop on Amazon2BAYN Metal Wheelbarrow Flower Cart Planter · Shop on Amazon1/5
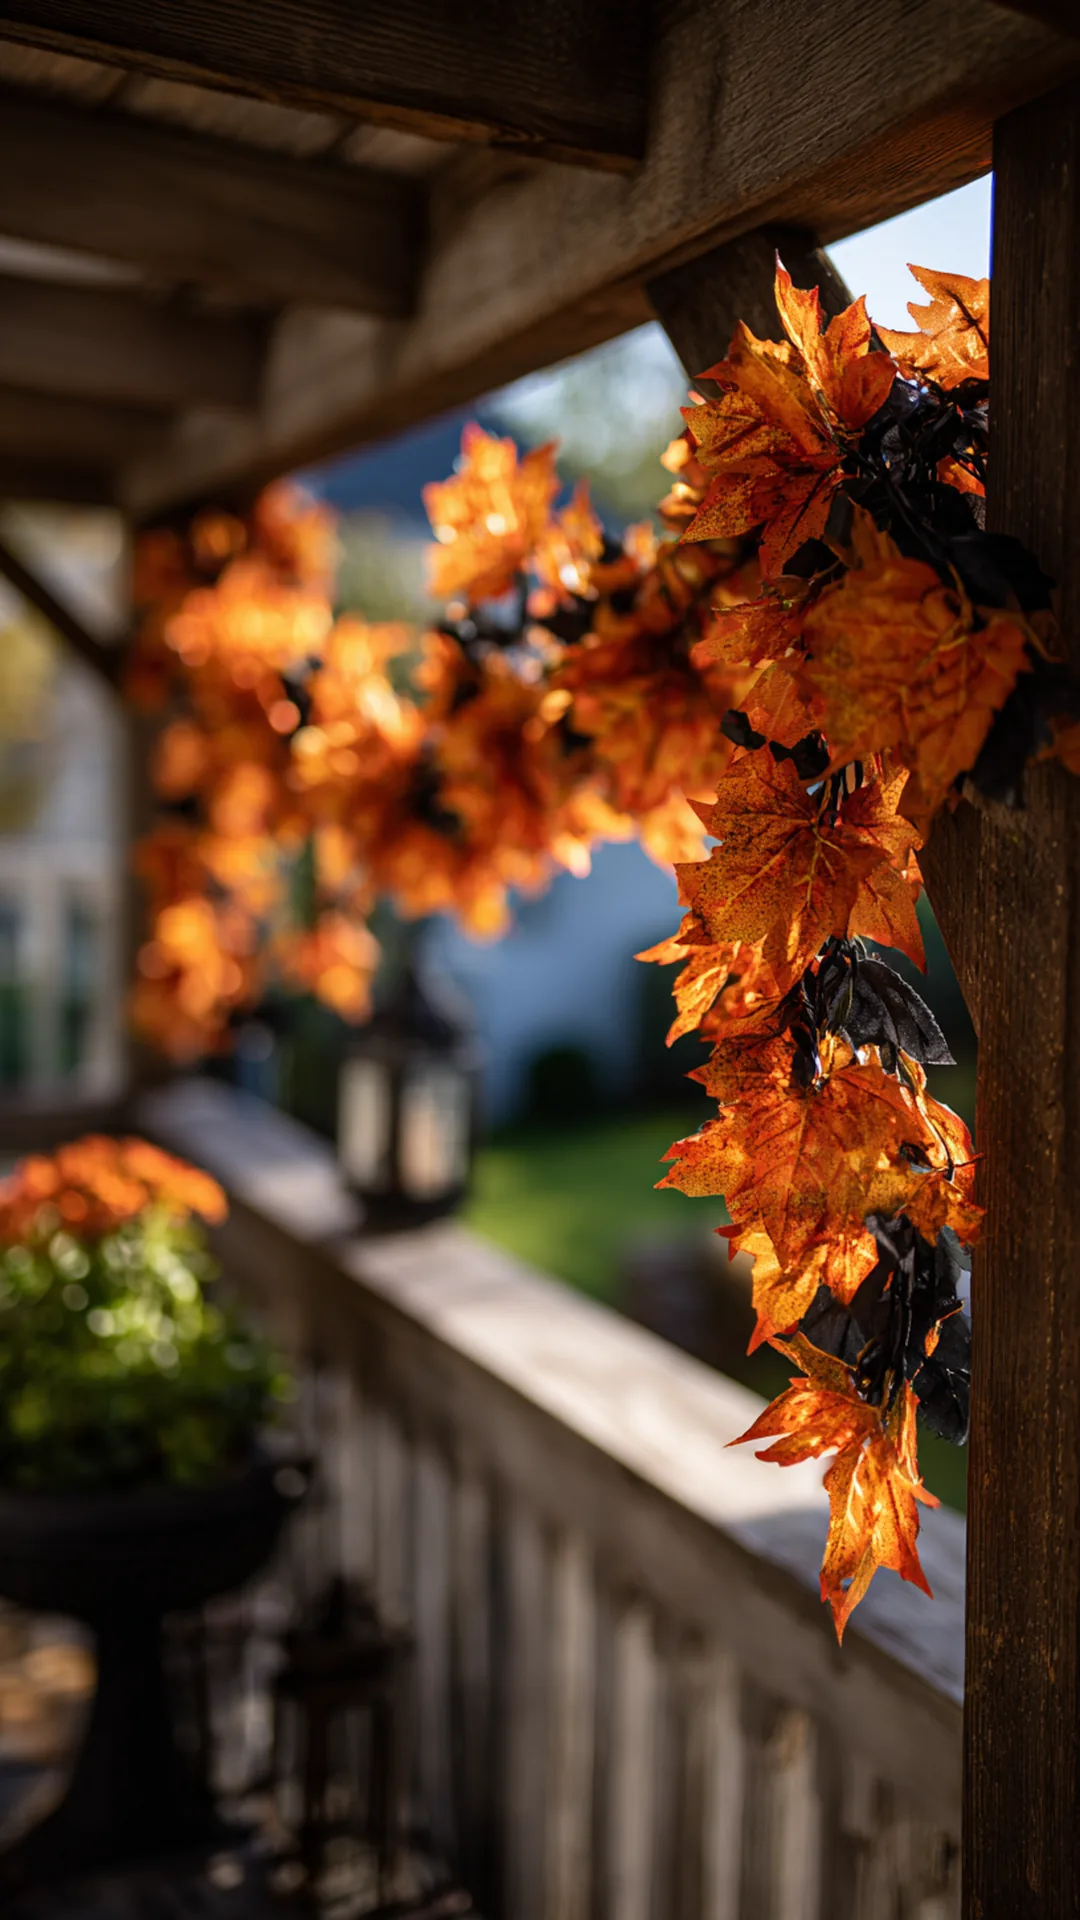 16ft Thick Fall Maple Leaves Garland with Sunflower & Pumpkin · Shop on Amazon16ft Thick Fall Maple Leaves Garland with Sunflower & Pumpkin · Shop on Amazon2BesLowe 2-Pack Outdoor Wall Light Fixtures Black Lantern Sconce · Shop on Amazon3Orceler 6in Terracotta Clay Pots with Saucer · Shop on Amazon2/5
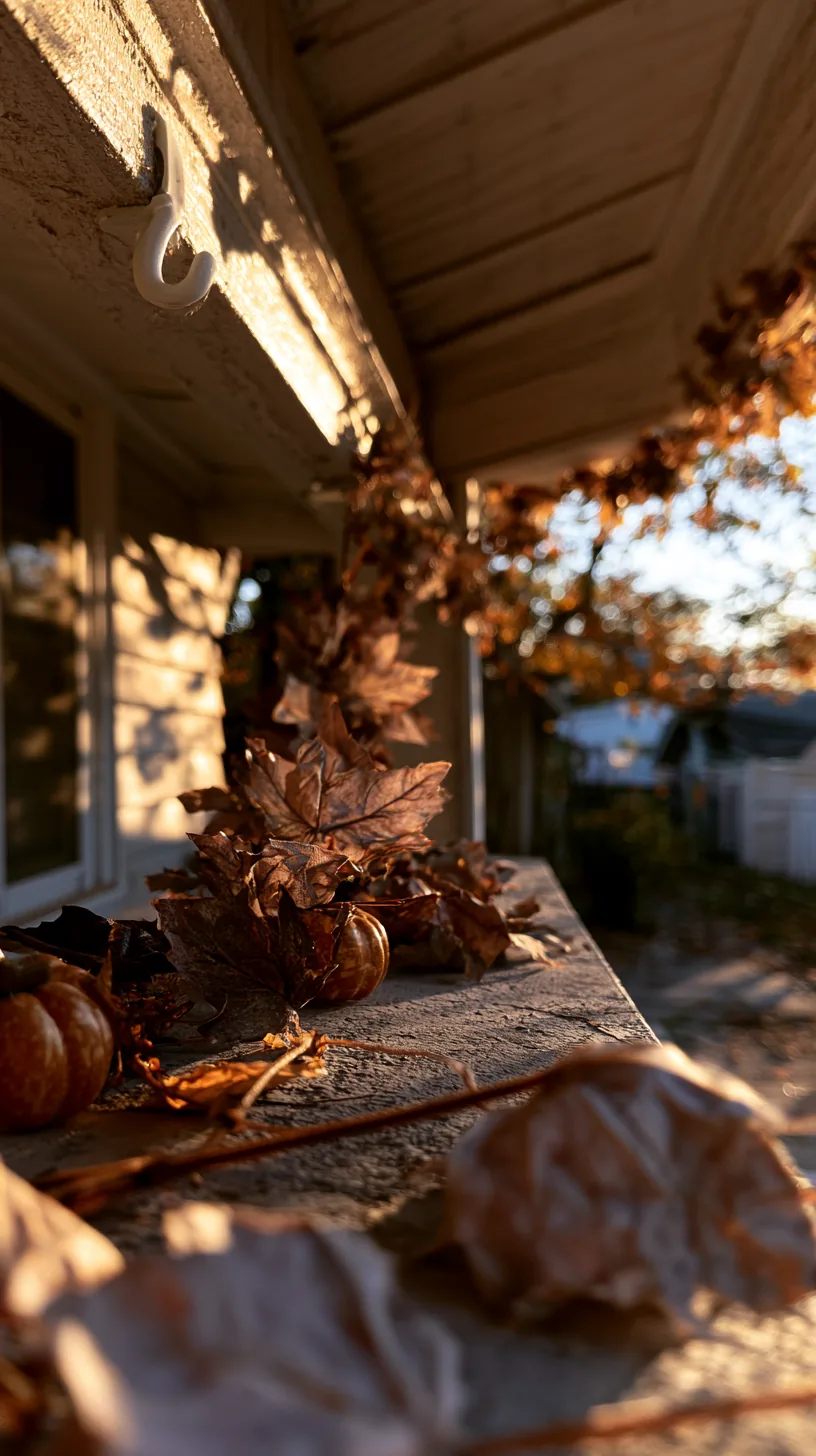 1Gutter Clips for Hanging Outdoor Lights (50pc) · Shop on Amazon2Fall Maple Leaf Garland 5pk · Shop on Amazon3vensovo 12 Pack Assorted Orange Plastic Pumpkins for Fall Decor · Shop on Amazon3/5
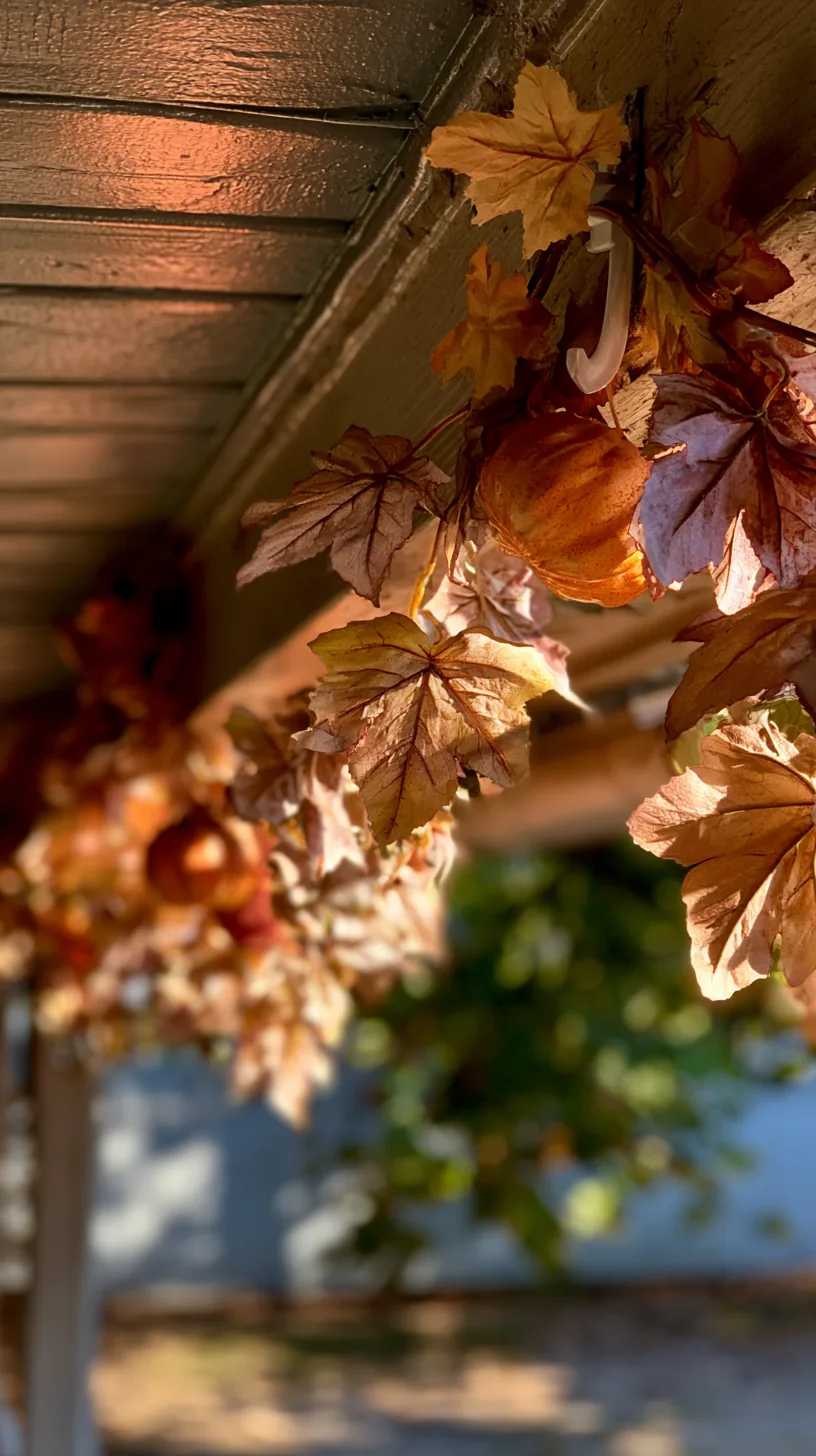 1Fall Maple Leaf Garland 5pk · Shop on Amazon2Ottsuls Adjustable Shepherd Hook Bird Feeder Plant Hook · Shop on Amazon3vensovo 12 Pack Assorted Orange Plastic Pumpkins for Fall Decor · Shop on Amazon3vensovo 12 Pack Assorted Orange Plastic Pumpkins for Fall Decor · Shop on Amazon3vensovo 12 Pack Assorted Orange Plastic Pumpkins for Fall Decor · Shop on Amazon4/5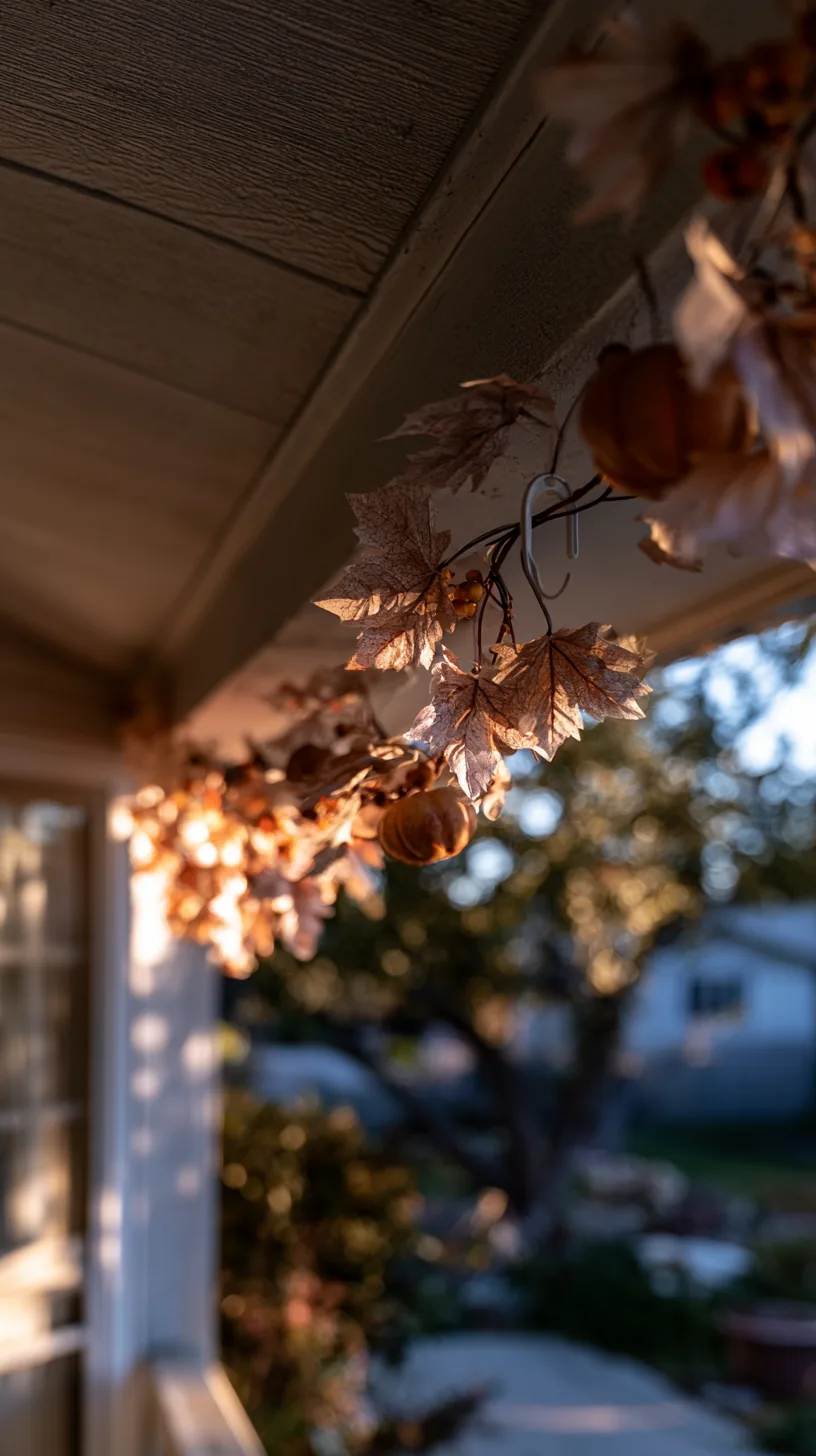
Renting means no nails, no screws, and no holes in the porch trim your landlord will notice in the spring. Outdoor adhesive hooks hold a full garland across a doorway and peel off clean when the season ends. Press them on a dry, wiped-down surface, wait an hour before you hang anything, and they stay put.
Wipe each spot with rubbing alcohol first, not just a dry rag, because porch dust and pollen are what usually cause a hook to let go at 2 a.m. Use one hook every 18 to 24 inches so no single point carries the whole swag, and always hang the garland in a gentle drape rather than pulling it tight. From what I’ve gathered, the easiest approach is to hook the two ends first, step back to the sidewalk, then set the middle hooks where the drape actually falls. Skip the adhesive if temperatures are dropping below freezing during install, and wait for a milder afternoon instead.
Quick Tips
- Choose hooks rated for at least twice the weight you plan to hang, since wet garland gets heavier
- Pull the release tab straight down, slowly, so the paint comes through untouched
- Painter’s tape holds a lightweight paper banner just as well for a one-night party
4. Seal Painted Pumpkins So Rain Can’t Ruin Them
 1GHGMAO White Artificial Pumpkins, 22 PCS Fake Pumpkin Decorations Set · Shop on Amazon1GHGMAO White Artificial Pumpkins, 22 PCS Fake Pumpkin Decorations Set · Shop on Amazon1/5
 2/5
2/5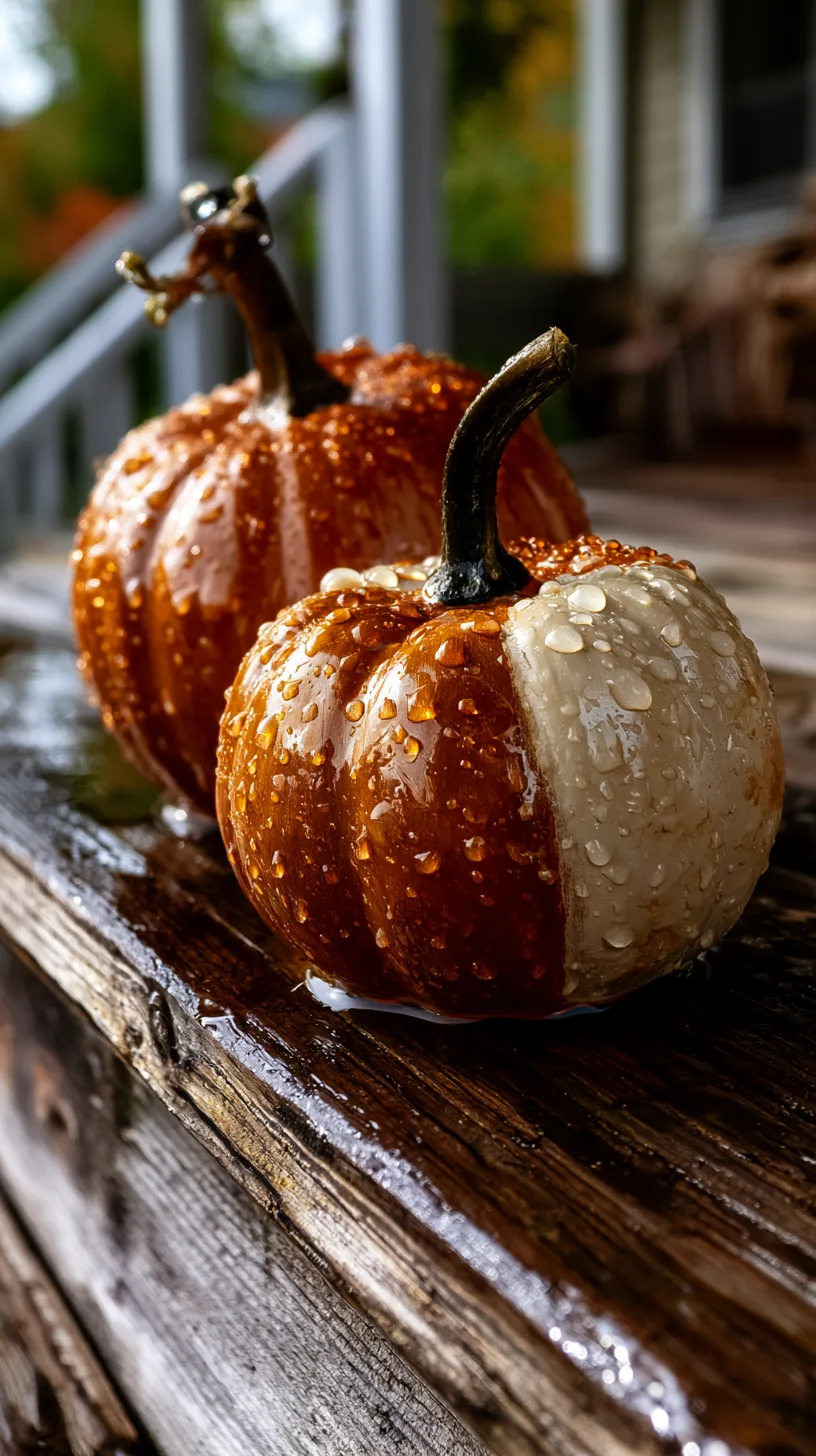
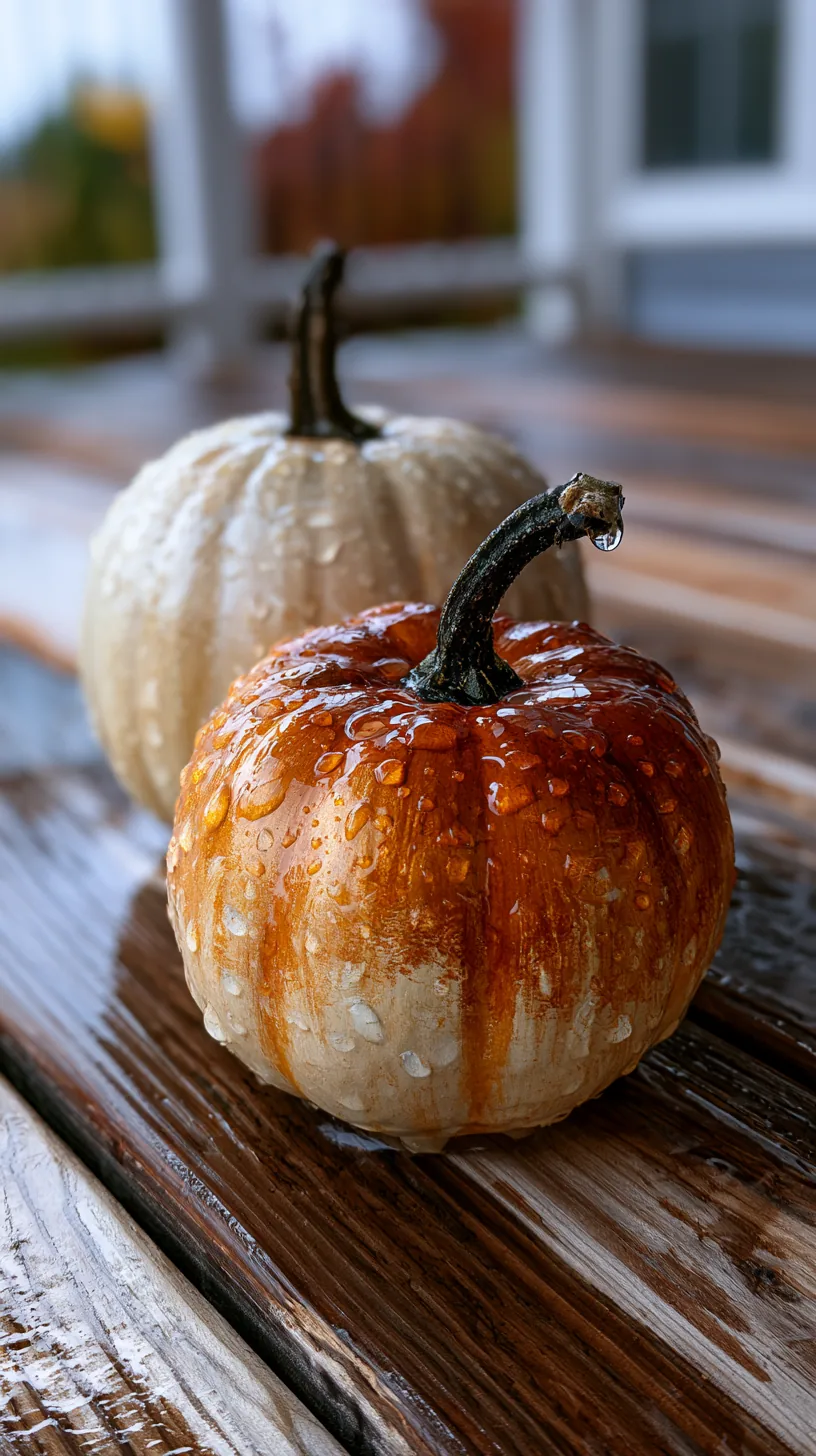
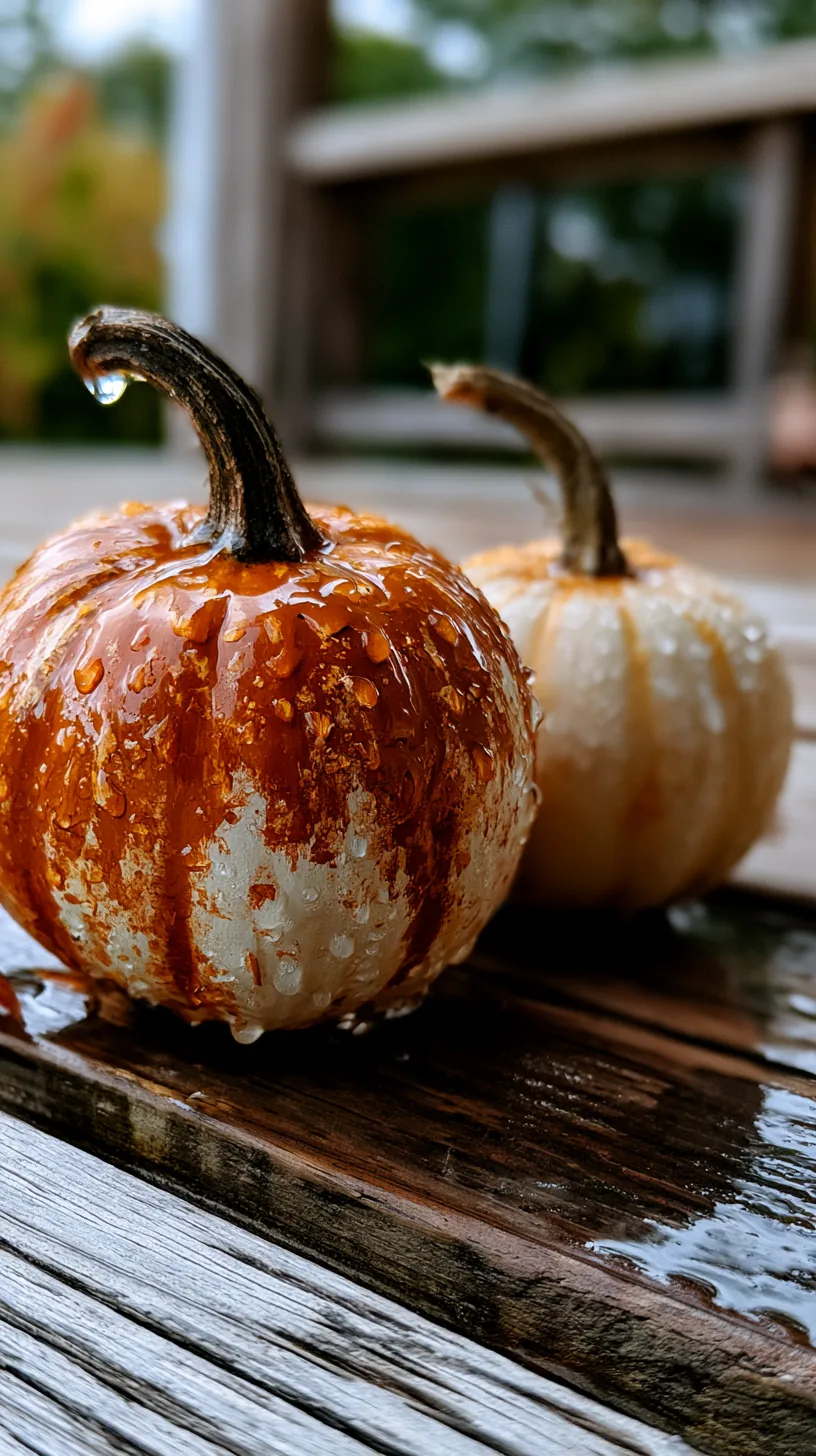
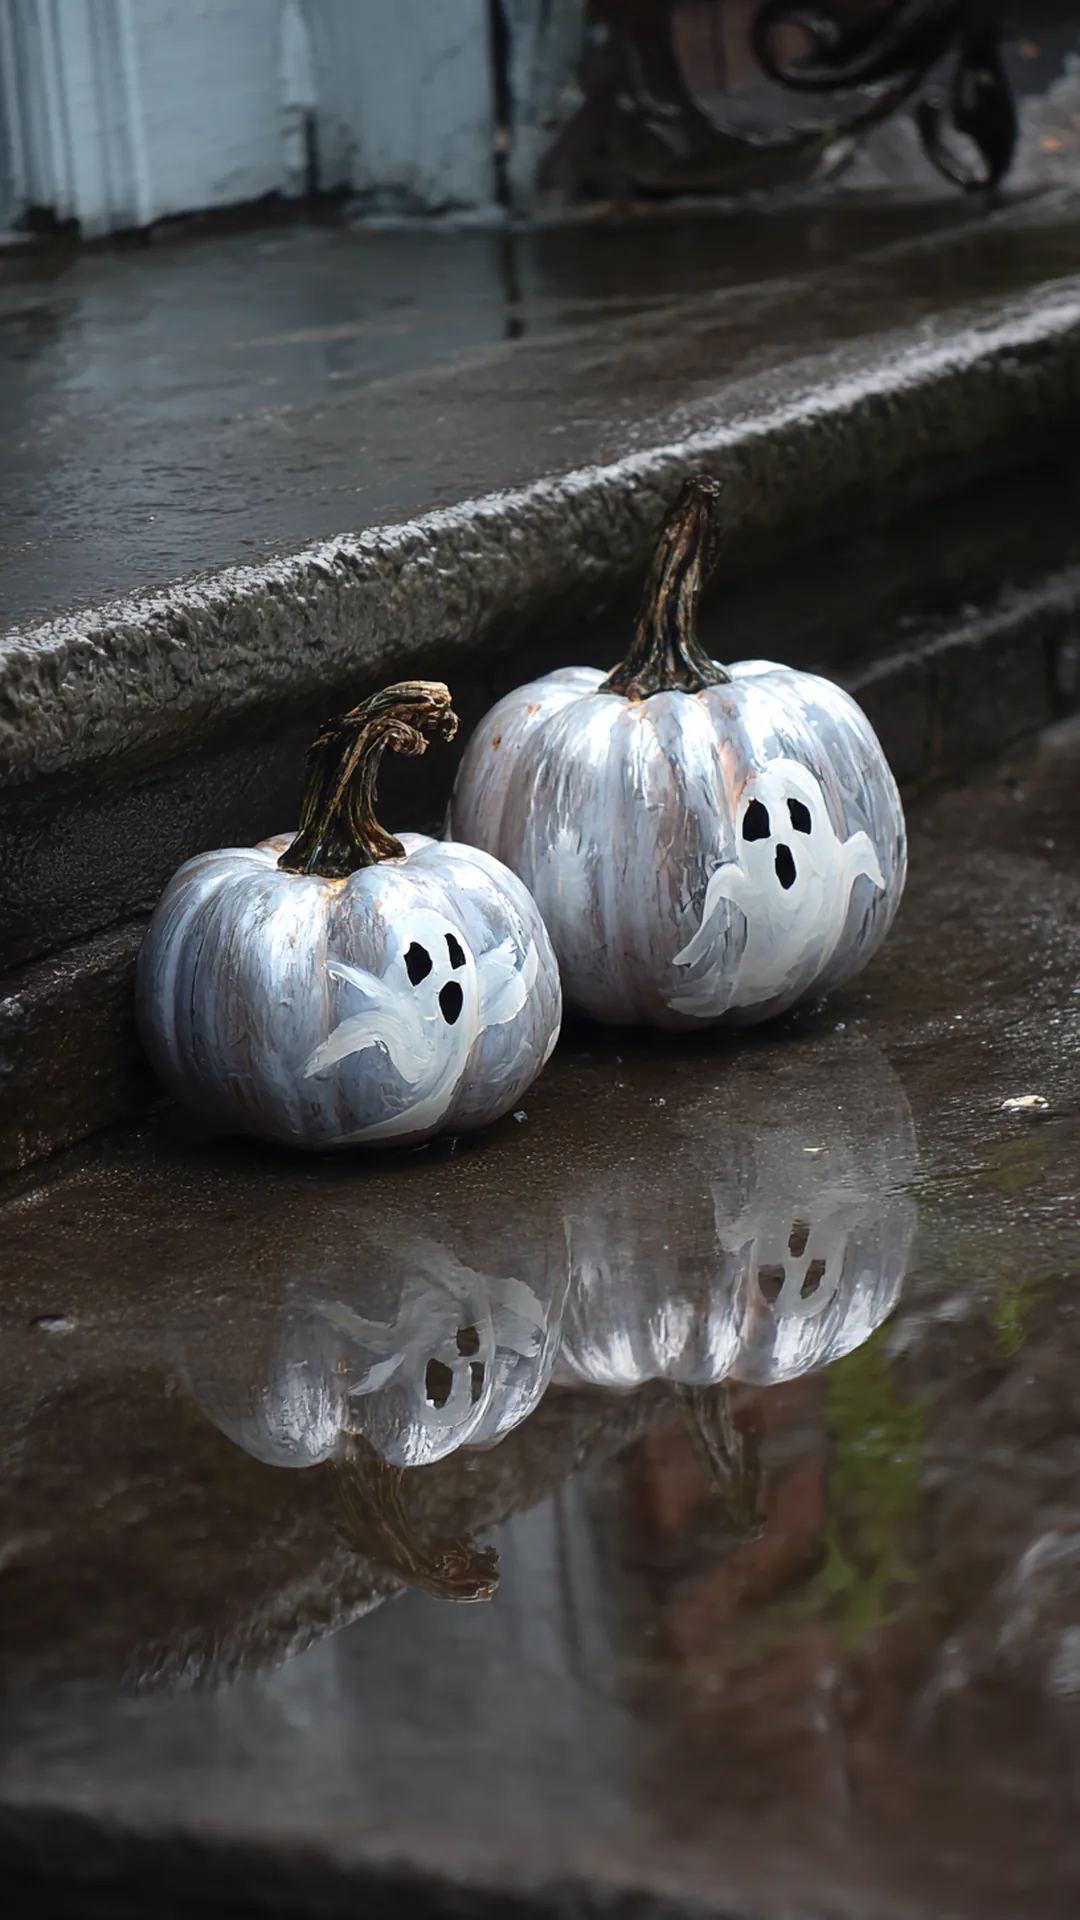
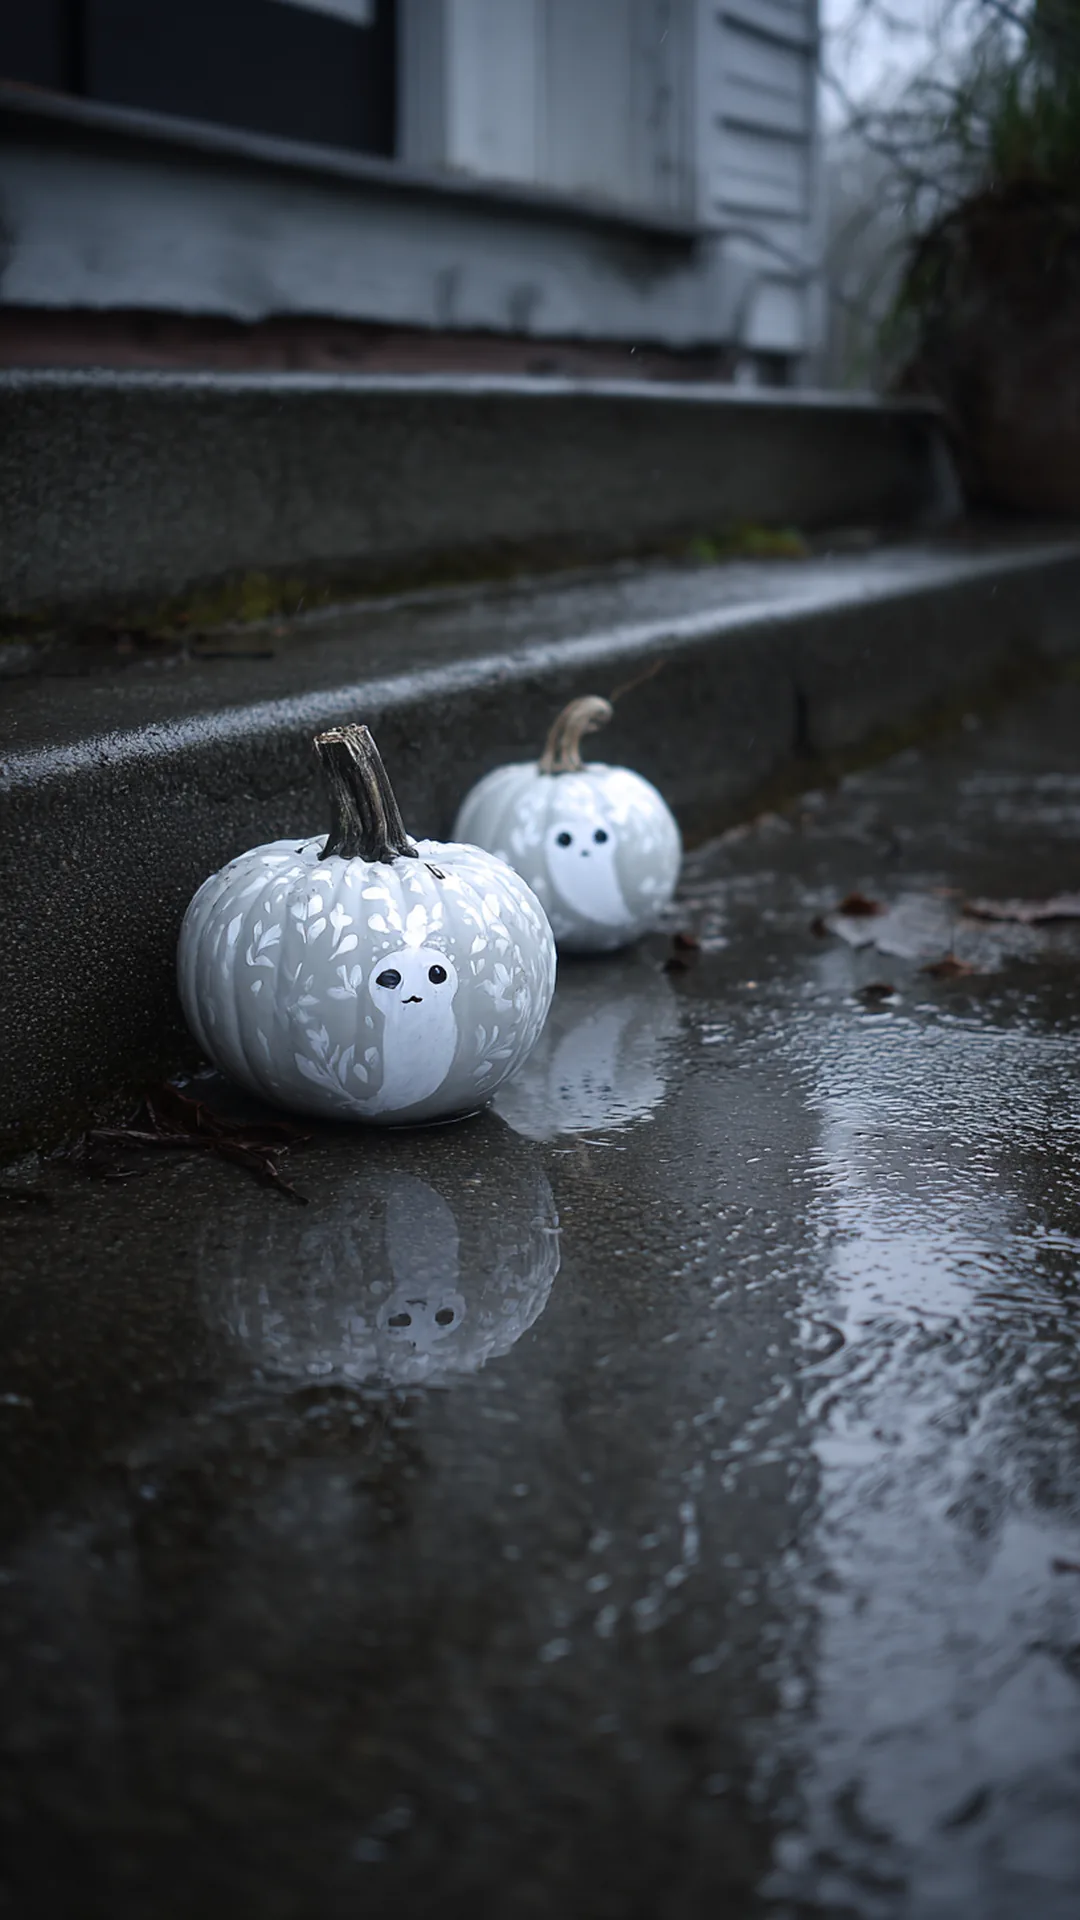
You spend an afternoon painting pumpkins, then the first rain streaks them into a muddy mess overnight. A clear outdoor sealer fixes that. Let the paint cure fully, then mist two or three light coats of matte clear spray over the whole pumpkin, including the underside where water pools on your steps.
Give the paint a full 24 hours before you seal, because sealing over slightly tacky acrylic traps moisture and turns cloudy. Spray outside on a dry day above 50 degrees, holding the can about 10 inches away and moving the whole time so you never build a drip. Matte sealer keeps that soft, chalky look; a satin finish gives a little sheen if your porch is shaded and you want the color to read from the street. Real pumpkins take sealer beautifully too, and the coating slows down soft spots for an extra week or two.
Quick Tips
- Seal the stem and the bottom, not just the pretty side, since that is where rot starts
- Set each pumpkin on a scrap of cardboard while it dries so it doesn’t stick to the porch
- Faux pumpkins from craft stores hold paint even better and store for next fall
5. Build Chicken-Wire Ghosts That Keep Their Shape
 1/5
1/5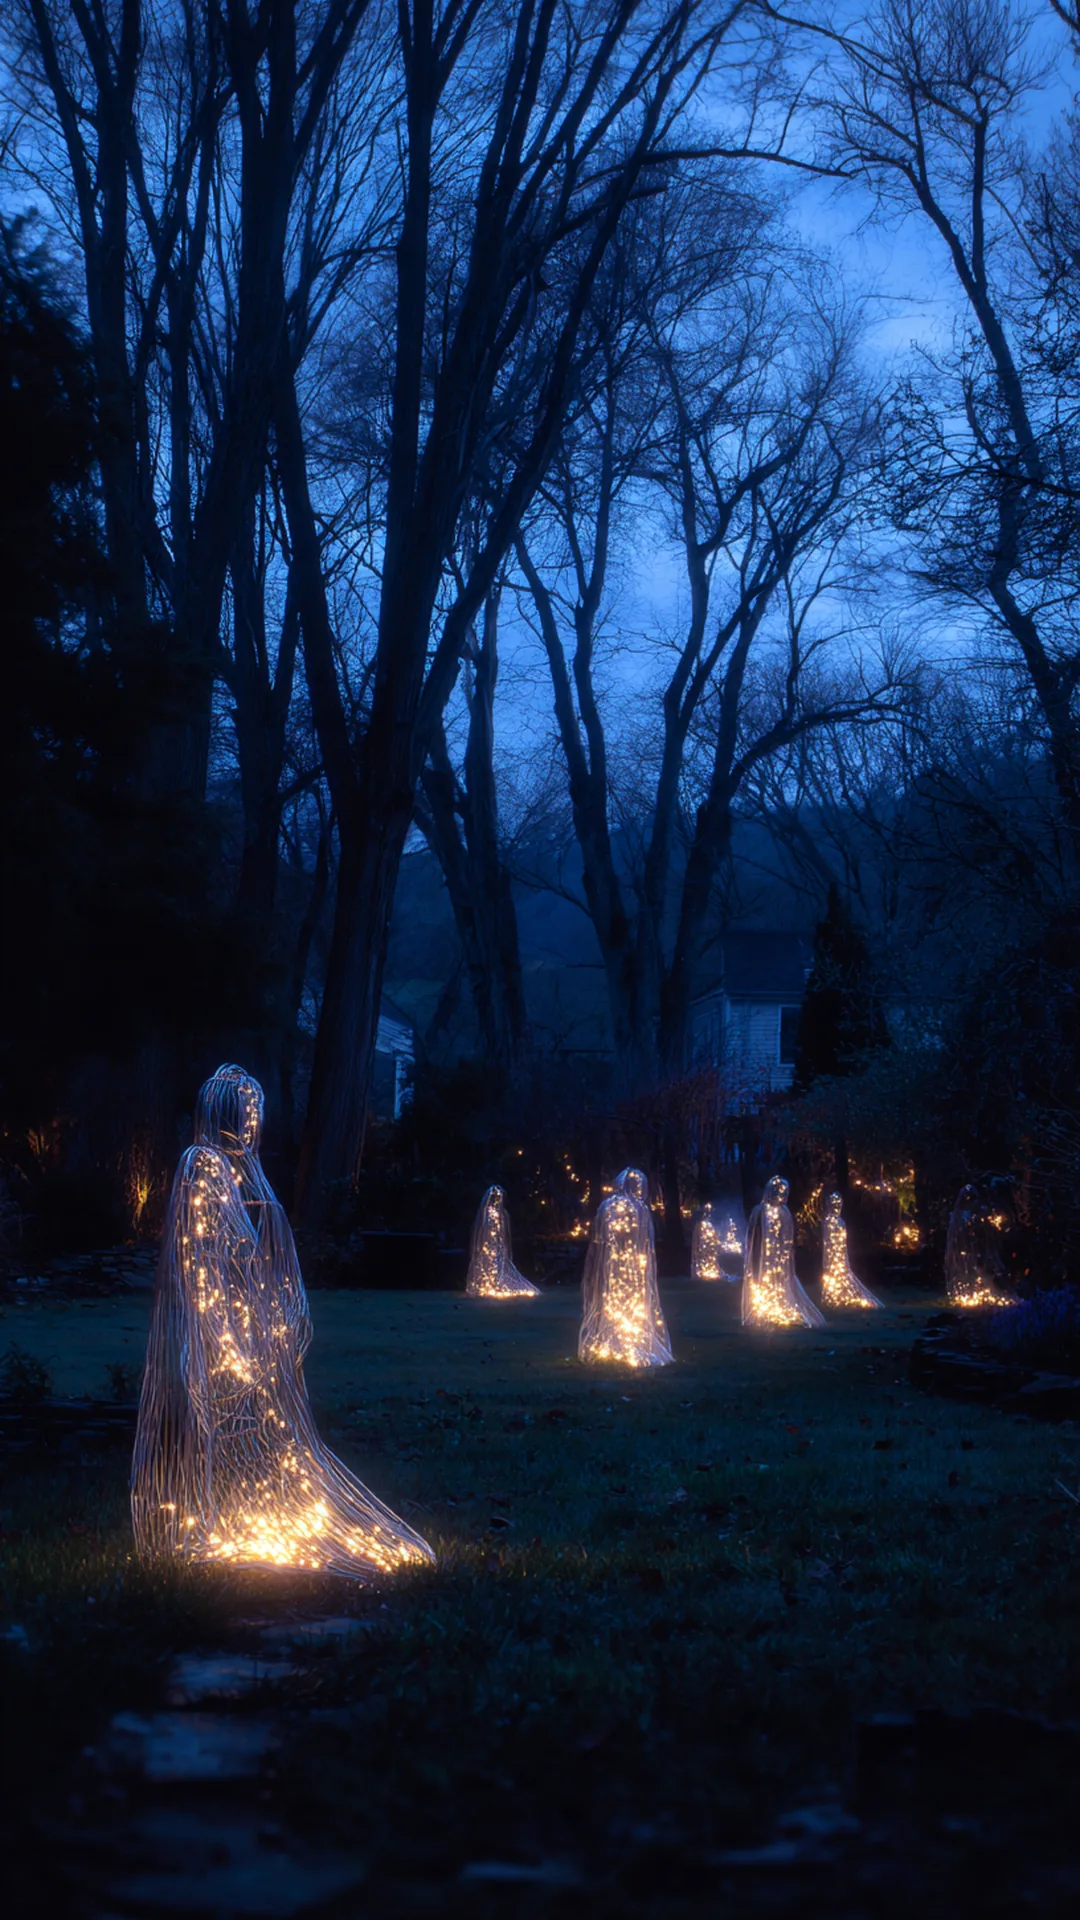 2/5
2/5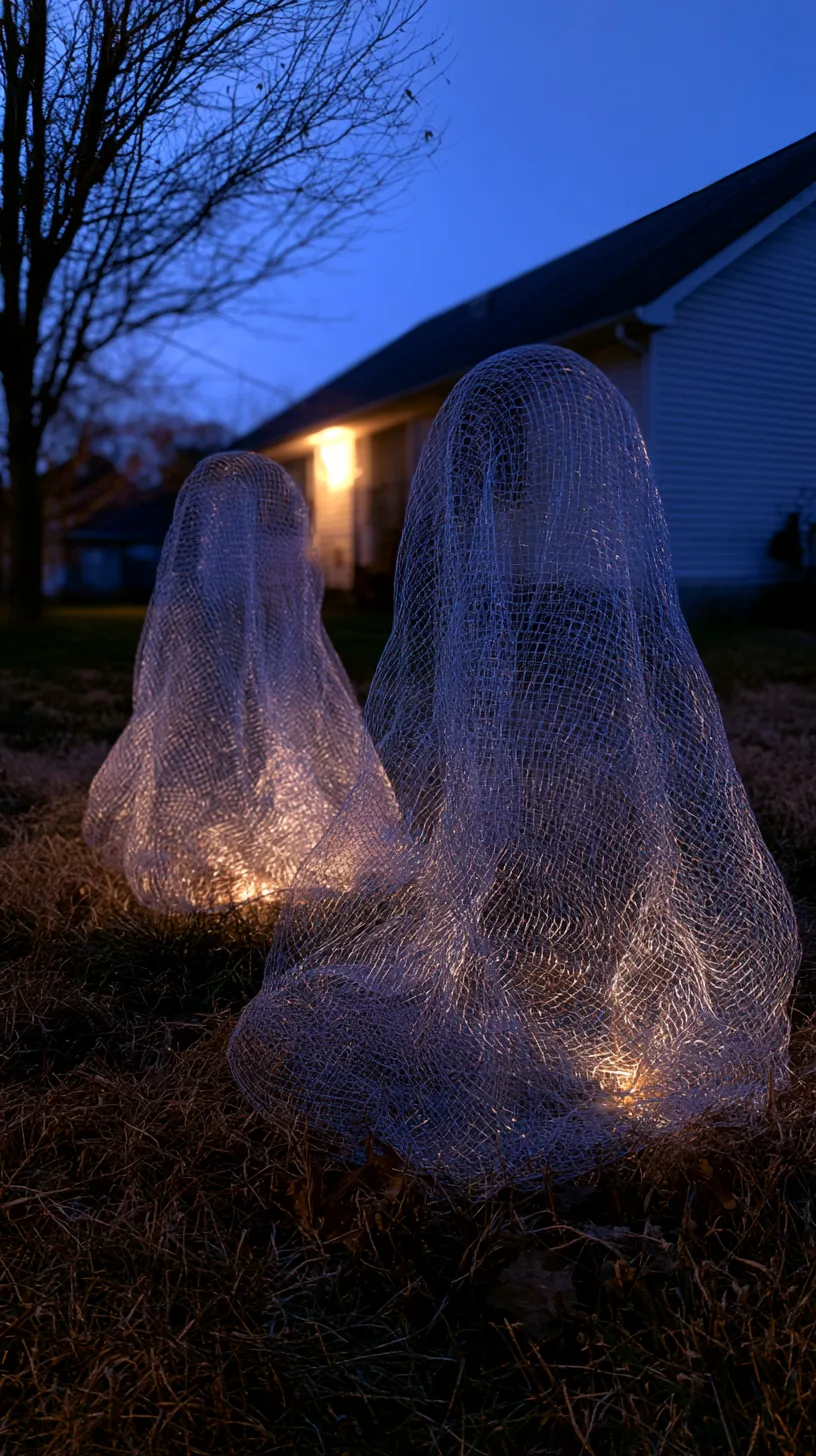 3/5
3/5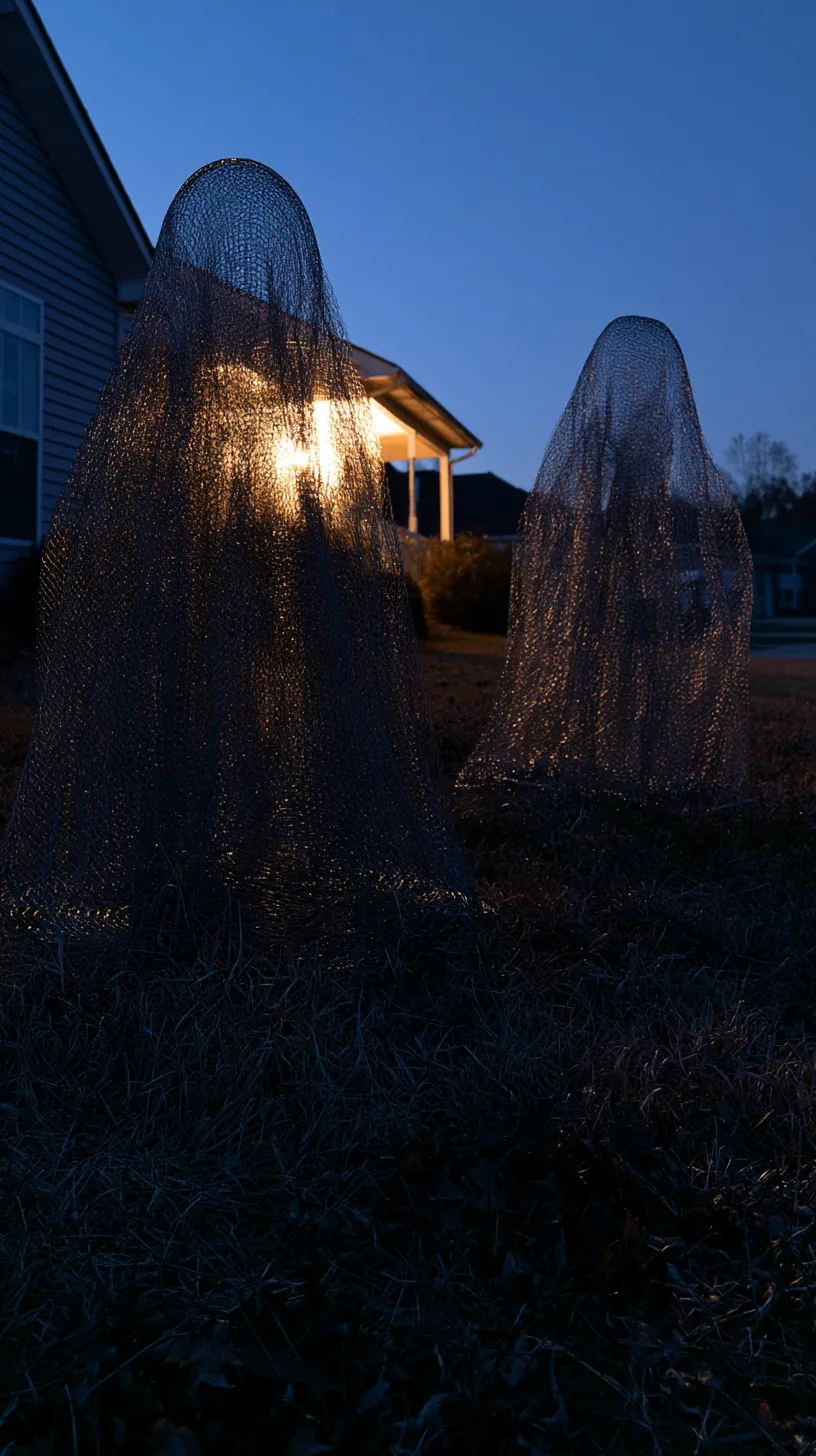 4/5
4/5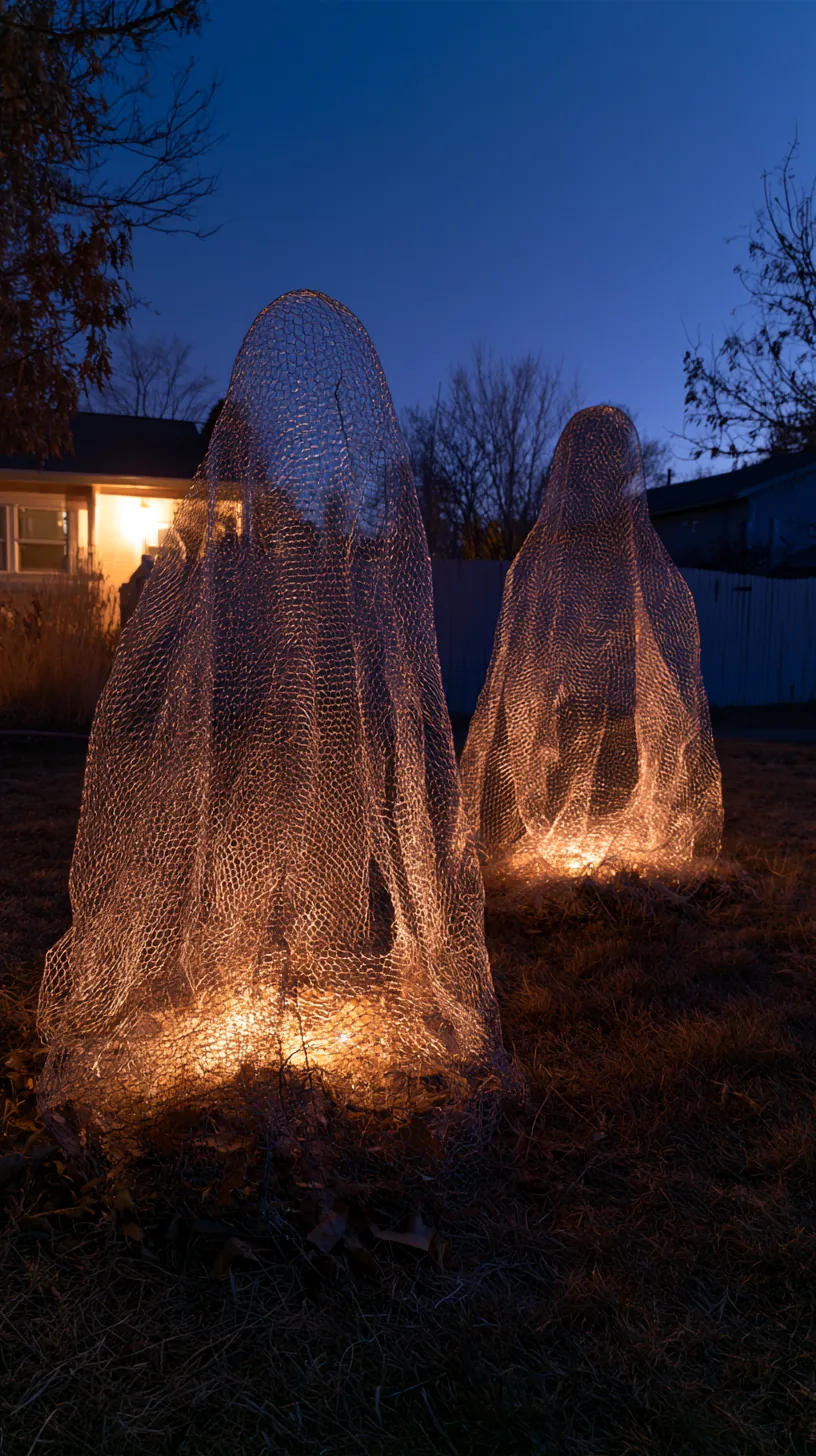 5/5
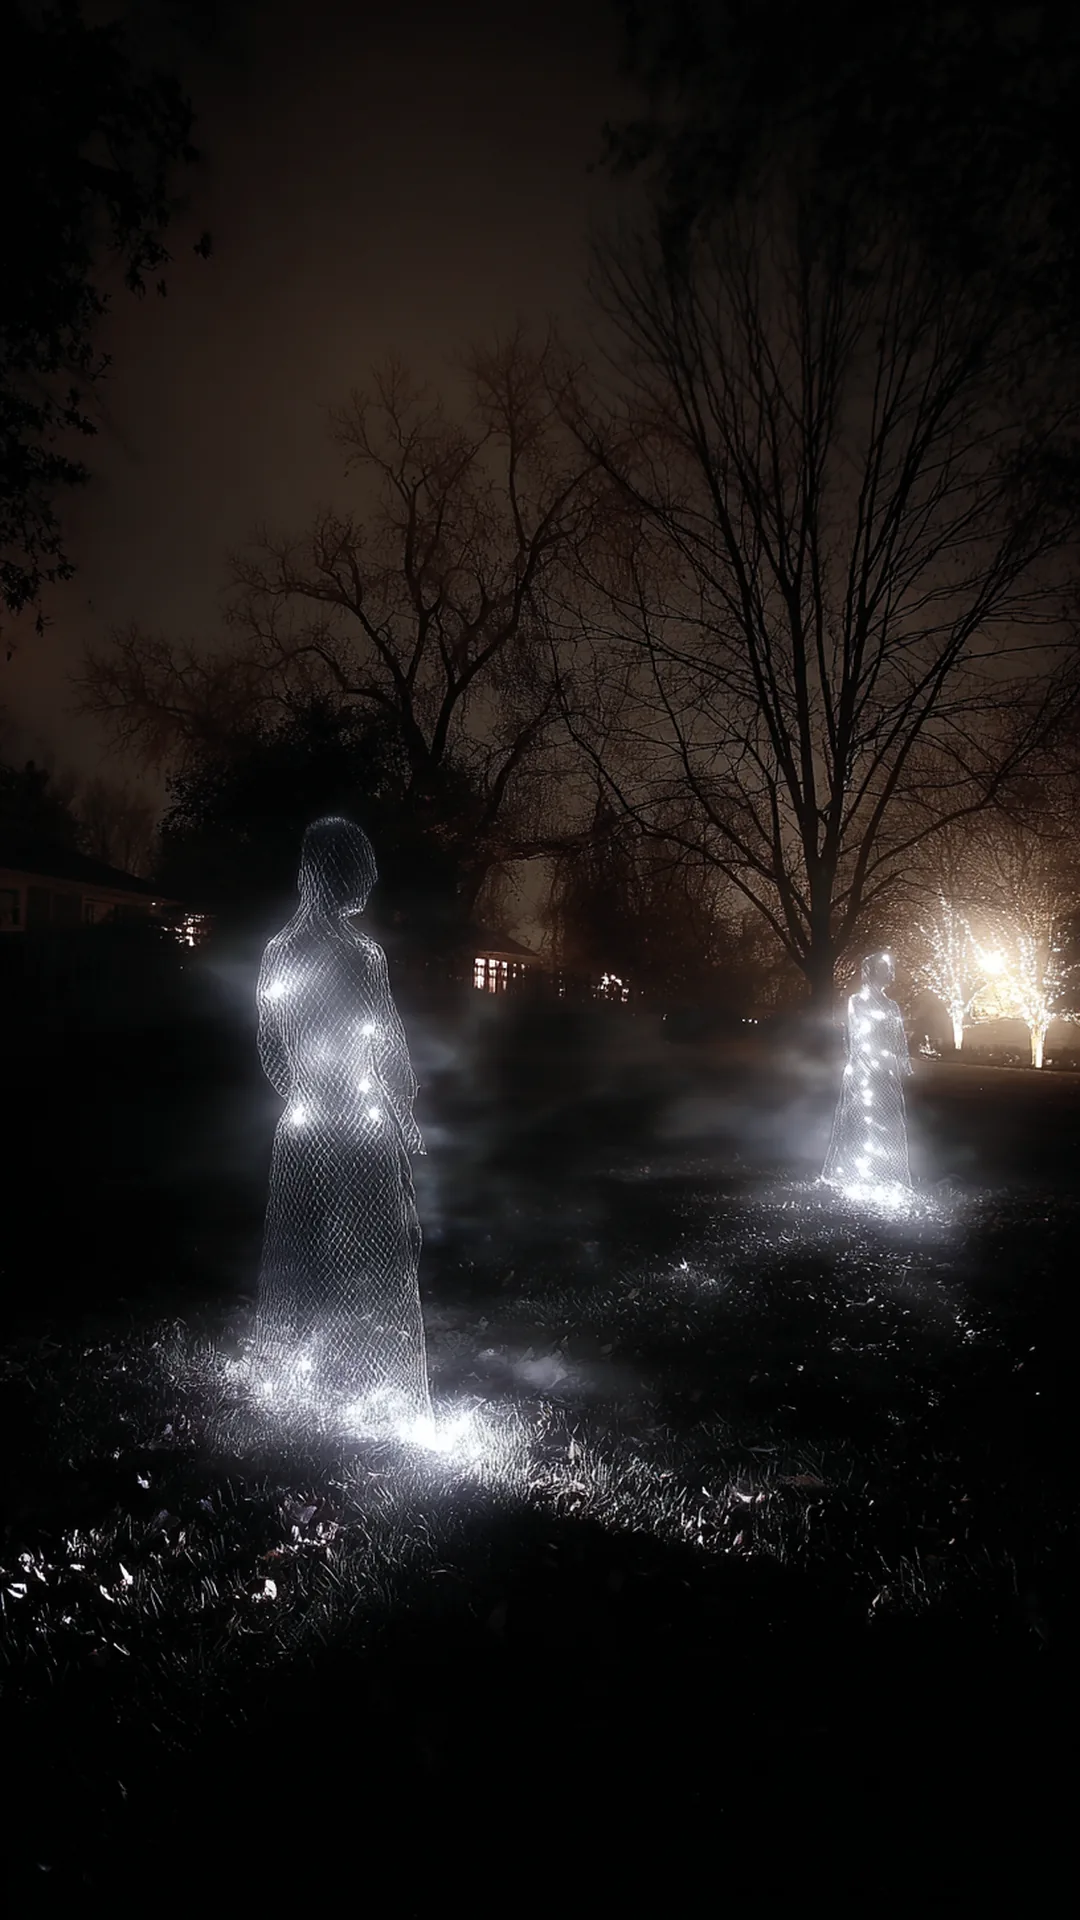
5/5A sheet draped over a stake sags into a sad laundry bag by day two. Chicken wire gives the ghost a body. Shape a rough head and shoulders from a small roll of wire, drape lightweight white fabric over it, and the figure keeps a real silhouette even when it rains and the fabric gets heavy.
Cut a piece of wire about 3 feet long, roll it into a loose cone, and pinch a golf-ball-sized head at the top with the cut ends tucked inward. Wear thick gloves for this part, the cut edges are sharp and they will find your knuckles. Cheap muslin or an old flat sheet works better than costume gauze because it holds a drape instead of clinging. Stake the cone into the ground through the bottom edge, or slip it over a fence post if you want it floating above the shrubs.
Quick Tips
- A short strand of battery lights inside the cone makes the whole ghost glow from within
- Trim the hem in an uneven curve so the bottom moves like it’s drifting
- Three ghosts at different heights look far better than one big one standing alone
6. Stretch Spider Webs on a Frame, Not on Your Shrubs
 11000 sqft Stretch Spider Web Halloween Decoration w/ Spiders · Shop on Amazon11000 sqft Stretch Spider Web Halloween Decoration w/ Spiders · Shop on Amazon11000 sqft Stretch Spider Web Halloween Decoration w/ Spiders · Shop on Amazon11000 sqft Stretch Spider Web Halloween Decoration w/ Spiders · Shop on Amazon1/7
 11000 sqft Stretch Spider Web Halloween Decoration w/ Spiders · Shop on Amazon11000 sqft Stretch Spider Web Halloween Decoration w/ Spiders · Shop on Amazon11000 sqft Stretch Spider Web Halloween Decoration w/ Spiders · Shop on Amazon2Hotop Artificial Spanish Moss Gothic Halloween 8pc · Shop on Amazon2/7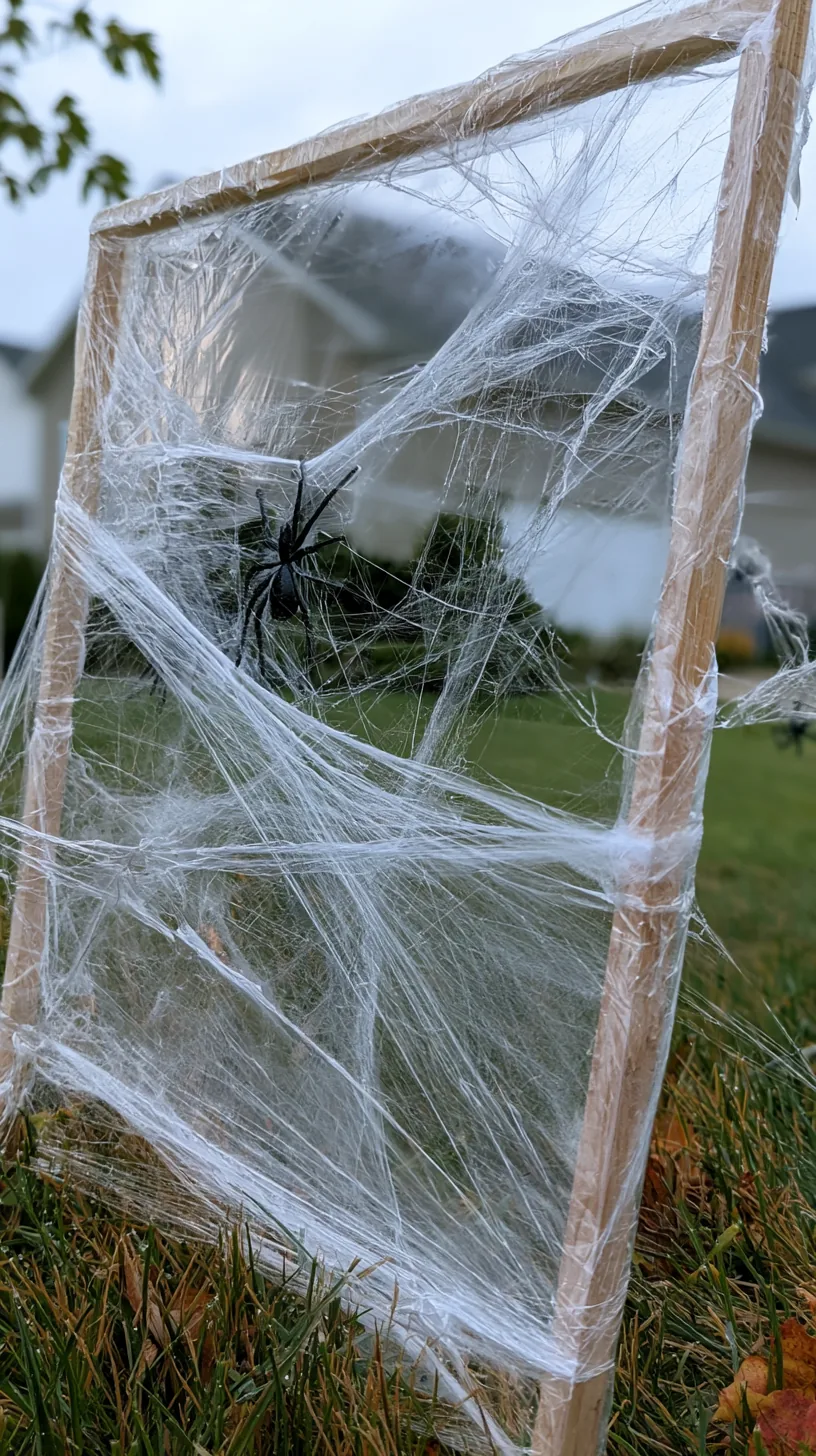
 1Hotop Artificial Spanish Moss Gothic Halloween 8pc · Shop on Amazon2DEWENWILS Outdoor Wall Light Fixture Black Roman 17.7in · Shop on Amazon5/7
 6/7
6/7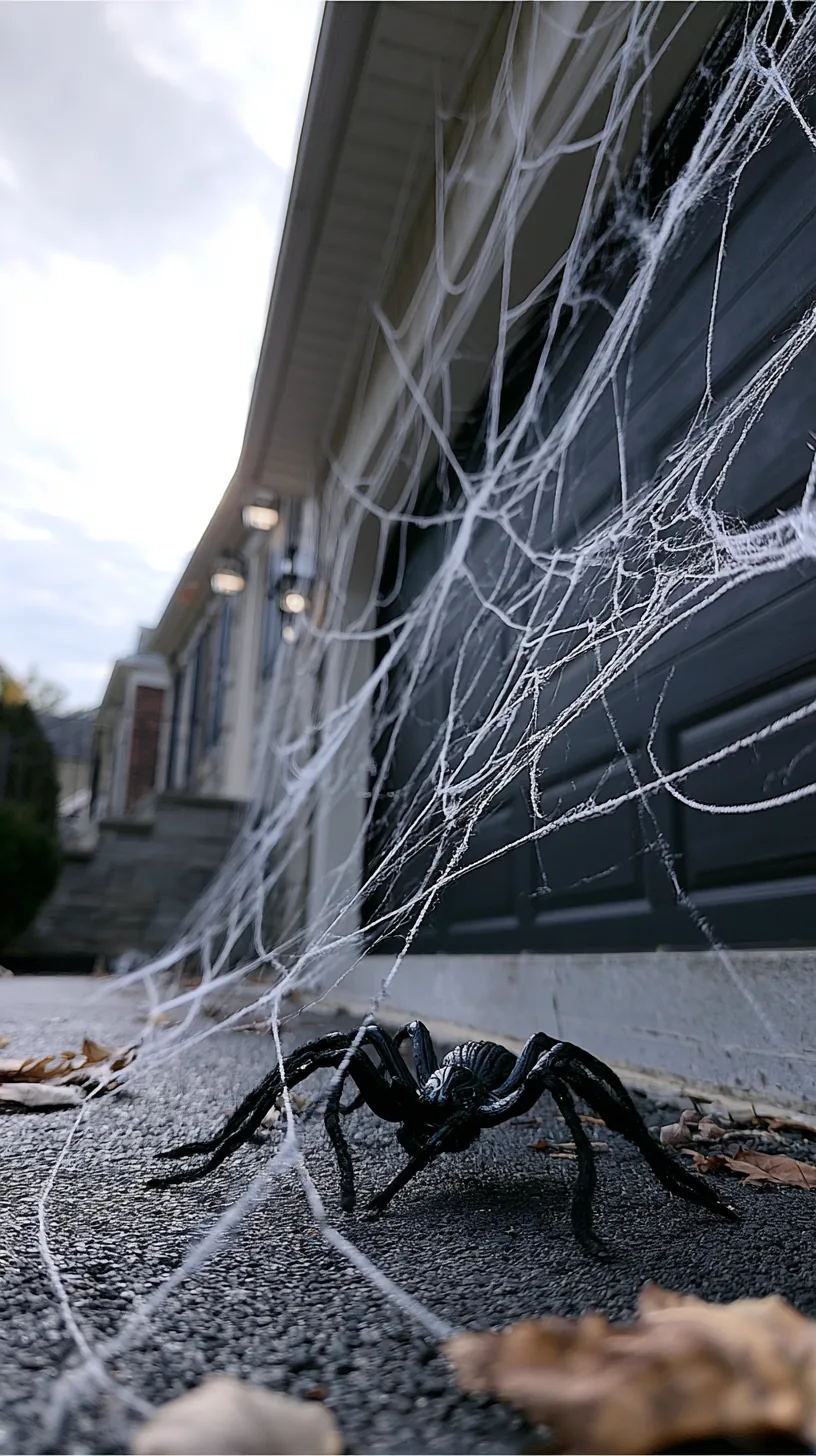 7/7
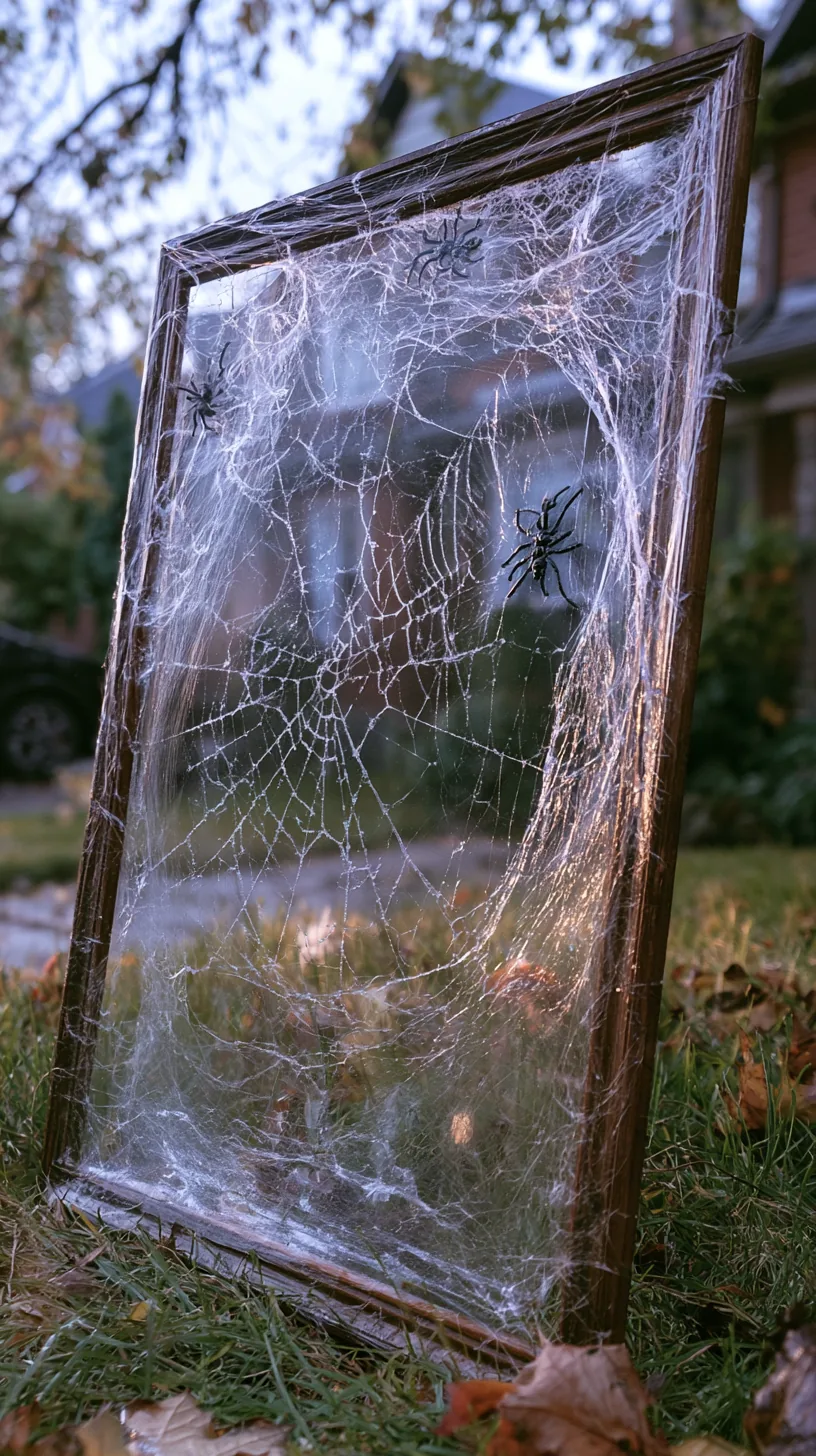
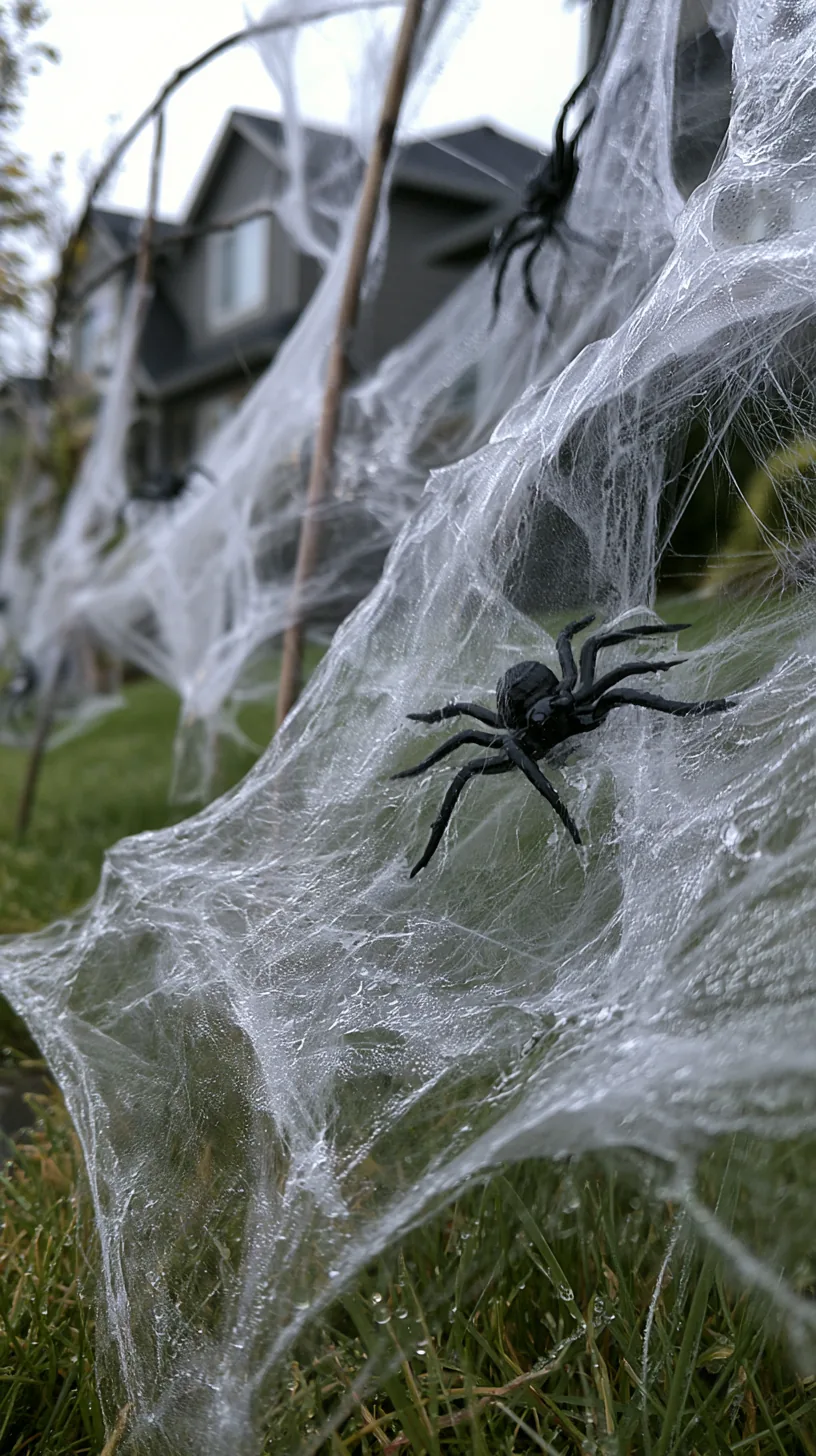
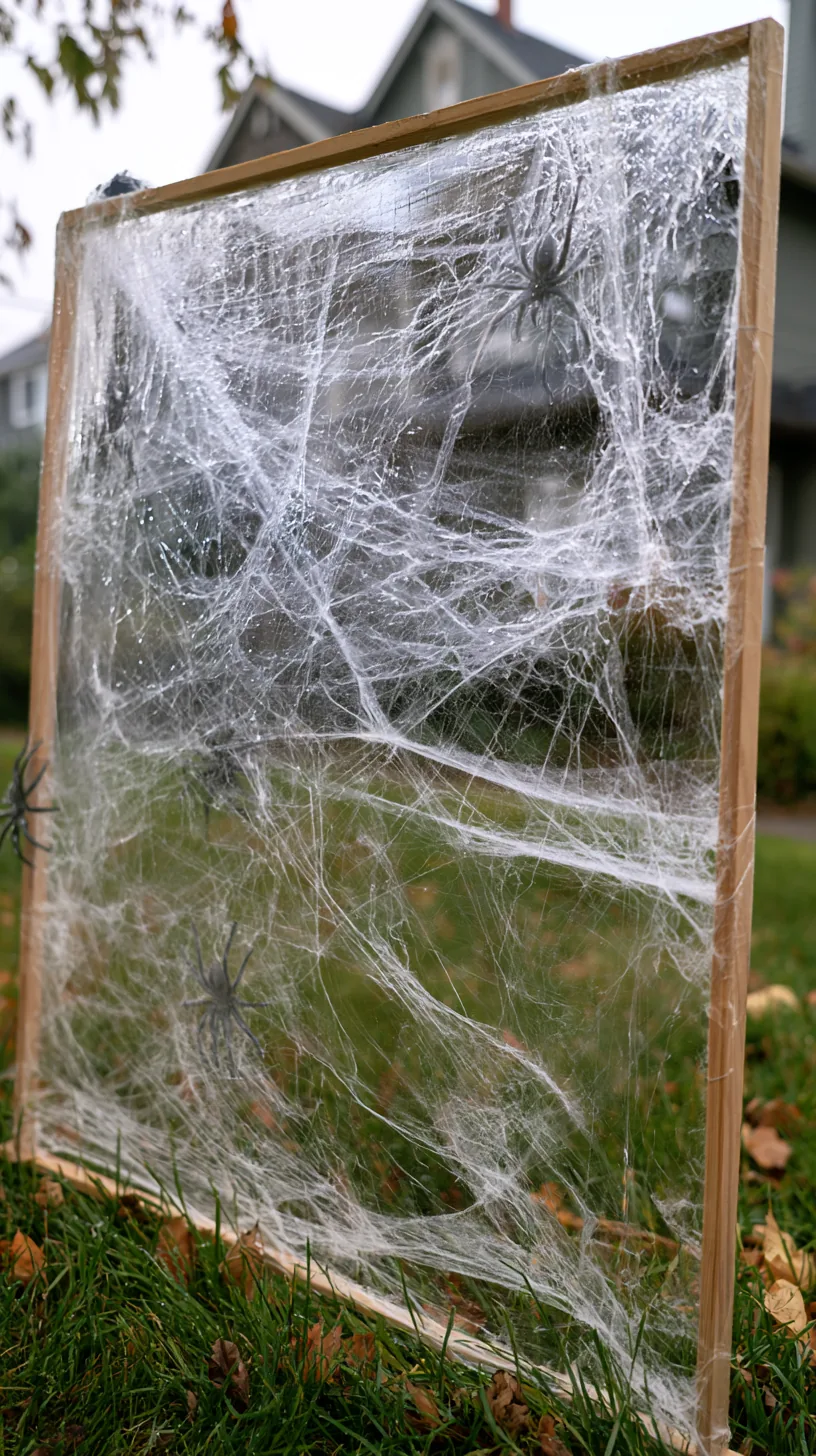
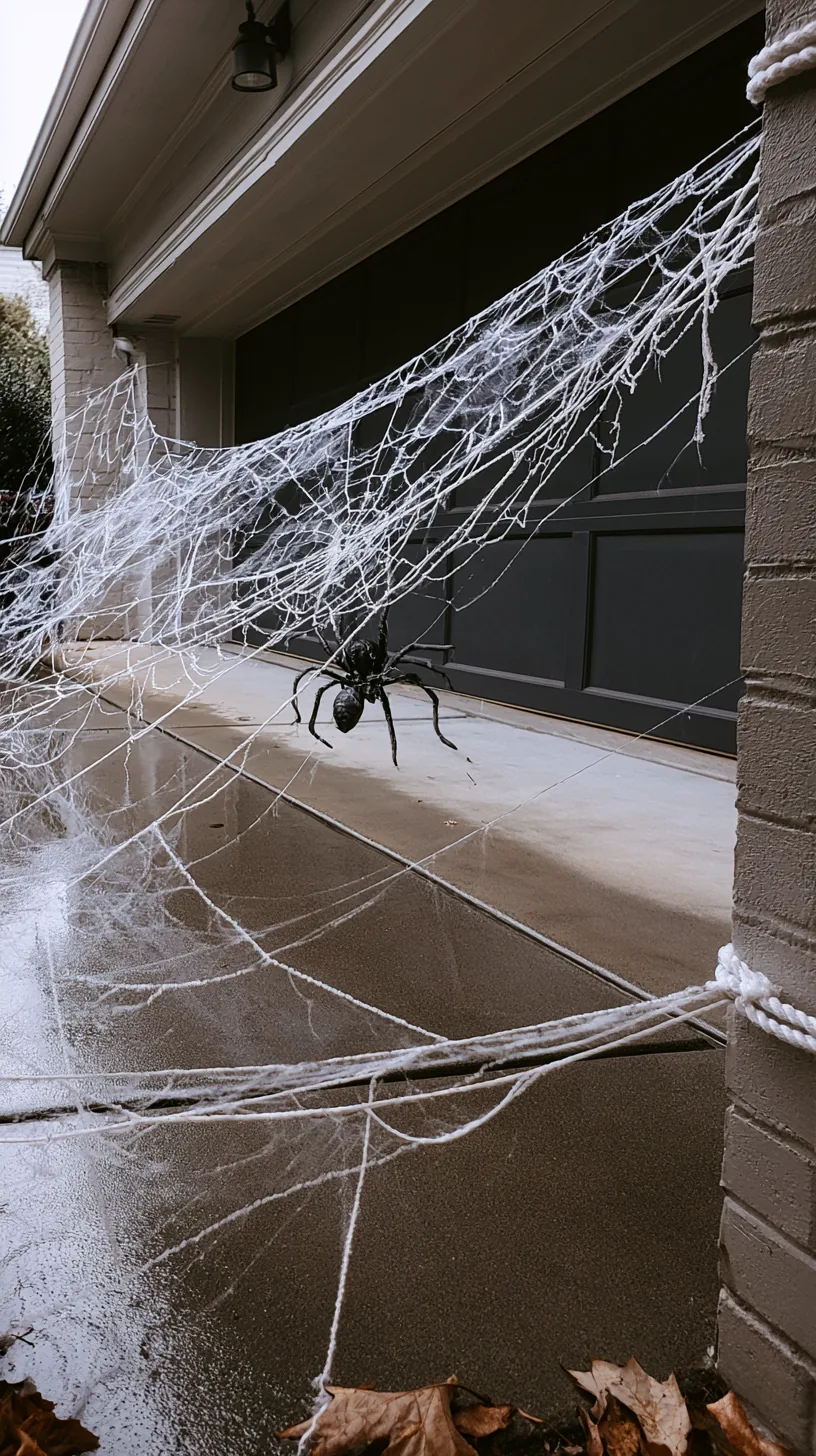
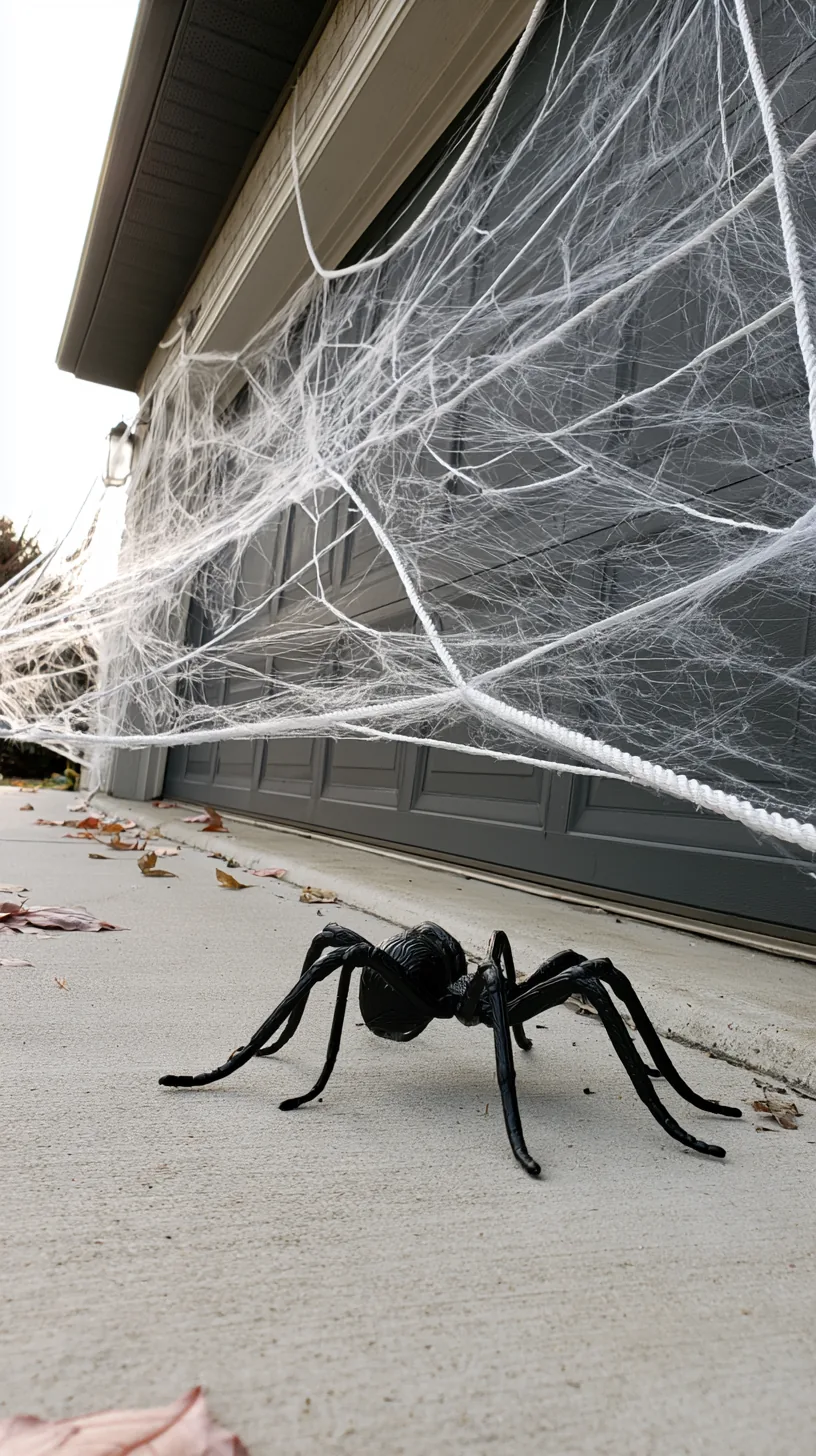
7/7Stretchy web pulled straight onto a boxwood welds itself to every twig, and you’ll still be picking white fuzz out of that shrub in April. Build a frame instead. Stretch the webbing across a simple rectangle of PVC or two stakes and a length of twine, then lean or stake the frame in front of the plant.
Two 4-foot PVC pipes and two elbows make a light frame you can carry with one hand, and it stores flat in the garage. Pull the webbing thin, thin, thinner than feels right, until you can see through it, then anchor the corners and tease strands toward the center. Real webs are irregular, so leave gaps and let a few strands sag. A friend of mine tried something similar along her porch rail and said the frame took ten minutes to set up and about thirty seconds to take down, which is the whole point.
Quick Tips
- A few plastic spiders near the edges sell the illusion better than a pile in the middle
- Keep the frame back from sprinkler heads so the web doesn’t turn into a soggy rag
- Take webbing down before it starts shredding, since loose strands can tangle birds
7. Tuck Glowing Eyes Into Dark Bushes
 1/5
1/5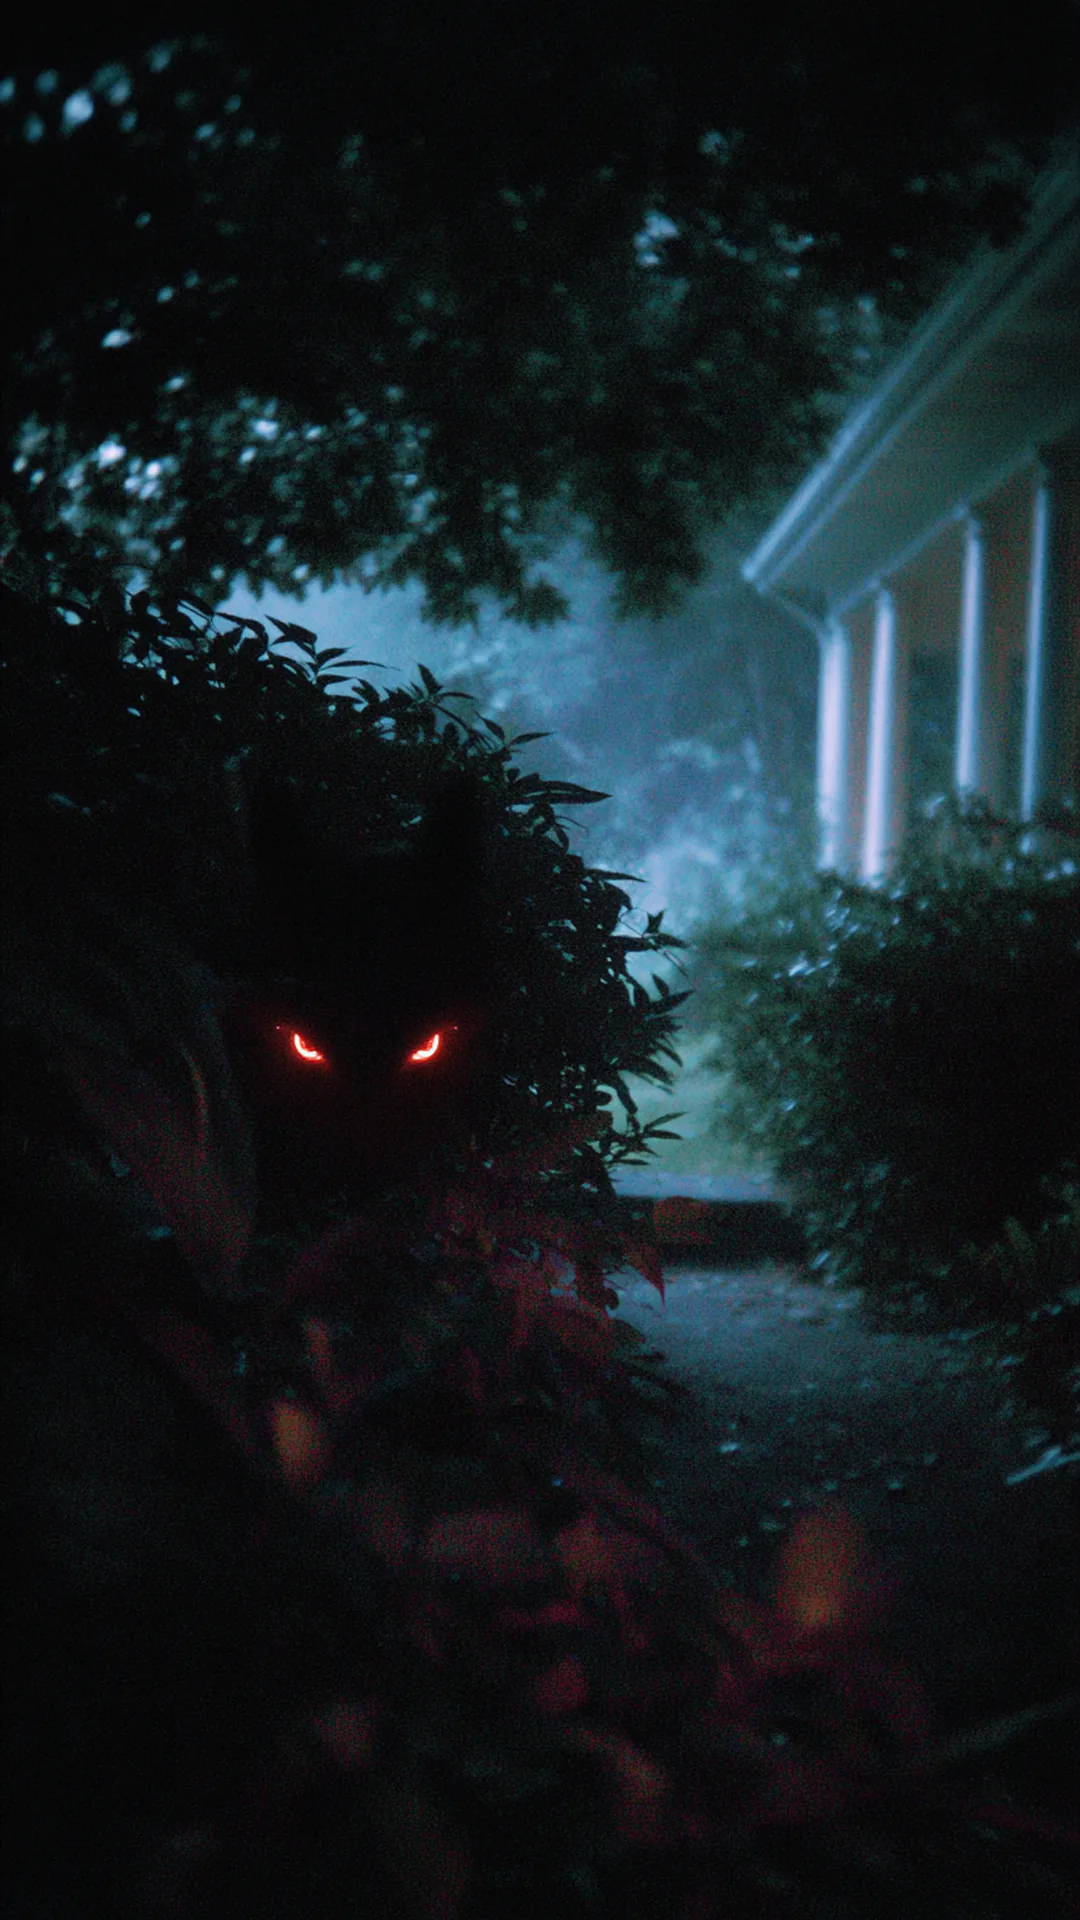 2/5
2/5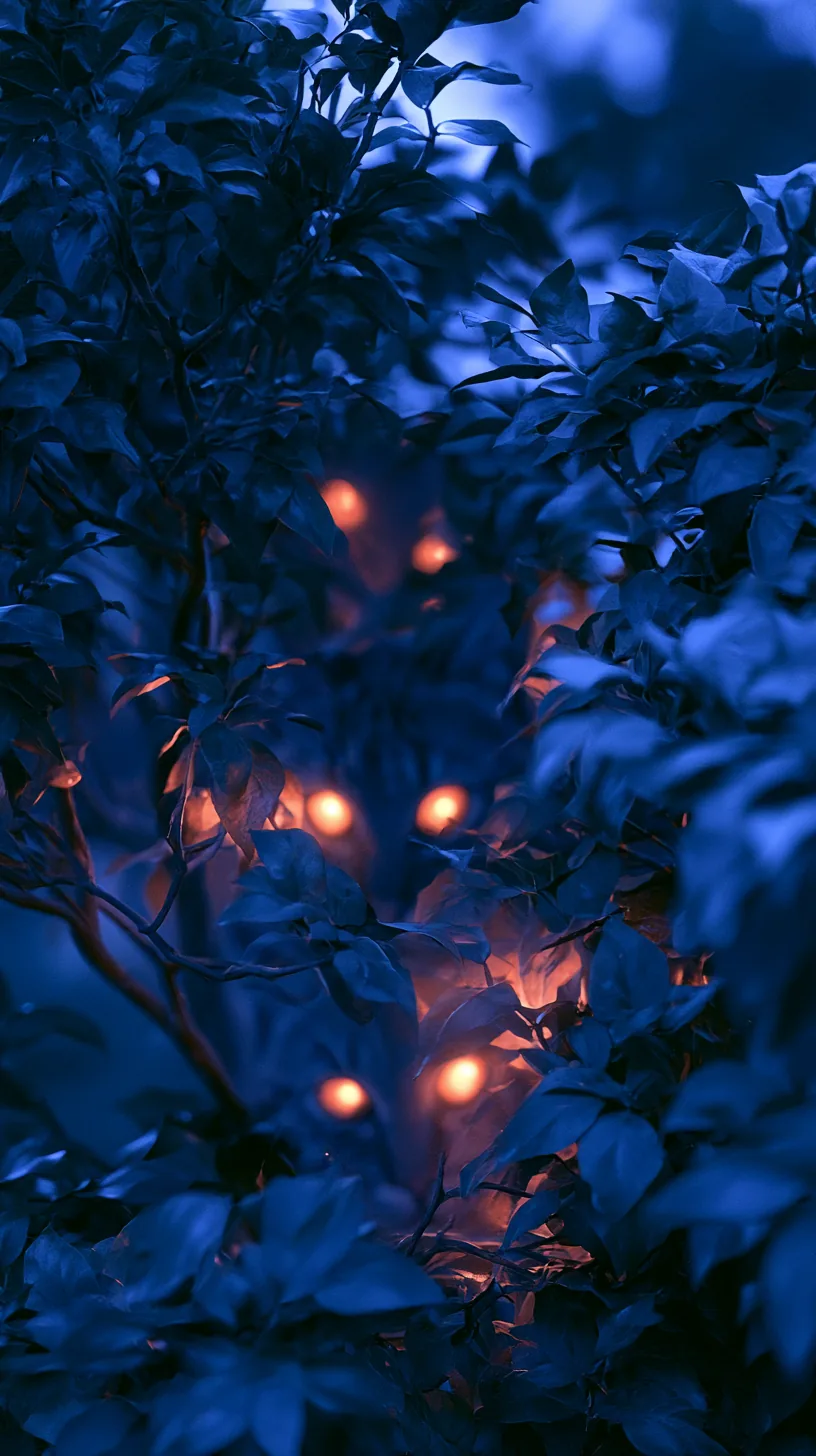 3/5
3/5 4/5
4/5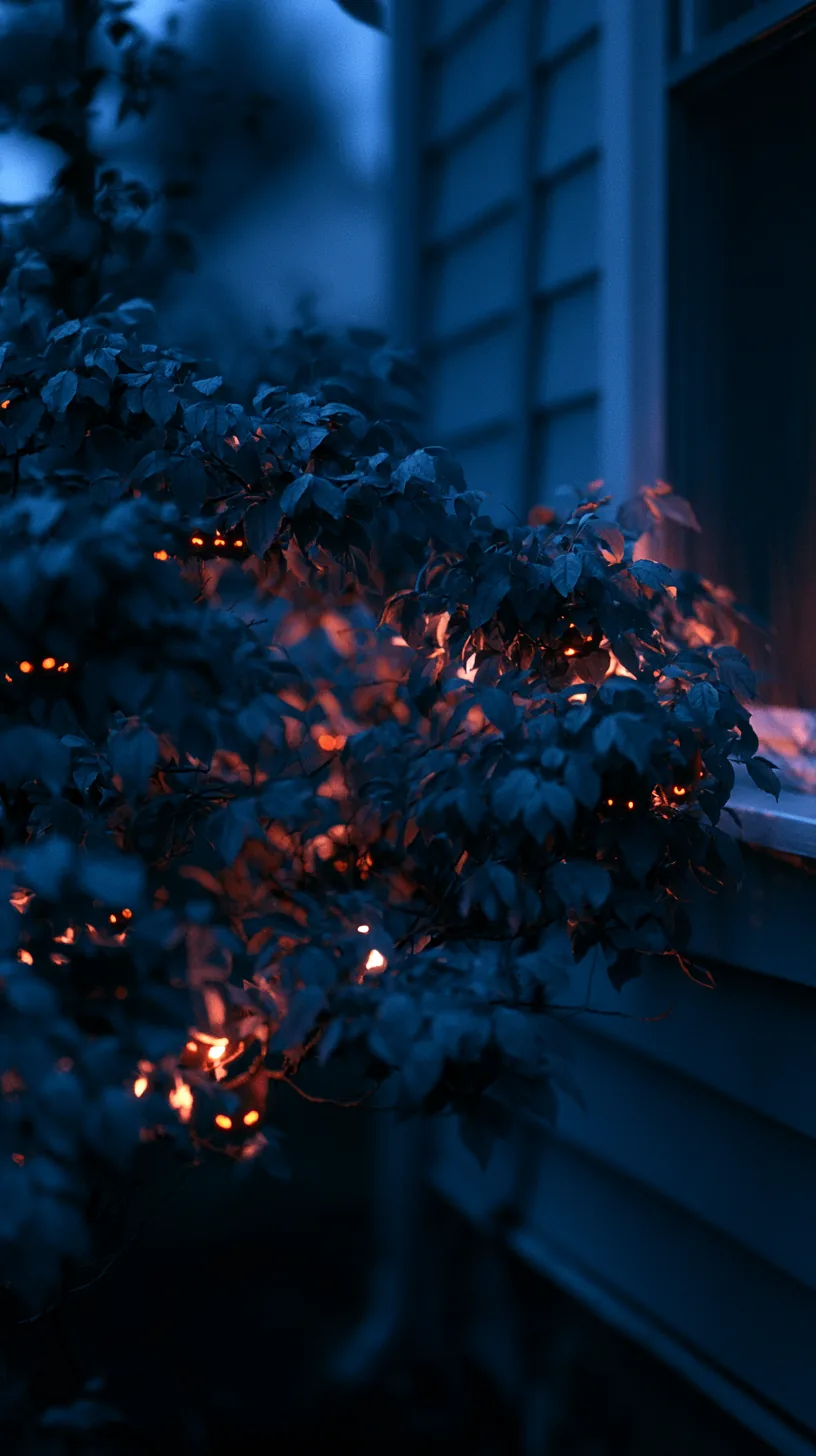 5/5
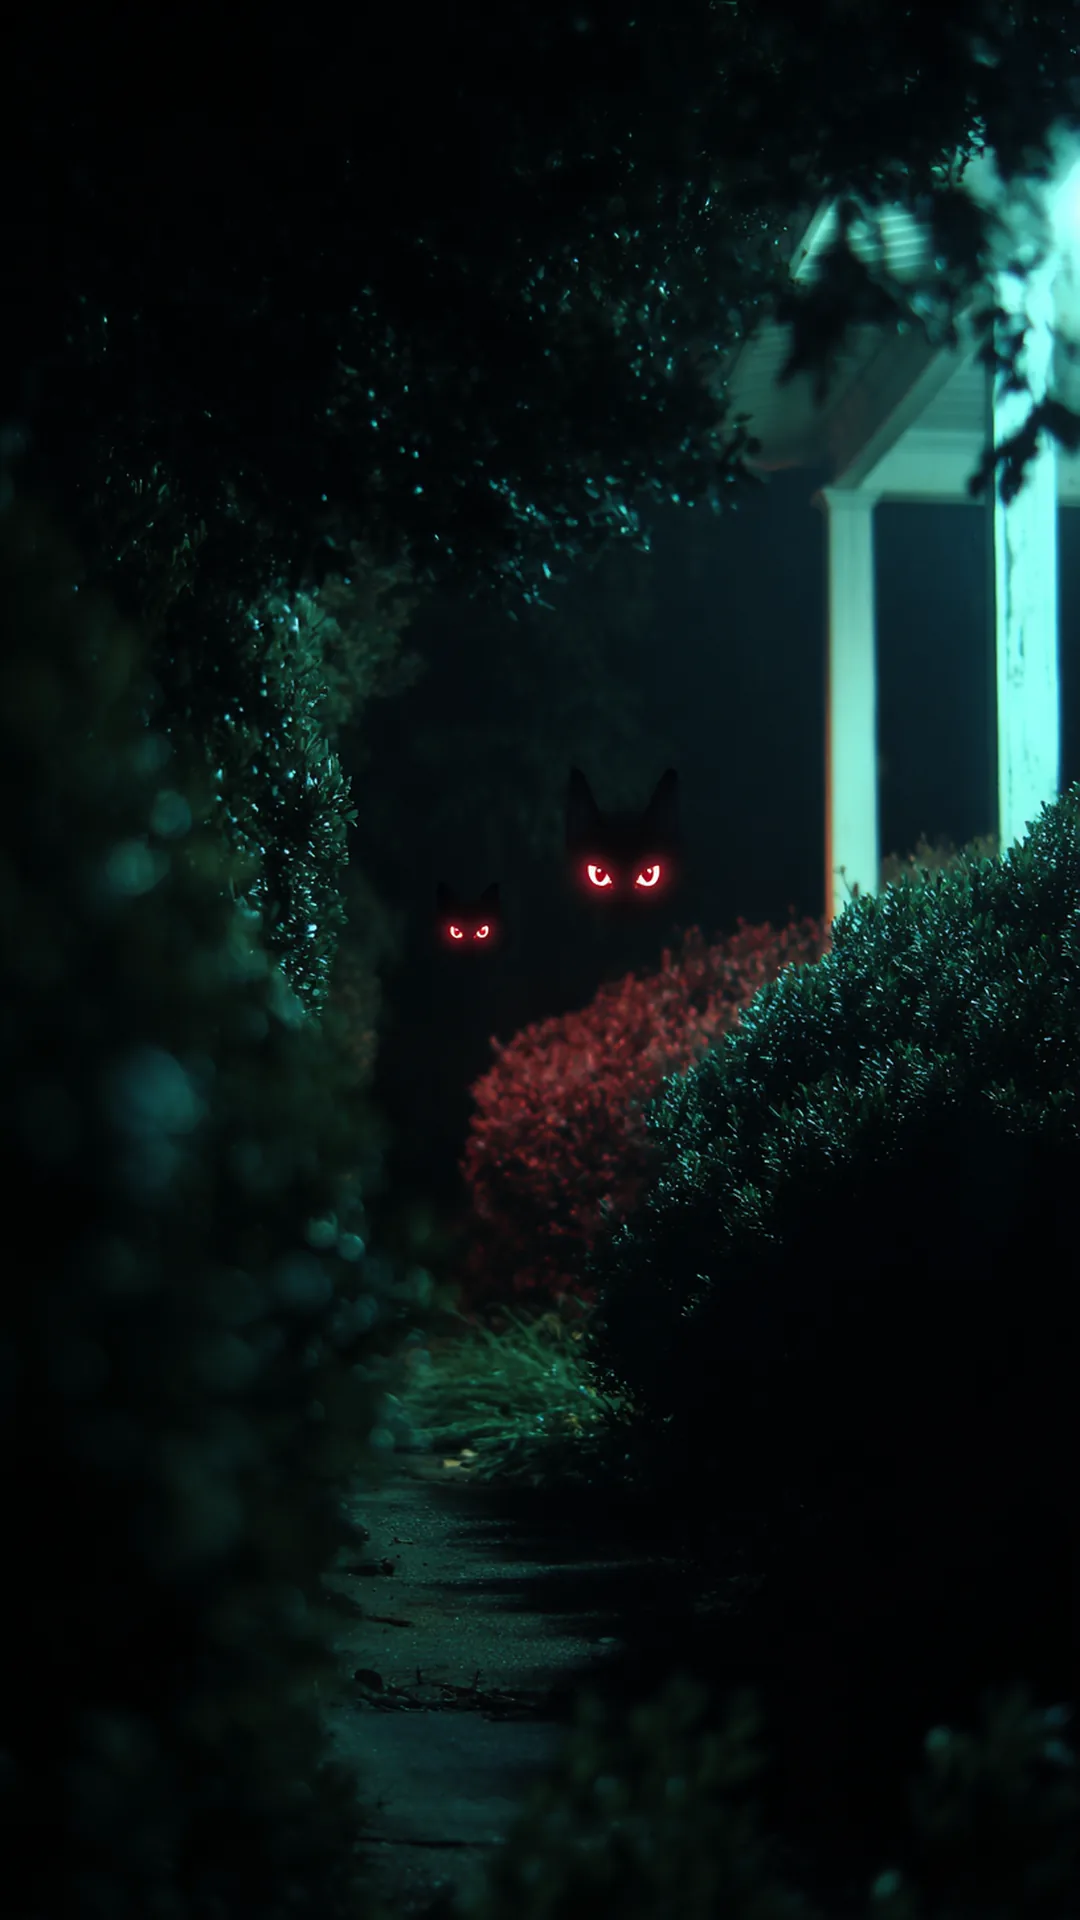
5/5After sunset, a row of hedges reads as one big black hole in the yard, and any decor sitting in front of it disappears. Glowing eyes fix that empty space for almost nothing. Slip battery eye lights deep into the branches at different heights, and the hedge suddenly feels like something is watching from inside it.
Set them back about a foot from the outer leaves so you see the glow and not the plastic housing. Vary the heights on purpose, one low near the mulch, one at chest level, one higher in the branches, because a straight row instantly reads as decorations. You can make your own version with a toilet paper tube, a pair of eye holes cut with a craft knife, and a small glow stick inside, which holds up fine for a night or two. This is one of my favorite tricks for halloween front yard ideas because it costs almost nothing and works from the sidewalk.
Quick Tips
- Red and green glow read spookier than white, which just looks like a flashlight
- Zip-tie the lights to a branch so a gust doesn’t drop them into the mulch
- Point the eyes toward the walkway, not the street, so kids catch them as they pass
8. Drill a No-Carve Pumpkin That Lasts All Month
 1/4
1/4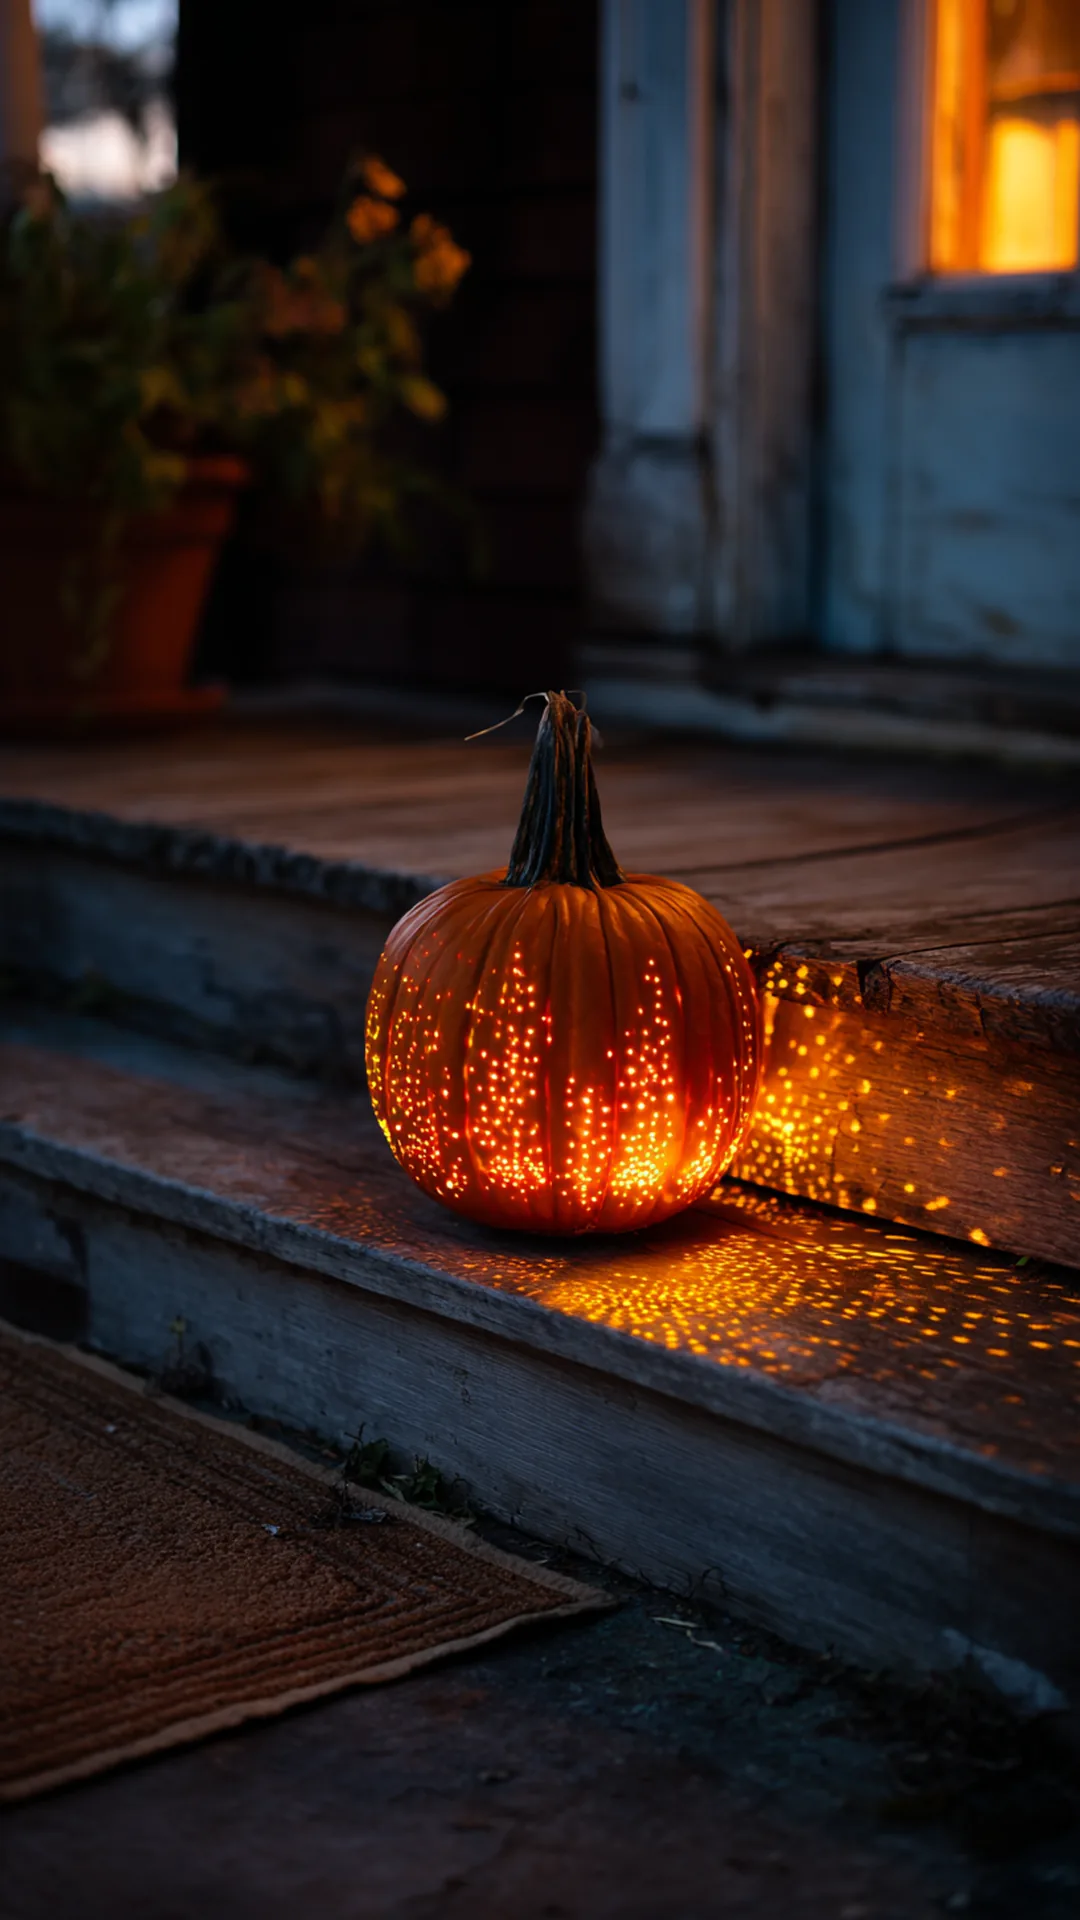 2/4
2/4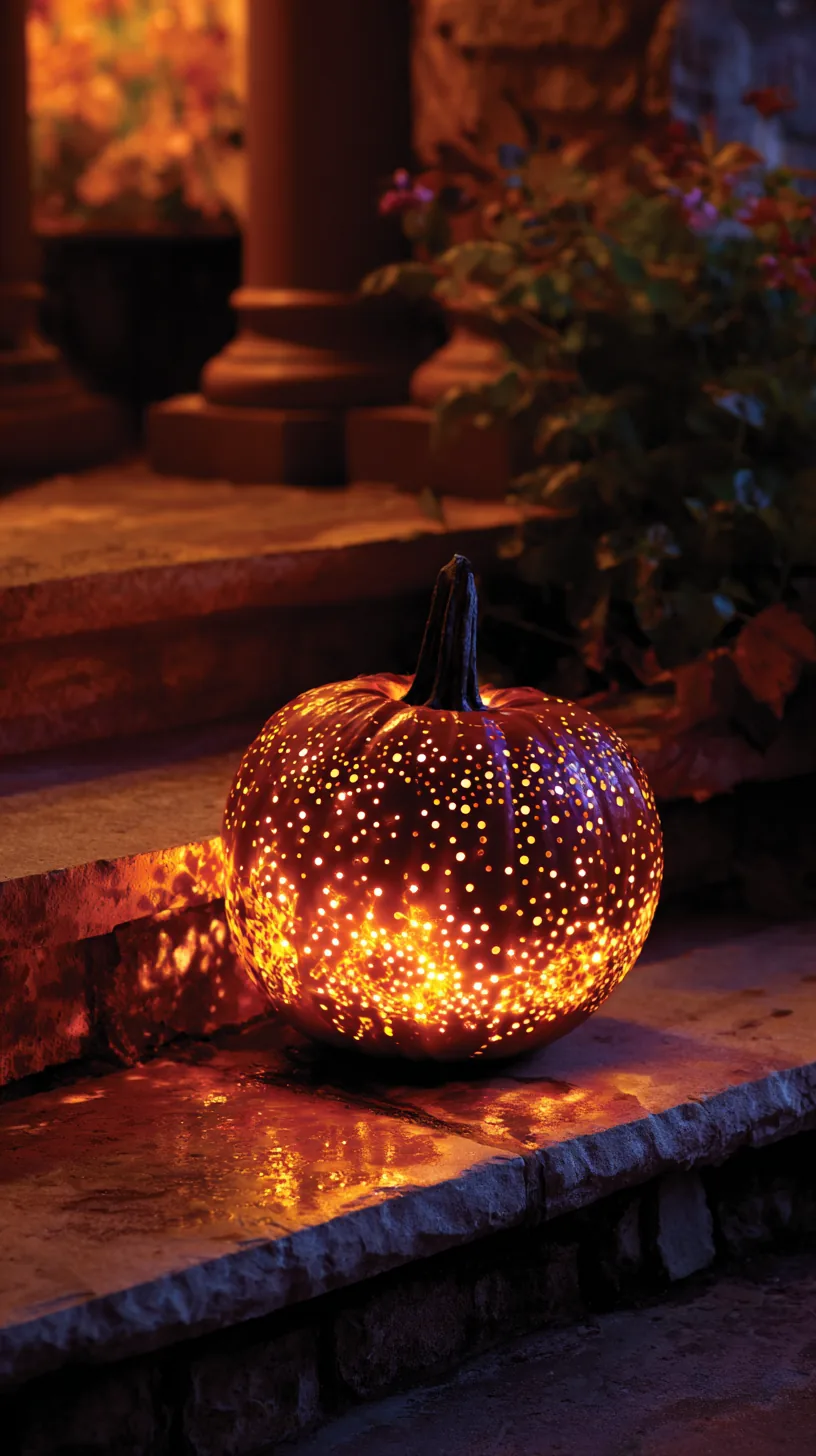 3/4
3/4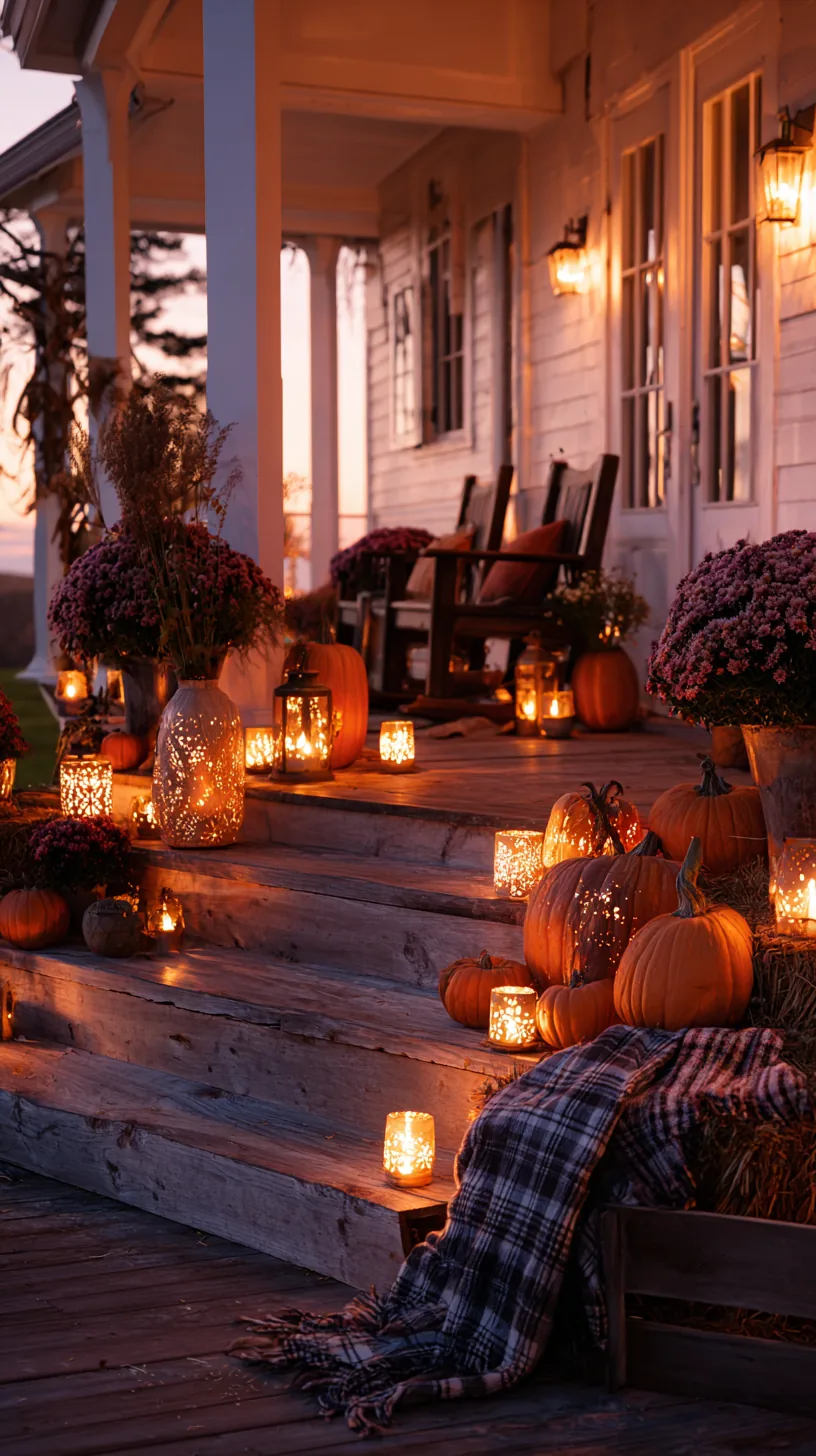 4/4
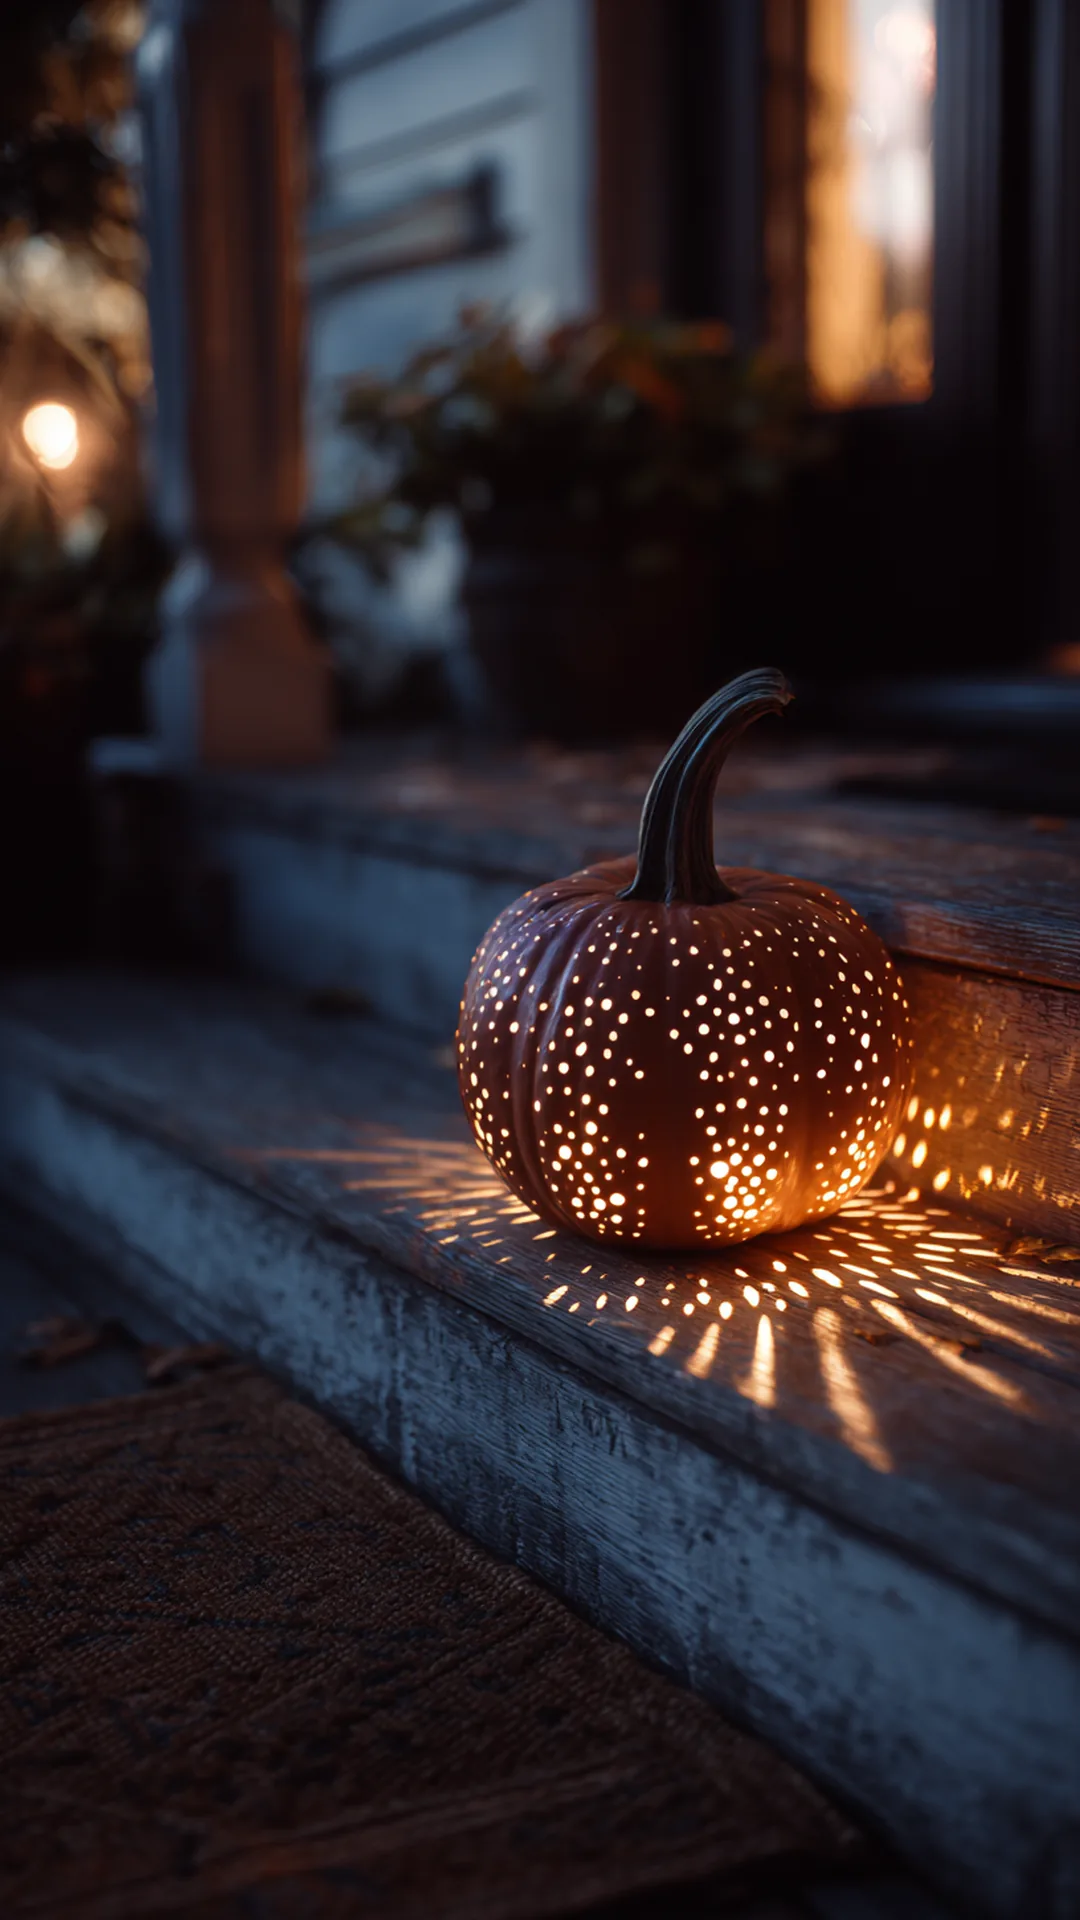
4/4A carved jack-o’-lantern caves in within three or four days because you cut open the whole shell and let air at the flesh. Drilling solves it. Use a spade bit to punch a pattern of round holes through the rind without removing the top, and the pumpkin holds its shape and its firmness for weeks.
Draw your dot pattern first with a washable marker, then drill slowly with a cordless drill and let the bit do the work so the rind doesn’t crack. A spiral of holes down one side, or a simple constellation of big and small dots, looks better than trying to make a face out of circles. Rub the cut edges with petroleum jelly to slow moisture loss, and set the pumpkin somewhere the afternoon sun can’t cook it. Drop a battery tea light inside through one of the larger holes and the whole thing glows like a lantern.
Quick Tips
- Mix two or three bit sizes so the light pattern has some rhythm to it
- Drill a couple of holes in the bottom so rain drains instead of pooling inside
- Wipe the shell with a diluted bleach solution before drilling to slow mold
9. Stake a Scarecrow Where the Yard Looks Empty
 1/8
1/8 2/8
2/8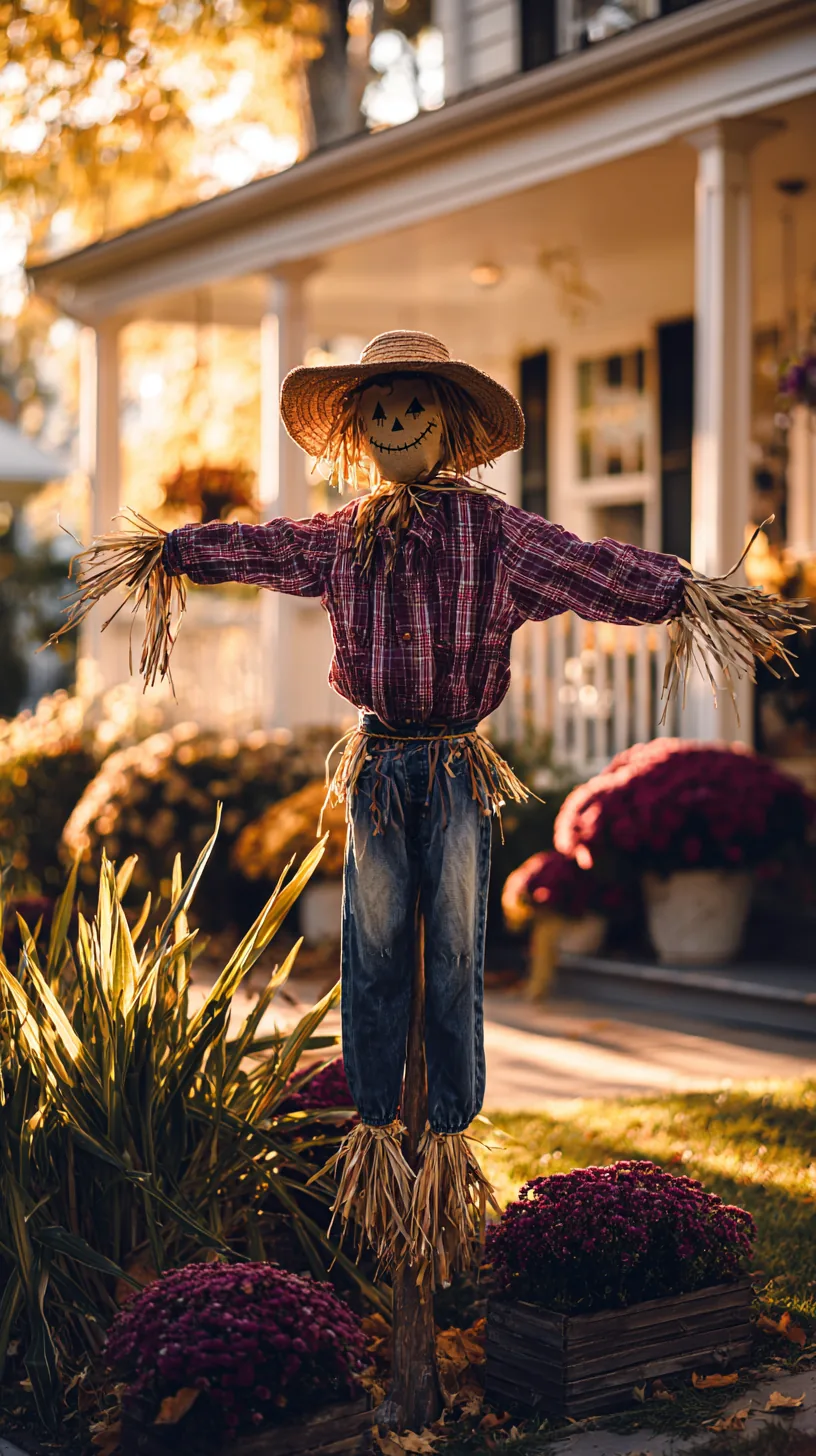 3/8
3/8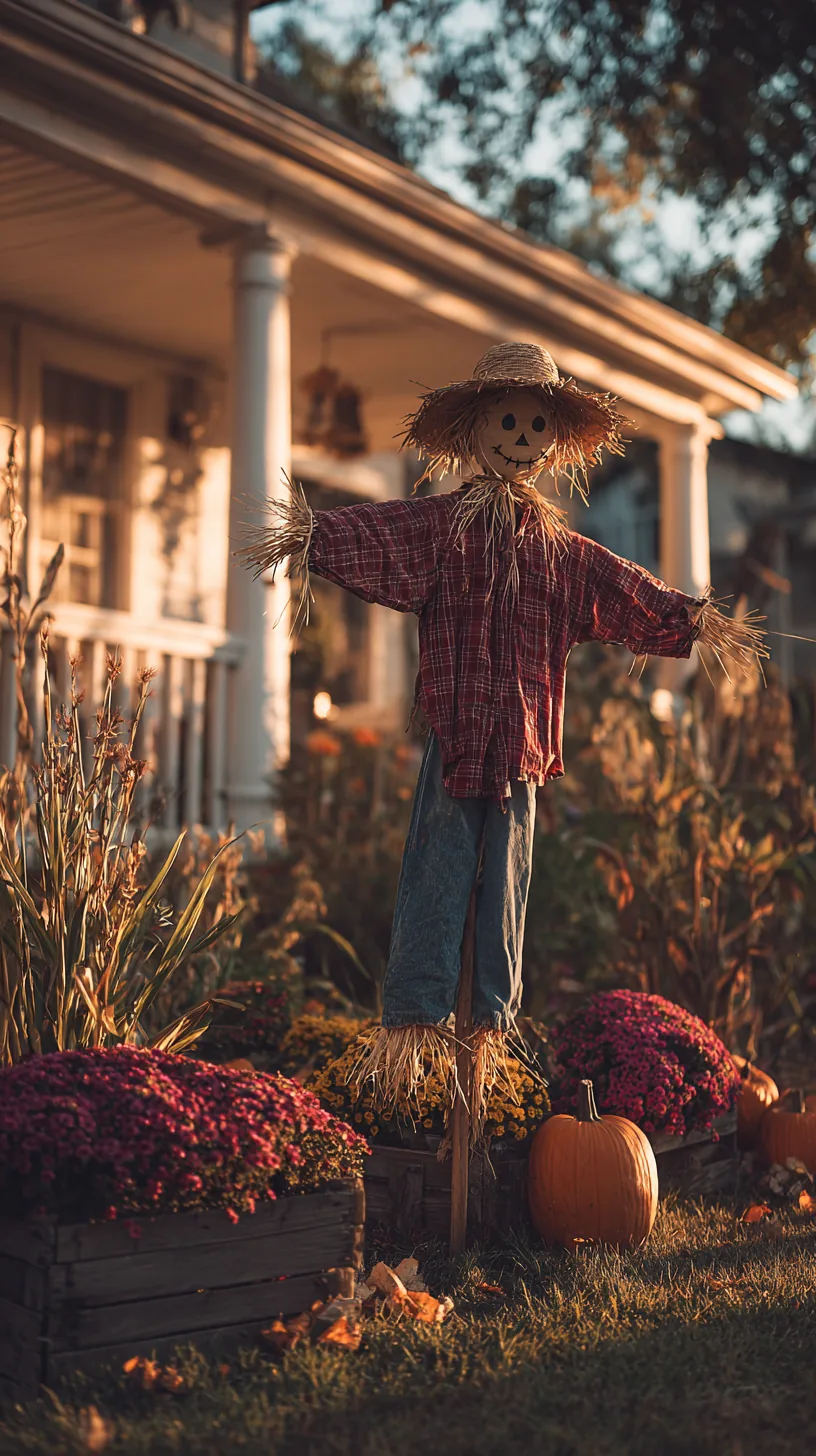 4/8
4/8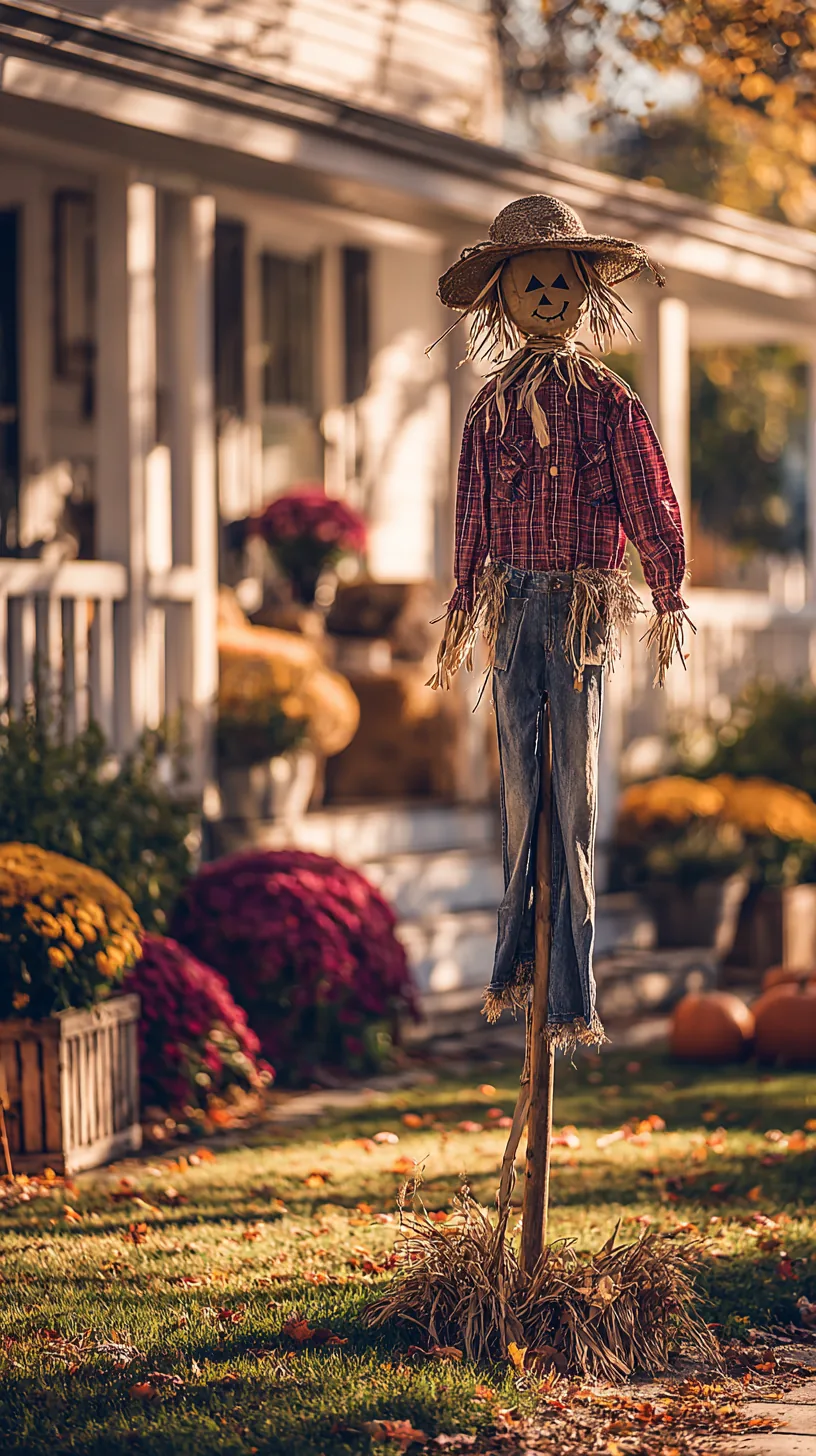 5/8
5/8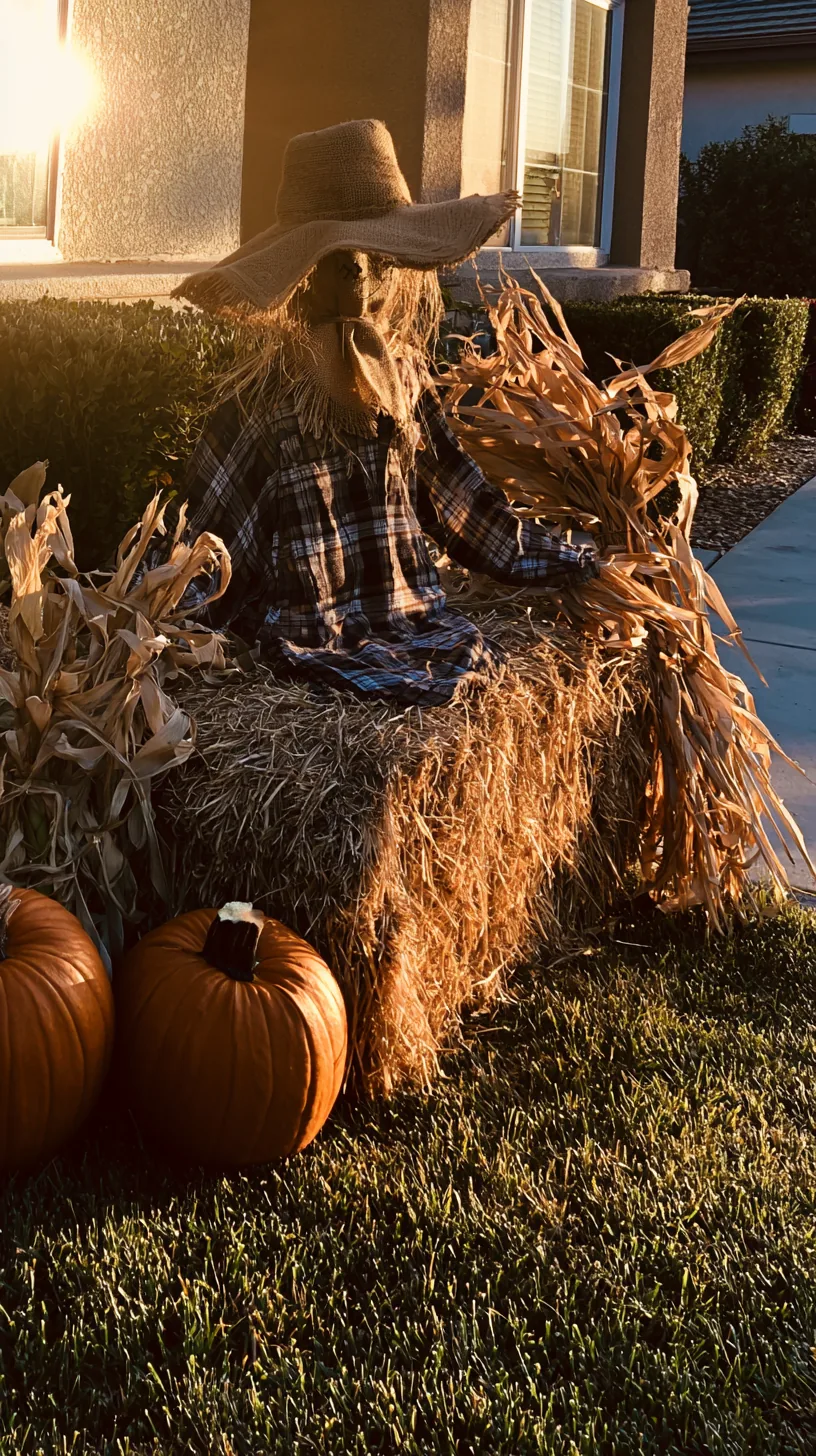 6/8
6/8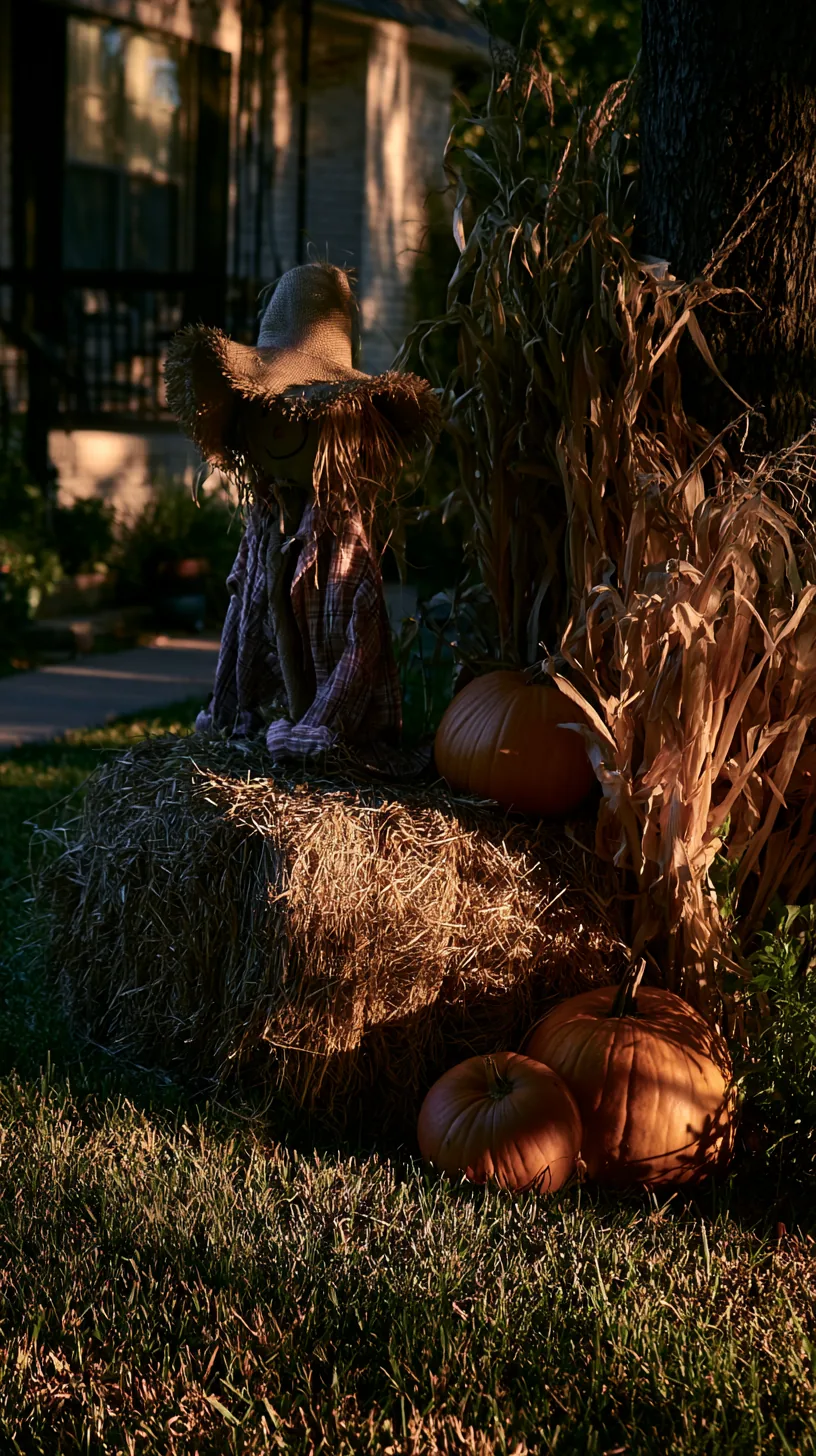 7/8
7/8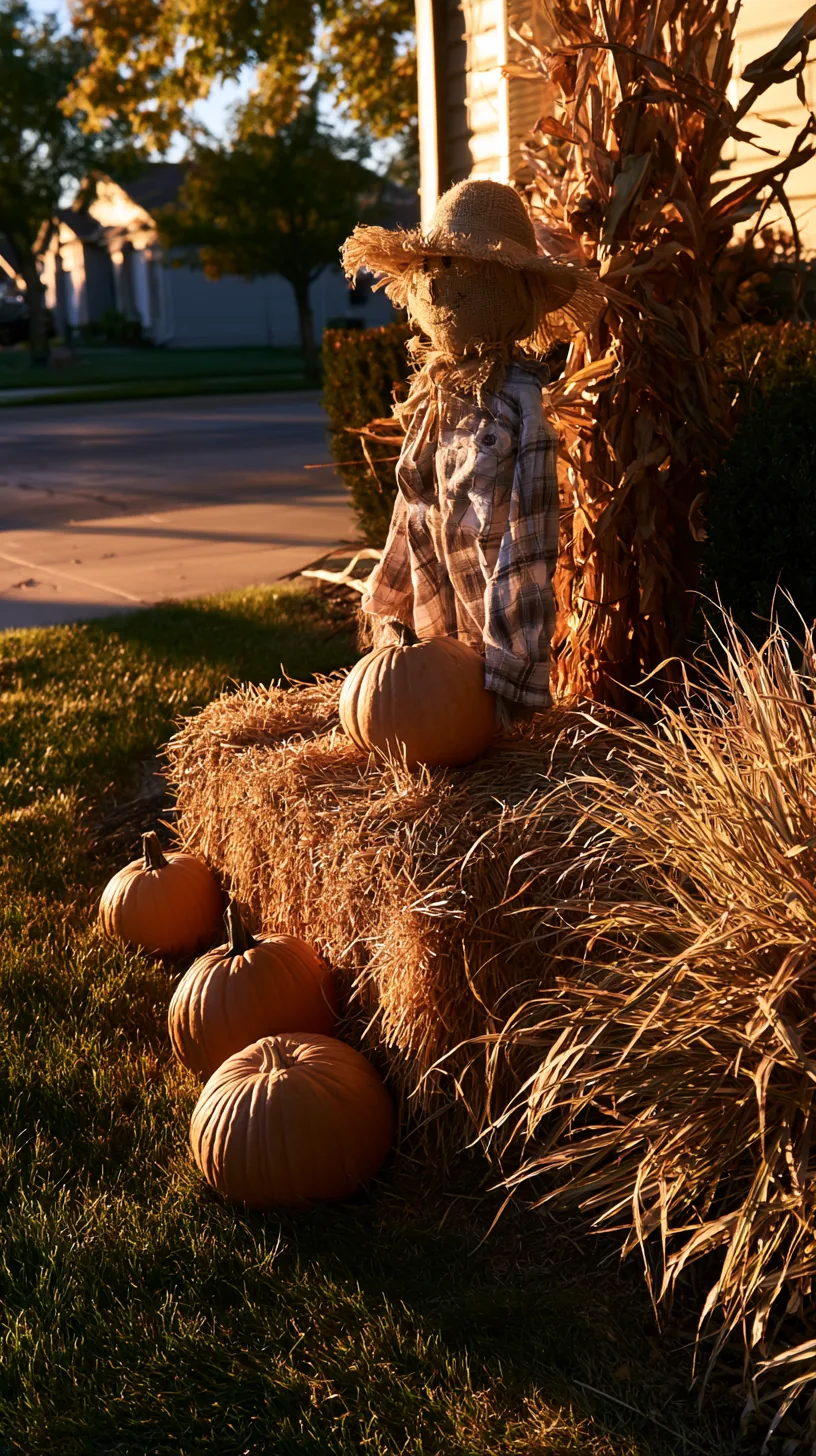 8/8
8/8A wide, flat front lawn swallows small decorations whole, and adding more little things only makes it look cluttered and still empty. One tall figure fixes the scale problem. A scarecrow stands 5 or 6 feet high, reads clearly from a passing car, and gives the whole yard a center of gravity nothing small can match.
Build the frame from two pieces of scrap lumber lashed into a cross, sink the post at least 18 inches into the ground, and dress it in an old flannel shirt and jeans stuffed with straw or grocery bags. Stuff the shoulders and chest firmly, then leave the arms a little loose so they move when the wind comes through. A burlap sack head with a stitched face weathers better than a paper one, and a wide-brimmed hat keeps rain off the whole thing. Place your scarecrow about two-thirds of the way back from the sidewalk, off to one side rather than dead center, so the yard still feels like a scene instead of a display. If you want more ways to place one, we walked through a whole yard of them in these outdoor scarecrow decor ideas.
Quick Tips
- Poke a few drainage holes in the bottom of the clothes so rain runs out instead of rotting the stuffing
- A second smaller scarecrow beside the first turns one prop into a story
- Wire the hat to the head, or you will be chasing it down the street
10. Float a Ghost From a PVC Frame When There’s No Tree
 1/2
1/2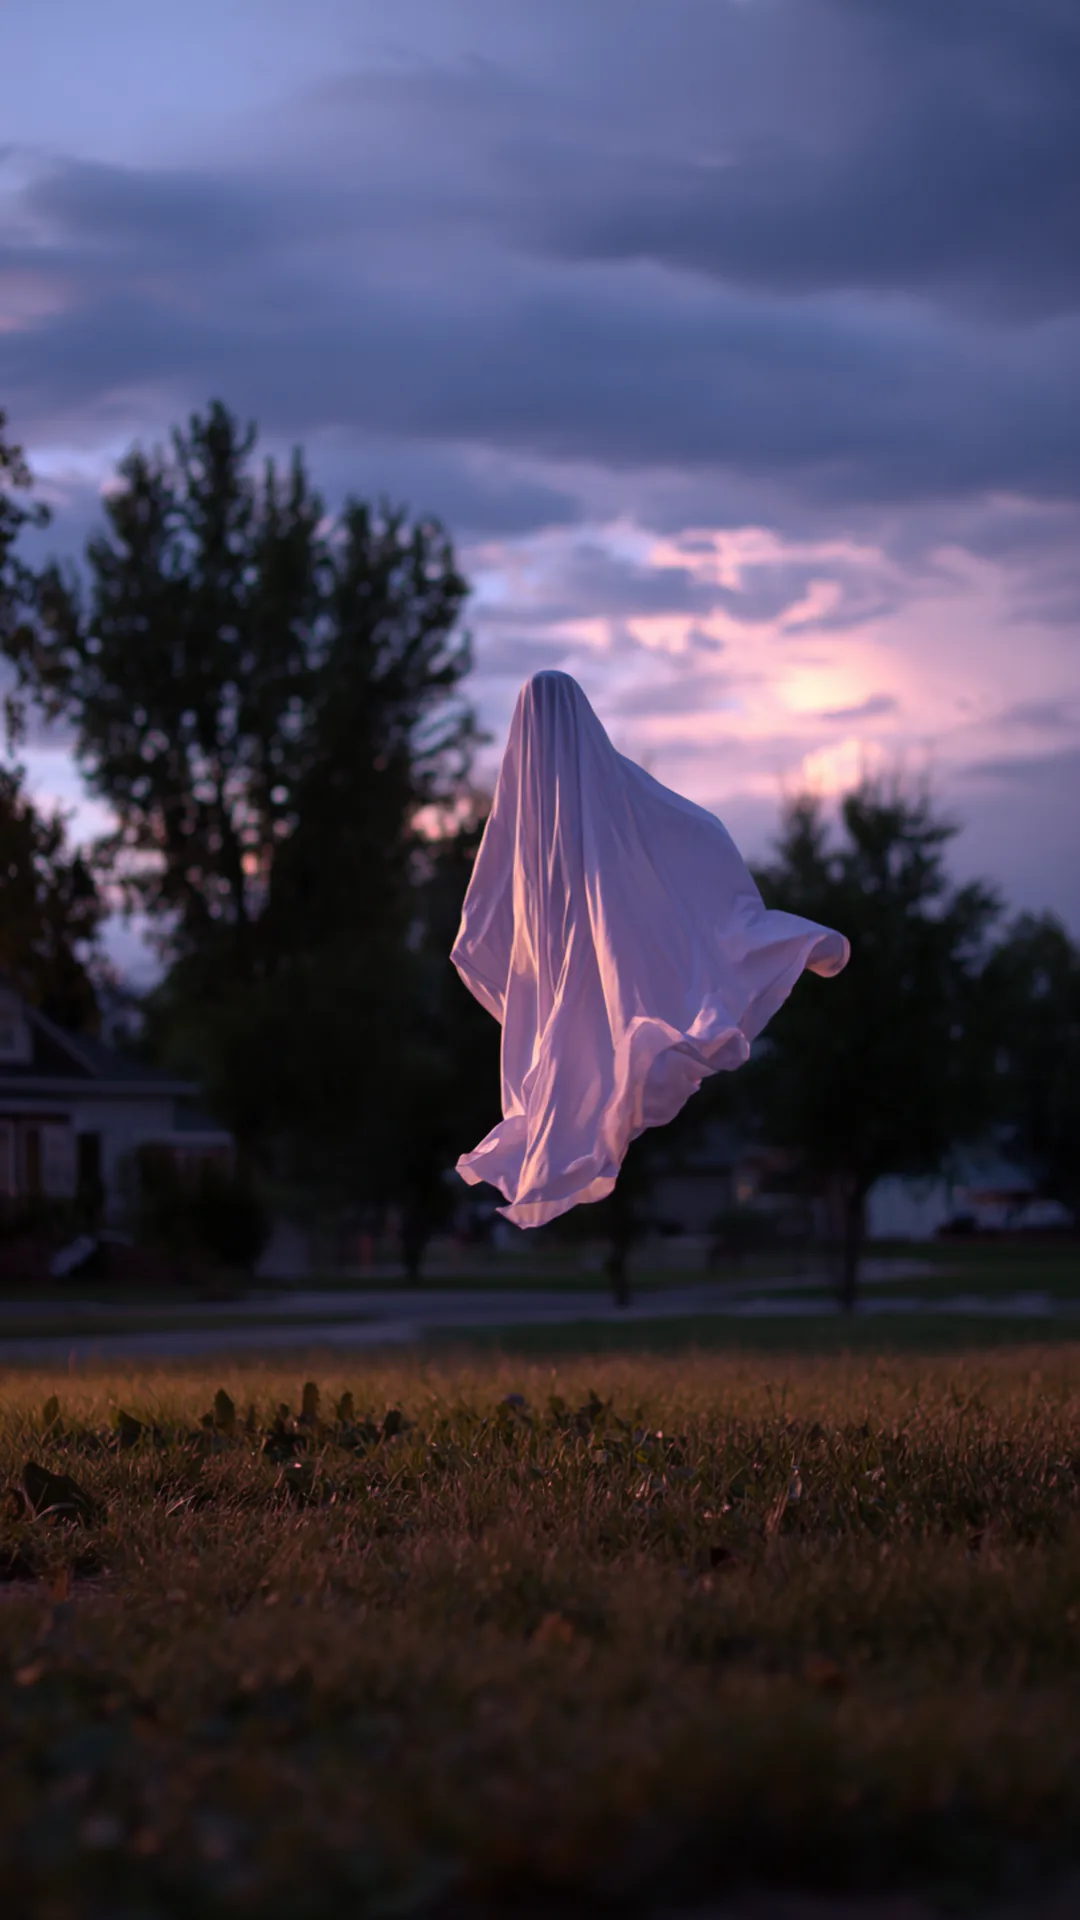 2/2
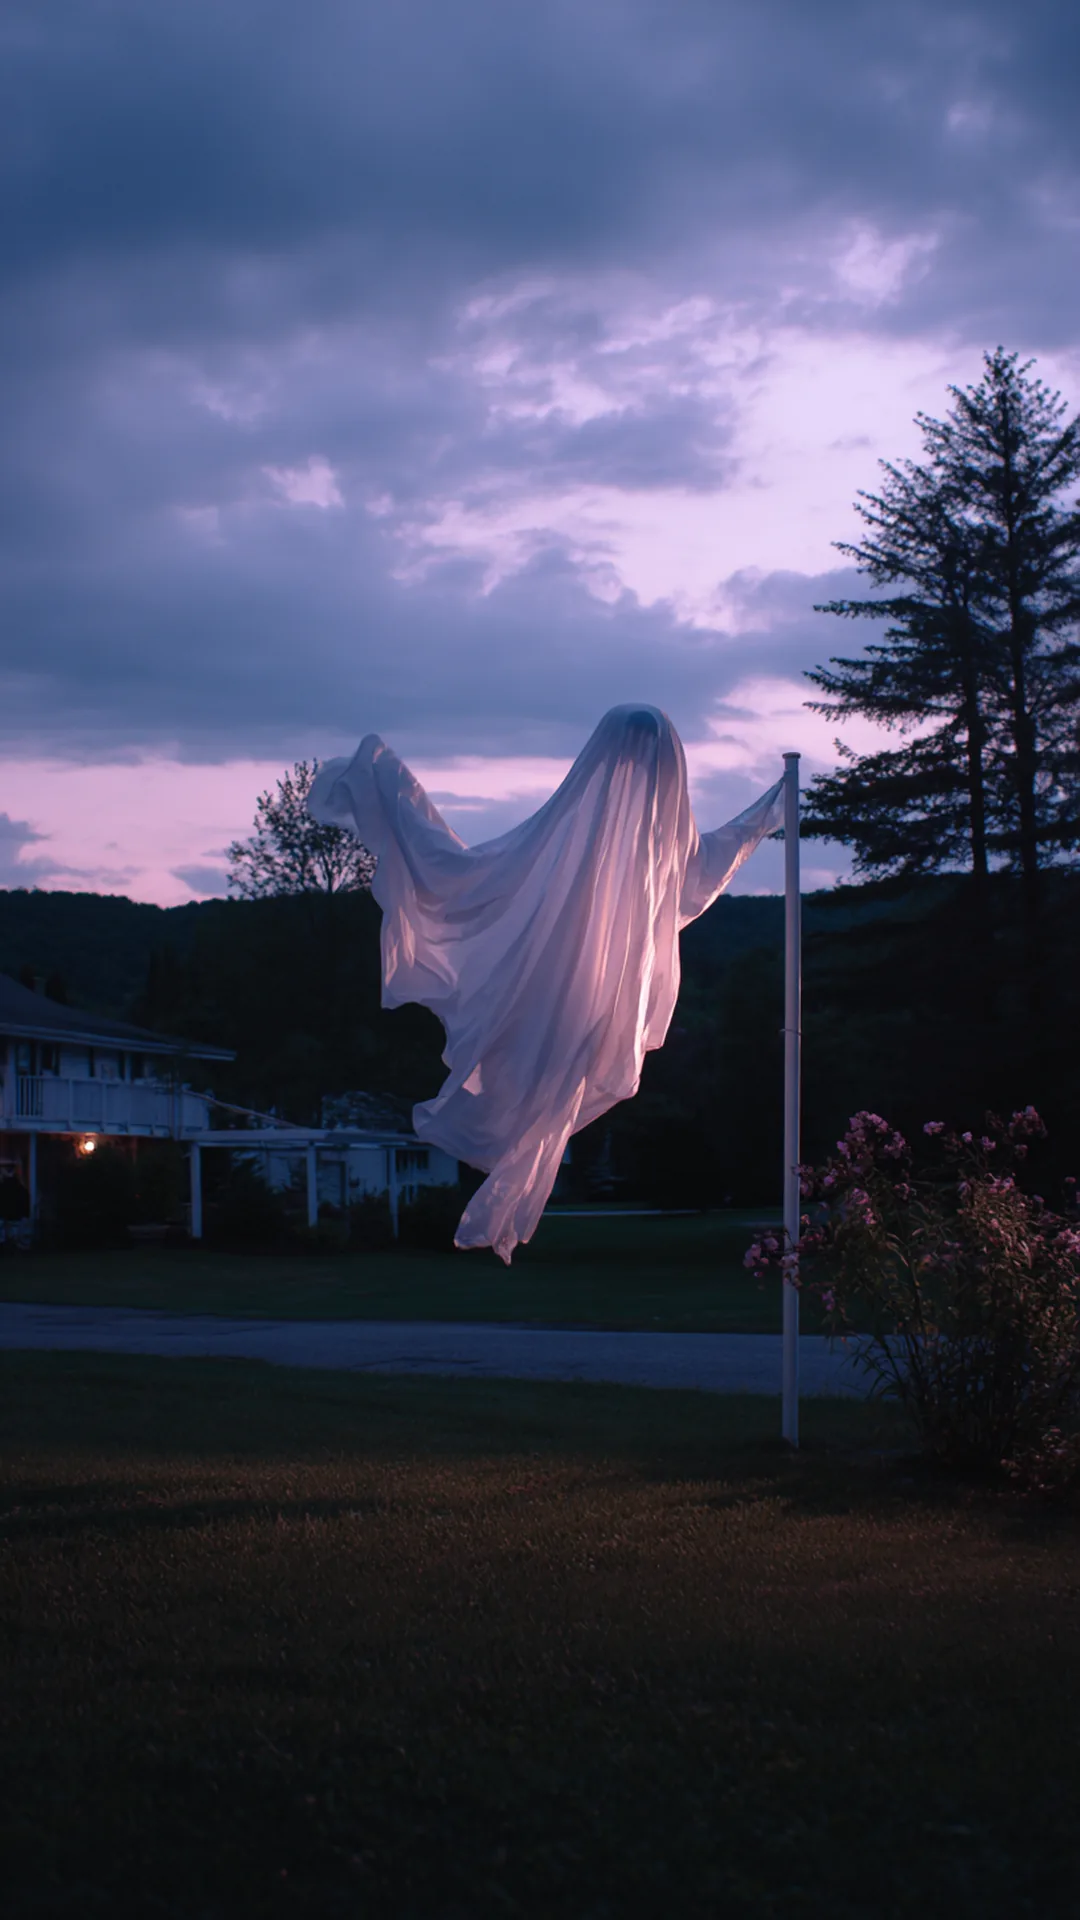
2/2Every floating ghost tutorial starts with “tie fishing line to a tree branch,” which is useless if your yard is a lawn and a driveway. A freestanding PVC frame gives you the branch. Build an upside-down L from lightweight pipe, weight the base with a bucket of sand, and hang the ghost from the arm.
You need one 6-foot upright, one 3-foot arm, an elbow to join them, and a five-gallon bucket filled with sand or set concrete to hold the post. Hang the ghost from clear fishing line so it drifts and turns instead of swinging like a pendulum. Paint the whole frame flat black and it disappears against a night sky, especially if you keep your uplighting aimed at the fabric and not the pipe. Set it near the corner of the porch where it reads as part of your outdoor halloween decor rather than a lone object on the grass.
Quick Tips
- Hang the ghost so the hem clears the ground by a foot, which sells the float
- Guy-line the top of the post to a stake if your yard gets steady wind
- The same frame holds a hanging lantern or a bat cluster after Halloween ends
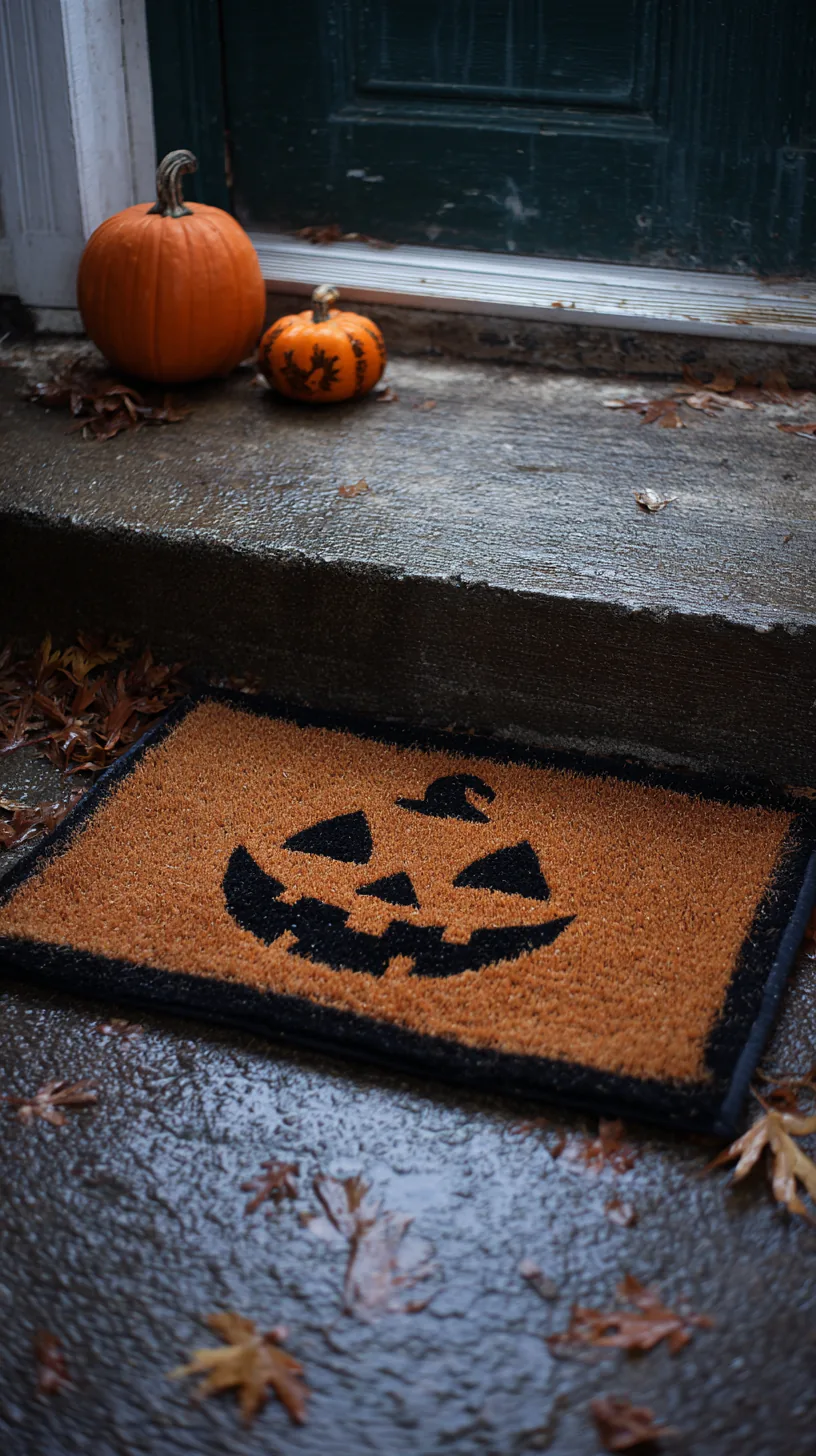
11. Layer a Weatherproof Doormat Under the Cute One
 1/2
1/2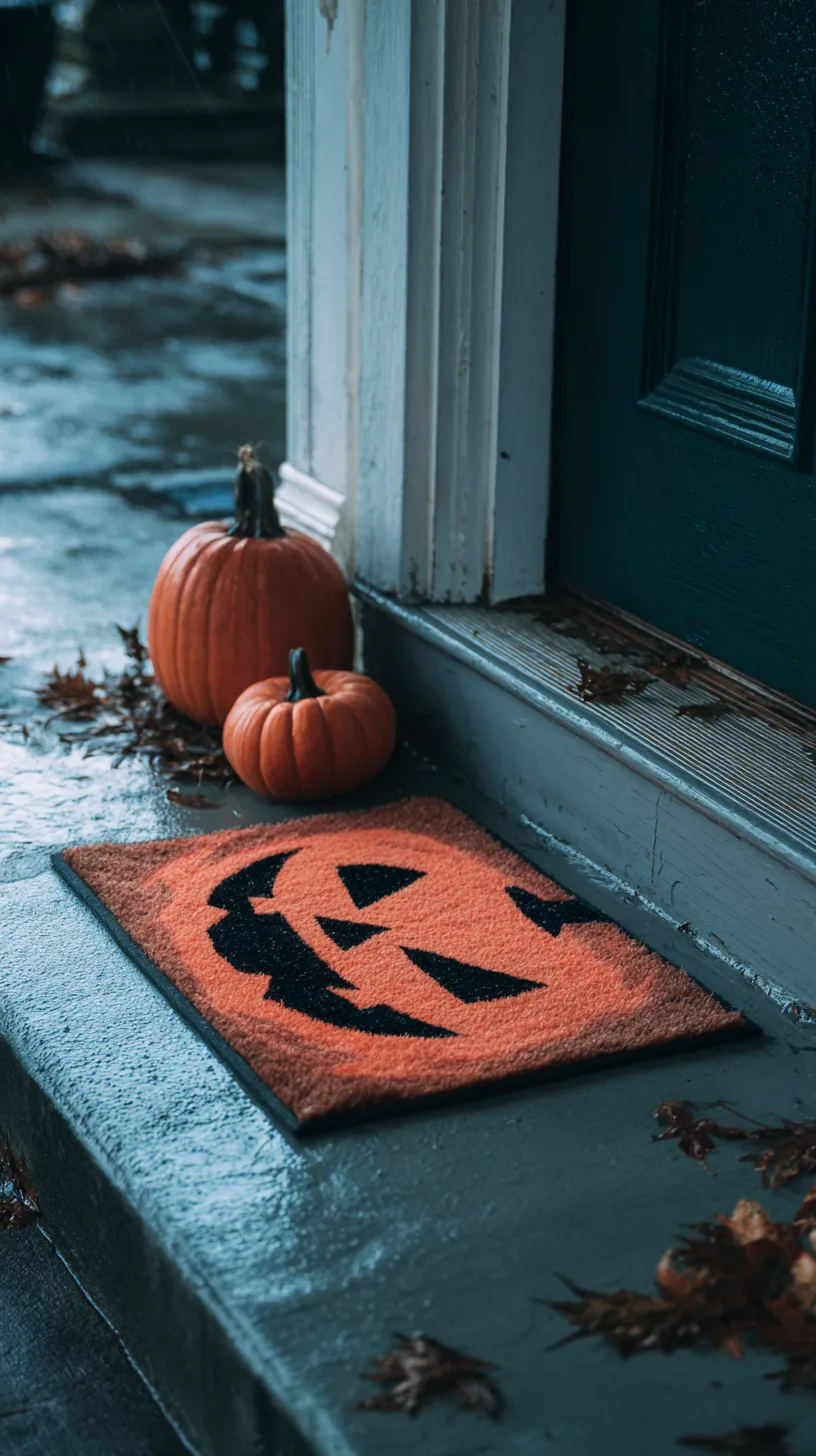 2/2
2/2That charming seasonal doormat looks great for about ten days, then mud, wet leaves, and boot grit grind it down to something you hide before company comes. Layering saves it. Put a heavy rubber-backed mat down first and center the pretty one on top, so the tough mat takes the water and the cute mat only takes the compliments.
Choose a base mat a few inches larger on every side, which creates a deliberate border and keeps the top mat from curling at the corners. A thin bead of outdoor double-sided tape between the two layers stops the top one from sliding every time someone wipes their feet. Shake out the top mat weekly and let it dry flat in the sun before you set it back down. This layered look also fits right in with classic halloween front porch ideas, since the dark base mat frames the design like a mat around a picture. Once Halloween is packed away, the same base mat carries straight into these fall doormat ideas.
Quick Tips
- Coir mats hold their look longer under a covered porch than in open weather
- Sweep the concrete underneath, because trapped grit is what actually wears the backing out
- Store the seasonal mat rolled, not folded, so the creases don’t set
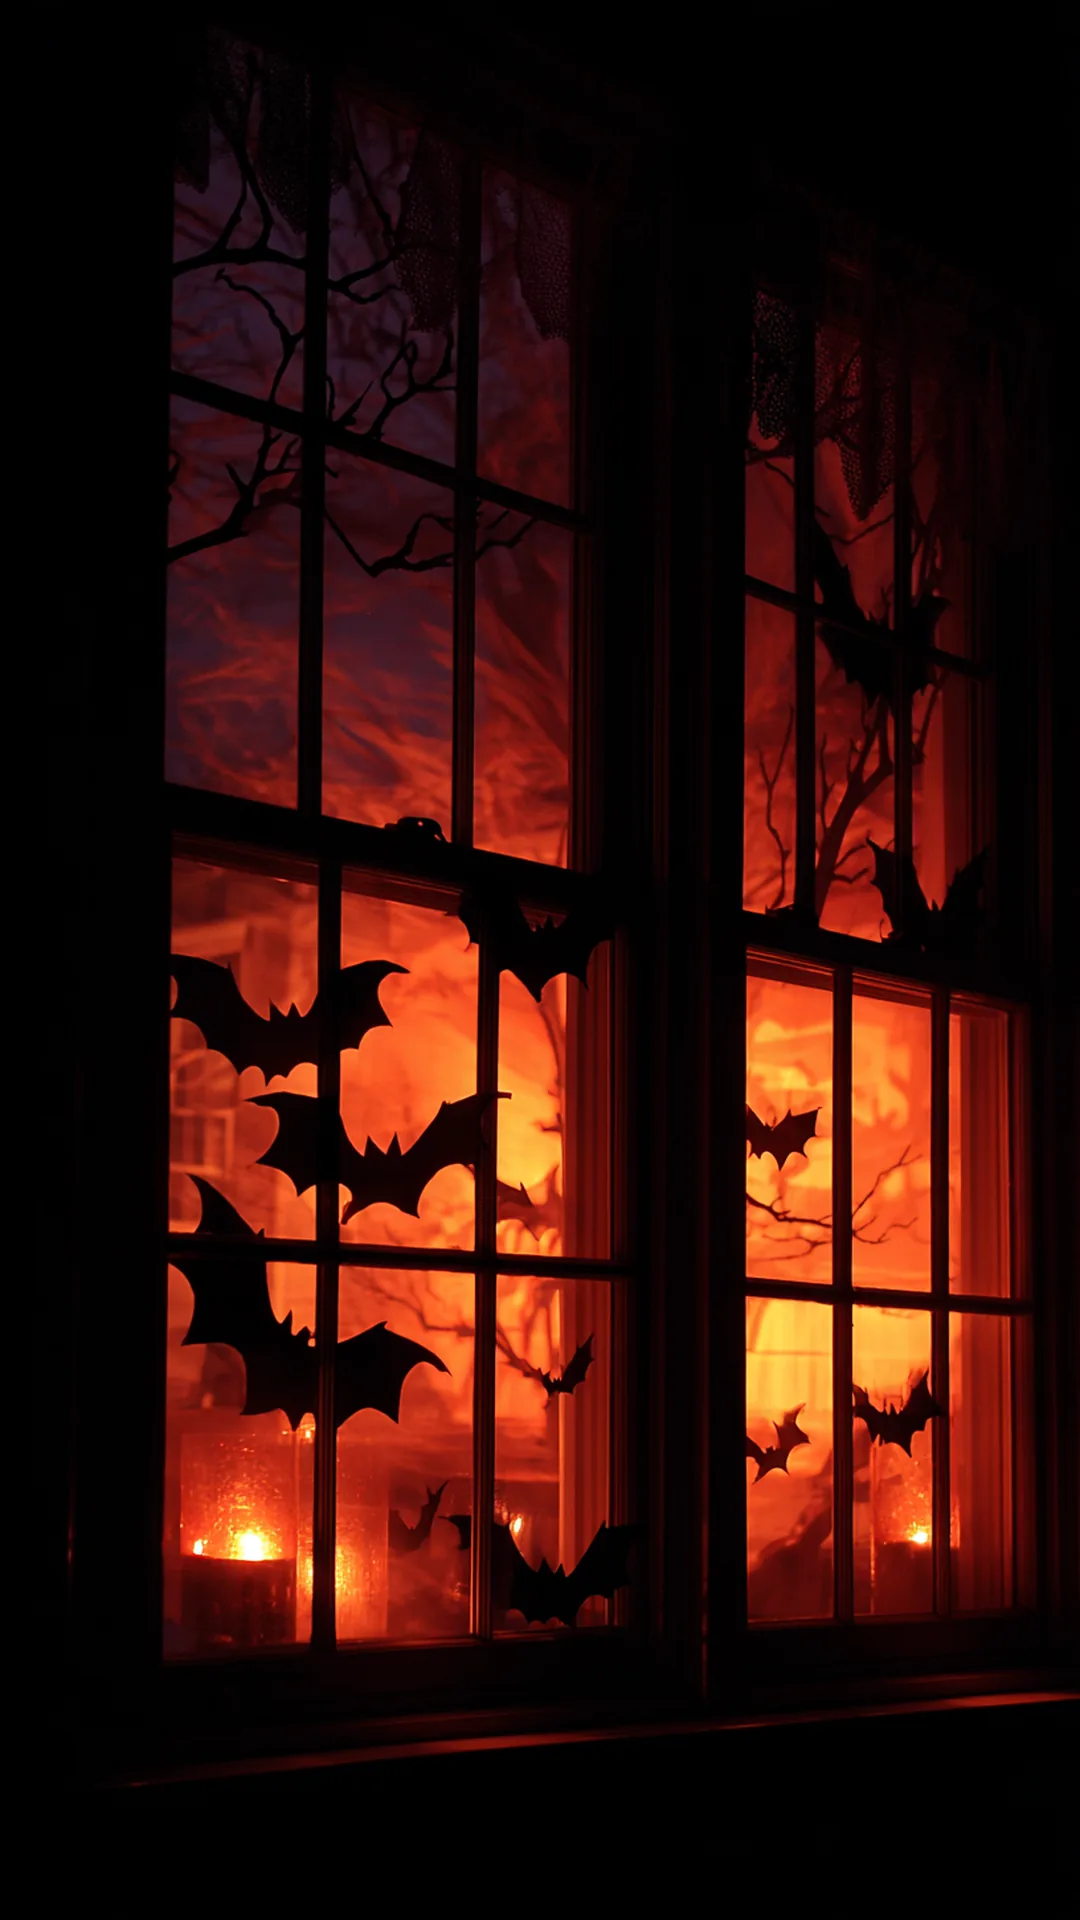
12. Tape Window Silhouettes Lit by Battery Pucks
 1/2
1/2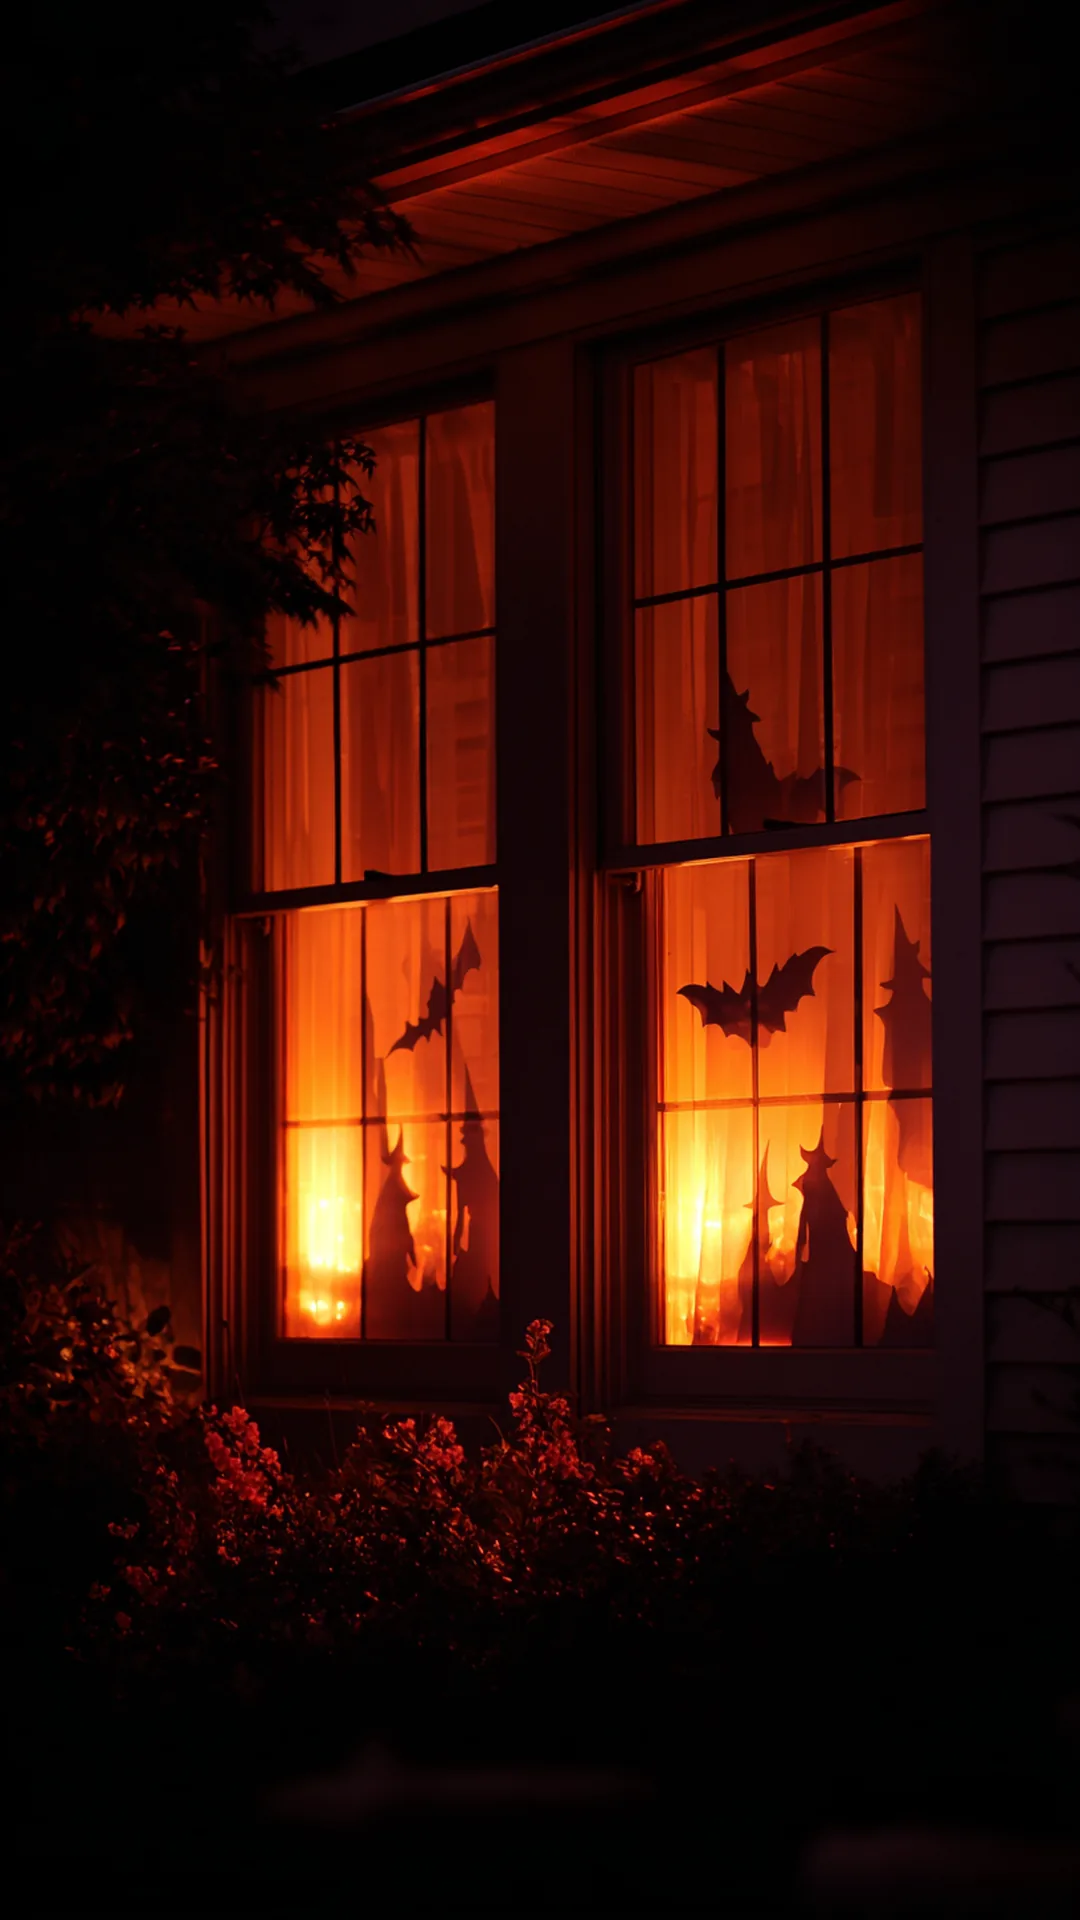 2/2
2/2Window silhouettes only work when they’re backlit, and most windows have no outlet nearby, which means an extension cord running across a room where kids and guests walk. Battery puck lights remove the cord completely. Stick a puck on the sill behind each silhouette, tap it on at dusk, and the shape glows from the street.
Cut your shapes from black poster board, a cat arching on a sill, a witch hat, a row of bats, and tape them to the inside of the glass with painter’s tape so nothing marks the frame. Set the puck 6 to 10 inches behind the cutout and aim it at the glass, not at the paper, which spreads the glow instead of throwing a hard shadow. A sheet of white tissue paper taped over the pane softens everything and hides the light source entirely. Amber or warm-white pucks look like candlelight; cool white reads more clinical from outside.
Quick Tips
- Pucks with a remote or a timer save you climbing over furniture every night
- Check the effect from the sidewalk, not from inside, since that’s the only view that counts
- Keep the cutouts on the inside of the glass so rain never touches them
13. Zip-Tie a Bat Colony to a Bare Fence
 1/2
1/2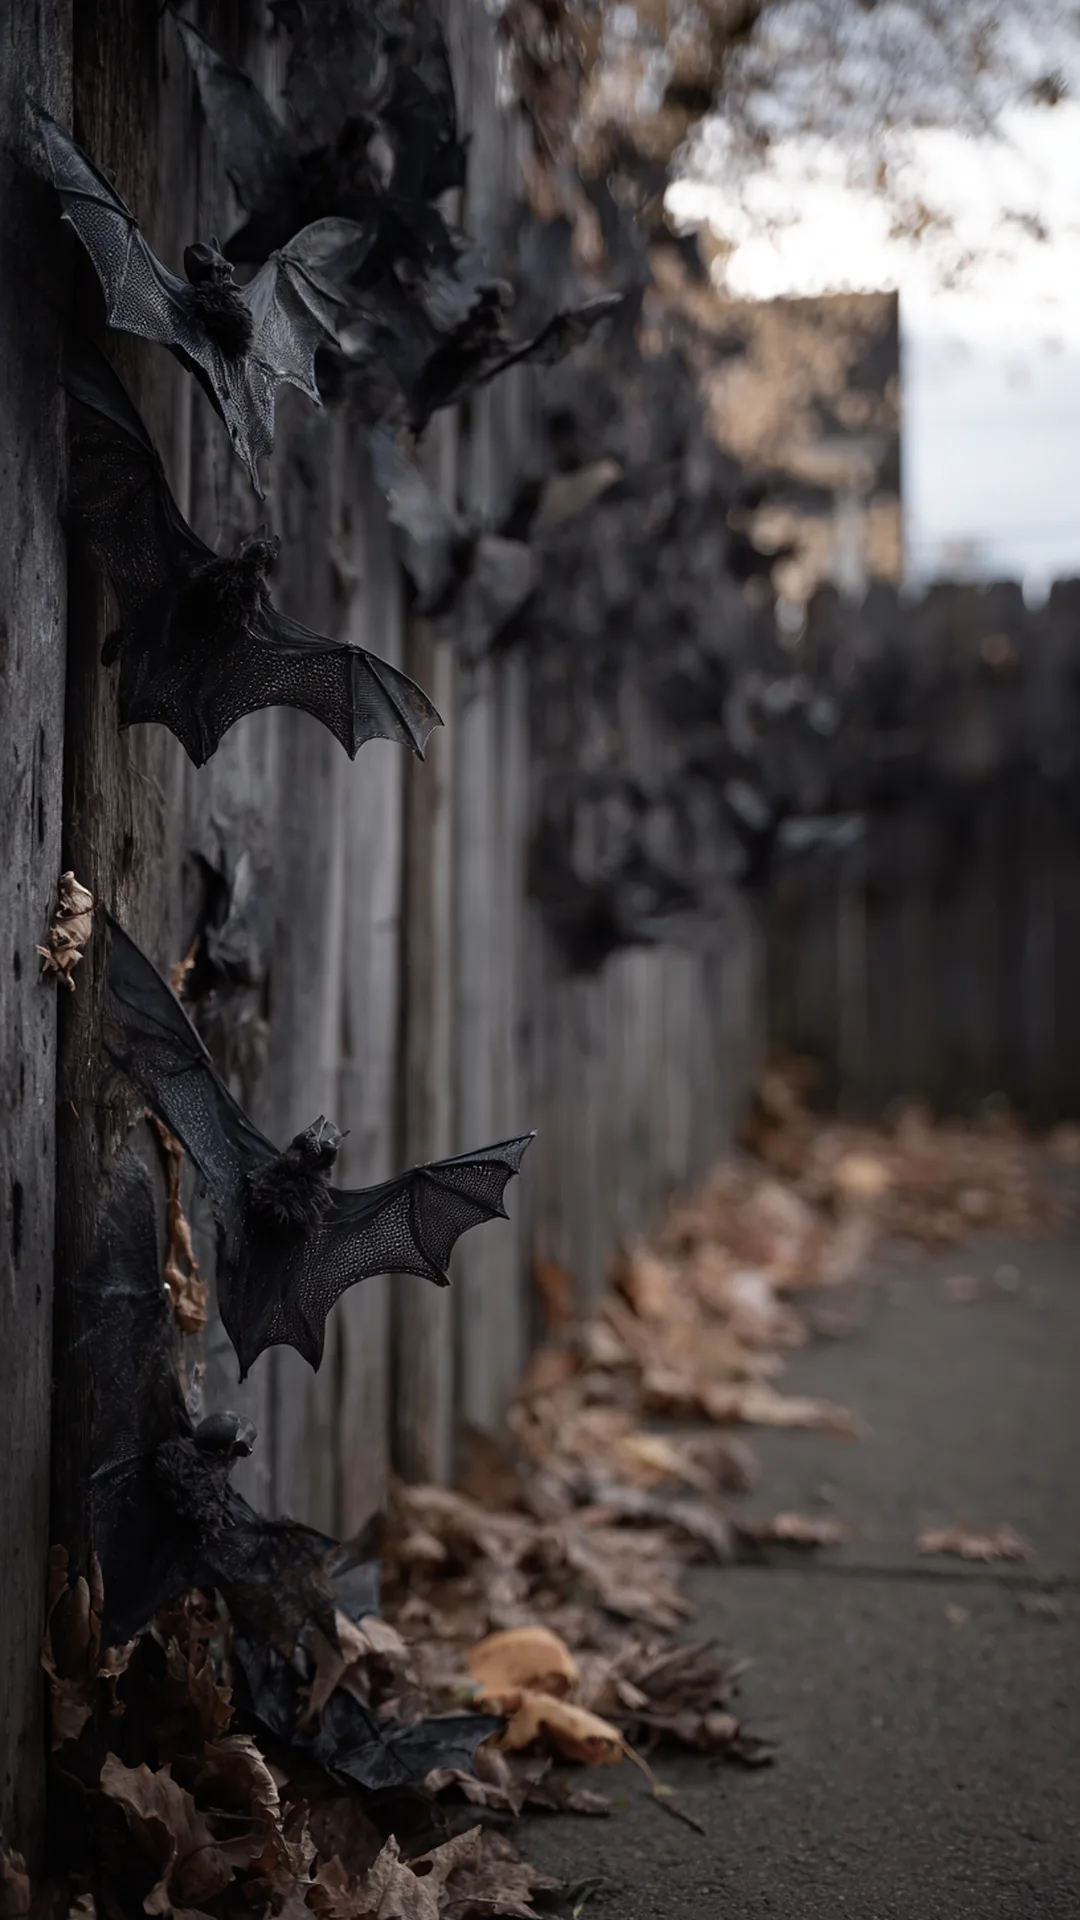 2/2
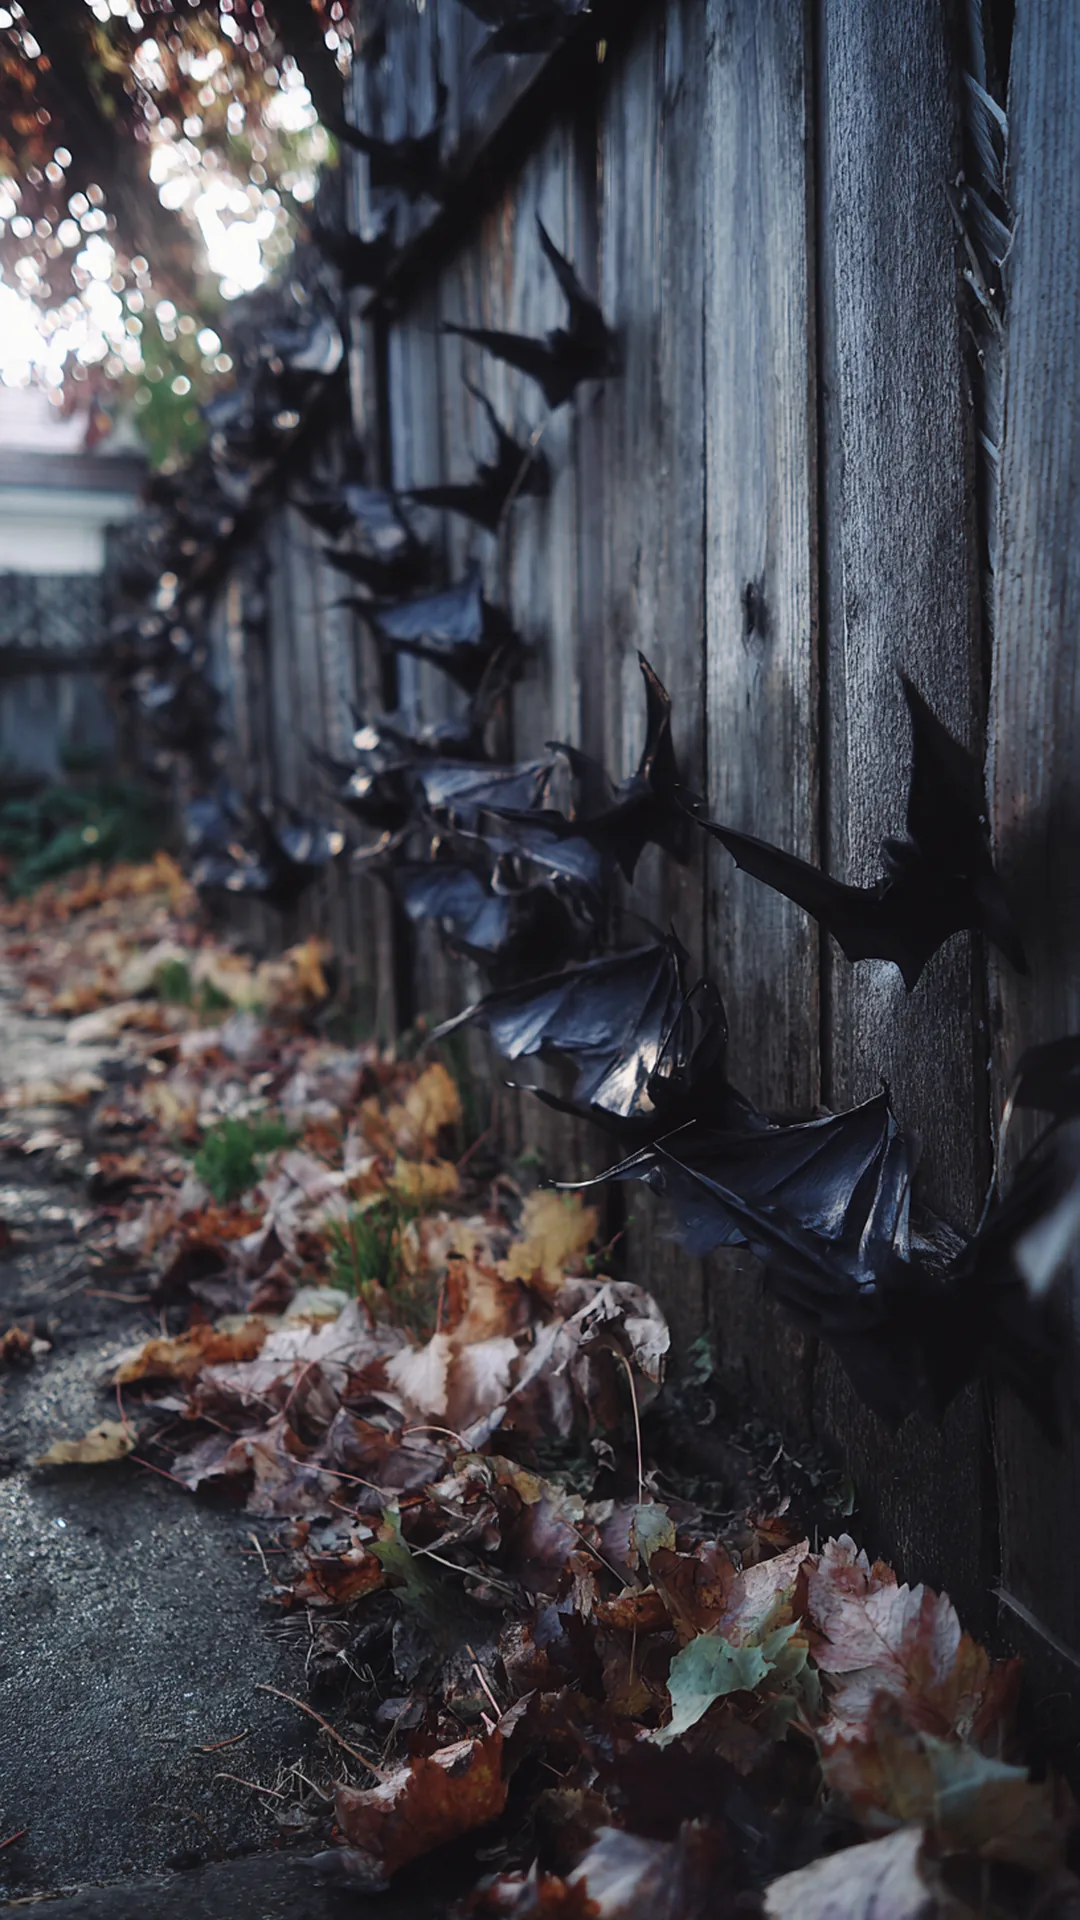
2/2A blank stretch of fence or a flat garage wall is the biggest empty canvas in most yards, and tape or pins won’t survive one wet night out there. Zip ties will. Punch a small hole in each bat cutout, thread a black zip tie through the fence slat or lattice, and the colony stays put through wind and rain.
Cut bats from black corrugated plastic or a weatherproof plastic sheet rather than cardboard, which softens and curls after the first heavy dew. Vary the sizes, big ones low and small ones high, and angle them in a loose diagonal so the group reads as a flock taking off instead of a grid. Snip the zip tie tails flush so they don’t catch the light. This is the kind of project I keep coming back to lately because you can build the whole colony at the kitchen table on a rainy afternoon and hang it in fifteen minutes.
Quick Tips
- Bend the wings forward slightly so each bat casts a shadow instead of lying flat
- Black zip ties vanish against dark fencing; use clear ones on light-painted wood
- Trail the last few bats around a corner so the flock looks like it’s still arriving
14. Fake the Fog With a Cauldron Mister
 1/10
1/10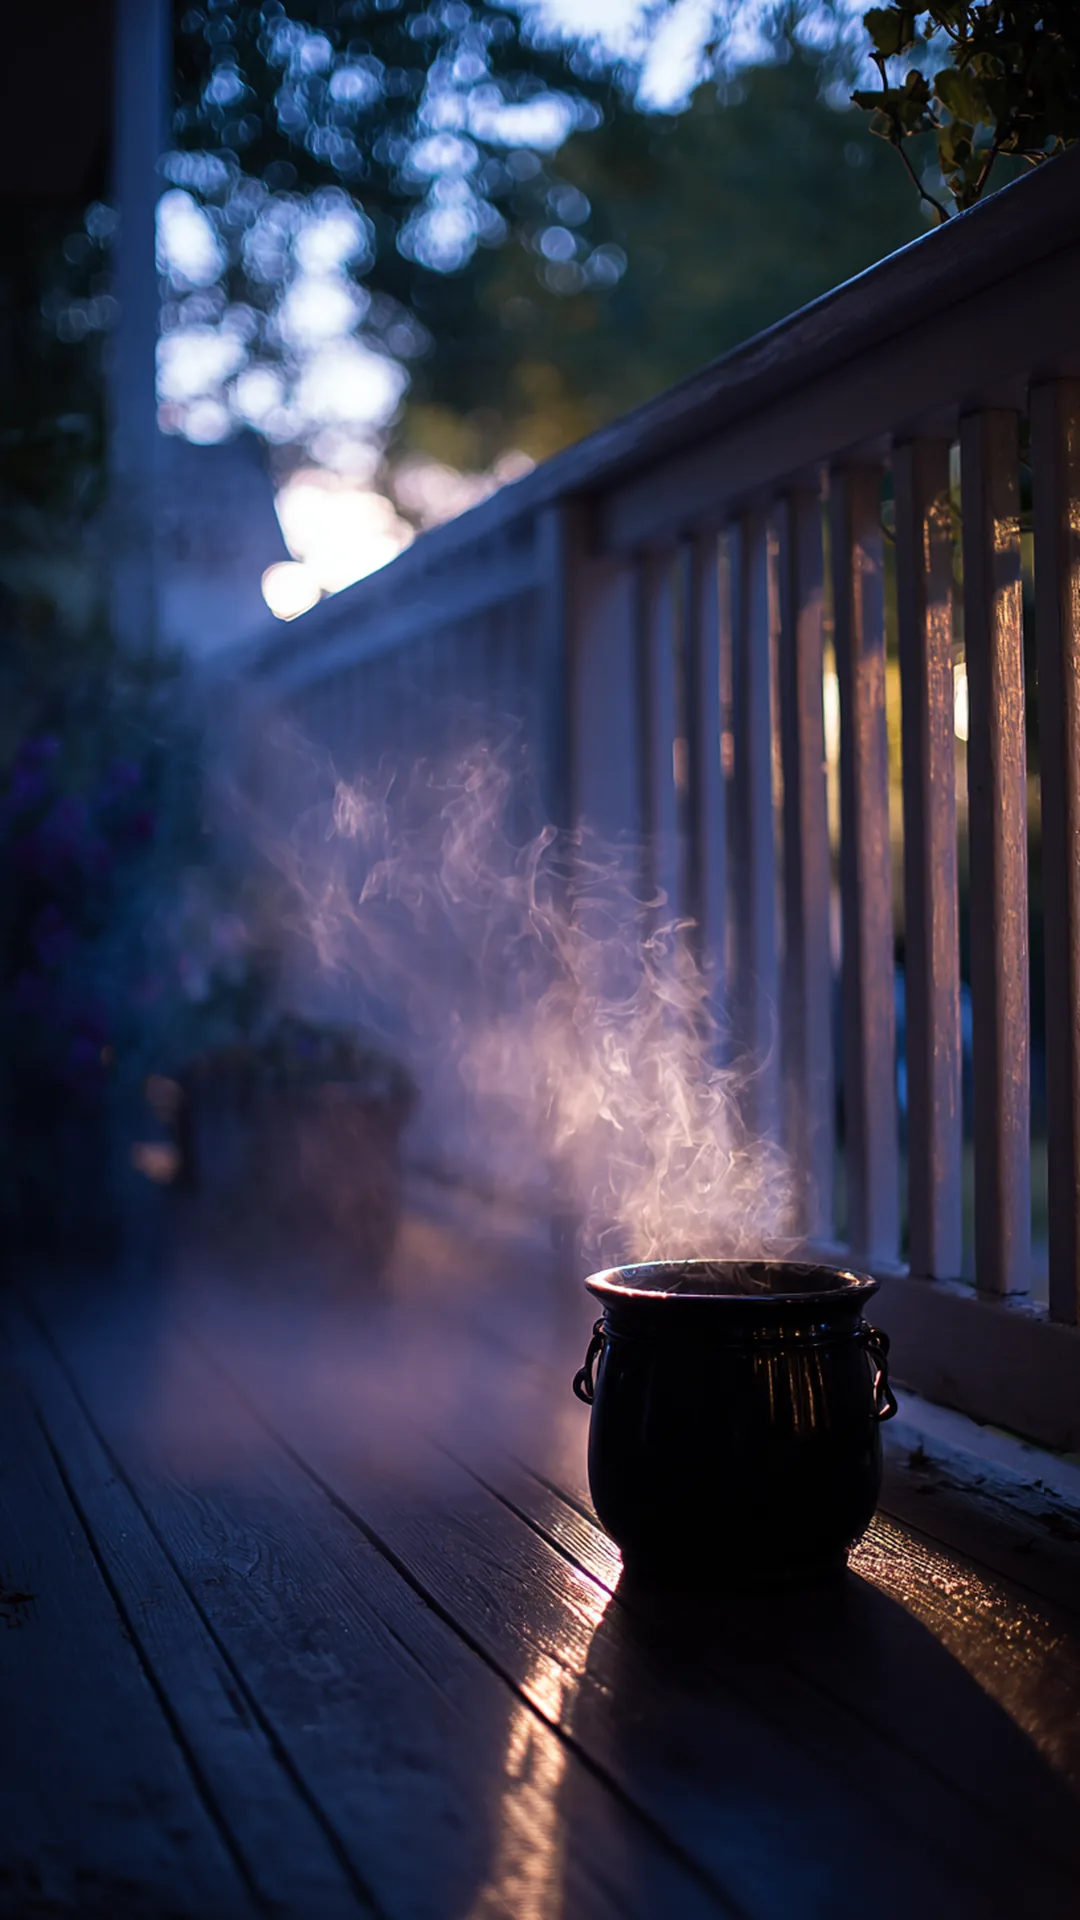 2/10
2/10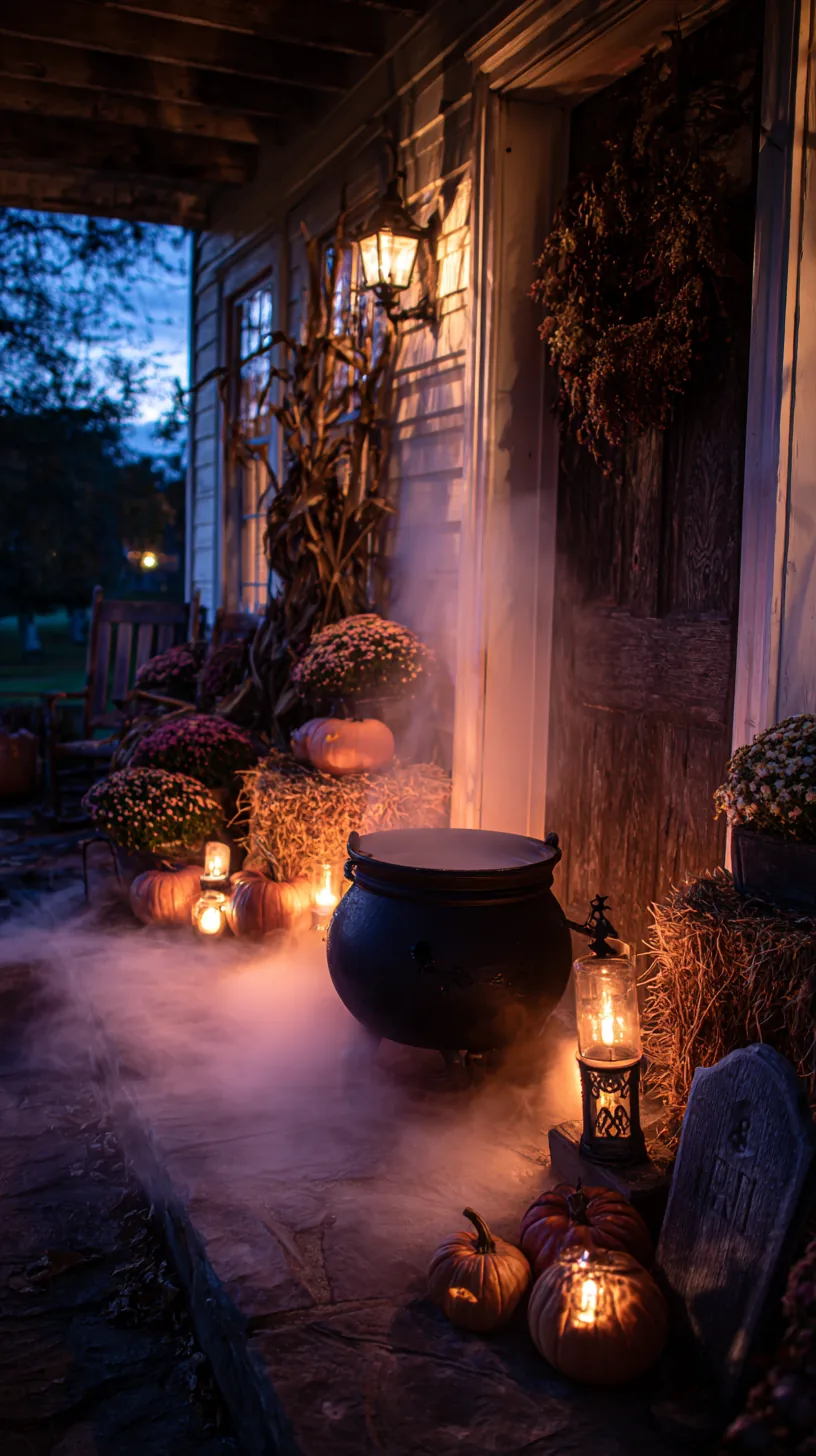 3/10
3/10 4/10
4/10 5/10
5/10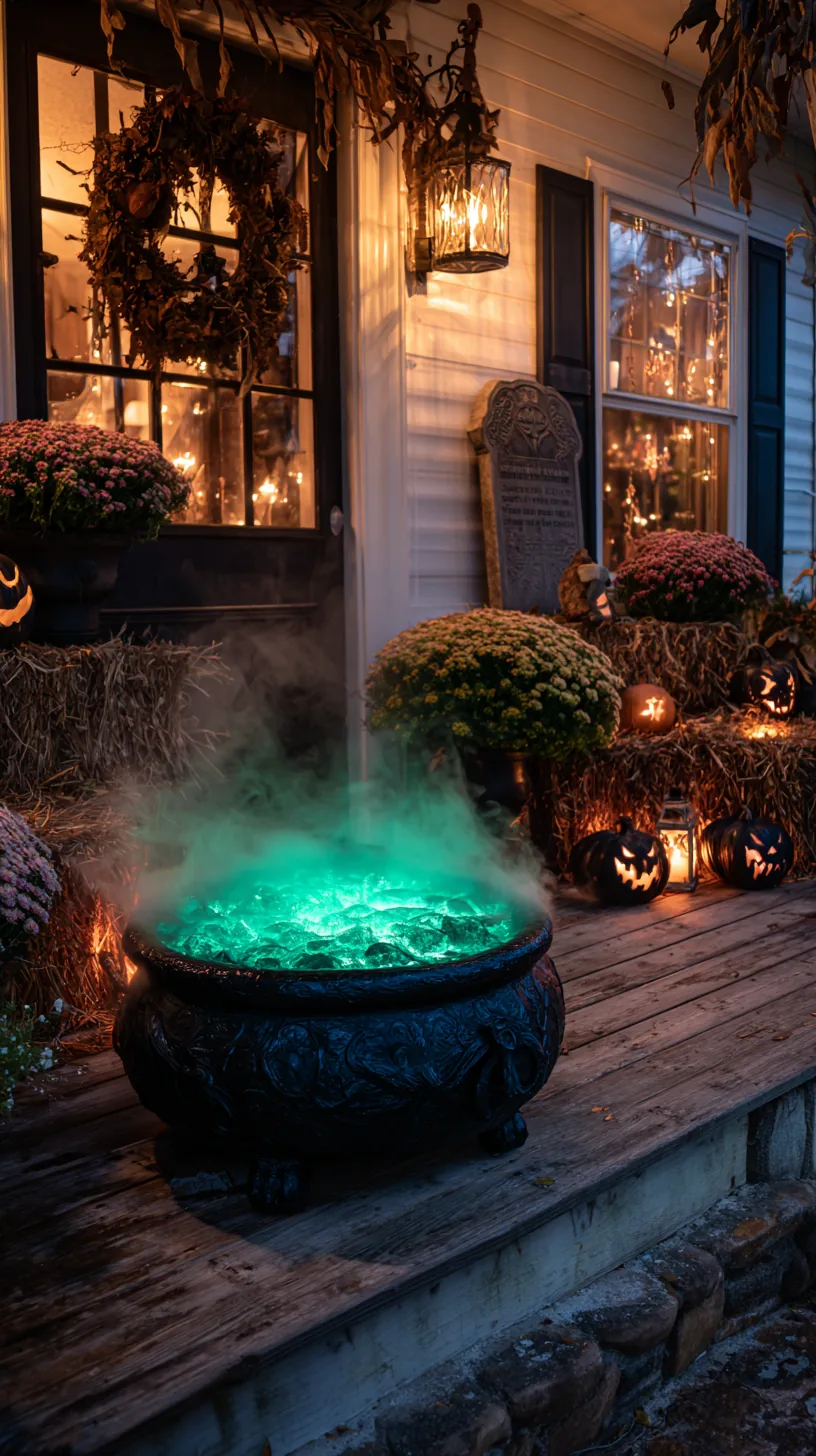 6/10
6/10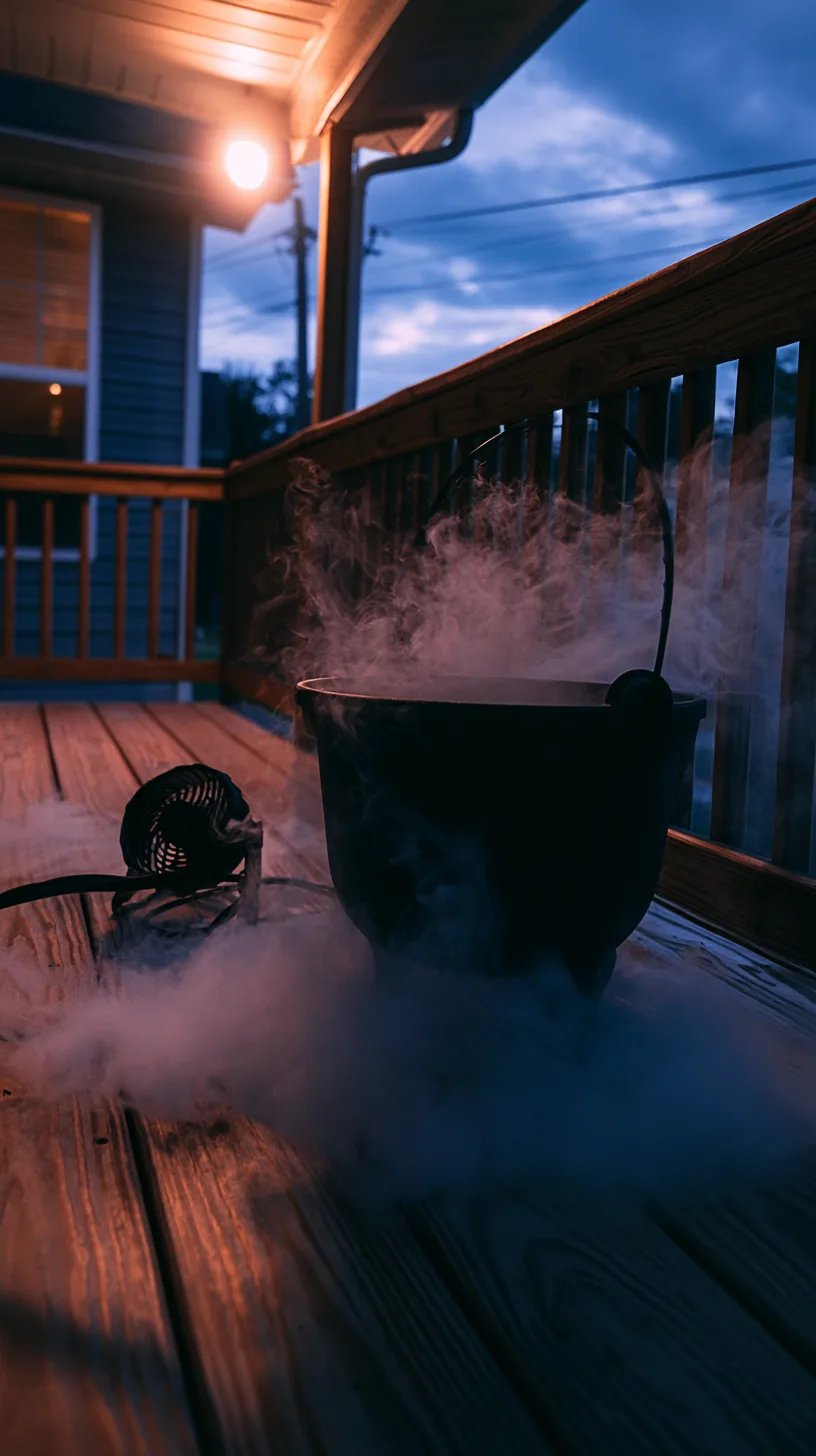 7/10
7/10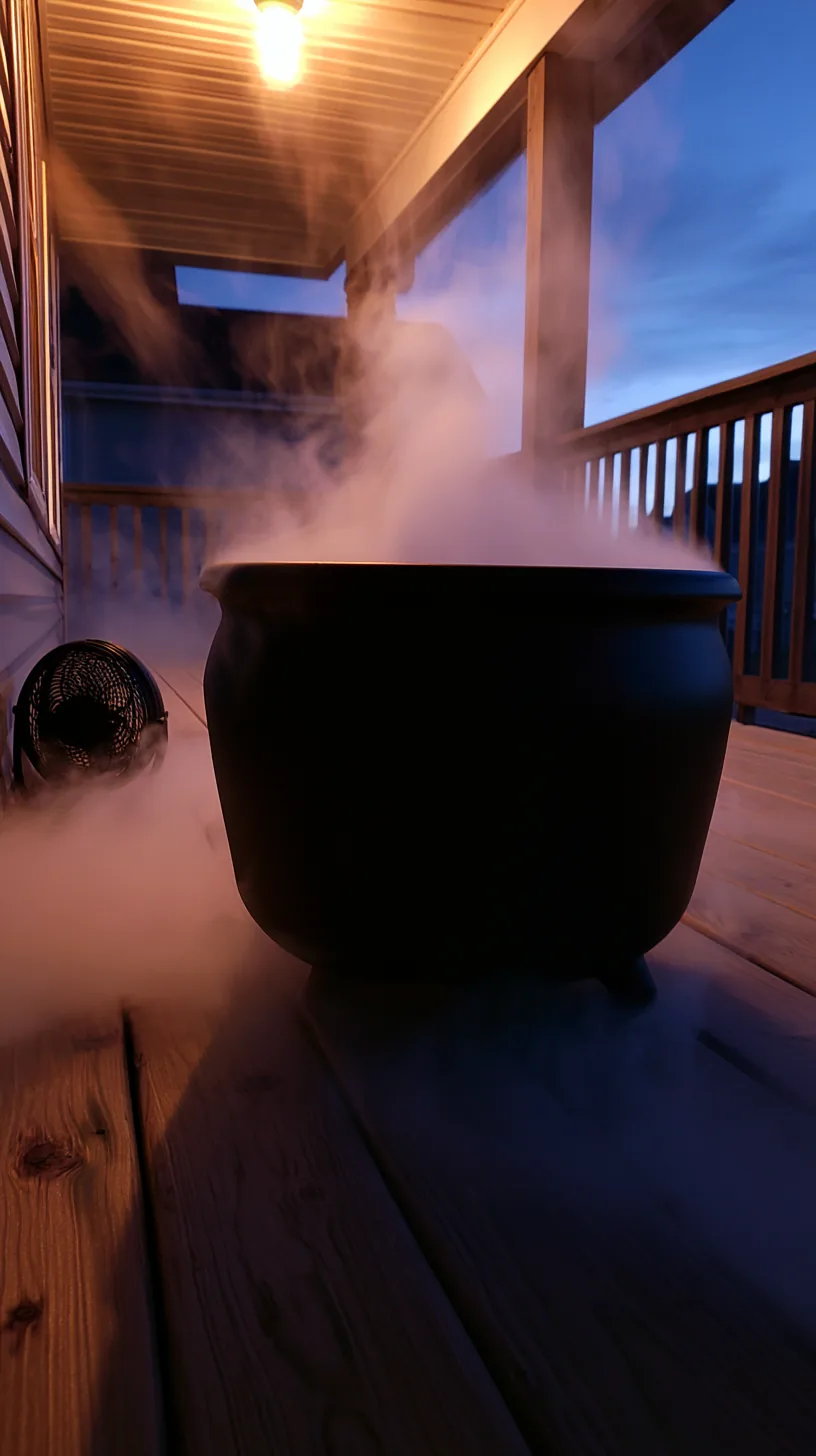 8/10
8/10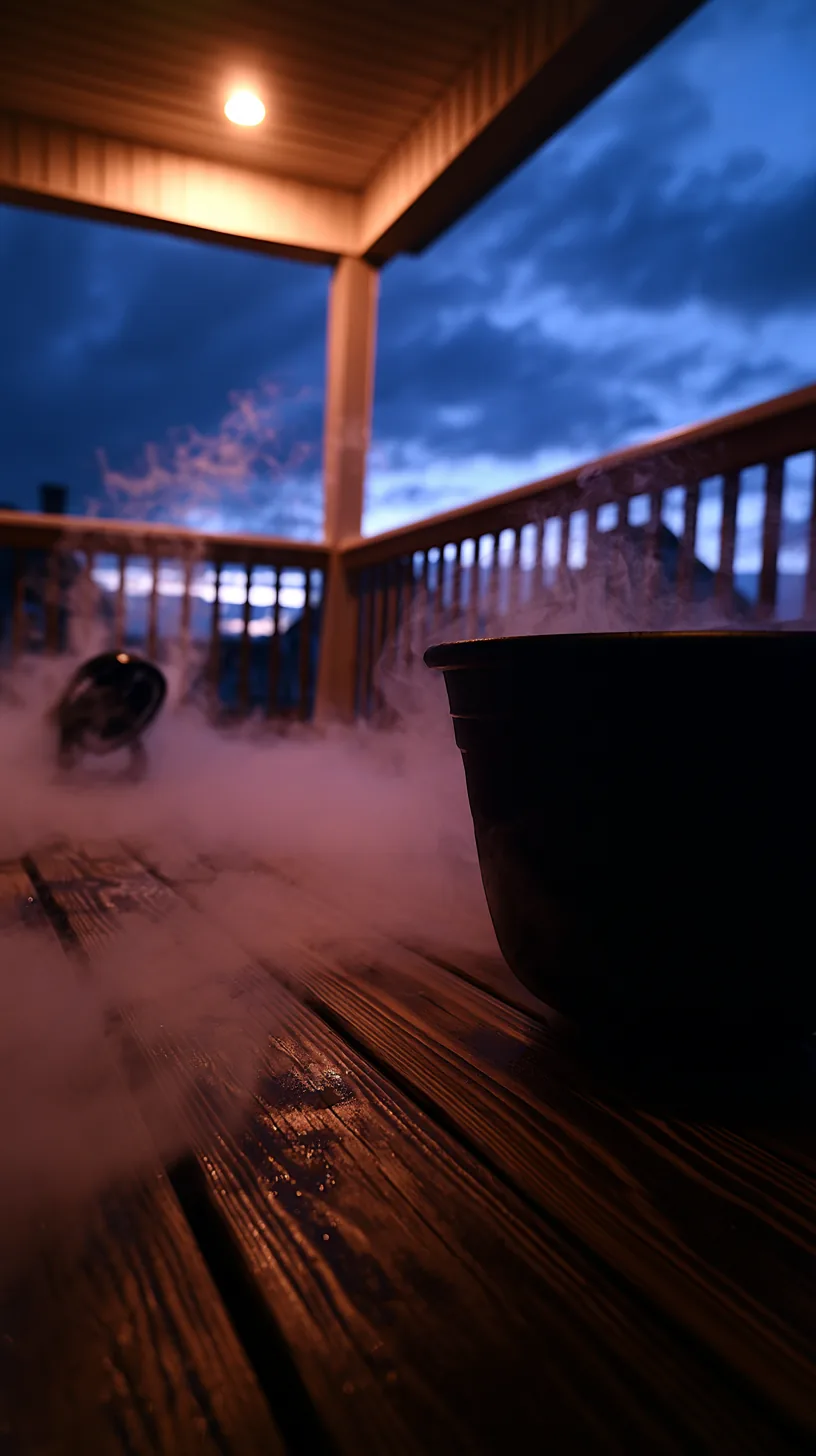 9/10
9/10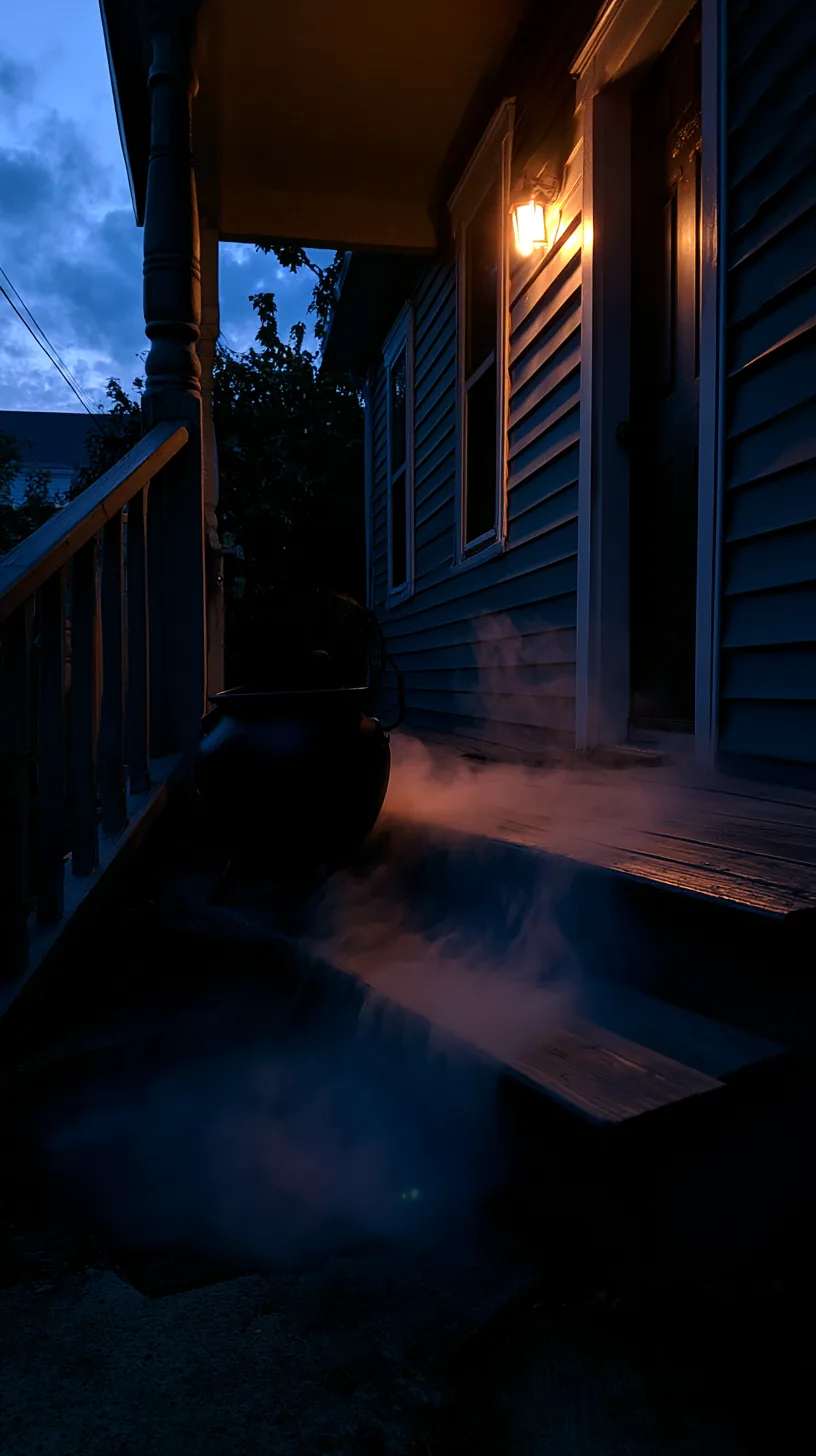 10/10
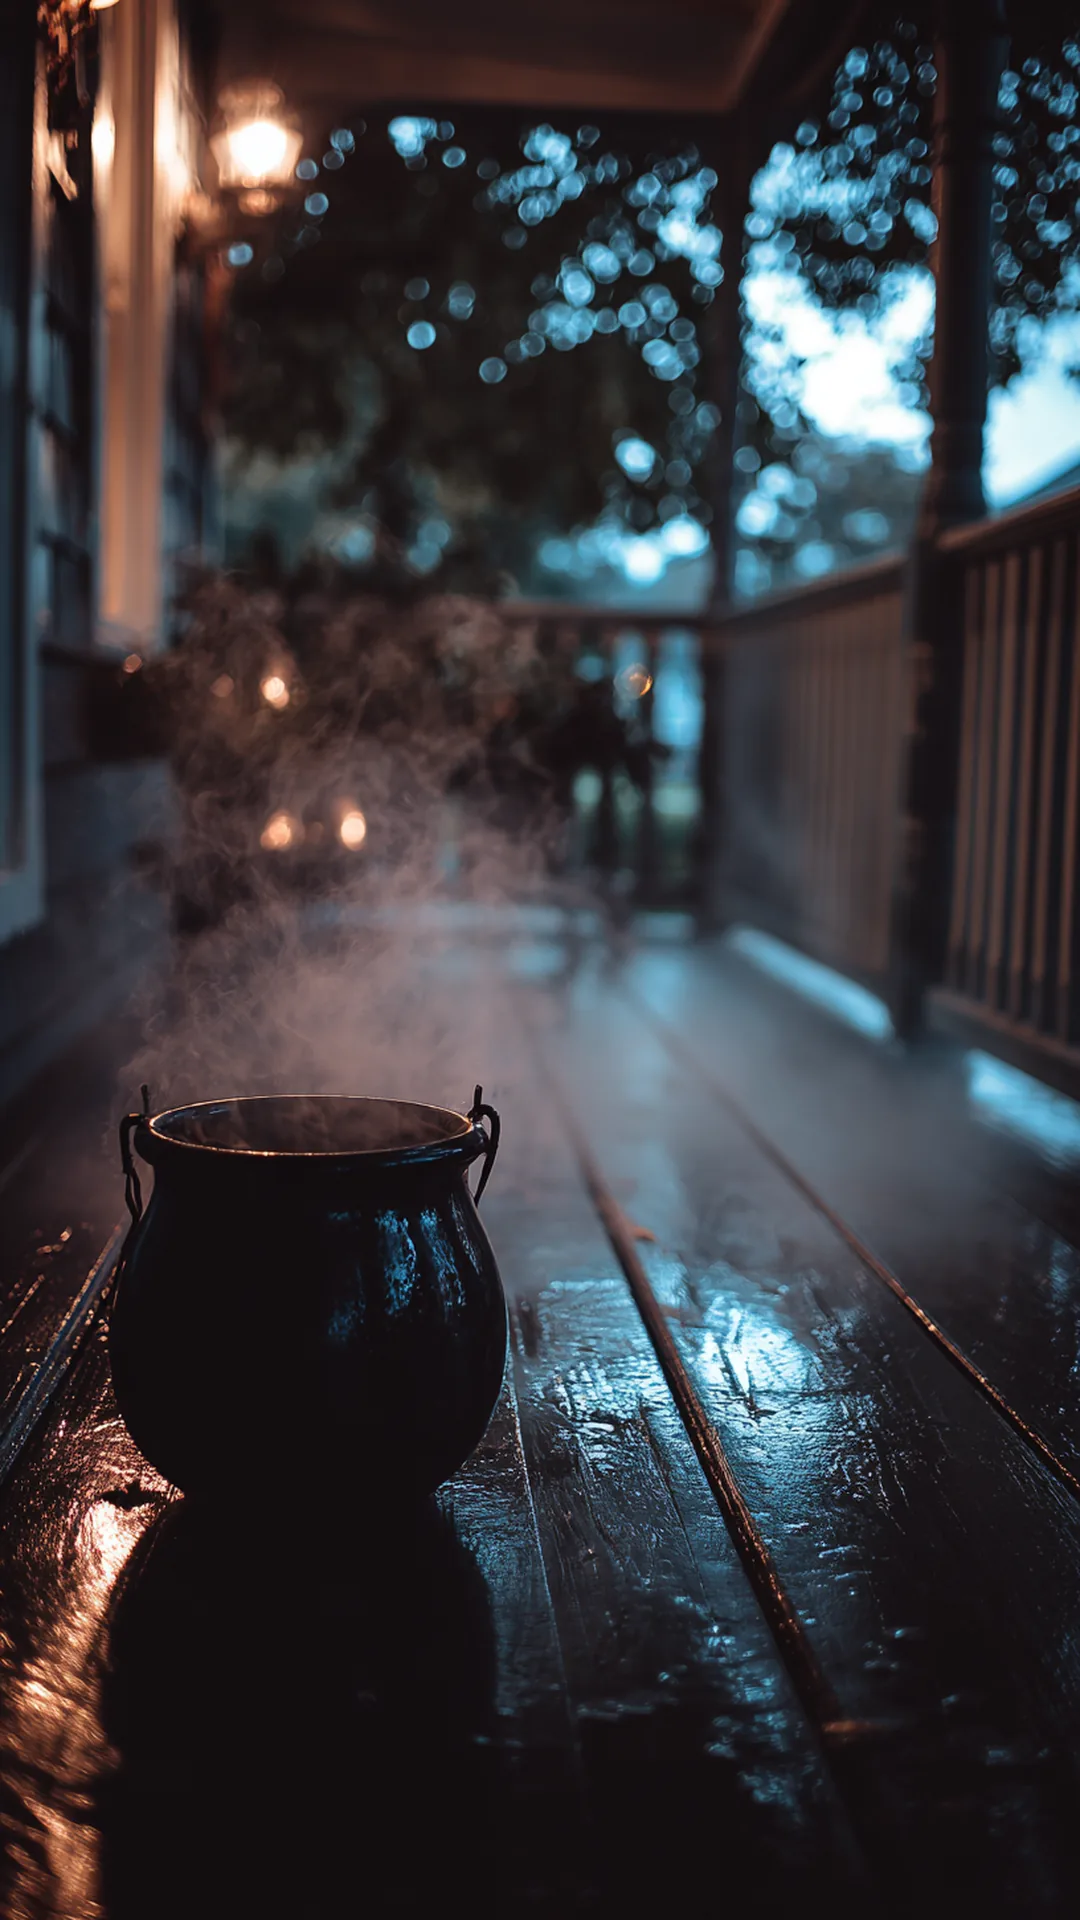
10/10Dry ice costs real money, has to be handled with gloves, and gives you maybe twenty minutes of fog before it’s gone. A pond mister does the same job with water. Drop the disc in a shallow cauldron, plug it in or run it off a battery pack, and it puts out cool, rolling mist for hours.
Fill the cauldron so the water sits about an inch above the disc, since too deep kills the effect and too shallow will burn out the unit. A ring of battery tea lights or a color-changing puck under the rim turns the mist green or orange without any wiring in the water. Set the cauldron out of direct wind or the fog will scatter before anyone sees it, and tuck it low behind a step or a hay bale so the mist pours over the edge. From what I’ve gathered, the easiest approach is to top the water off once an hour on a long night, which takes about ten seconds with a pitcher.
Quick Tips
- Use distilled water if your tap runs hard, since mineral buildup shortens the disc’s life
- Keep the cord out of the walkway and plug into a GFCI outlet or a battery bank
- The mist is cool and safe to touch, so a low cauldron works fine near trick-or-treaters
15. Make Milk-Jug Luminaries That Wind Can’t Blow Out
 1/2
1/2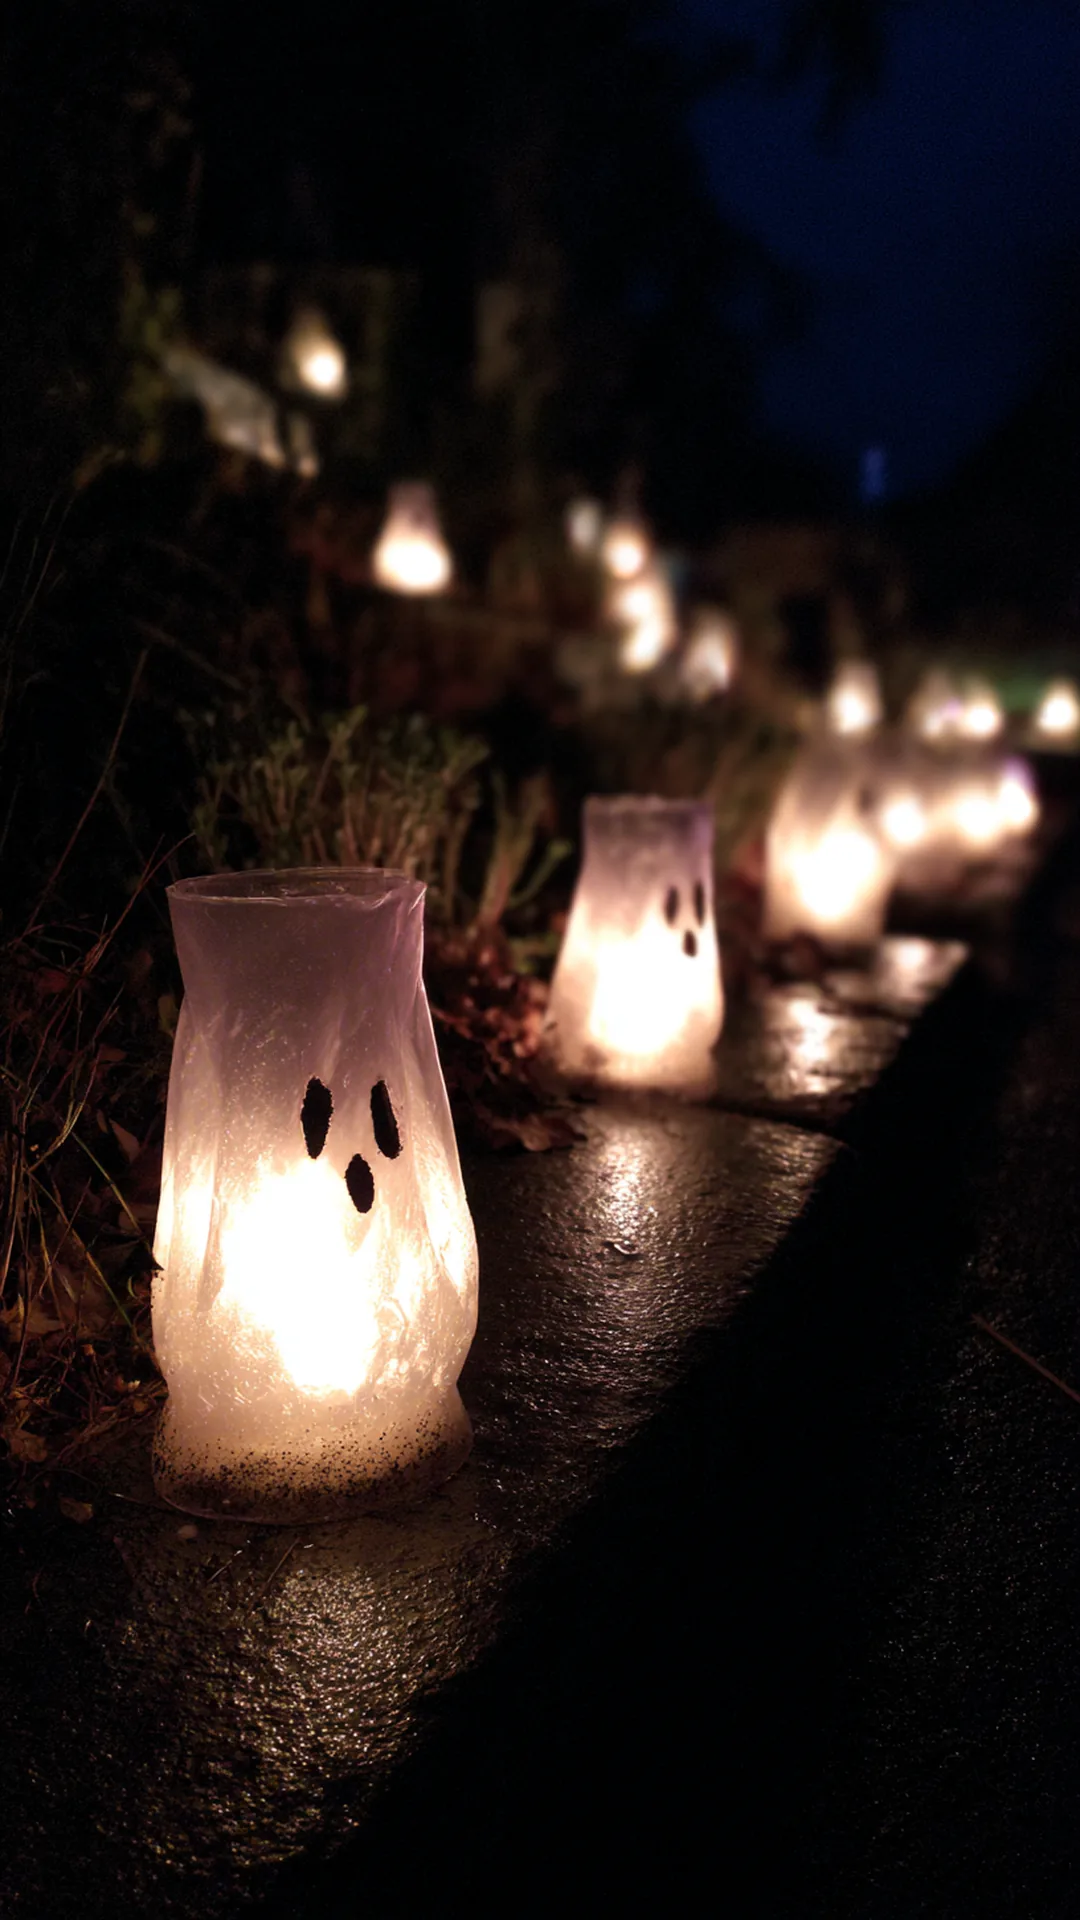 2/2
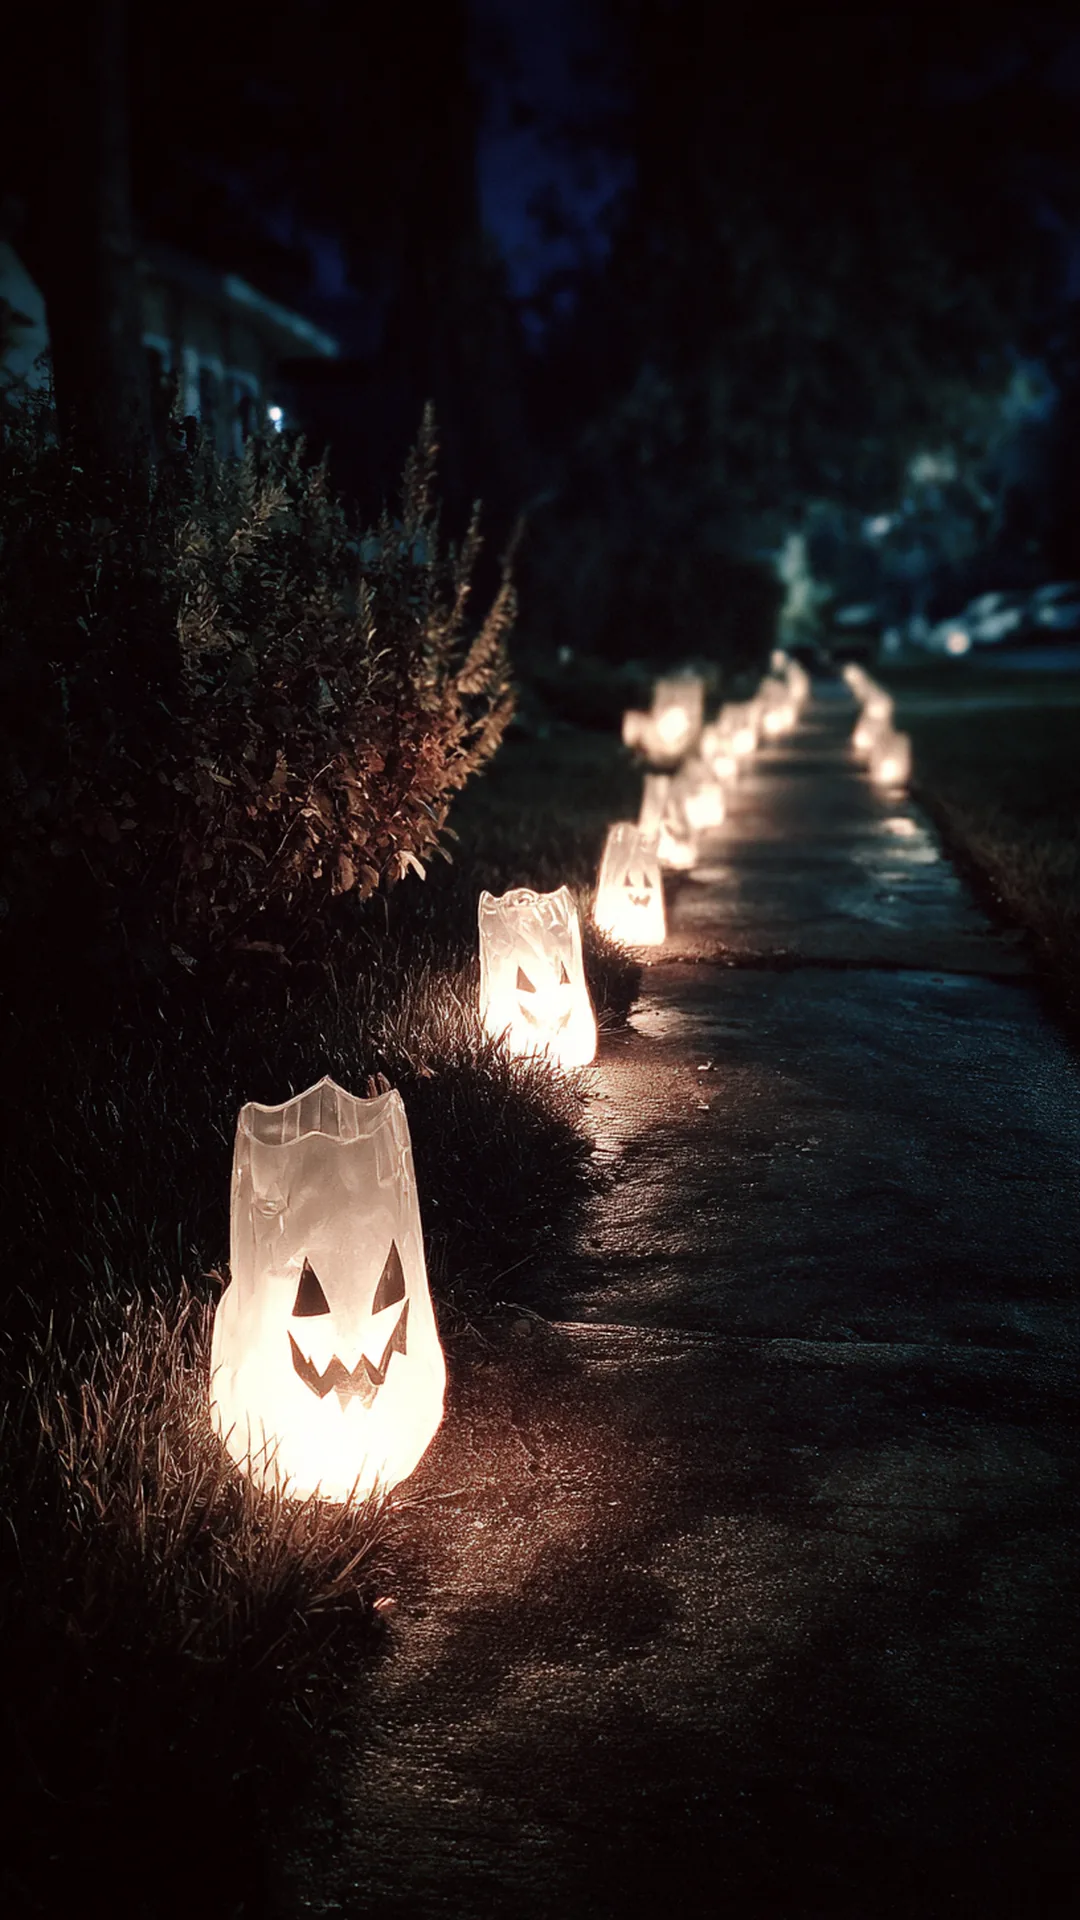
2/2Paper bag luminaries tip over in the first breeze and an open flame goes out the second it rains. Milk jugs solve both problems. Rinse gallon jugs, draw simple faces on the sides, weigh the bottoms with a few inches of sand, and drop a battery tea light inside for a glow that stays lit all evening.
Draw the faces with a heavy black permanent marker and keep the shapes simple, since fine detail disappears once the jug is lit. Fill each jug with two to three inches of sand or pea gravel, which holds it down without hiding the light, then set the cap back on to keep rain out. Line them along the driveway or the porch steps about 3 feet apart, and turn the faces slightly toward the walkway so kids see them straight on. These are one of the friendliest outdoor halloween decoration ideas for a house full of little ones, since there’s no flame and nothing breaks if one gets knocked.
Quick Tips
- Cut a small slit in the back of each jug so you can swap the tea light without unpacking the sand
- Save jugs for a couple of weeks ahead so you have enough for a full run of steps
- Warm-white tea lights glow like candlelight; orange ones read more cartoon-friendly
16. Wrap Porch Columns in Burlap Instead of Nailing Anything
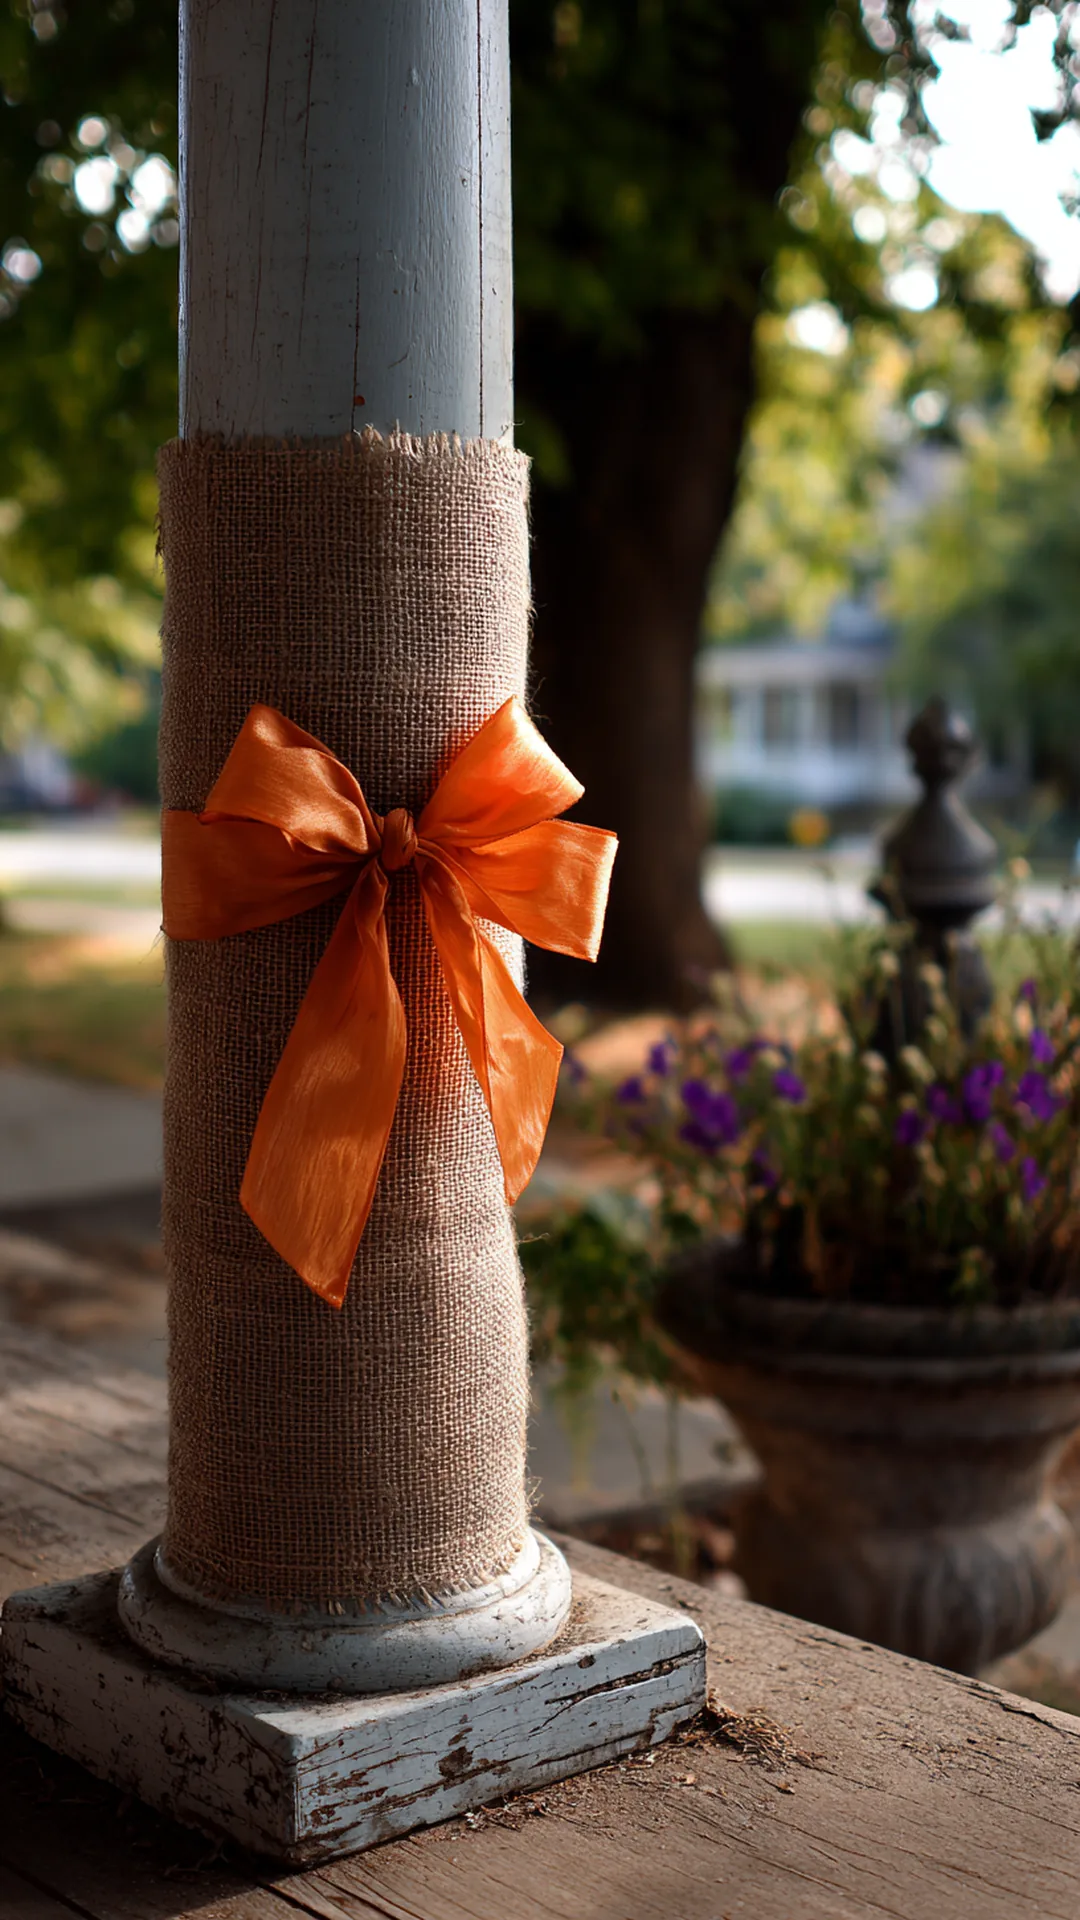 1/2
1/2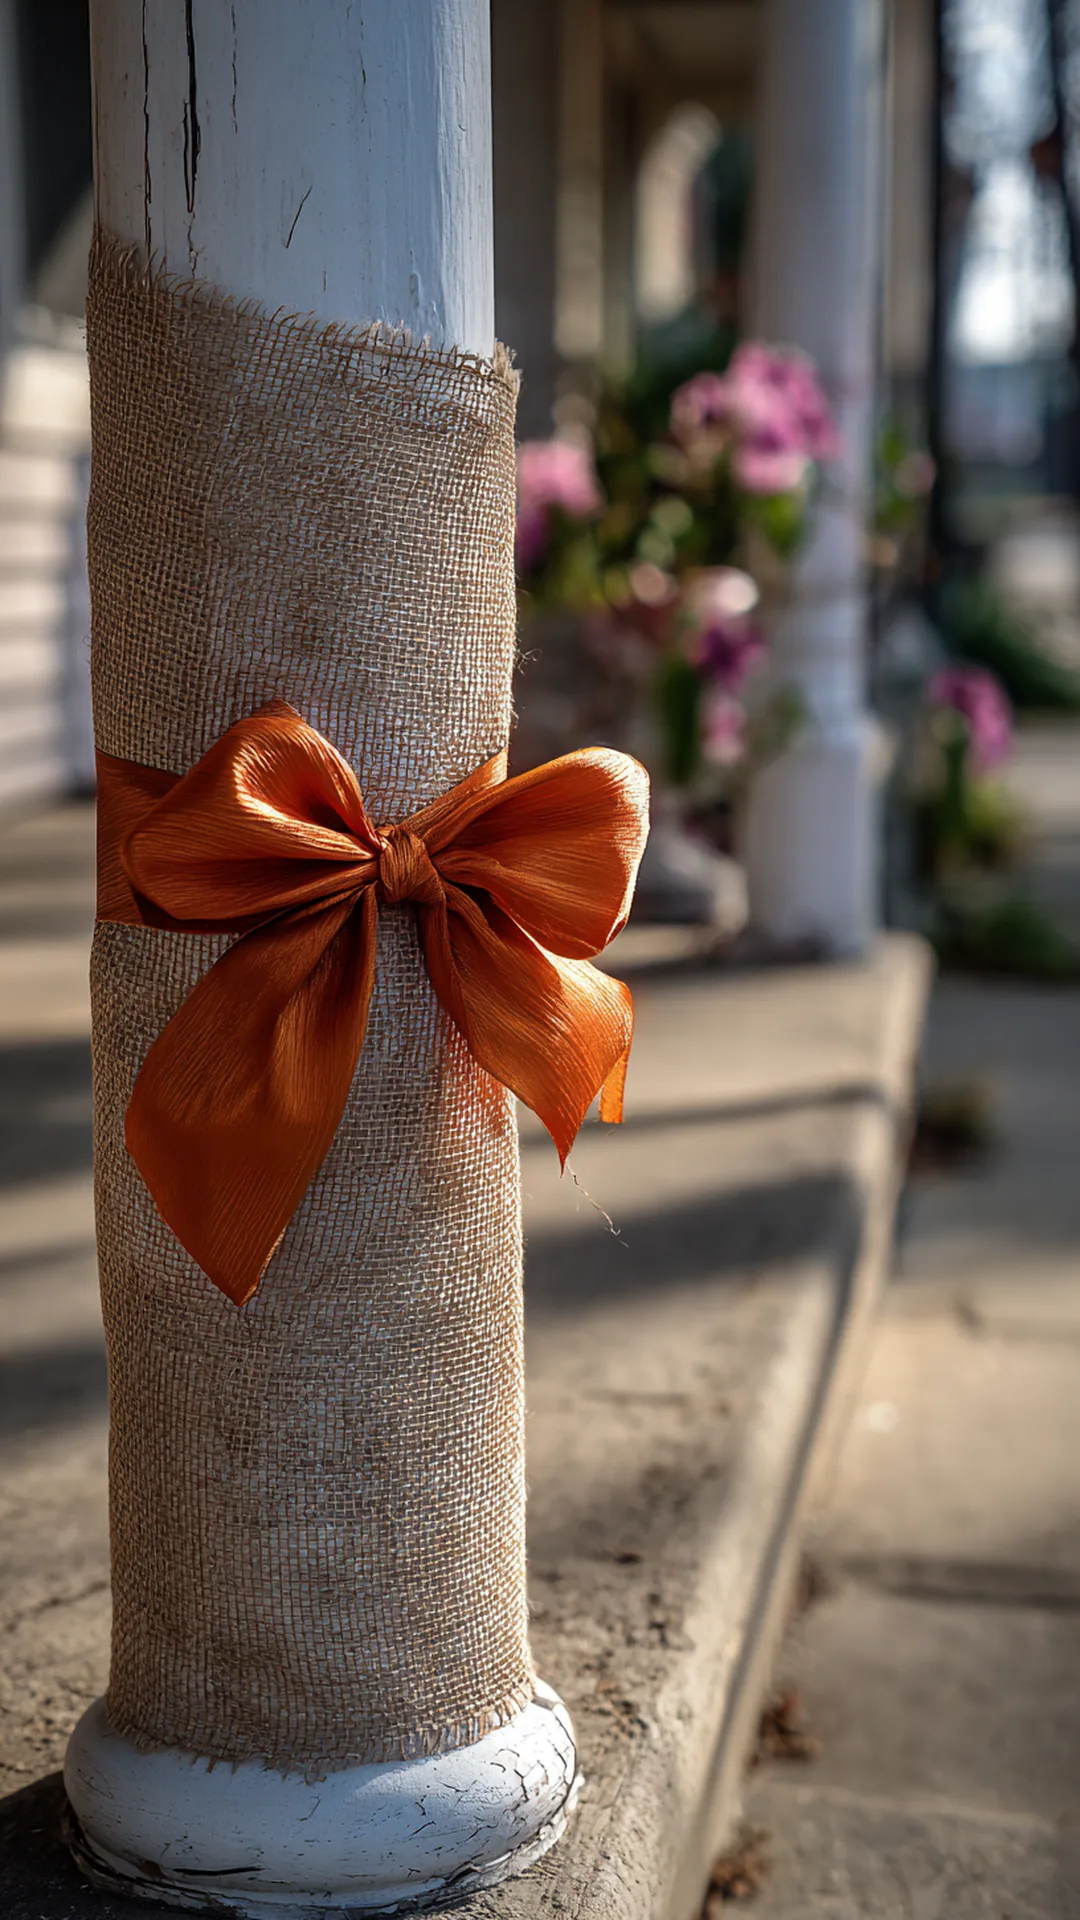 2/2
2/2If your lease or HOA says no nails, burlap gives you that layered, textured column without a single hole. Cut a long strip, spiral it up from the base, and anchor the ends with hook-and-loop straps or twine instead of hardware. In November it unwinds in one piece and the paint underneath stays perfect.
Start at the bottom and overlap each pass by about two inches so the wind can’t peel a loose edge back. Burlap comes in wide rolls at craft stores, and one roll usually covers two standard porch posts with fabric to spare. If your columns are square, wrap them like a package instead of a spiral, keeping the seam facing the house where nobody sees it. A few rusty-orange silk leaves tucked into the top wrap soften the whole thing, and dry burlap holds its shape even after a rainy week.
Quick Tips
- Buy burlap by the roll rather than in precut squares, since seams are what unravel first
- Secure with hook-and-loop straps you can reuse every year instead of staples or tacks
- Give the wrap a quick shake after heavy rain so water doesn’t sit in the folds
17. Bundle Cornstalks at the Mailbox So the Street Actually Sees It
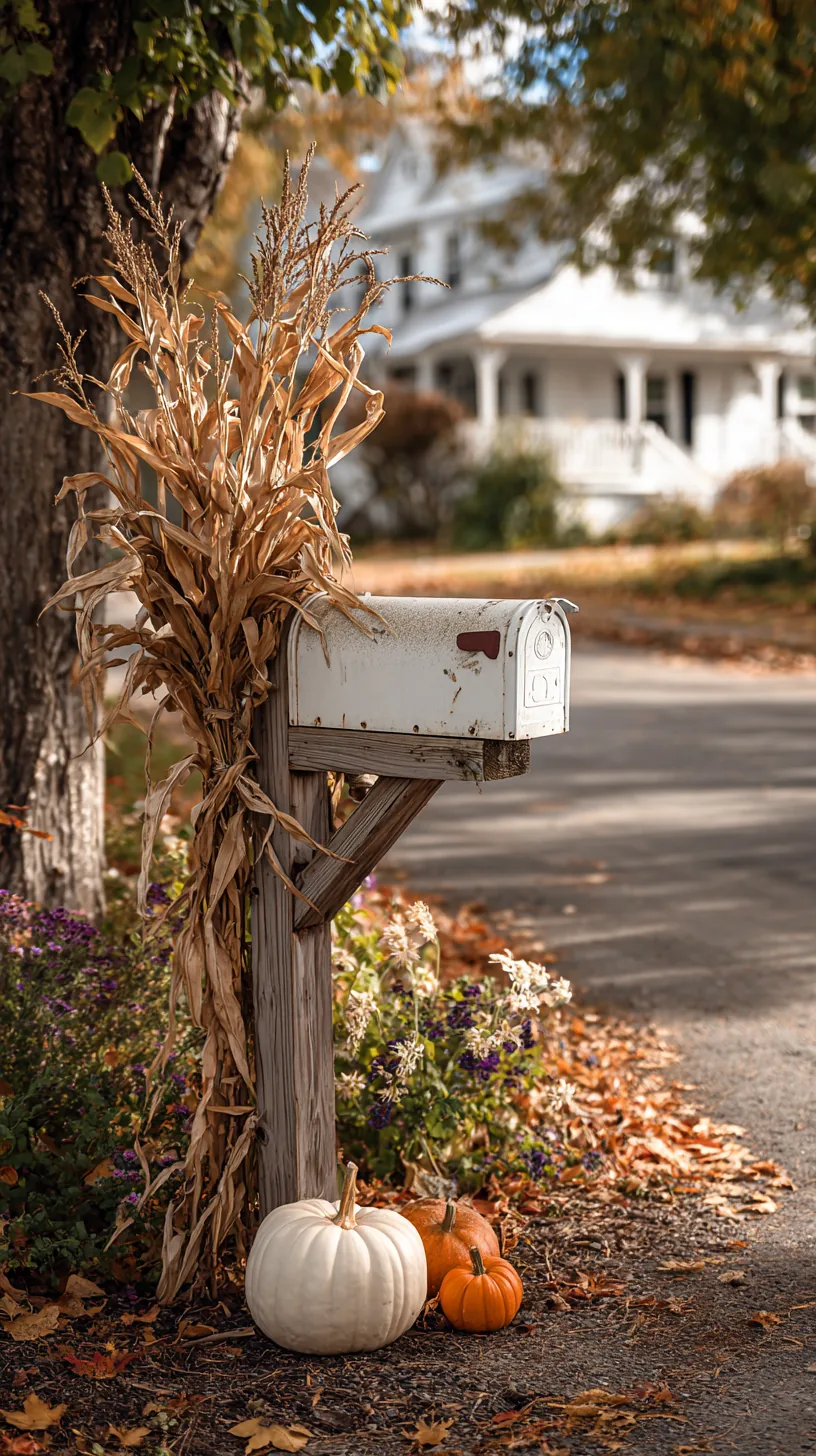 1/3
1/3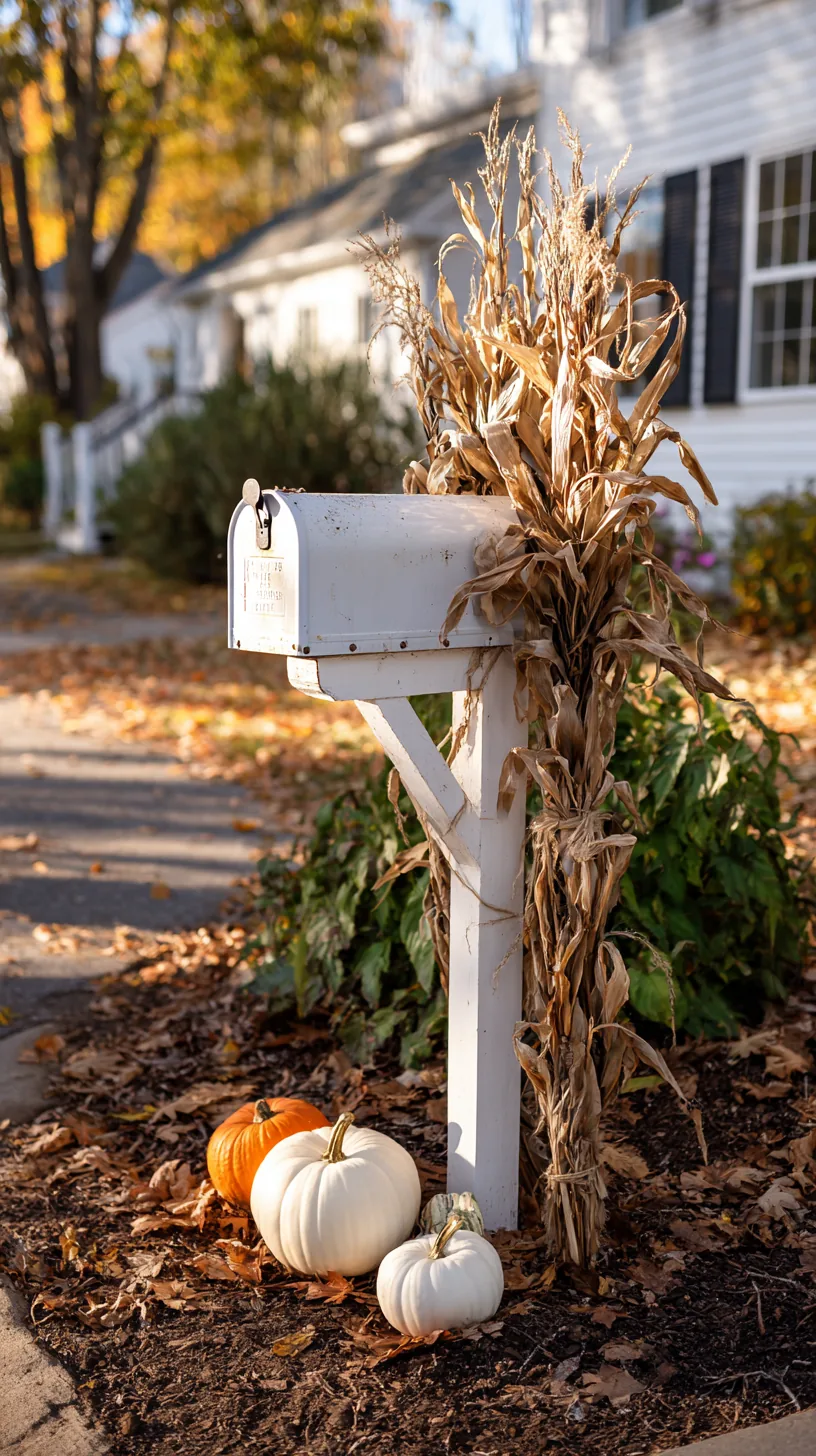 2/3
2/3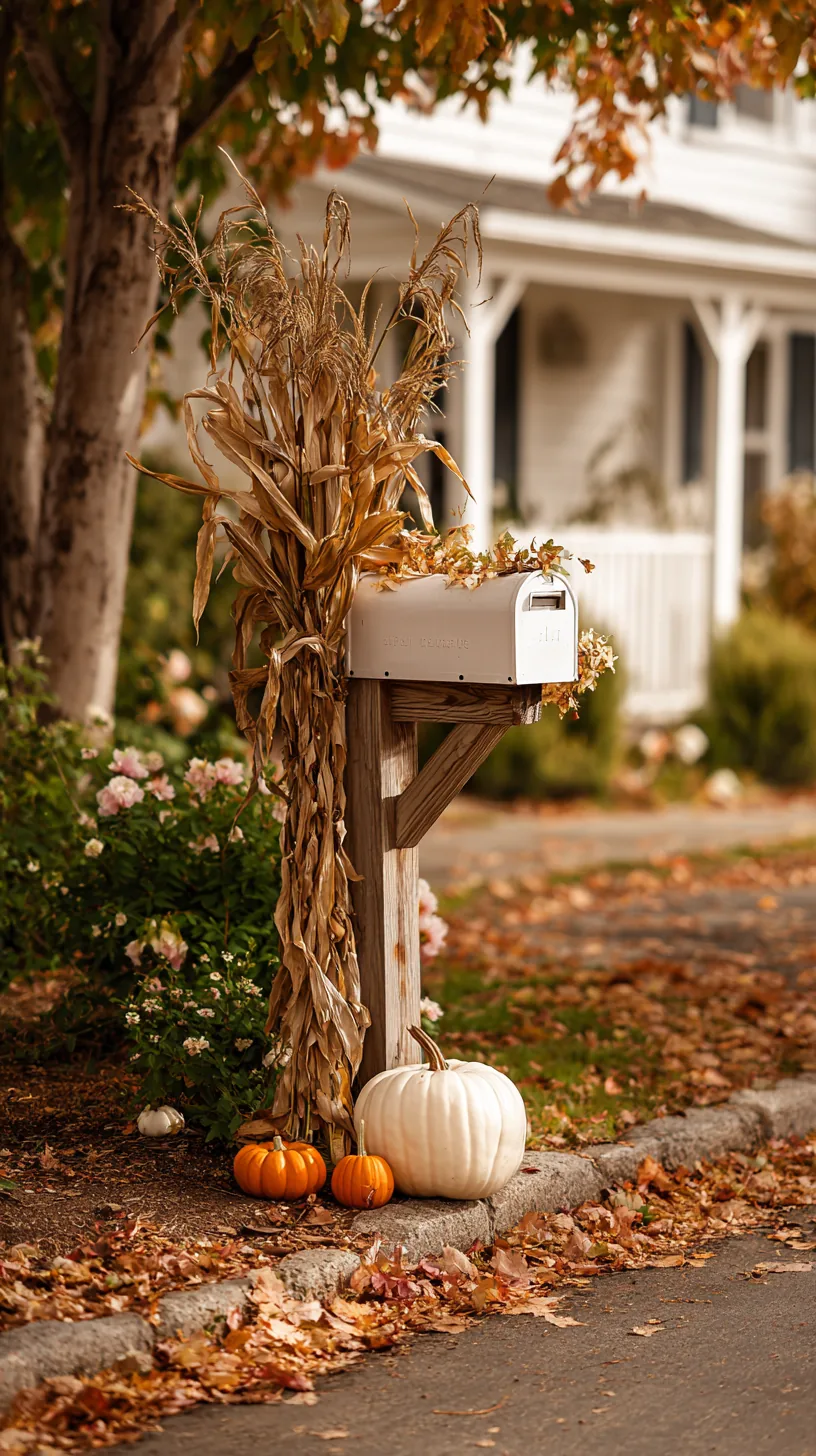 3/3
3/3You can spend a whole Saturday on the porch and still have nothing visible from the road. Moving one arrangement out to the mailbox fixes that instantly. Bundle three or four cornstalks around the post, cinch them with twine at two heights, and tuck a small pumpkin at the base. Now your yard reads as decorated from a moving car.
Wrap the twine tight at the top and again about a foot from the ground, because a single tie lets the stalks fan out and flop over by week two. Cornstalks show up at farm stands and garden centers all through October, and they hold up in wind far better than anything hollow or inflatable. A friend of mine tried something similar after two seasons of wondering why nobody noticed her porch, and she said the mailbox bundle got more comments than everything else combined. Keep the stalks clear of the mailbox door so your carrier isn’t fighting them every afternoon. Cornstalks stay useful right through November, as you can see in these corn stalk fall decor ideas.
Quick Tips
- Tie at two heights, never one, or the bundle splays open in the first breeze
- Point the fullest side toward oncoming traffic rather than toward your house
- Add one bright element like a white pumpkin so it still registers at dusk
18. Carve Your Tombstone Lettering Instead of Painting It On
 1/5
1/5 2/5
2/5 3/5
3/5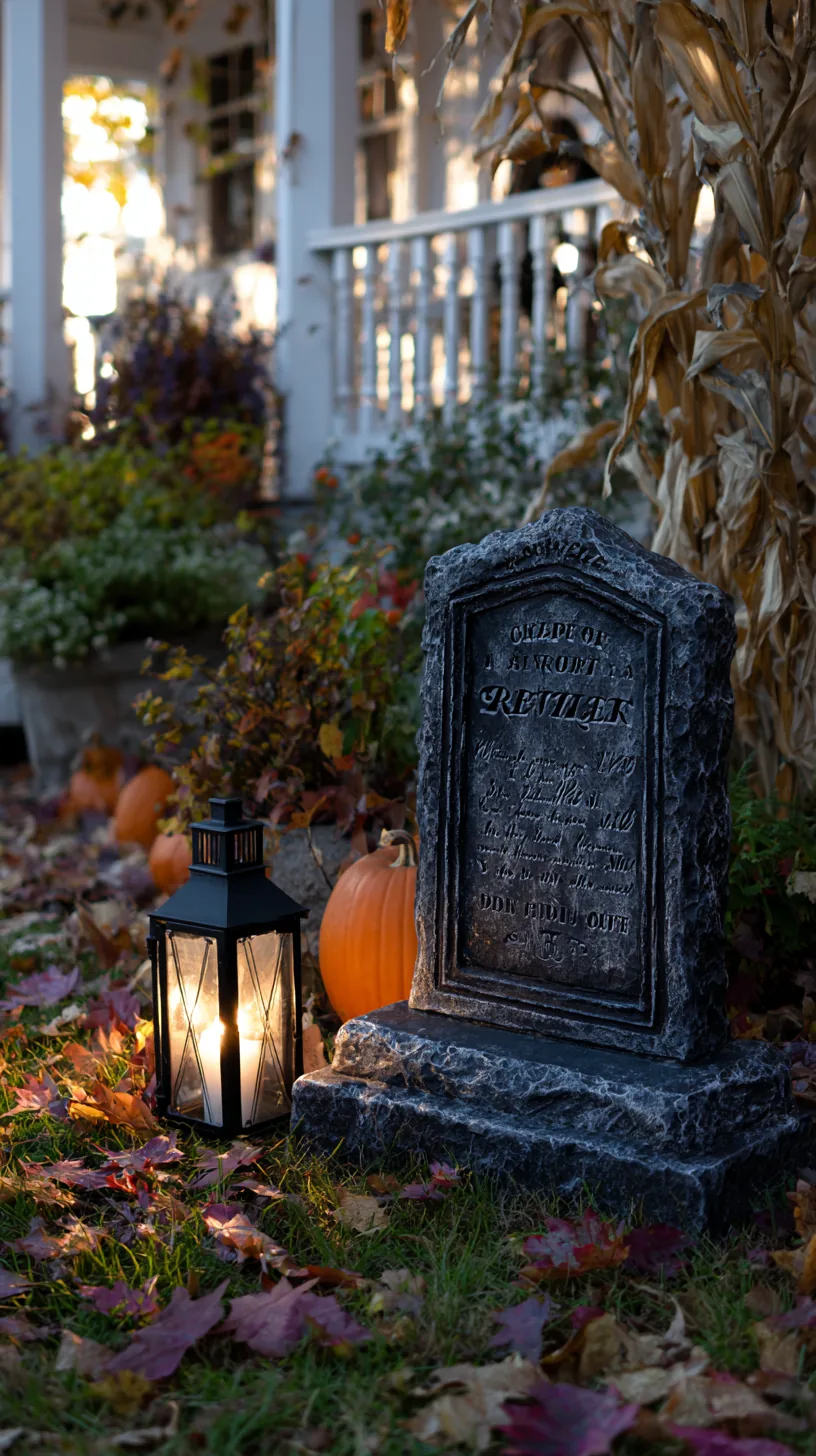 4/5
4/5 5/5
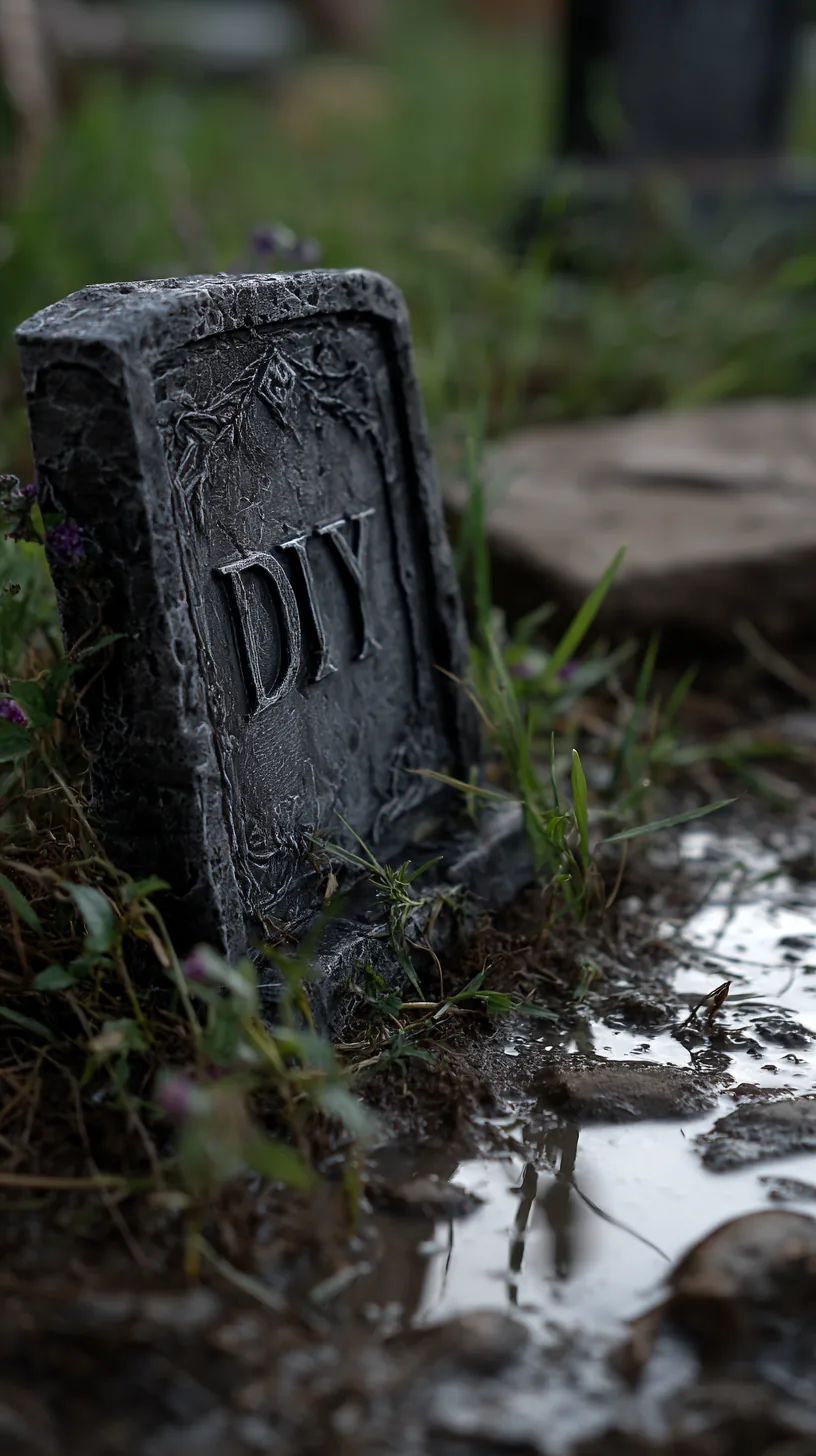
5/5Painted letters on a foam tombstone start bleeding the first time it rains, and by Halloween night your headstone reads like a smudge. Carve the letters into the foam instead. Trace your words, then press the shapes in with a dull pencil or a foam carving tool so the depth itself creates the shadow. Rain runs right off carved letters.
Rigid foam insulation board from a hardware store cuts easily with a serrated knife and weighs almost nothing, which matters when you’re staking it into soft fall ground. Print your lettering, tape the paper over the foam, and trace hard enough to leave an impression before you carve. After carving, a light coat of gray outdoor spray paint sinks into the grooves on its own and gives you that weathered stone look without a brush. Anchor each stone with two long garden stakes pushed through the back at an angle, since a single center stake lets the whole thing spin sideways in wind.
Quick Tips
- Test your spray paint on a scrap corner first, because some formulas eat foam
- Carve at least a quarter inch deep so the shadow reads from the sidewalk
- Use two angled stakes per stone rather than one straight down the middle
19. Hang Jar Lanterns From Shepherd Hooks When You Have No Railing
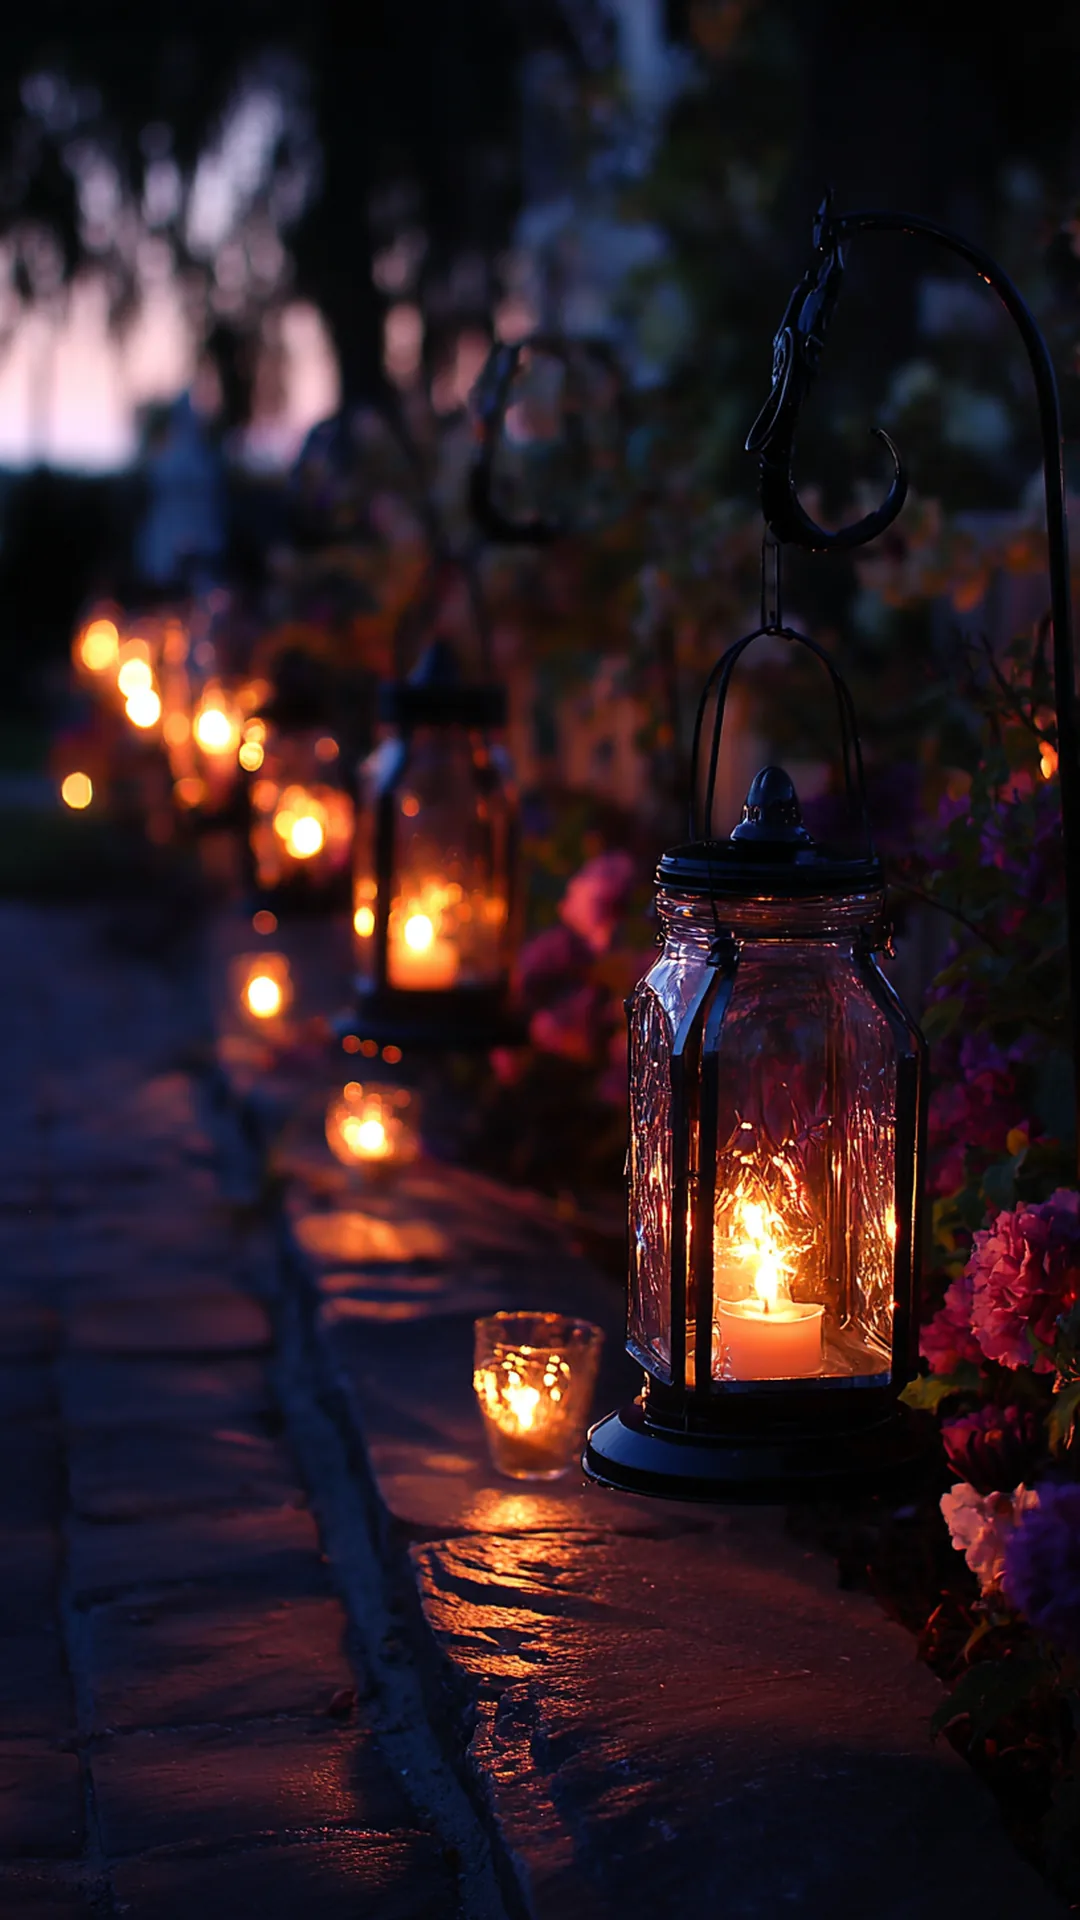 1/2
1/2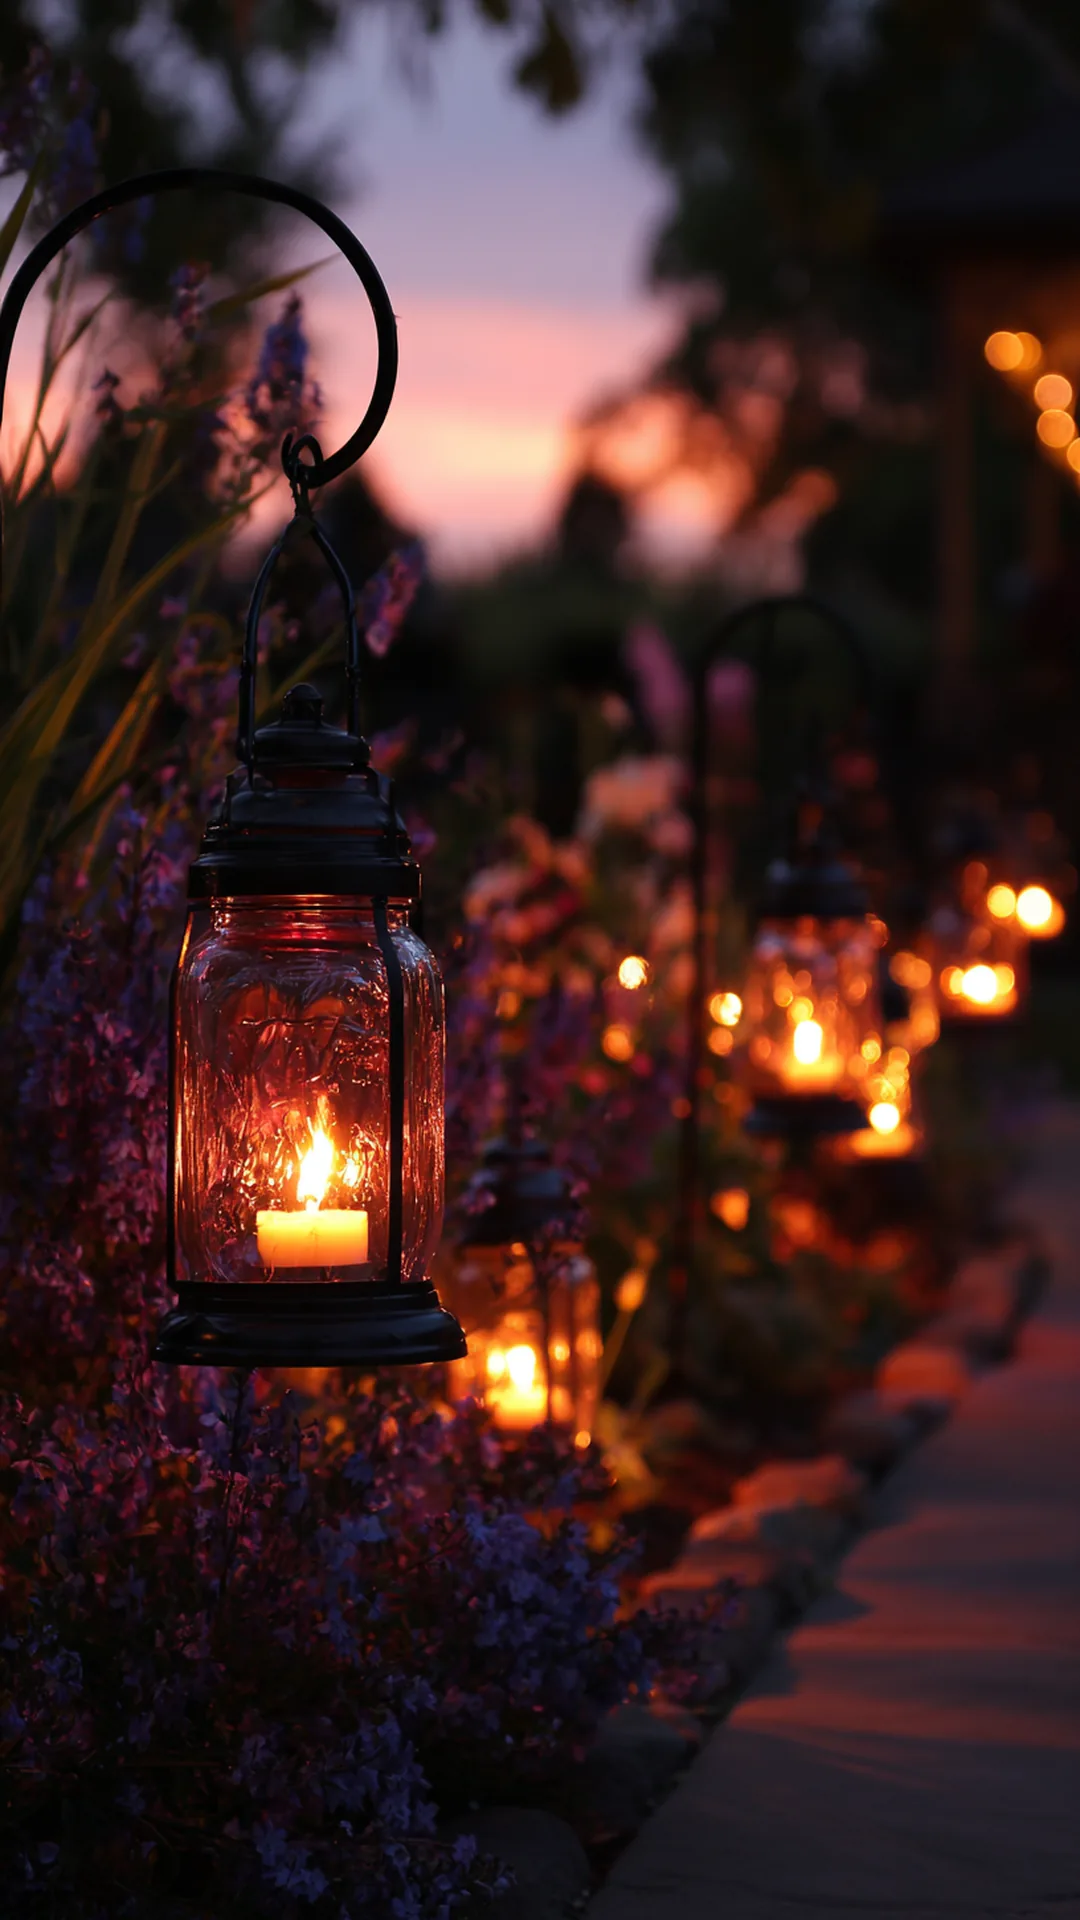 2/2
2/2Not every front entry has a railing, a porch beam, or an eave to hang things from. Shepherd hooks solve that in about five minutes. Push two or three into the flower bed along your walkway, hang a wire-wrapped mason jar from each curved arm, and drop a battery tea light inside. Instant glow with nothing attached to the house.
Wrap floral wire twice around the jar neck and twist a loop at the top for the handle, which holds better than the flimsy hangers sold with some jars. Space the hooks about four feet apart so the light pools along the path instead of clustering in one bright spot. Orange or deep amber tea lights read warmer than white ones after dark, and they photograph beautifully if you’re the kind of person who posts your halloween front porch ideas every October. Push the hooks in until the base disappears, since a wobbly hook tips the whole jar on the first windy night. Hooks and lanterns are one of the easiest things to carry into November, and these fall lantern ideas show a few more ways to hang them.
Quick Tips
- Choose hooks with a wide, forked base rather than a single thin spike
- Use battery tea lights with a timer so you’re not flipping switches nightly
- Fill each jar with an inch of sand to keep it from swinging and cracking
20. Build a Giant Spider From Pool Noodles
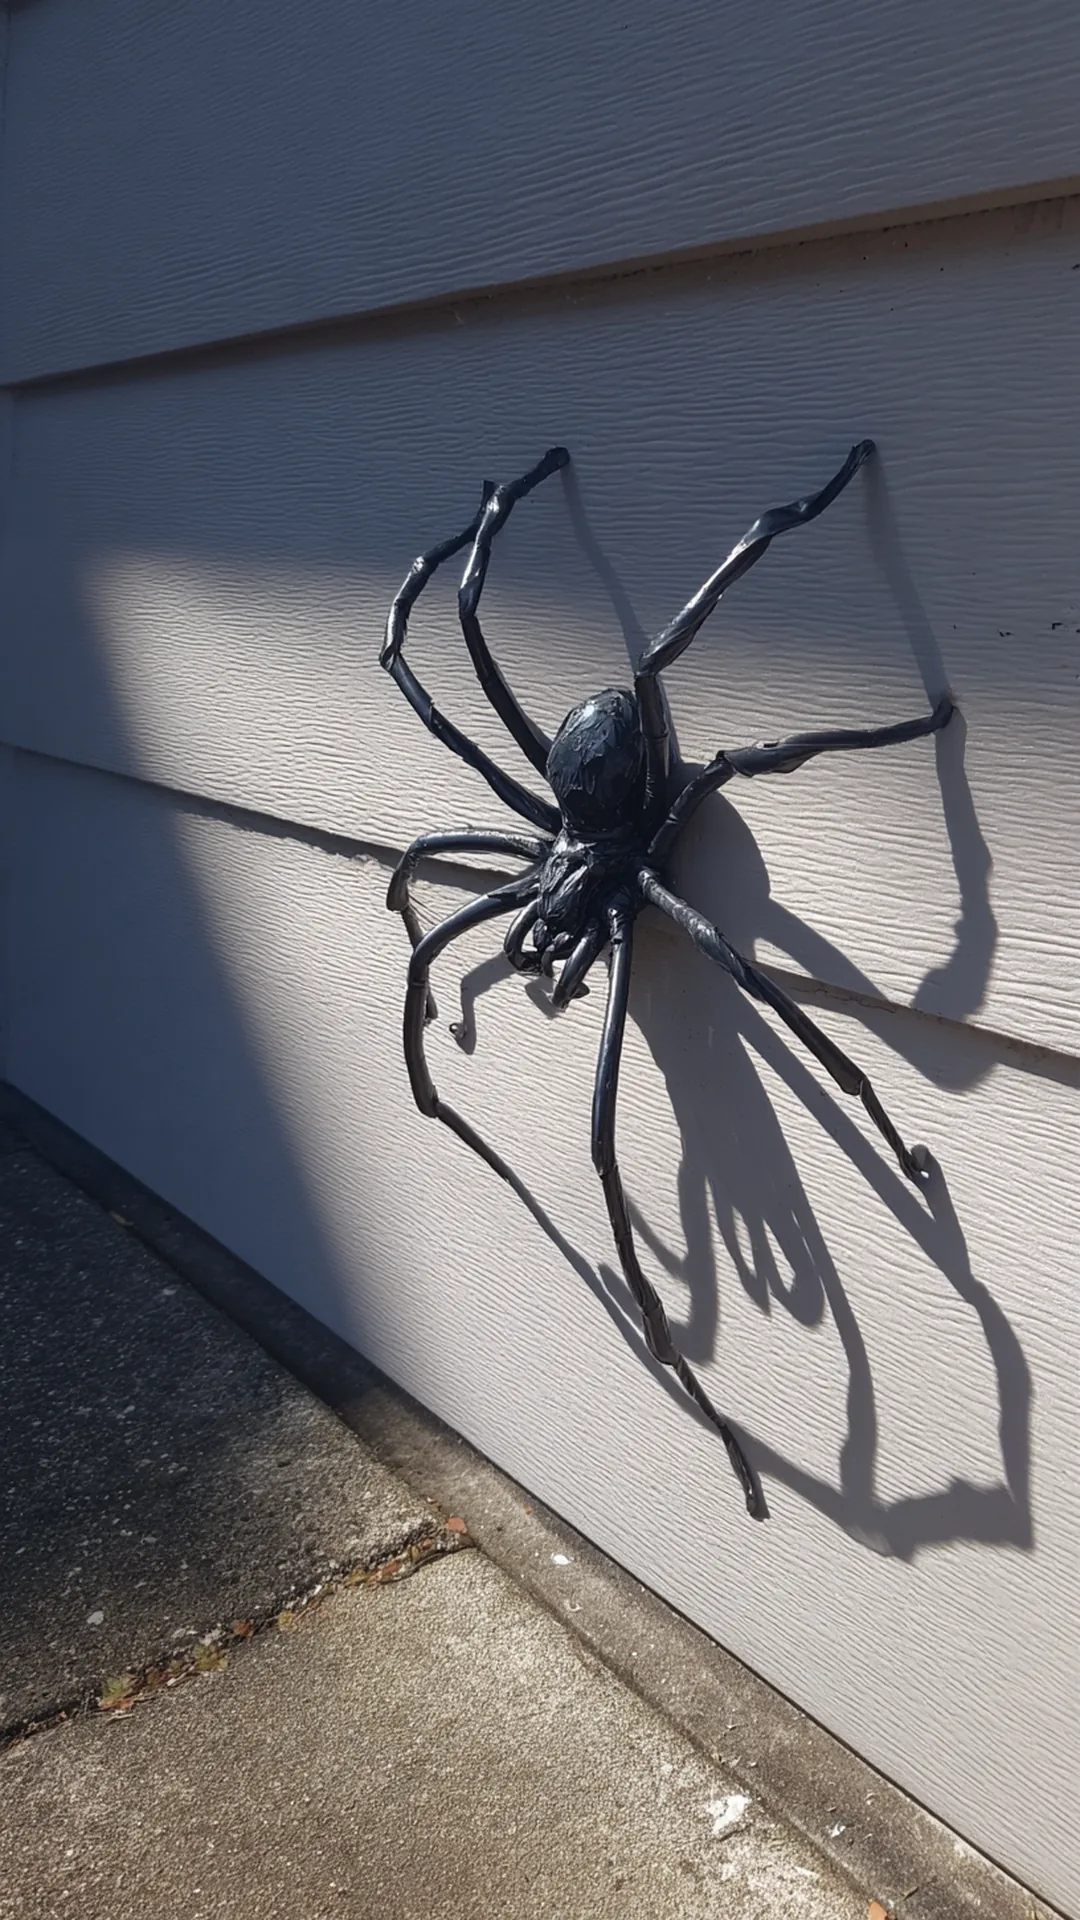 1/2
1/2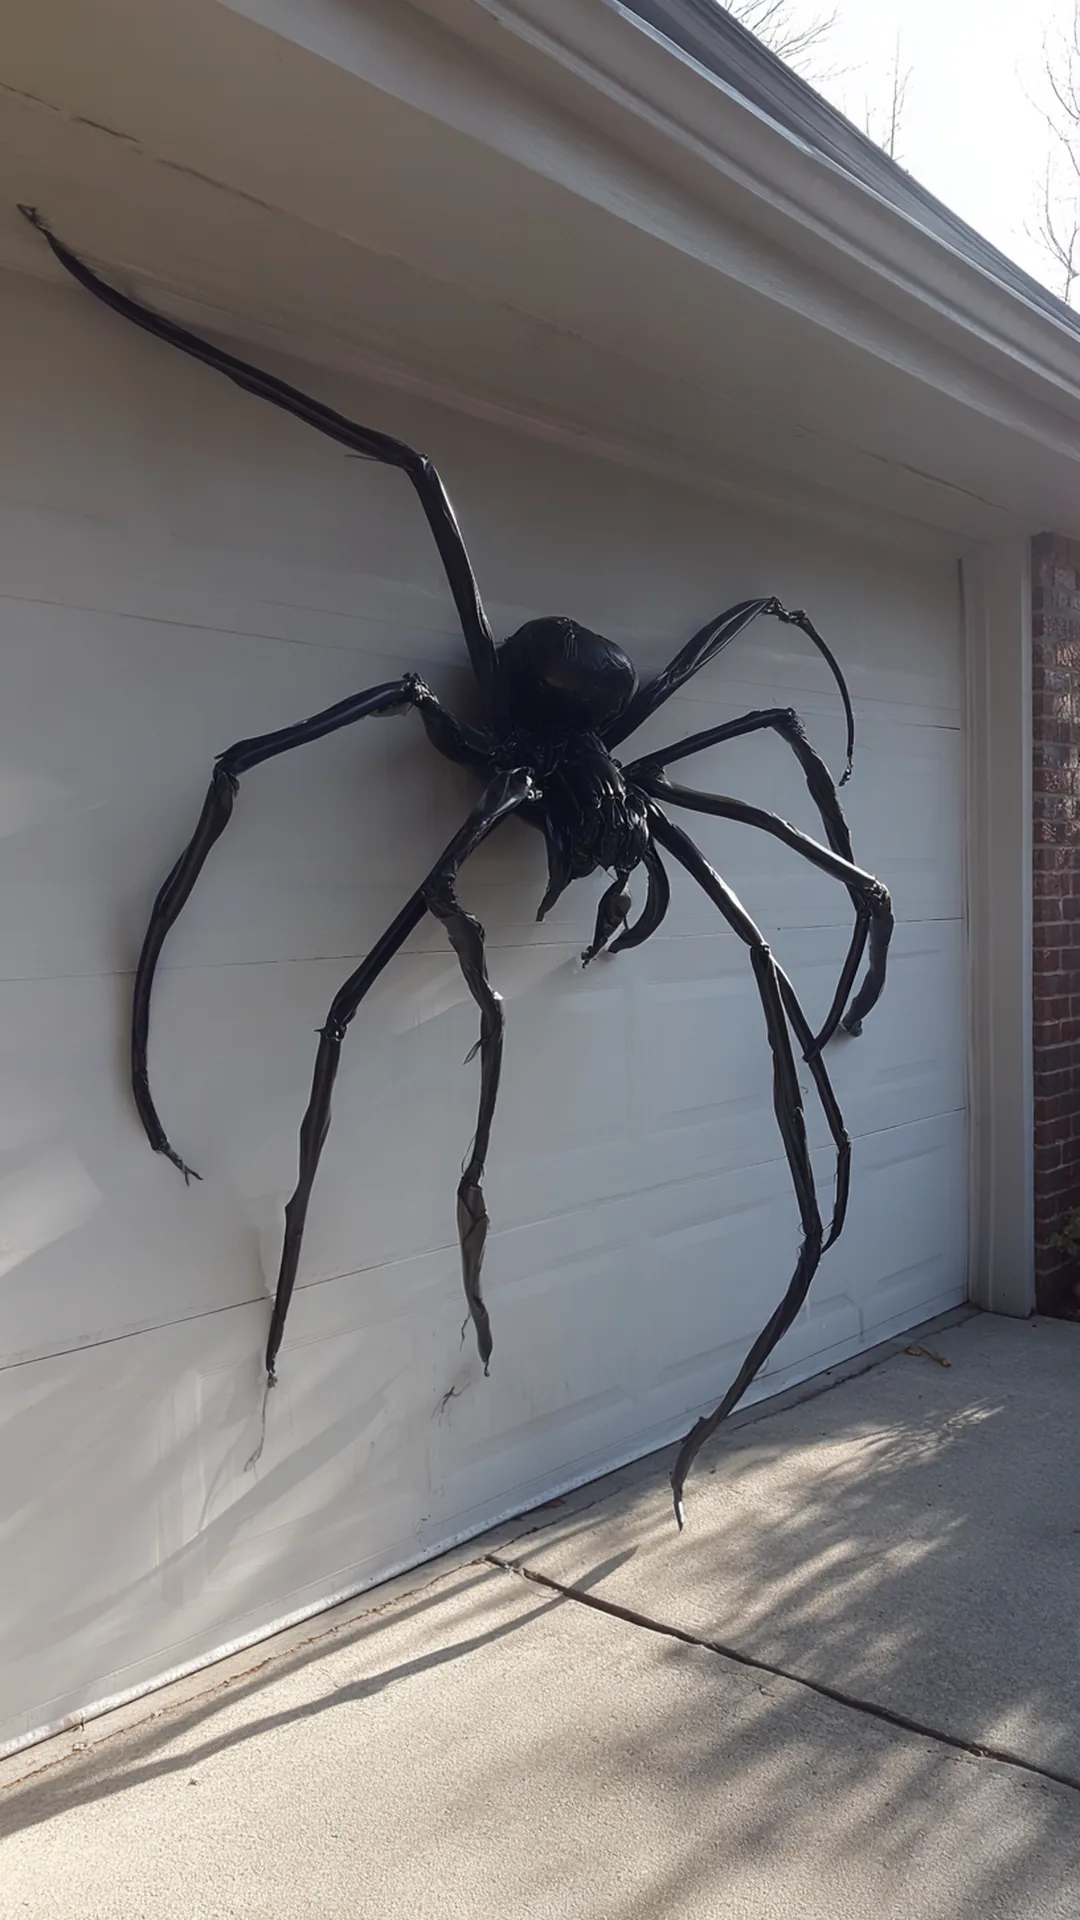 2/2
2/2The big statement pieces that draw people from down the block are usually heavy, expensive, and awkward to store. Pool noodles get you the same scale for very little. Bend four noodles into eight legs, zip-tie them to a black trash bag stuffed with leaves for the body, and mount the whole thing over your garage door or on the roofline.
Noodles go on clearance right when the summer stuff clears out, so buying them in late August costs almost nothing. Run a length of wire through the center of each noodle before you bend it, and the leg will hold its curve instead of springing flat. Black spray paint made for plastic covers the pool colors in two light coats. A spider this size becomes the anchor for the rest of your halloween front yard ideas, and because it weighs so little you can hang it from hooks that would never hold a store-bought prop.
Quick Tips
- Thread wire through each noodle before bending so the legs keep their shape
- Stuff the body with dry leaves or plastic bags, never anything that soaks up rain
- Add two reflective circles for eyes so headlights catch it at night
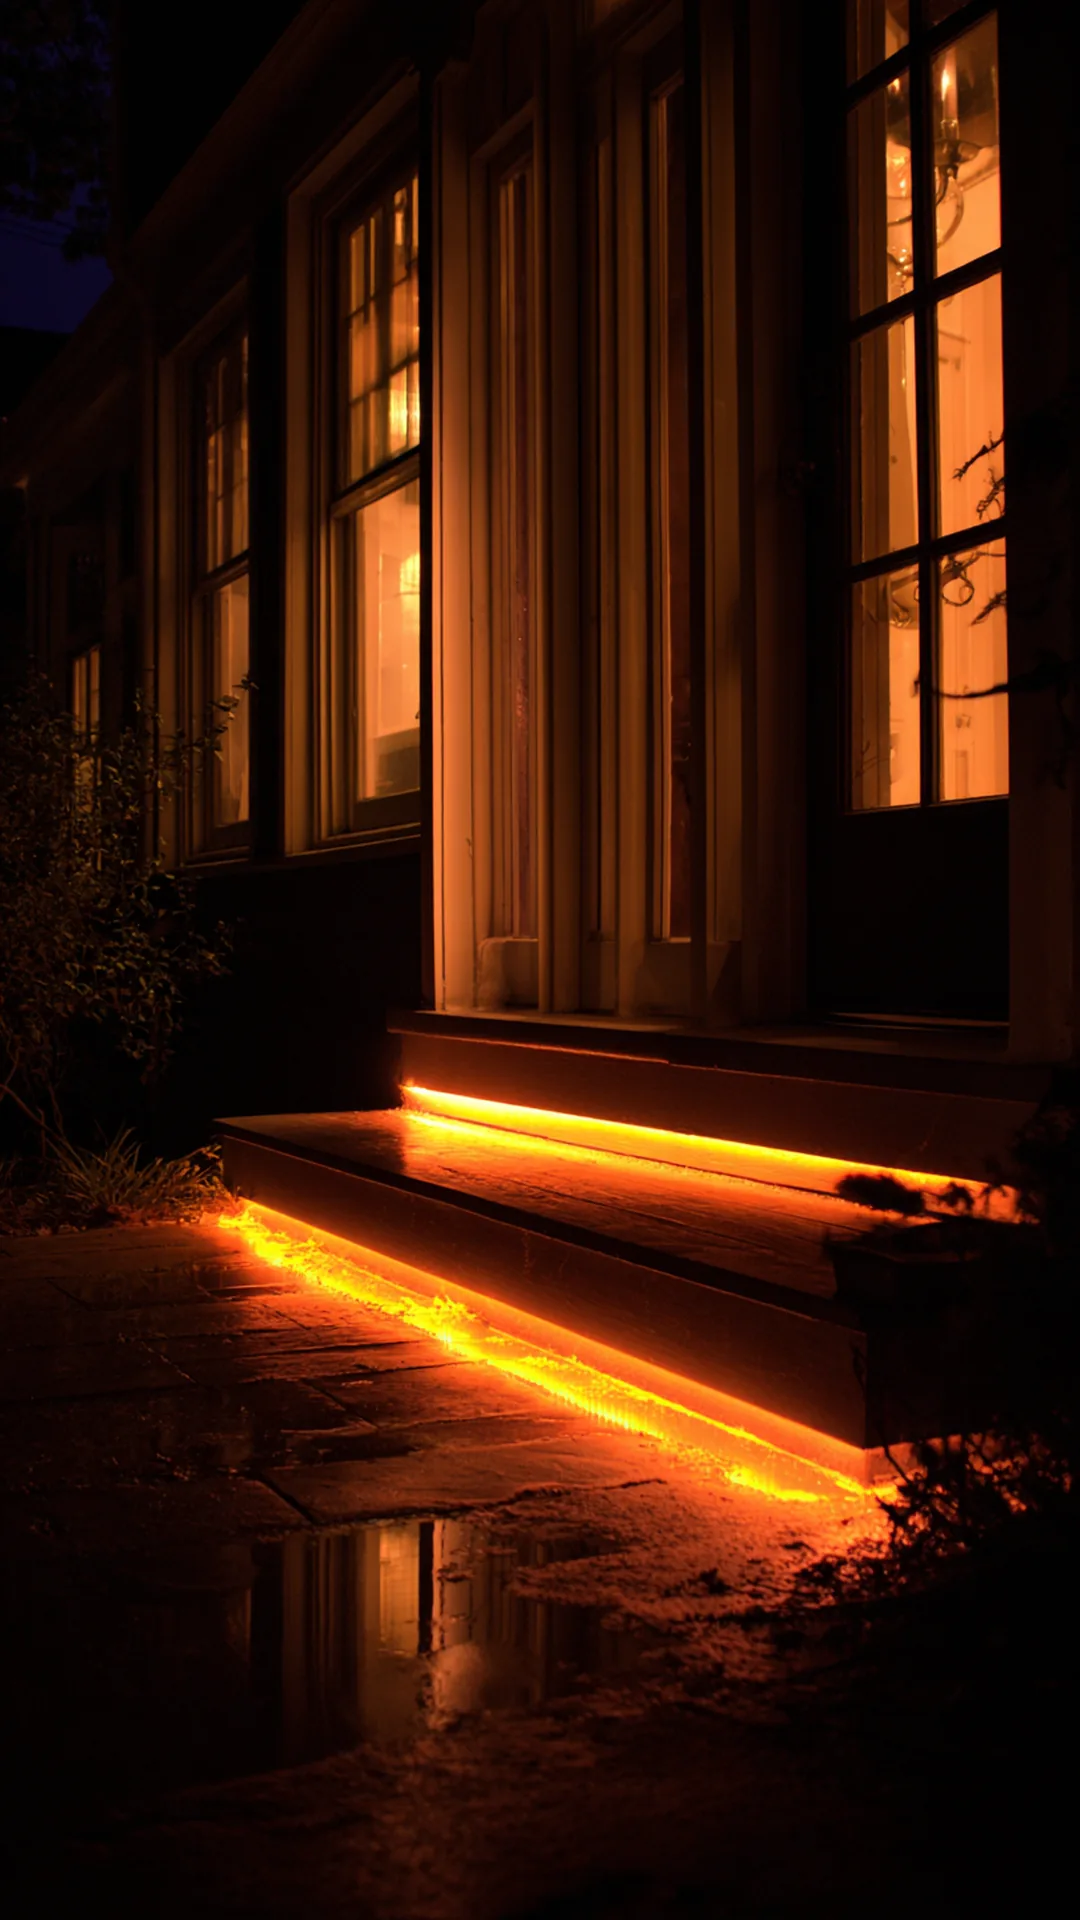
21. Outline the Doorway With Rope Light So Nobody Misses the Steps
 1/2
1/2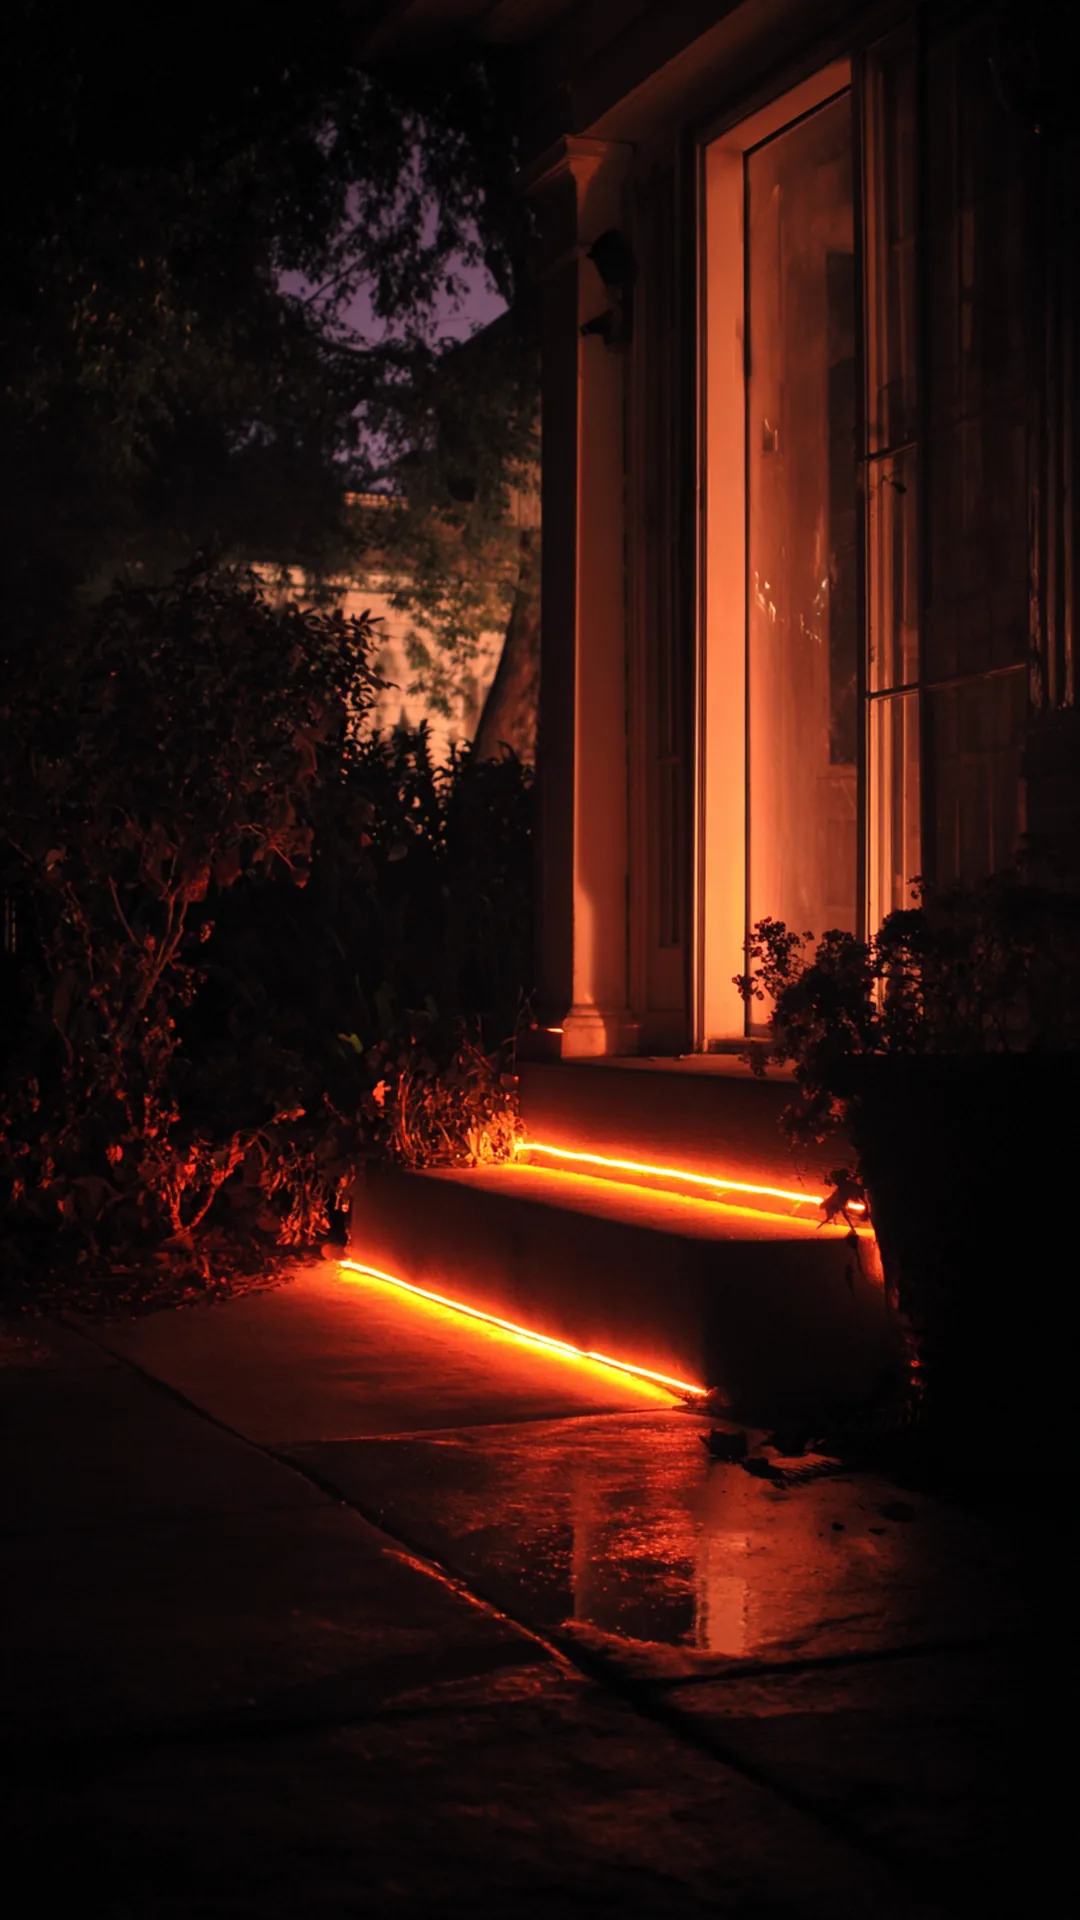 2/2
2/2On Halloween night your porch light gets swallowed by everything else you’ve set out, and kids end up feeling for the steps in the dark. Running flexible rope light around the door frame fixes both problems at once. It marks the entrance from the sidewalk and throws enough soft light on the treads that nobody trips.
Rope light bends around corners without connectors, so you can go up one side of the frame, across the top, and down the other in a single run. Clear adhesive clips rated for outdoor use hold it to painted trim and peel off clean in the spring. I’ve seen this work beautifully on older homes where the entry sits back in shadow, because the outline gives the whole front of the house a shape after dark. Run a second short piece along the step edge itself if your stairs are deep, and tuck the cord tight against the riser so it isn’t underfoot.
Quick Tips
- Buy rope light rated for outdoor use, not the indoor version that cracks below 40°F
- Use clear outdoor clips every 12 inches so the line stays crisp instead of sagging
- Plug it into an outdoor timer so it’s already lit before the first trick-or-treaters arrive
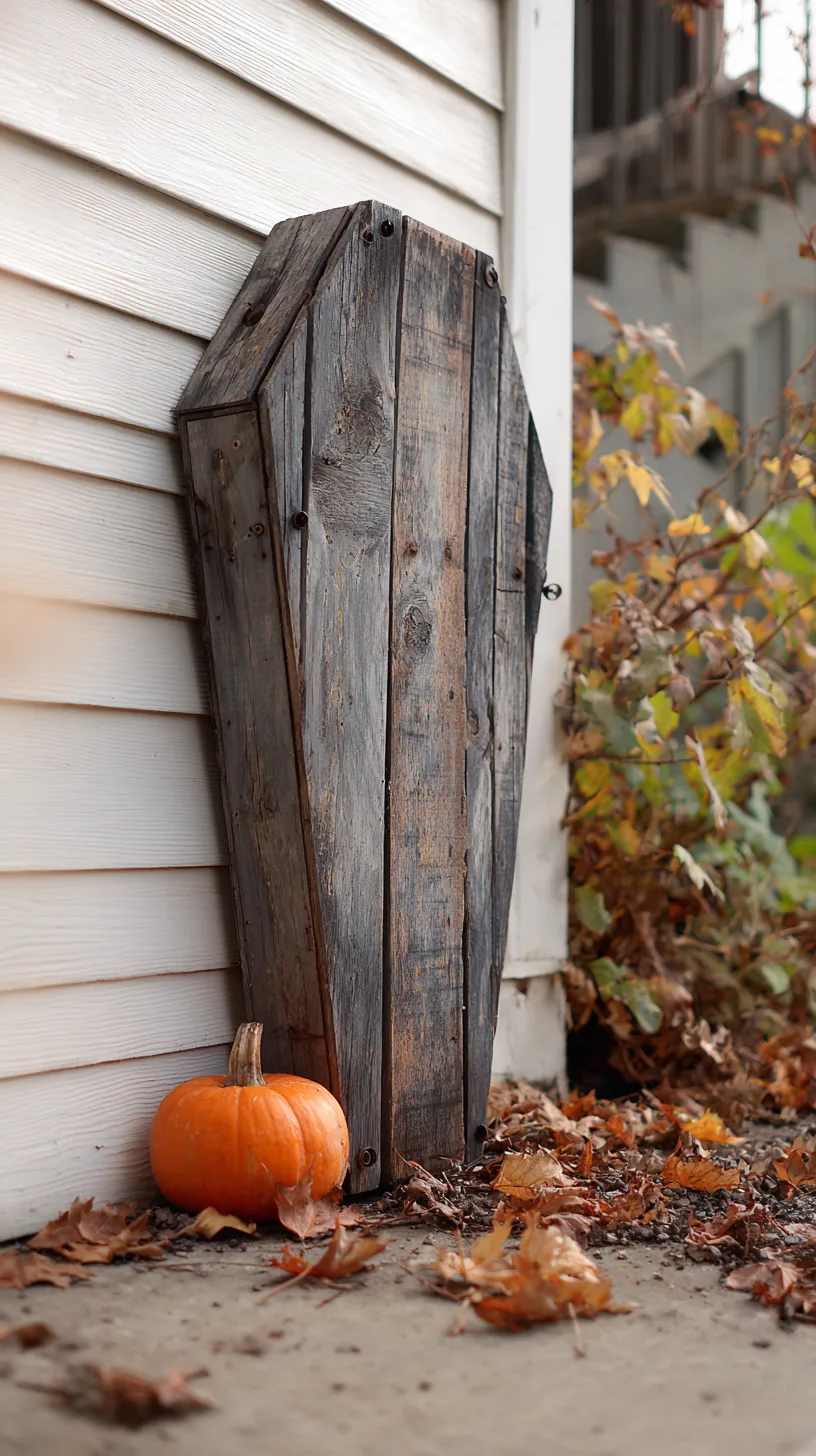
22. Lean a Pallet Coffin Against the House for an Instant Focal Point
 1/2
1/2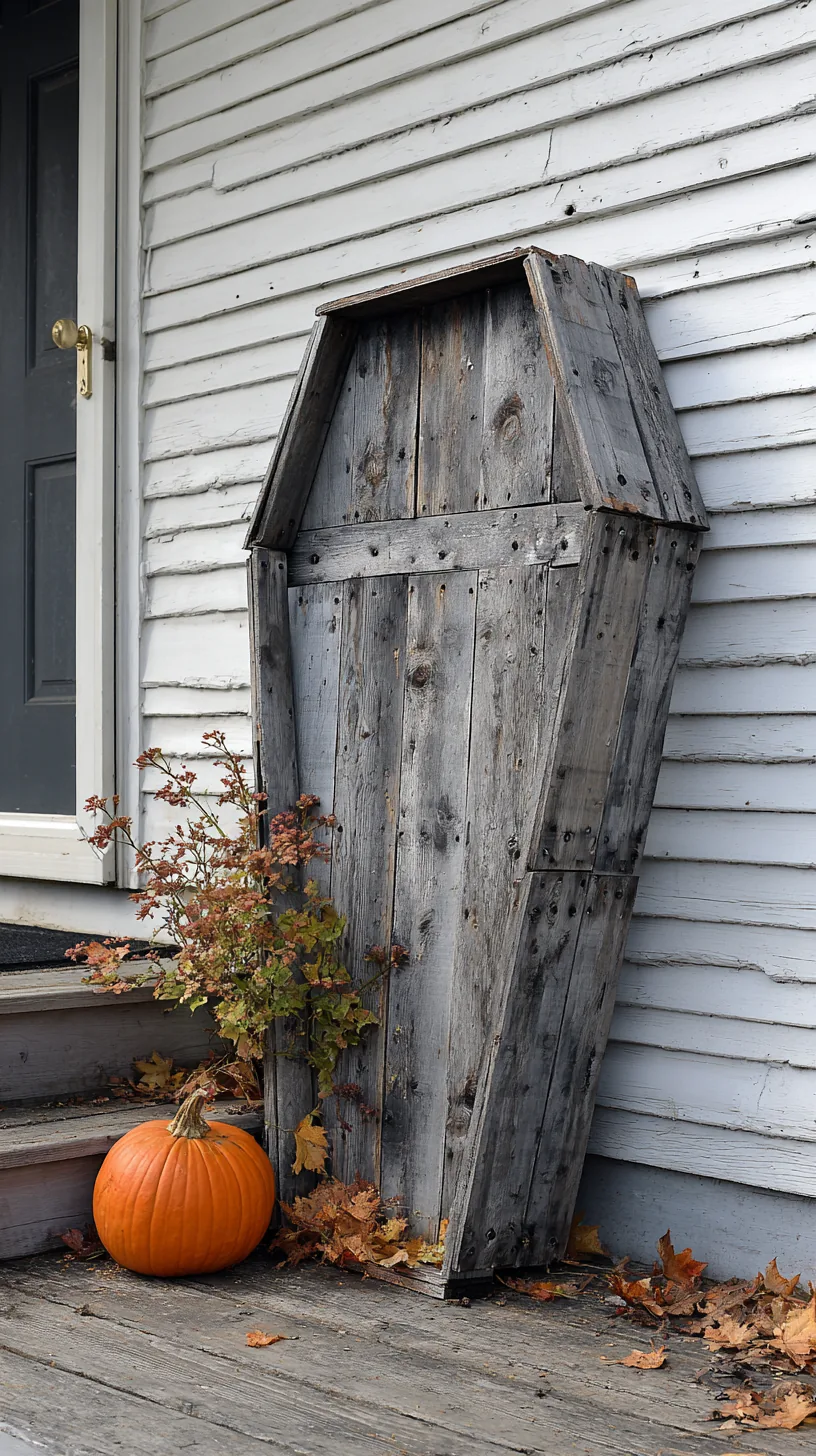 2/2
2/2Most yards need one tall element to hold everything else together, and free pallets give you that frame. Cut down two pallets into a simple six-sided coffin shape, screw the boards to a plywood back, and lean it against the house beside your door. It reads dramatic from the street and costs you an afternoon.
Ask at garden centers or furniture stores about pallets they’re discarding, and pick ones with dry, unsplit boards. A coffin doesn’t need perfect angles, so cut the two shoulder corners at roughly 45 degrees and let the gray weathered wood do the aging for you. Sink one screw through the top into a fence post or run a bungee cord to a porch column, because a flat leaning panel becomes a sail in a fall storm. A wreath of dried branches hung on the front softens the shape enough that it still fits alongside gentler outdoor halloween decor.
Quick Tips
- Choose heat-treated pallets stamped HT rather than chemically treated ones
- Anchor the top with a cord or screw so wind can’t lay it flat across the walkway
- Leave the wood raw and gray instead of painting it, which looks older and costs nothing
23. Swap Tape for Magnets on a Steel Door
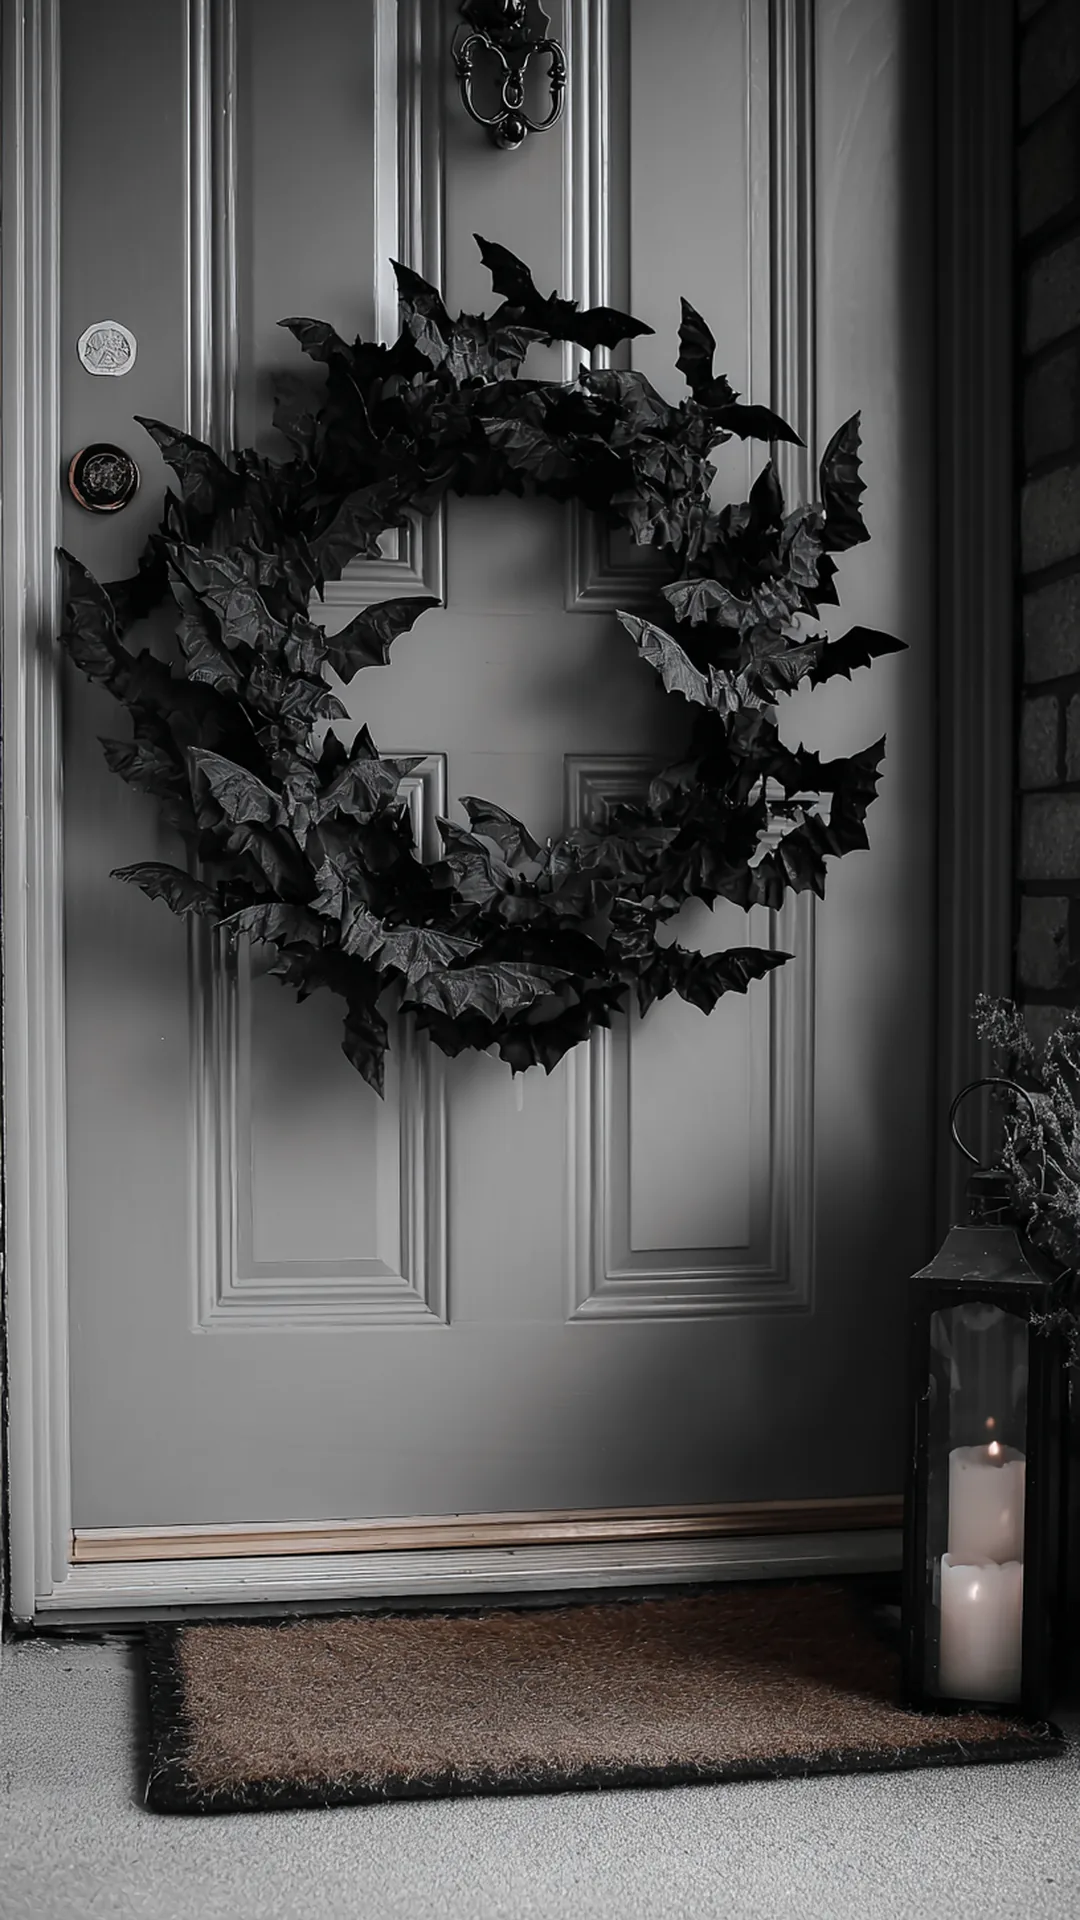 1/2
1/2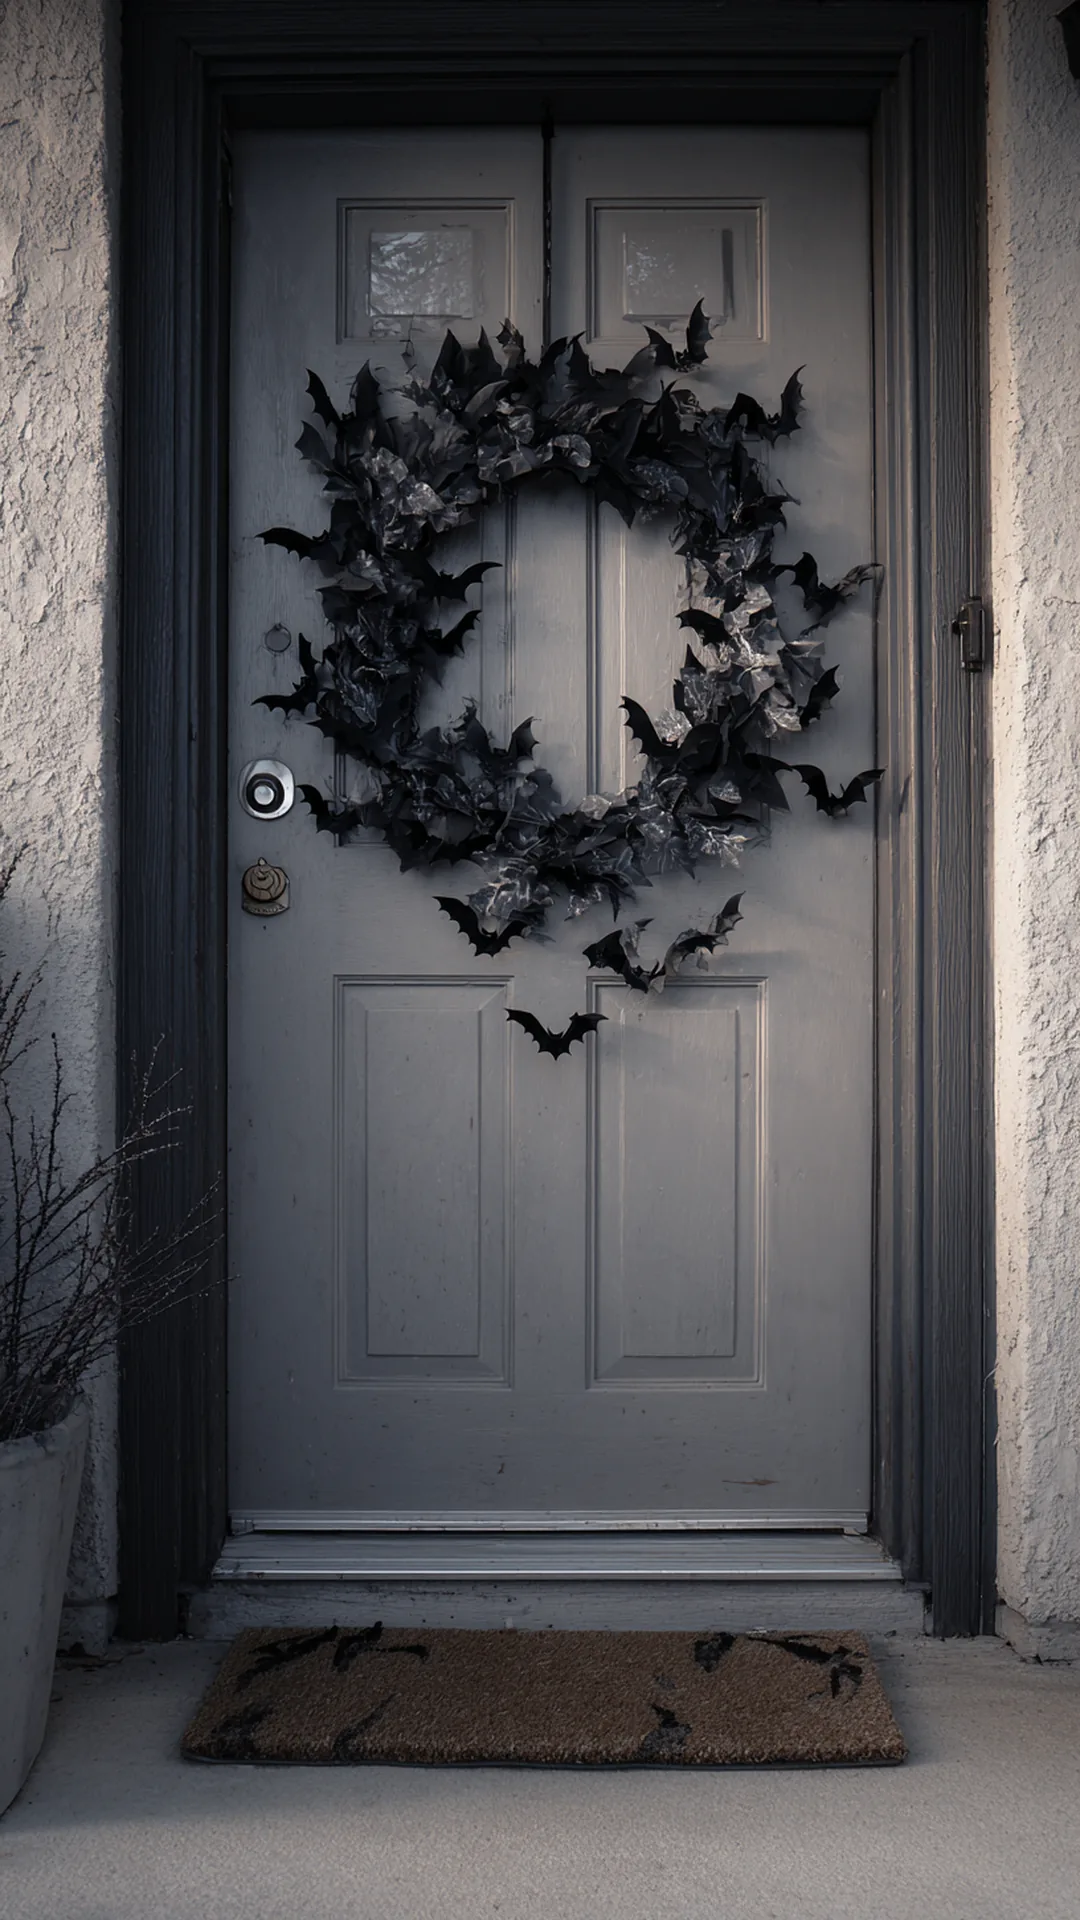 2/2
2/2Painter’s tape and command strips both pull paint off metal doors and garage panels, especially after a warm afternoon bakes the adhesive on. If your door is steel, use magnets instead. Strong disc magnets hold spider webbing, paper bats, and light garlands all month, then lift off with your fingers and leave the finish untouched.
Test with a refrigerator magnet first, since some entry doors are fiberglass and only the frame is steel. Hooked magnets are the versatile ones because you can hang a garland, a small wreath, or a strand of webbing from the same hook. For anything with real weight, use two magnets spaced a few inches apart rather than one working overtime. From what I’ve gathered, the fastest way to decorate a garage door is a row of magnetic hooks across the top with fabric draped between them, which takes about ten minutes and comes down just as fast.
Quick Tips
- Test the door with a small magnet before you plan around it
- Slide magnets sideways to remove them instead of prying, which protects the paint
- Keep a small container of them with your decorations so they don’t scatter
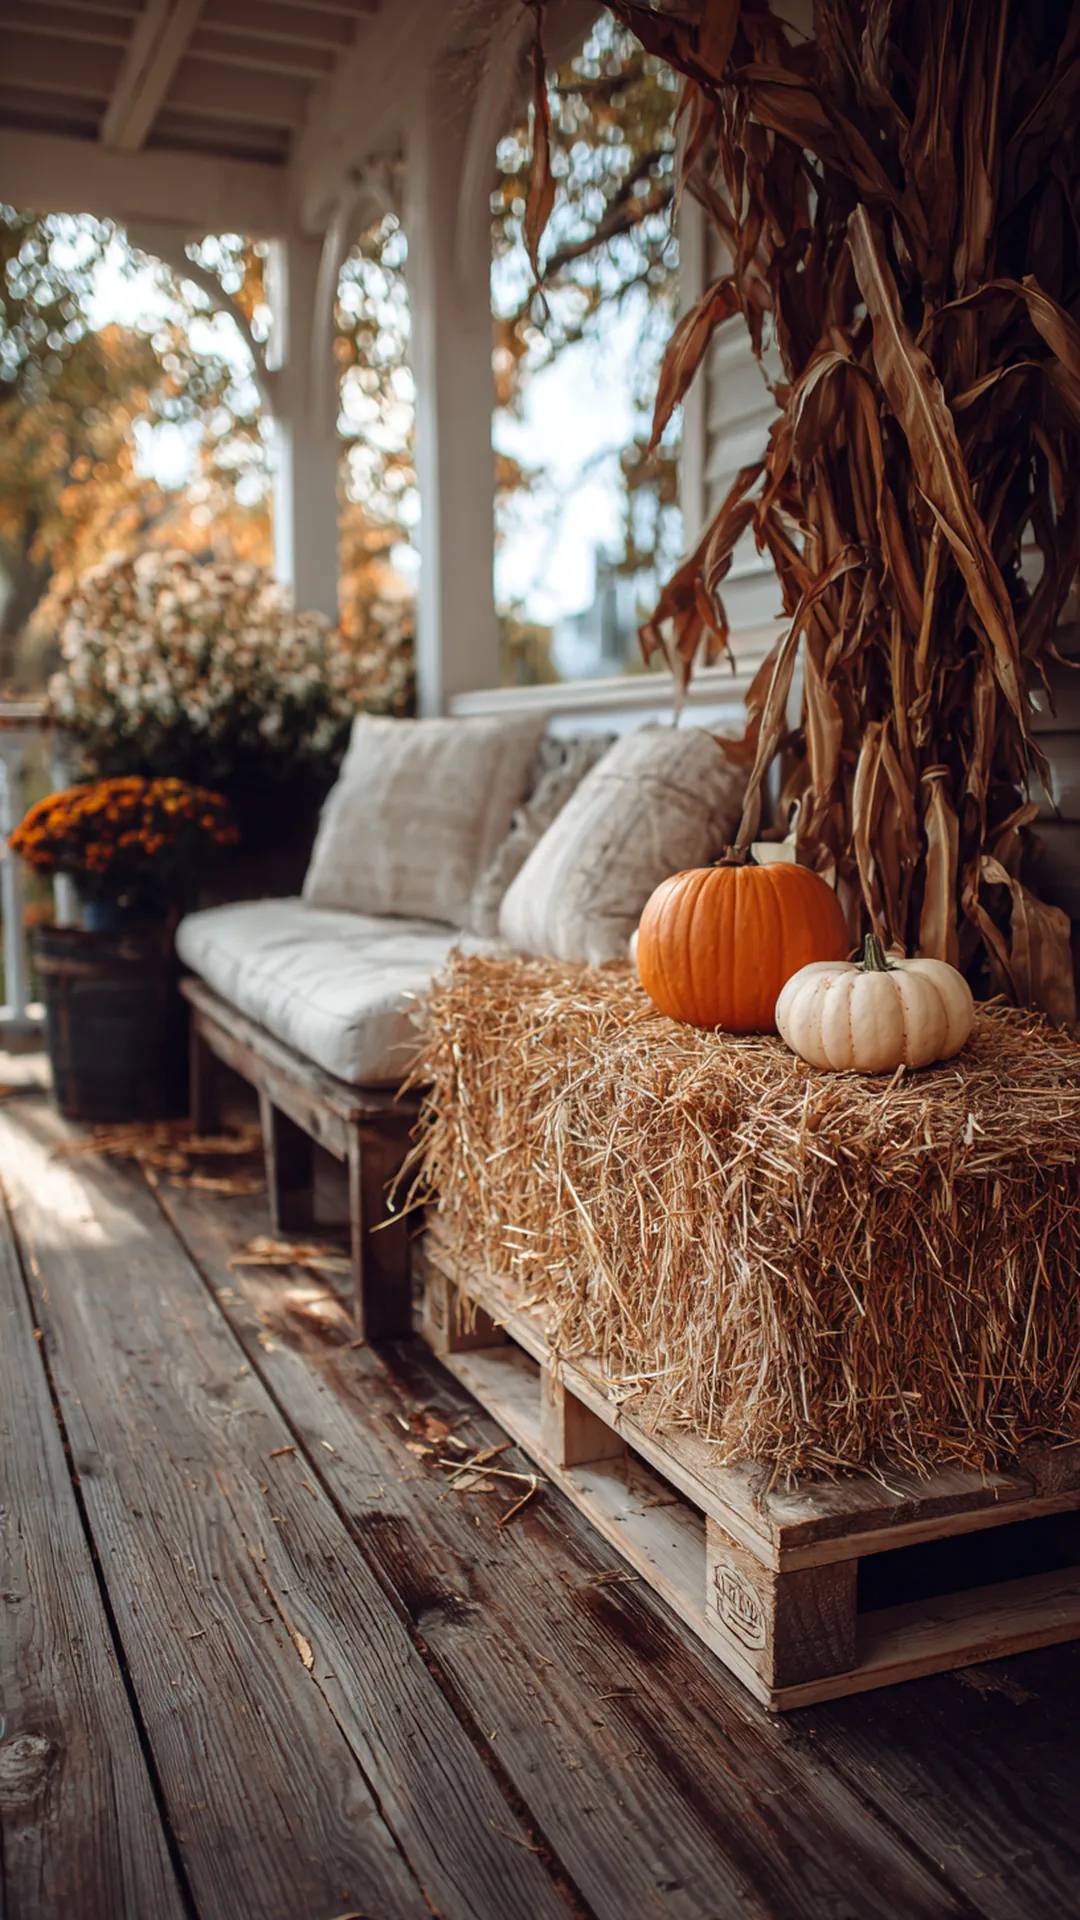
24. Set Straw Bales on Pallets So They Don’t Rot Into Your Porch
 1/2
1/2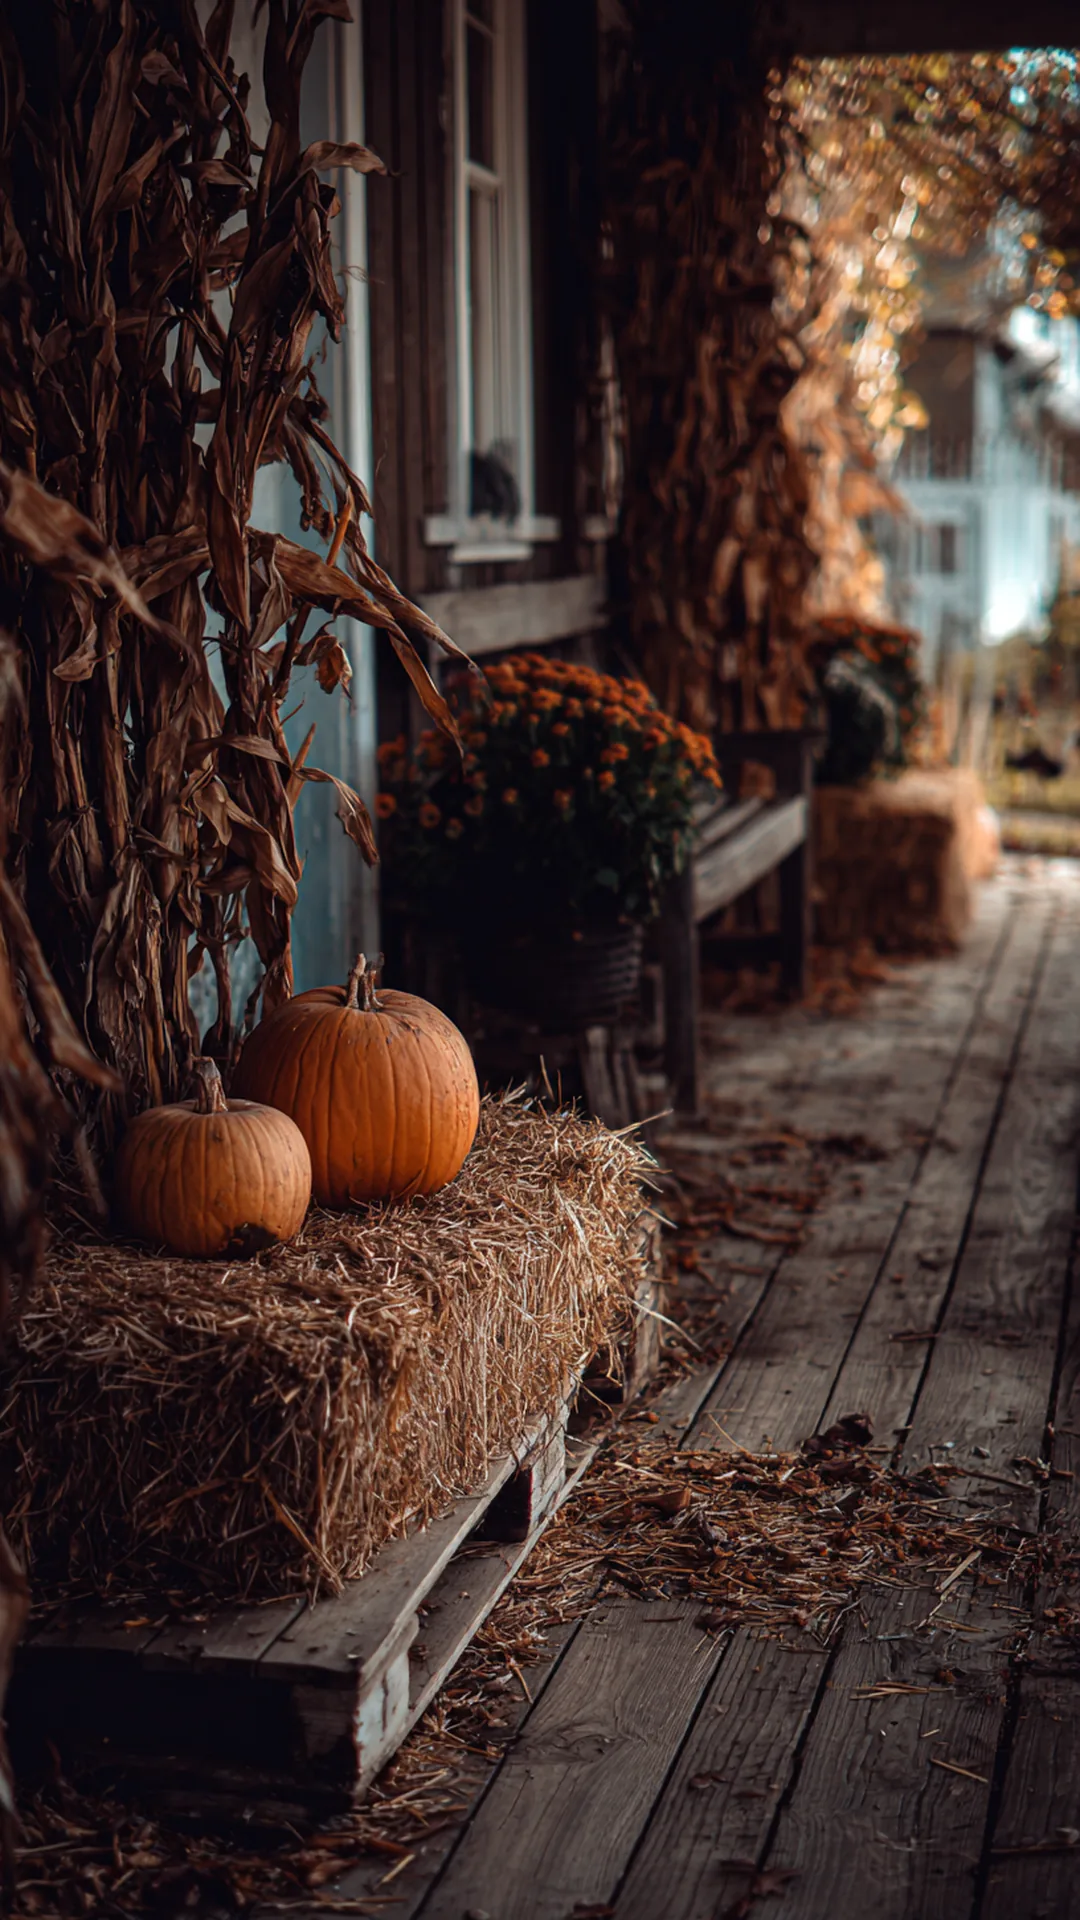 2/2
2/2A bale sitting directly on concrete wicks up every bit of moisture, and by early November you have a soft, sour-smelling block and a dark stain that outlasts the season. Raise it. A scrap pallet, a couple of bricks, or even a plastic tray underneath keeps air moving and the bale dry from the bottom up.
Two bricks under each end is enough on a covered porch, while an open front yard does better with a full pallet so water drains straight through. Turn the cut side of the bale up rather than down, since the tighter face sheds rain better. If you like the look of the bale flush to the ground, skirt the risers with a length of burlap and nobody will know they’re there. Keep bales at least a few feet from candles or lanterns, because dry straw catches faster than most people expect. Raised bales look right at home with these hay bale fall decor ideas once the ghosts come down.
Quick Tips
- Straw stays dry longer than hay, so ask for straw specifically
- Skirt the risers with burlap if you want the raised base hidden
- Sweep loose straw off the walkway weekly, since wet straw gets slick
25. Drop Glow Sticks Into Jars for Candles You Can Leave Alone
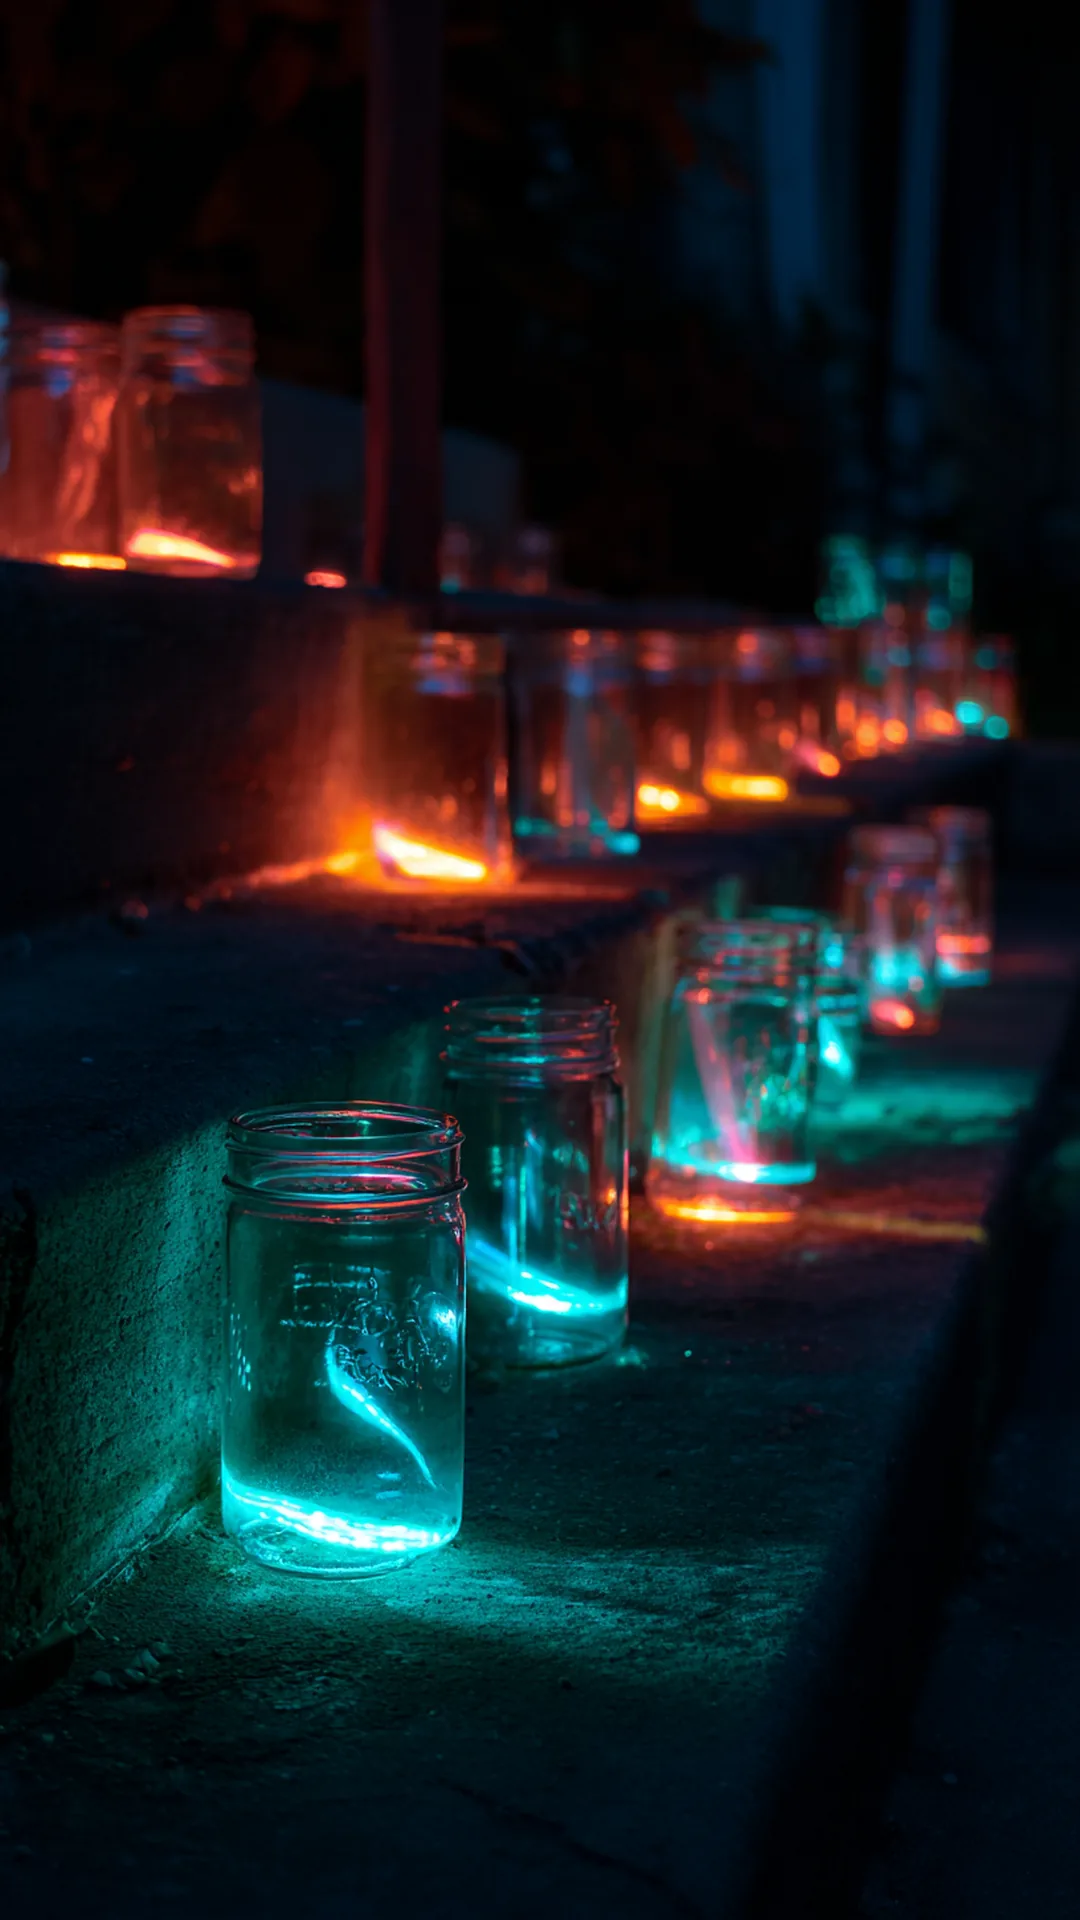 1/2
1/2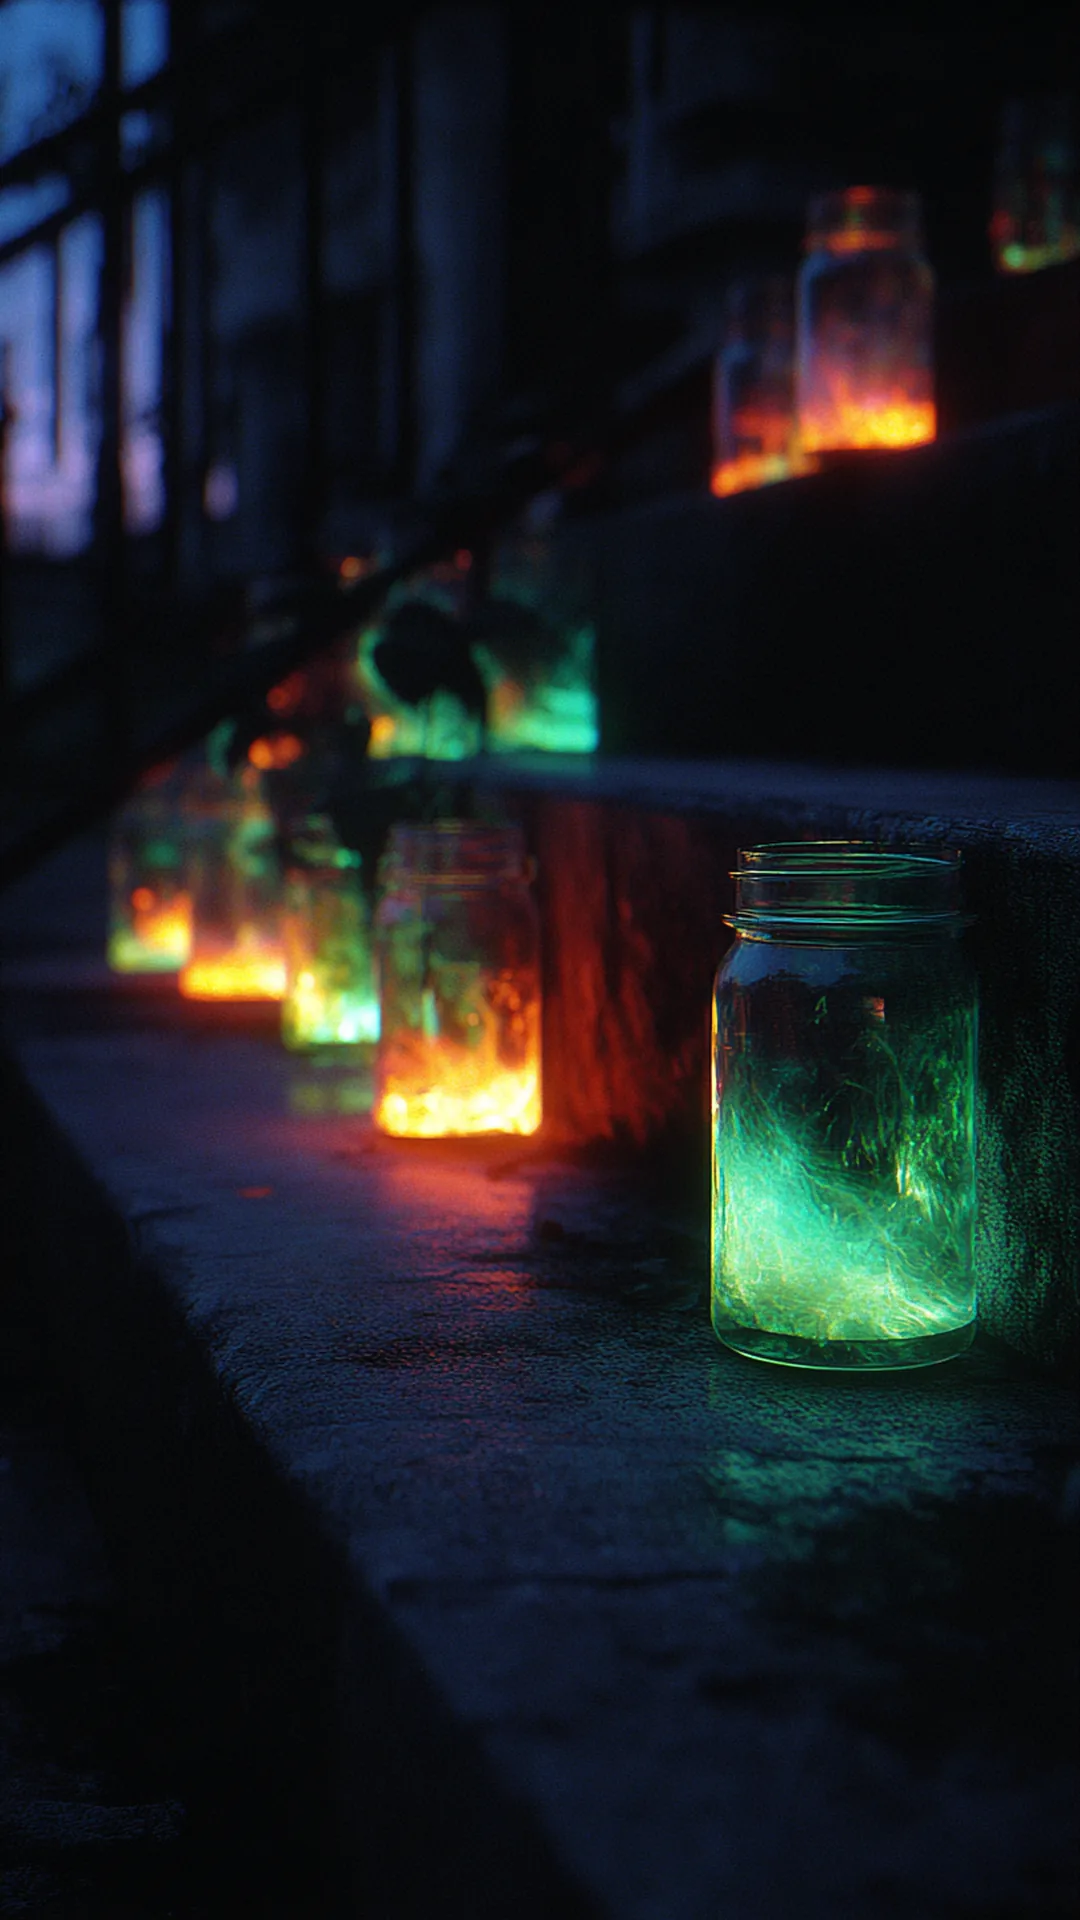 2/2
2/2Open flame plus long costumes plus dry leaves on the walkway is a combination nobody wants on their front steps. Glow sticks give you the same soft pooled light with zero risk. Crack two or three, drop them into a jar, and cap it loosely. They glow for hours, they don’t blow out, and children can carry them safely.
Frost the inside of each jar with a quick swipe of white craft paint and the light spreads instead of shining as three bright lines. Orange and green sticks read the most seasonal, while a single purple one in a cluster of orange jars adds enough contrast to keep the grouping interesting. This is something I keep coming back to lately for entryways with kids running through, because you can line an entire path and never think about it again that evening. Buy the sticks in bulk before the last week of October, when the seasonal aisles thin out fast.
Quick Tips
- Frost the jar interiors with white paint so the glow diffuses evenly
- Crack the sticks right before dusk, since the brightest hours come first
- Group jars in odd numbers, which always looks more natural than pairs
26. Turn Old Umbrellas Into Jellyfish Ghosts for a Narrow Porch
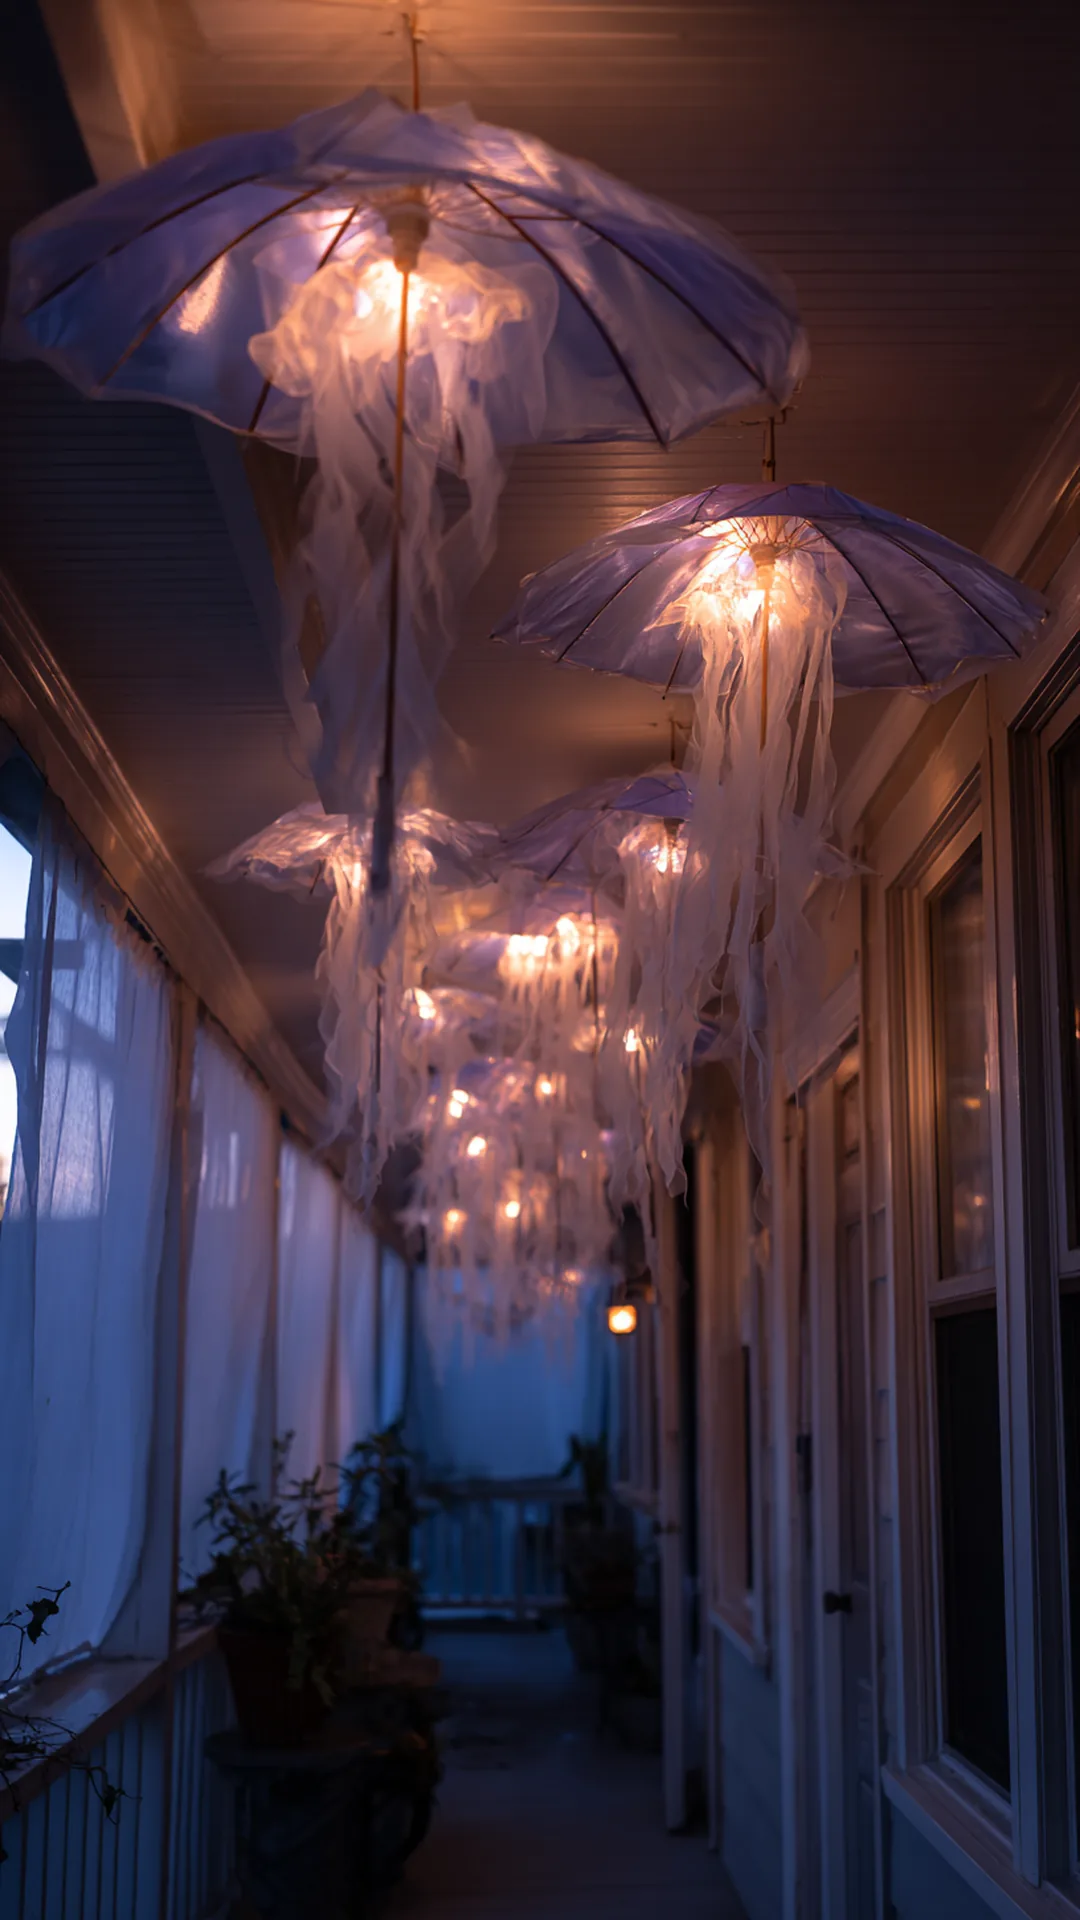 1/2
1/2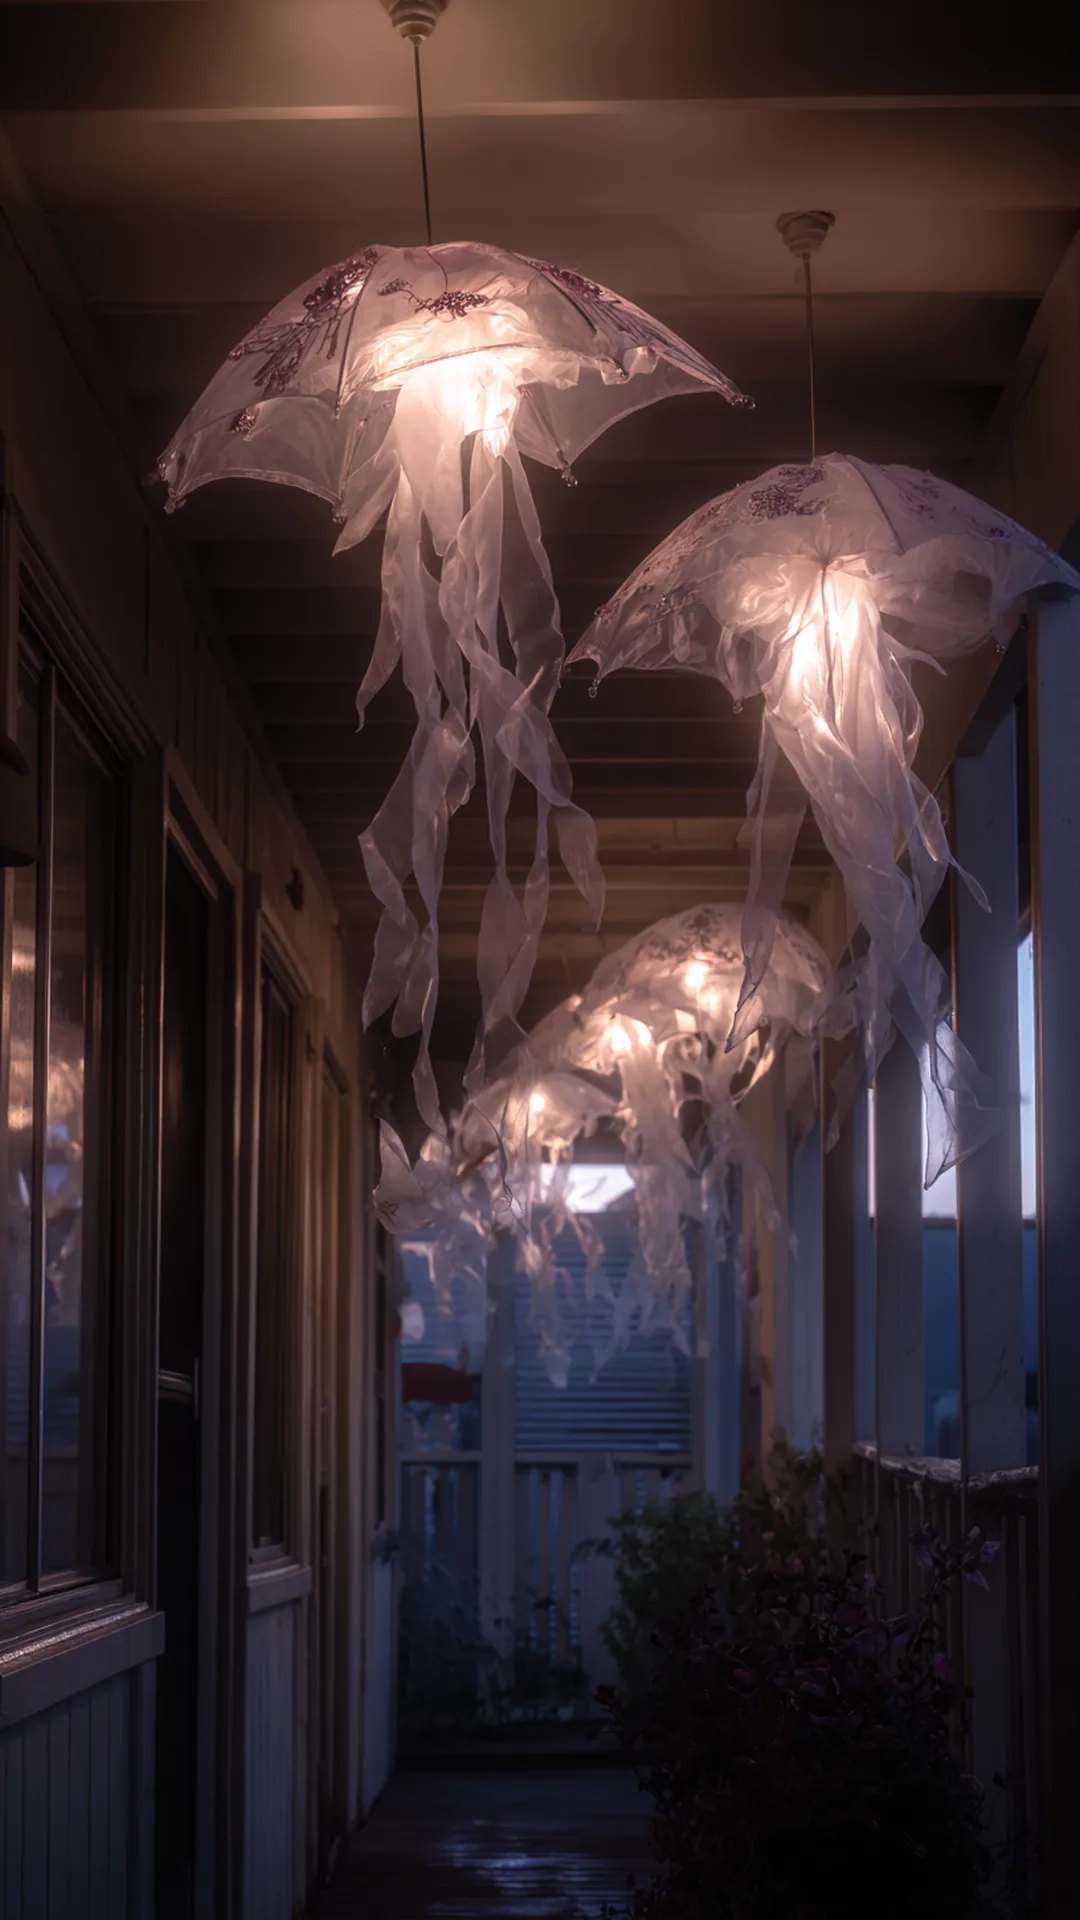 2/2
2/2Covered porches are usually too tight for standing props, but the ceiling is completely unused. Hang broken umbrellas upside down, drape cheesecloth over the frames, and let long strips trail down. They float overhead, they take up no floor space, and a stiff gust just makes them drift instead of knocking anything over.
Remove the handle, thread fishing line through the top, and hook it into an existing ceiling hook or a screw-in cup hook. Cheesecloth catches light beautifully and comes in wide packages at craft stores, so one bag covers three or four umbrellas. Cut the trailing strips at uneven lengths, because matching lengths look manufactured and uneven ones move like they’re underwater. A single battery tea light clipped inside the dome turns each one into a soft lantern, and the whole grouping works with the rest of your halloween front porch ideas instead of crowding them.
Quick Tips
- Hang them high enough that tall guests don’t walk into the trailing fabric
- Cut the strips at uneven lengths for a floating, drifting look
- Use fishing line rather than string so the umbrella appears to hover
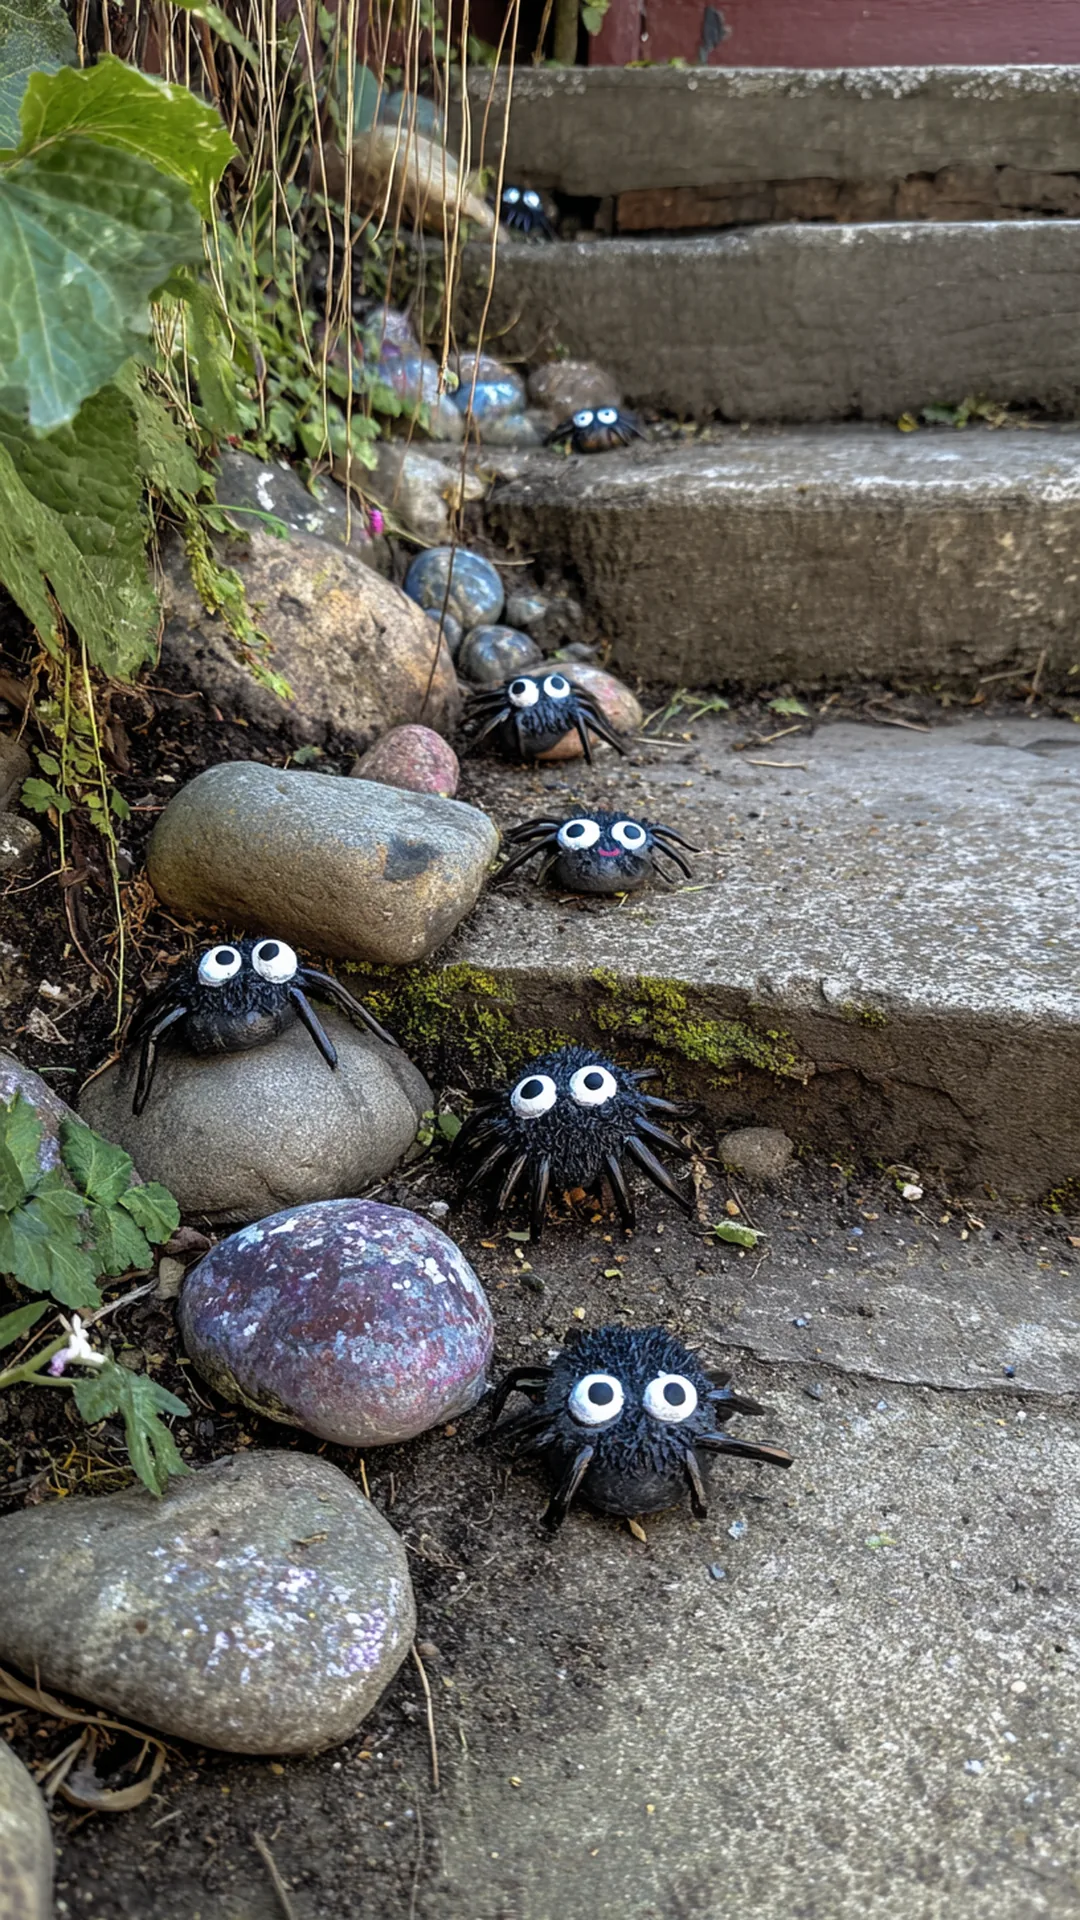
27. Paint Rock Spiders When the Budget Is Zero
 1/2
1/2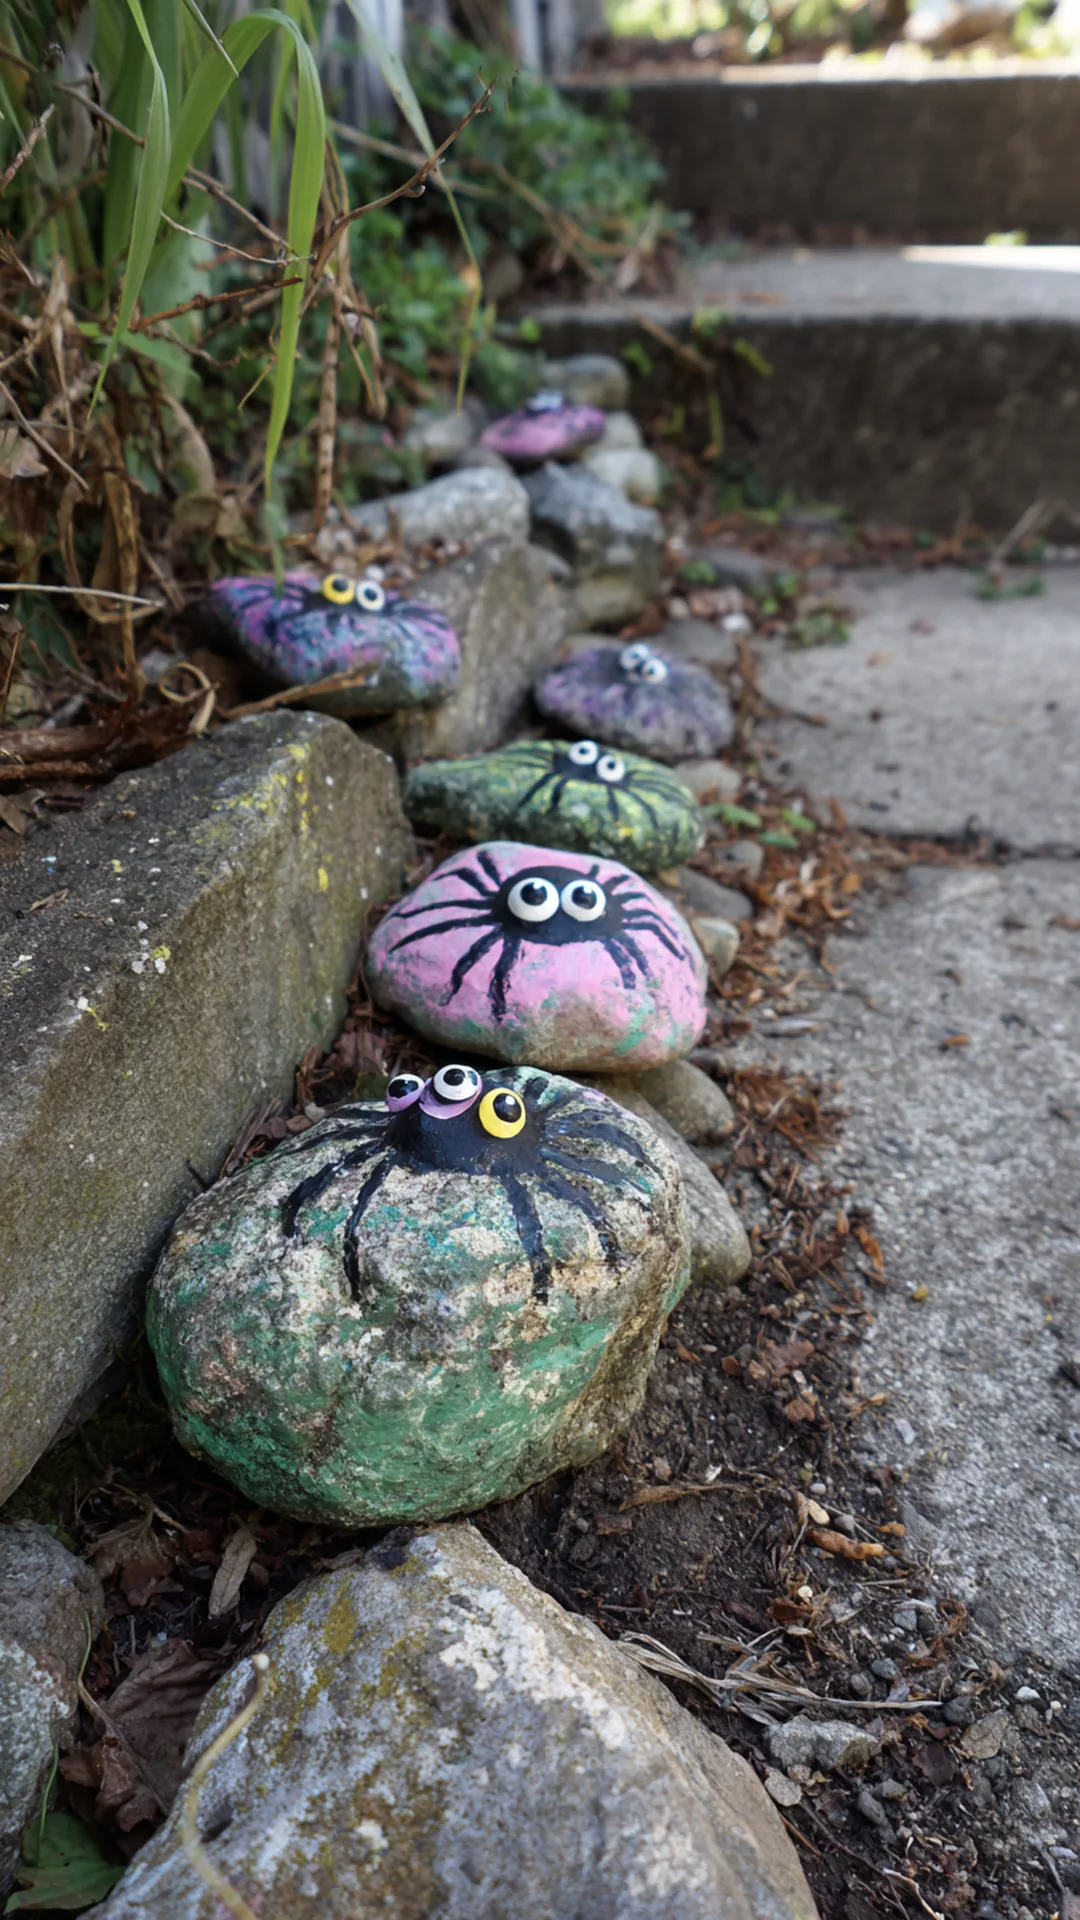 2/2
2/2Some years there simply isn’t money for decorations, and a small yard can’t hold big pieces anyway. Painted rock spiders solve both. Gather smooth stones from your own yard, paint them black, add two dots of white for eyes, and bend black pipe cleaners into legs. Tuck them along steps, planters, and garden edges.
Outdoor acrylic paint holds up through rain far better than the craft paint meant for indoor projects, and one small bottle covers a dozen rocks. Glue the legs into place with outdoor adhesive rather than hot glue, which goes brittle once nights drop into the 30s. Scatter them in odd clusters near the front door and along the walkway where people notice them at eye level going up the steps. Because the rocks are heavy, this is one of the few outdoor halloween decoration ideas that genuinely does not move in wind, and everything stores in a shoebox afterward.
Quick Tips
- Wash and fully dry the rocks first or the paint will lift in sheets
- Seal them with clear outdoor spray so the black stays glossy all month
- Place a few where they’re discovered up close rather than lining them up in a row
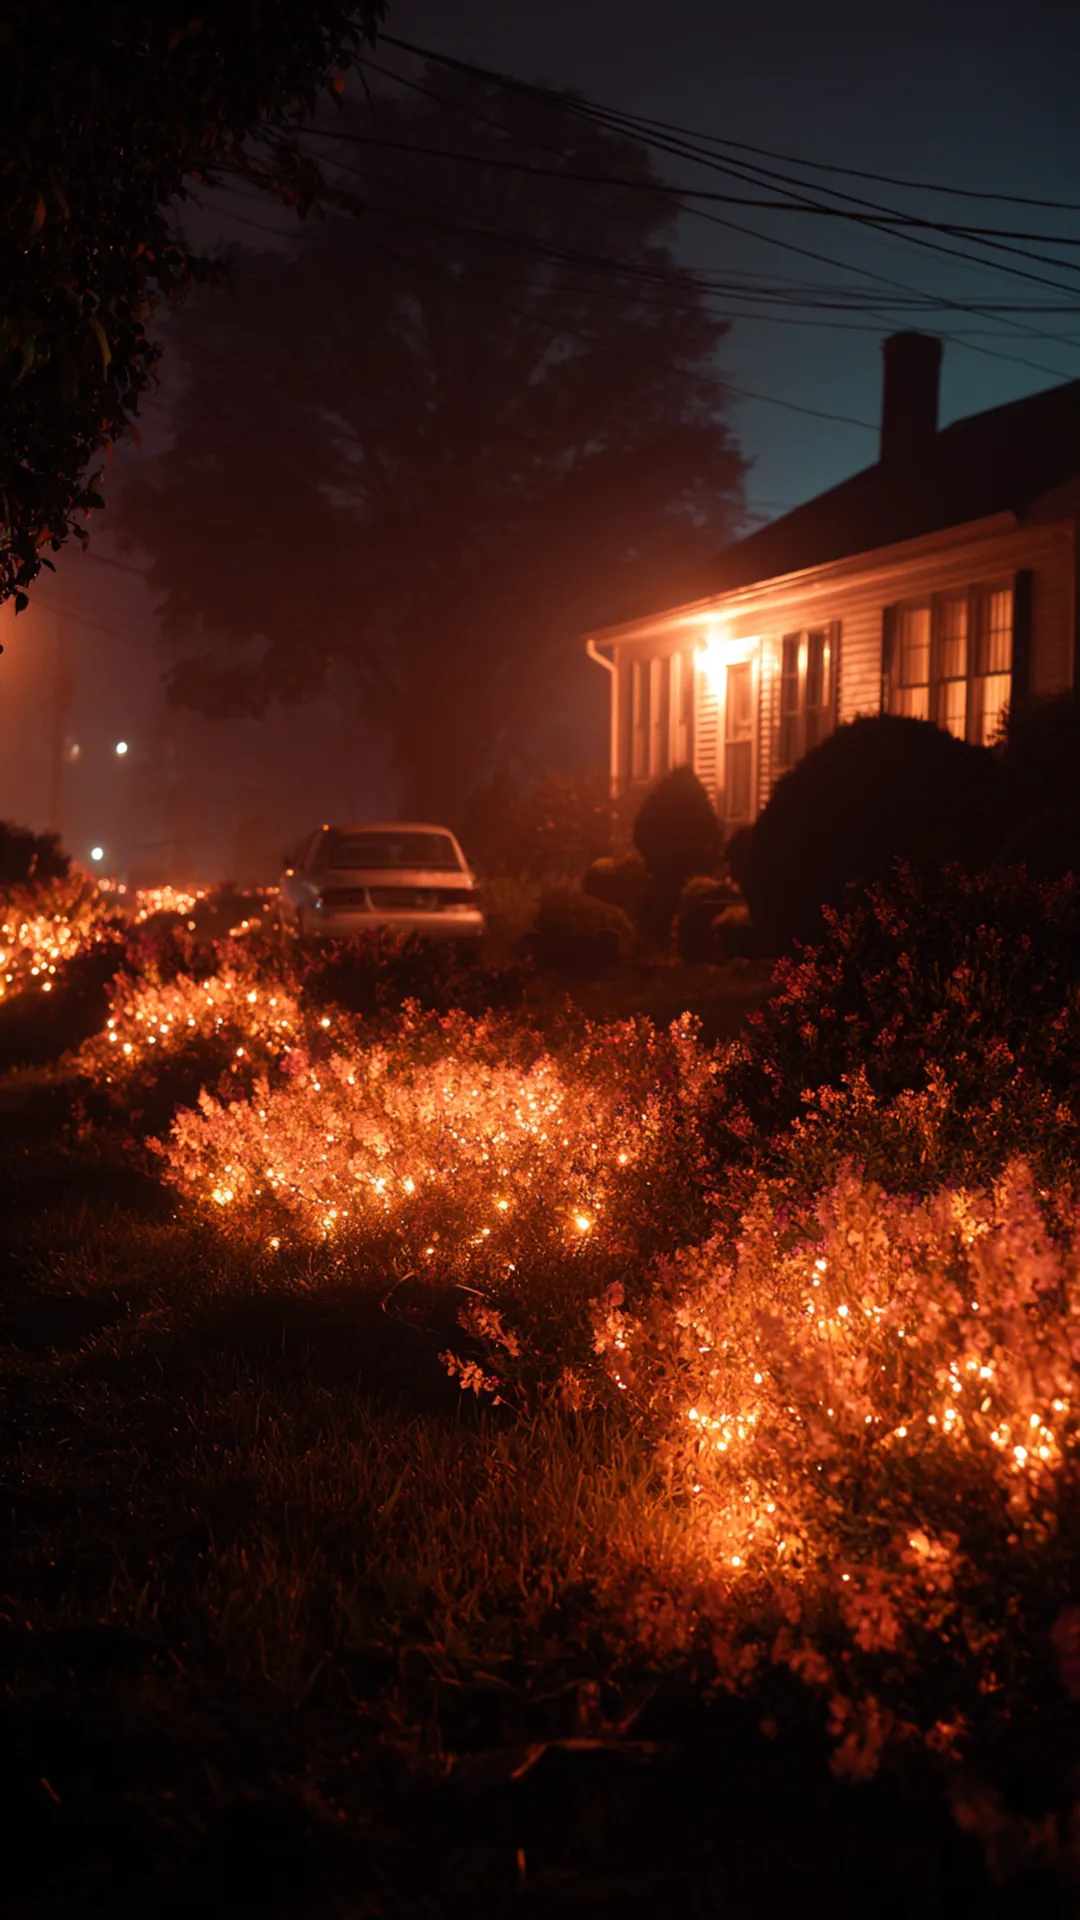
28. Throw Net Lights Over Shrubs Instead of Untangling Strands
 1/2
1/2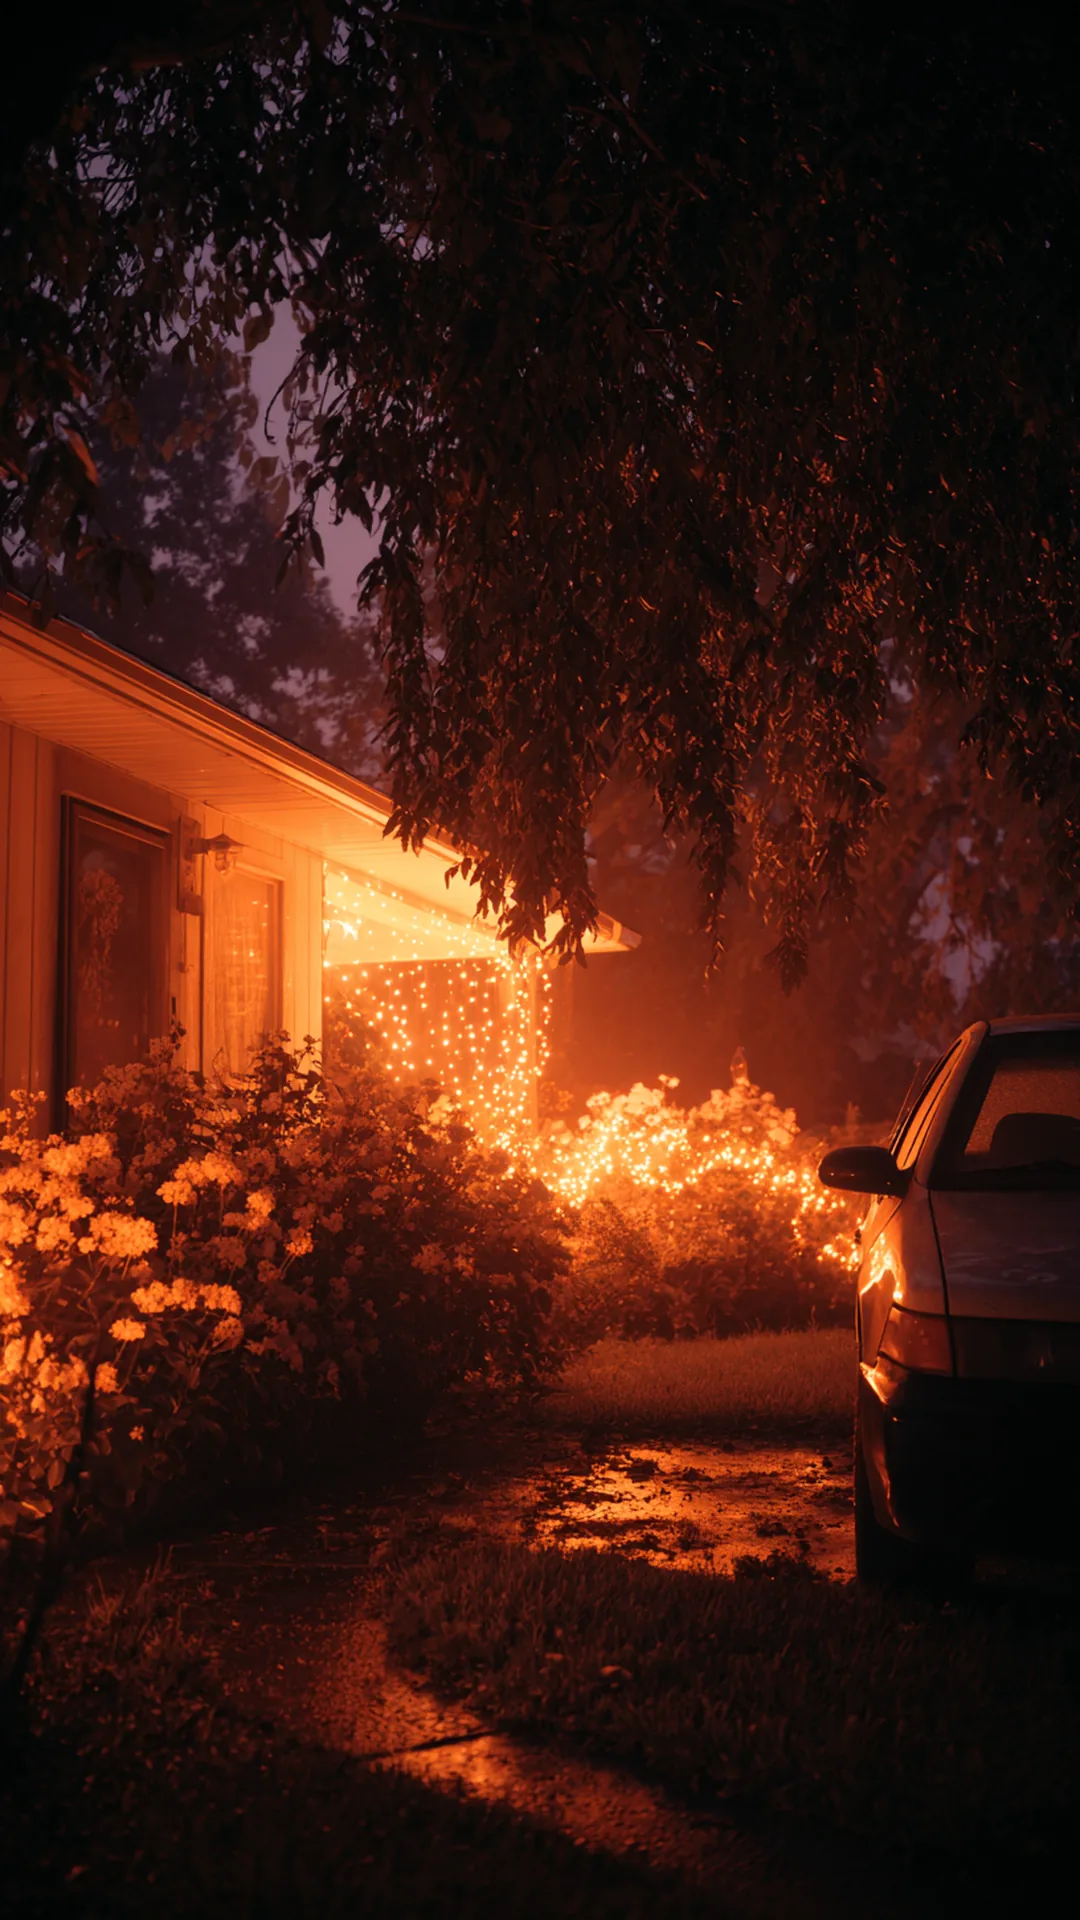 2/2
2/2Every fall the same ritual: an hour of untangling one strand, then another twenty minutes weaving it through a bush that fights back. Net lights end that. You unfold a lit grid, drape it over the shrub, tuck the corners, and you’re done in about two minutes per bush with even coverage all the way across.
Orange or purple nets read as seasonal on their own, and a single warm-white net over a boxwood works for Halloween and stays perfectly appropriate through Thanksgiving. Measure the shrub’s width before buying, because a net that’s too small leaves a dark ring at the base that draws the eye. Tuck the bottom edge under the outer branches or pin it with a few landscape staples so wind doesn’t lift a corner. Store them folded flat in a bin instead of wadded up, and next October they come out ready to use.
Quick Tips
- Measure your shrubs first, since net sizes vary more than the packaging suggests
- Pin the lower edge with landscape staples so the net stays put in wind
- Fold flat for storage rather than balling them up, which is how nets get tangled
29. Mark a Long Dark Driveway With Stake Lights
 1/2
1/2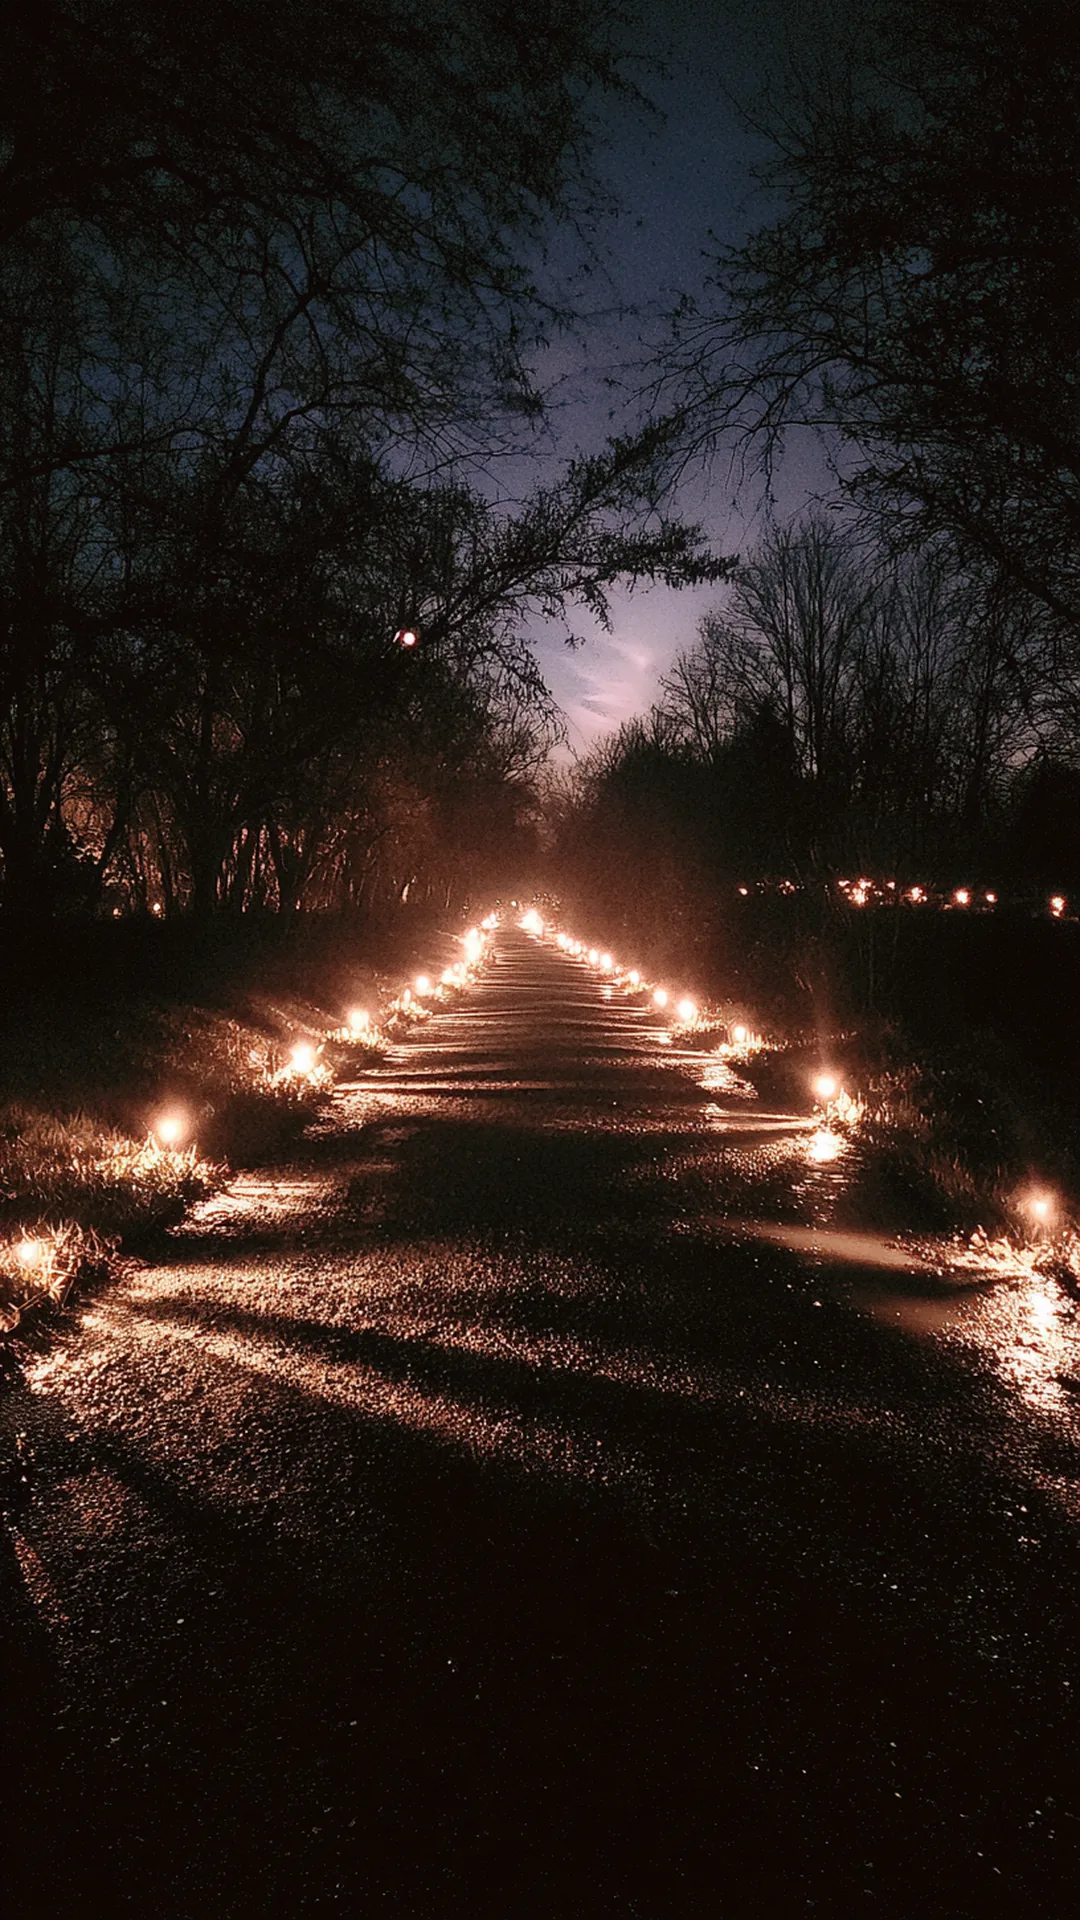 2/2
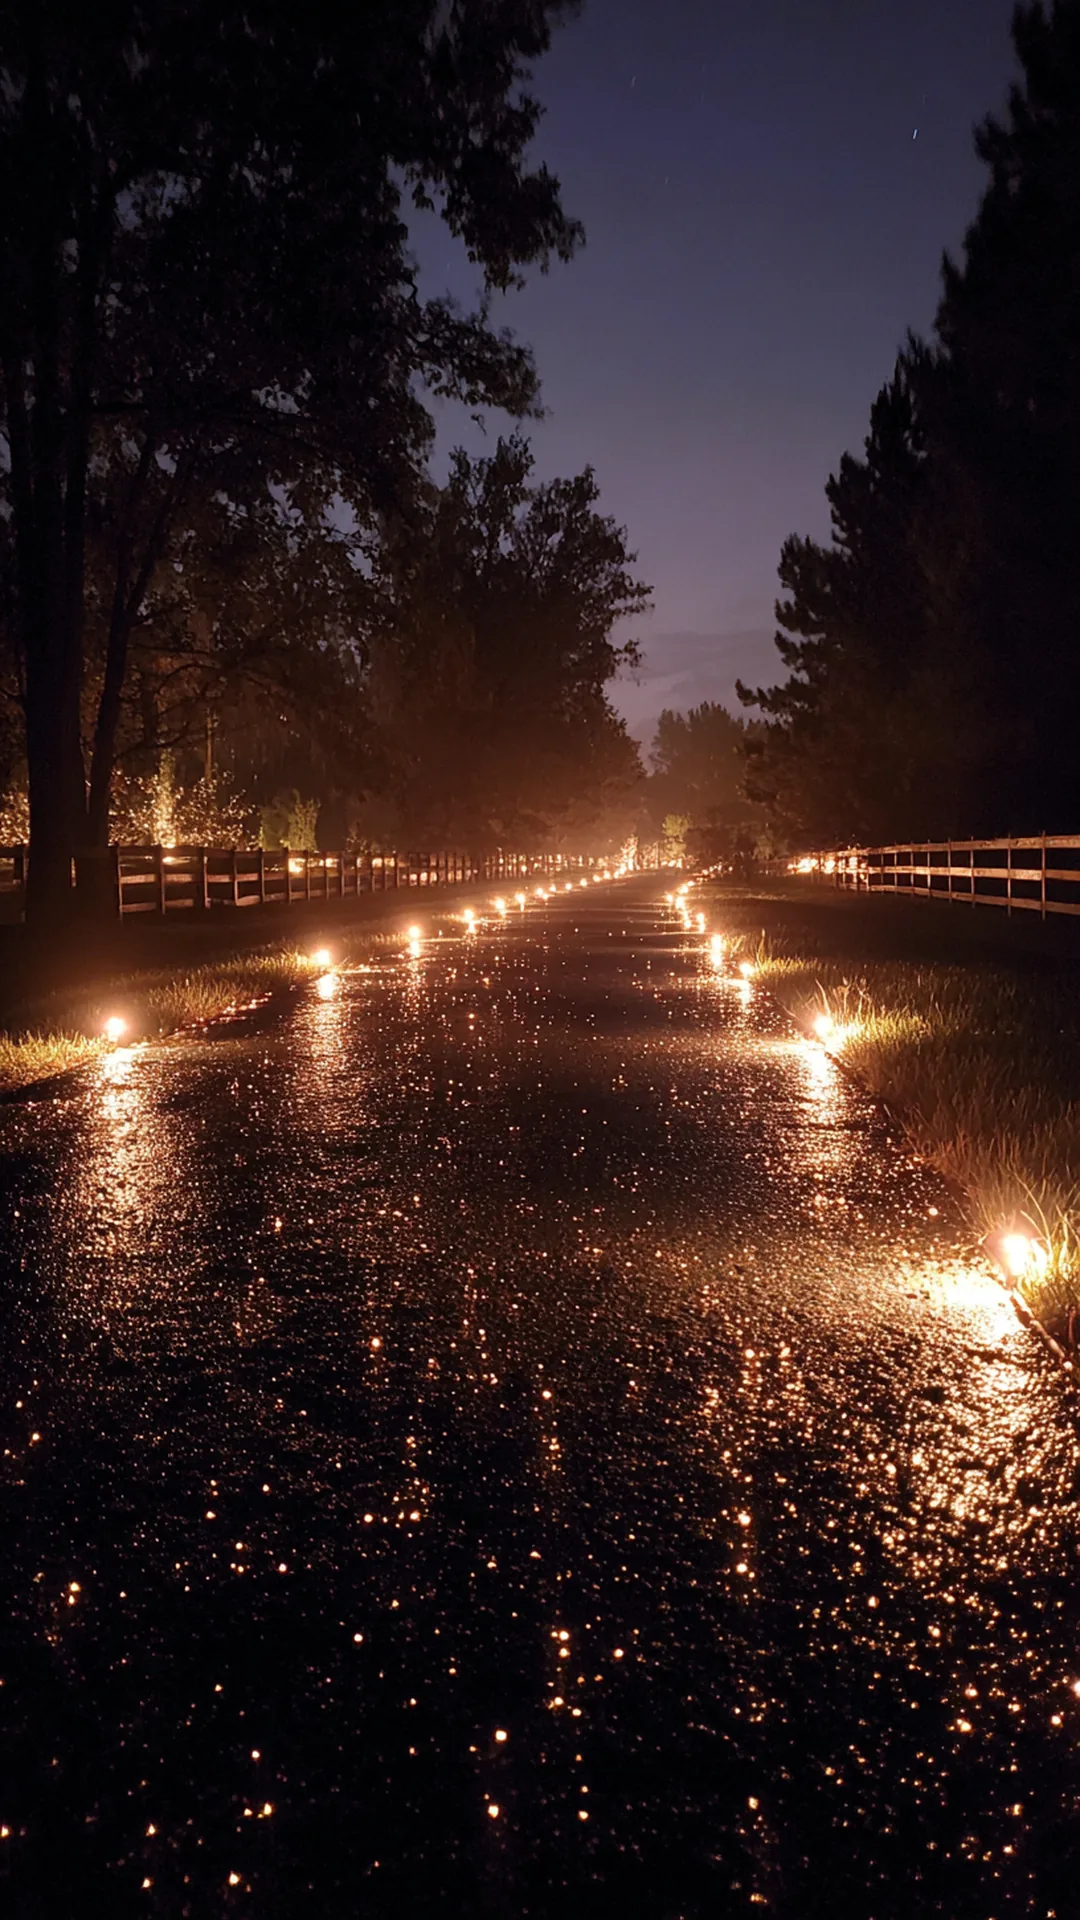
2/2A long driveway disappears completely after sunset, so visitors drift onto the grass and trick-or-treaters cut across the lawn without meaning to. Solar stake lights fix it for good. Push them in along both edges, roughly six feet apart, and the driveway keeps a visible outline all evening without a single cord or outlet.
Solar stakes charge during the day and switch on by themselves, which matters when you’re handing out candy and not thinking about lights. Set them a few inches back from the pavement edge so a car tire never clips one, and stagger them slightly rather than lining them up perfectly across from each other. From what I’ve gathered, the trick to making a long drive feel intentional instead of sparse is closer spacing near the street and wider spacing as you approach the house. Wipe the little solar panels off after a windy week, because a layer of dust cuts their run time noticeably.
Quick Tips
- Set stakes back a few inches from the pavement so tires can’t catch them
- Space them tighter near the road and wider closer to the house
- Wipe the solar panels clean every couple of weeks to keep the run time up
Final Thoughts
The thing all of these halloween decoration ideas outdoor diy projects share is that they’re built around what actually goes wrong outside: wind, rain, no anchor points, no power, and a takedown you’re already dreading. Solve the problem first, and the pretty part takes care of itself.
Start with the one idea that made you nod while reading, do just that one this weekend, and see how much difference a single fixed detail makes on the walk up to your door. And when you pack it all away, lay the props flat in shallow bins and wind each light strand on a piece of notched cardboard — next October you’ll thank yourself. When the pumpkins finally come down, these outdoor fall decorations and these fall yard decor ideas will carry the yard straight through November. Happy decorating!
Frequently Asked Questions
Start with the ones that need no tools: net lights thrown over a shrub, glow sticks dropped into jars, and glowing eyes tucked into dark bushes. Each takes under ten minutes, costs very little, and still reads clearly from the sidewalk at night.
Add hidden weight low and stake high. A sandbag at the base of a foam tombstone with a stake driven through it, or a bucket of sand inside a PVC frame, holds a light prop in gusty weather without anything showing above the grass.
Choose solar and battery pieces: solar pathway lights, battery puck lights behind window silhouettes, flameless tea lights inside luminaries, and glow sticks in jars. None of them need a cord, and nothing runs across a walkway where guests could trip.
Outdoor adhesive hooks, hook-and-loop straps, magnets on a steel door, and burlap wrapped around porch columns all hold decorations without a single nail. They come down clean in November and leave the paint and siding exactly as you found them.
Most people set up the first weekend of October, which gives the display a full month of evenings. If you’re using real pumpkins or cornstalks, wait until mid-October so they still look fresh on the 31st rather than soft and sunken.