📌 Love these ideas? Follow us on Pinterest for daily home decor inspiration! Follow @SeasonalHomeMagic →
Your camper deserves better than beige walls and mystery stains. If you’ve been scrolling Insta drooling over dreamy van builds, but your wallet’s like “lol, no,” you’re in the right place. These budget-friendly ideas are practical, stylish, and totally doable—even if your toolkit is basically a screwdriver and vibes.
1. Paint That Changes Everything
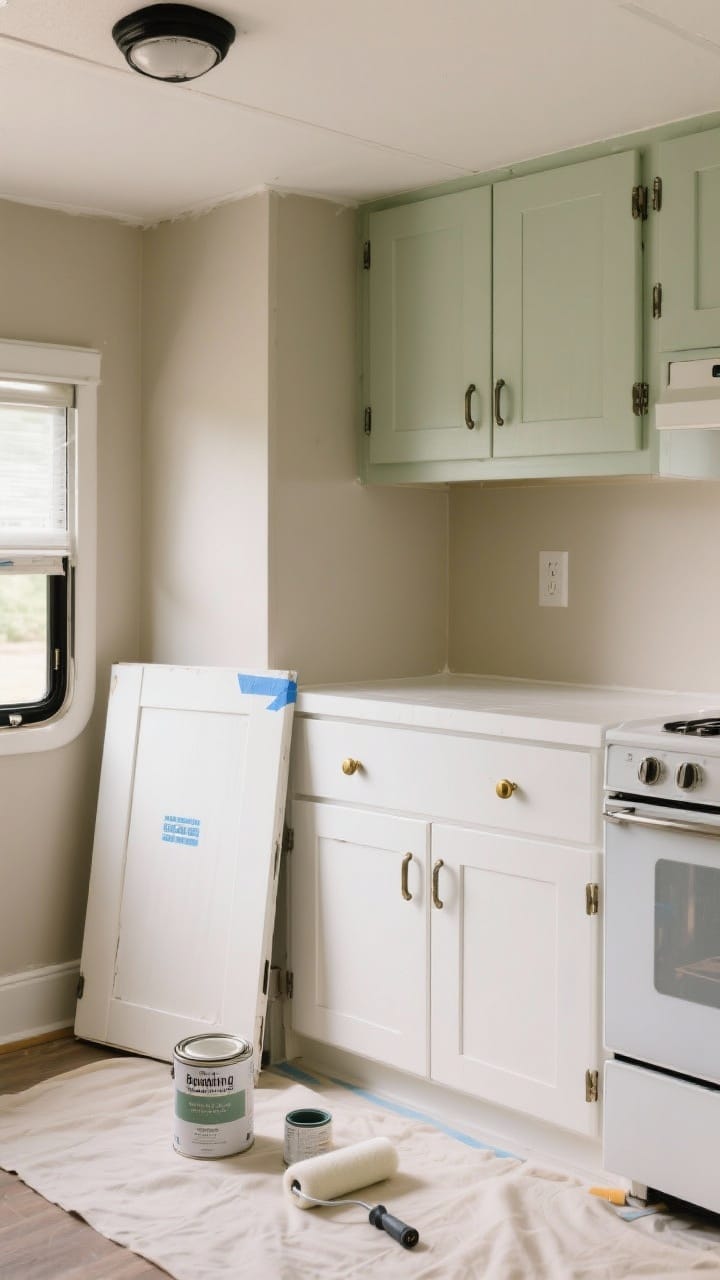
Nothing transforms a camper faster than paint. It’s the cheapest way to make your tiny space feel fresh, bigger, and cleaner. And yes, you can absolutely paint those dated cabinets.
I’ve seen paint completely change the mood of a camper more than once. Light cabinet colors always made the space feel cleaner and calmer.
What To Paint
- Cabinets: Go light—soft white, warm greige, or pale sage—to bounce light and hide scuffs.
- Walls & Ceilings: Matte or eggshell finish helps disguise imperfections.
- Trim & Hardware: Black or brass spray paint = instant modern upgrade.
Budget Tips
- Use a bonding primer for glossy RV surfaces (less peeling, more staying power).
- Buy a sample pot for accent colors—so much cheaper than full gallons.
- Swap knobs and pulls for under $30, or spray paint the old ones for $6.
Pro tip: Label cabinet doors before removing. Ask me how I learned that the hard way.
2. Peel-and-Stick Magic (Floors, Backsplash, and More)
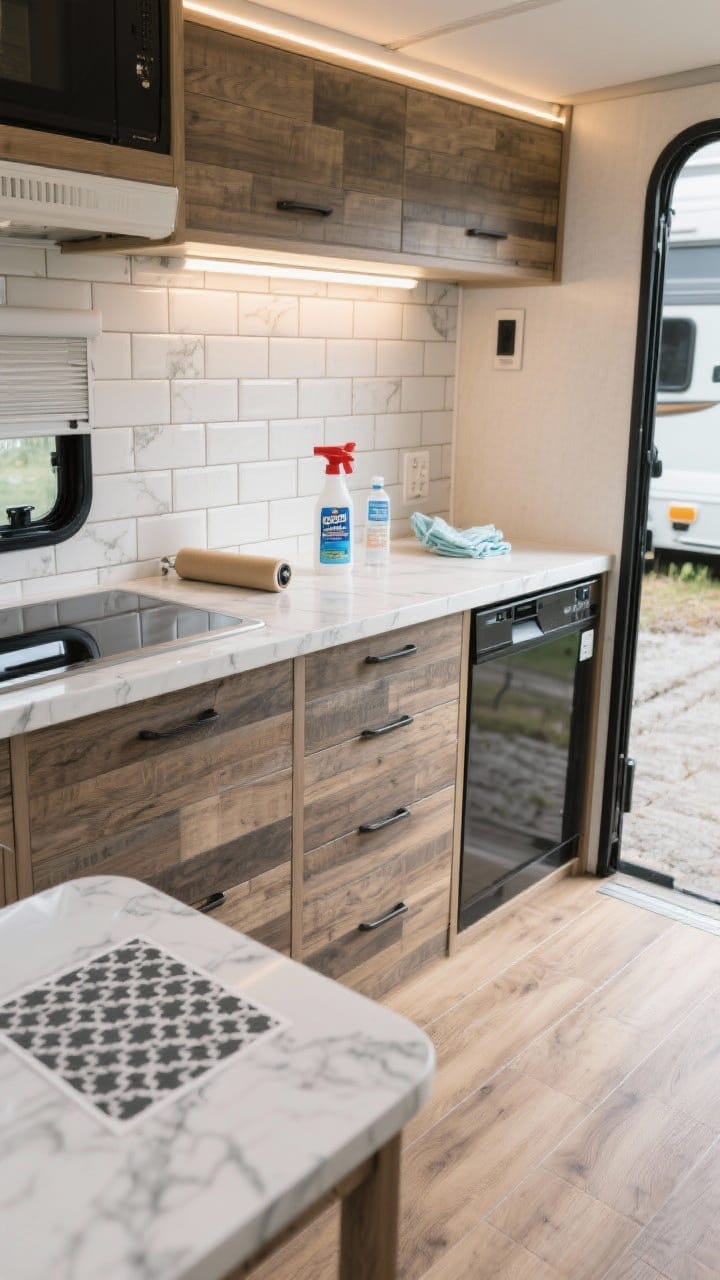
Peel-and-stick materials are the DIY MVP. They’re renter-/RV-friendly, removable, and look shockingly legit when done right.
Where To Use Them
- Floors: Vinyl planks mimic wood without the warping. Choose water-resistant options.
- Backsplash: Subway tile, marble, or patterned decals—no grout required.
- Countertops: High-quality vinyl wrap in faux stone or butcher block can buy you years.
Install Smarter
- Clean surfaces with degreaser + alcohol for maximum stick.
- Use a J-roller to press down seams and avoid lifting.
- Work from the most visible edge toward corners. Patience > redoing.
FYI: Busy patterns hide dirt and scuffs—friend of campers and children everywhere.
3. Soft Goods, Big Mood
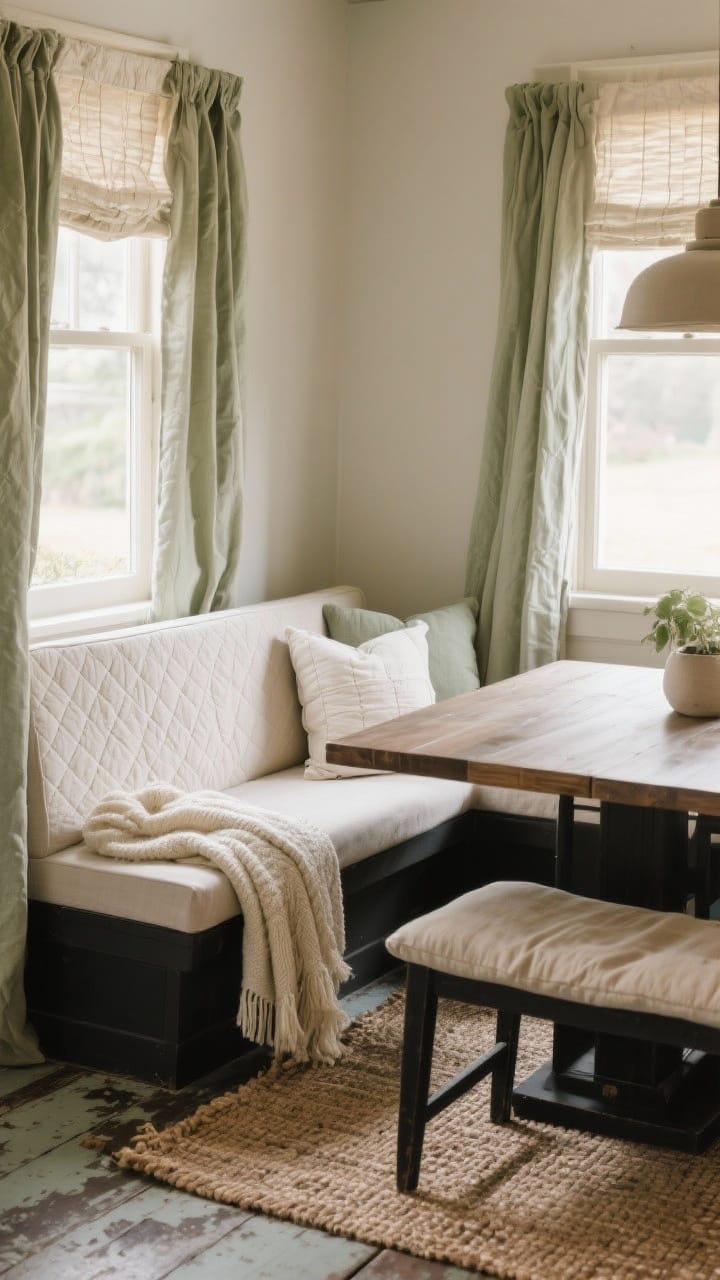
Textiles are the secret sauce. They’re portable, washable, and deliver the “wow” without touching a saw.
Swap These First
- Window Treatments: Replace old valances with simple roller shades or linen curtains.
- Bedding: Lightweight quilt + textured throw = instant boutique vibes.
- Rugs: Layer a durable indoor/outdoor rug to add warmth and cover meh flooring.
Money-Saving Moves
- Use shower curtains as window panels—cheap, long, and easy to wash.
- DIY cushion covers with drop cloth or canvas for that natural, modern look.
- Pick a color palette (3–4 colors) and commit. Cohesion = expensive-looking.
Pro tip: Choose performance fabrics (think outdoor or stain-resistant) if you travel with pets. Your future self will thank you.
→ More inspiration: Cozy Boho Camper Style
4. Lighting Glow-Up (Without Rewiring)
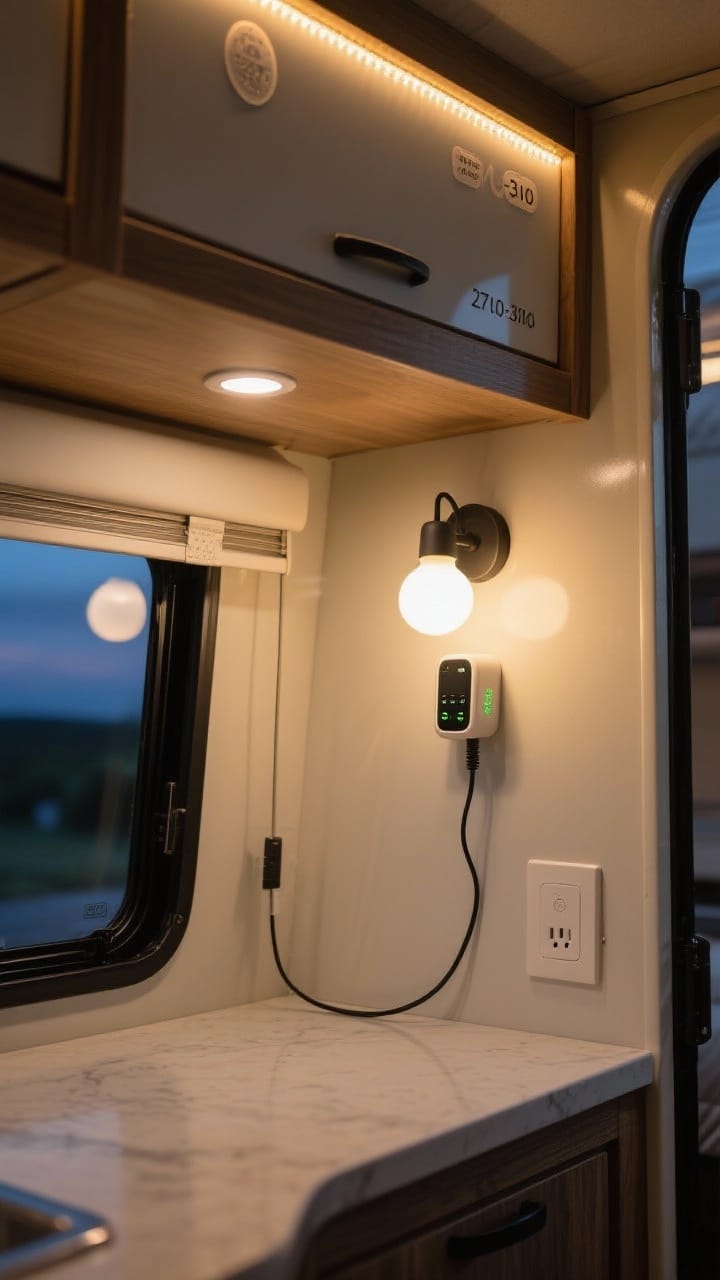
Bad lighting makes even beautiful spaces feel blah. Luckily, campers are perfect for low-voltage, rechargeable, and adhesive lighting hacks.
Switching to warm LED lighting made evenings feel instantly more relaxed. It’s one of those changes you notice every single day.
Easy Upgrades
- LED puck lights: Stick under cabinets for task lighting. Remote-controlled = chef’s kiss.
- Battery sconces: Mount plug-free lights with rechargeable bulbs for instant ambience.
- Warm LED bulbs: Swap the harsh cool white for a cozy 2700–3000K glow.
Budget Tips
- Add peel-and-stick cord covers if you do run wires—clean and tidy.
- Use smart plugs or remote switches so you’re not tripping over to turn lights off.
- Install motion lights in closets and under bunks for a luxe feel.
IMO: Lighting is where cheap can look luxe. This is your sleeper hit.
5. Storage That Doesn’t Scream “Storage”
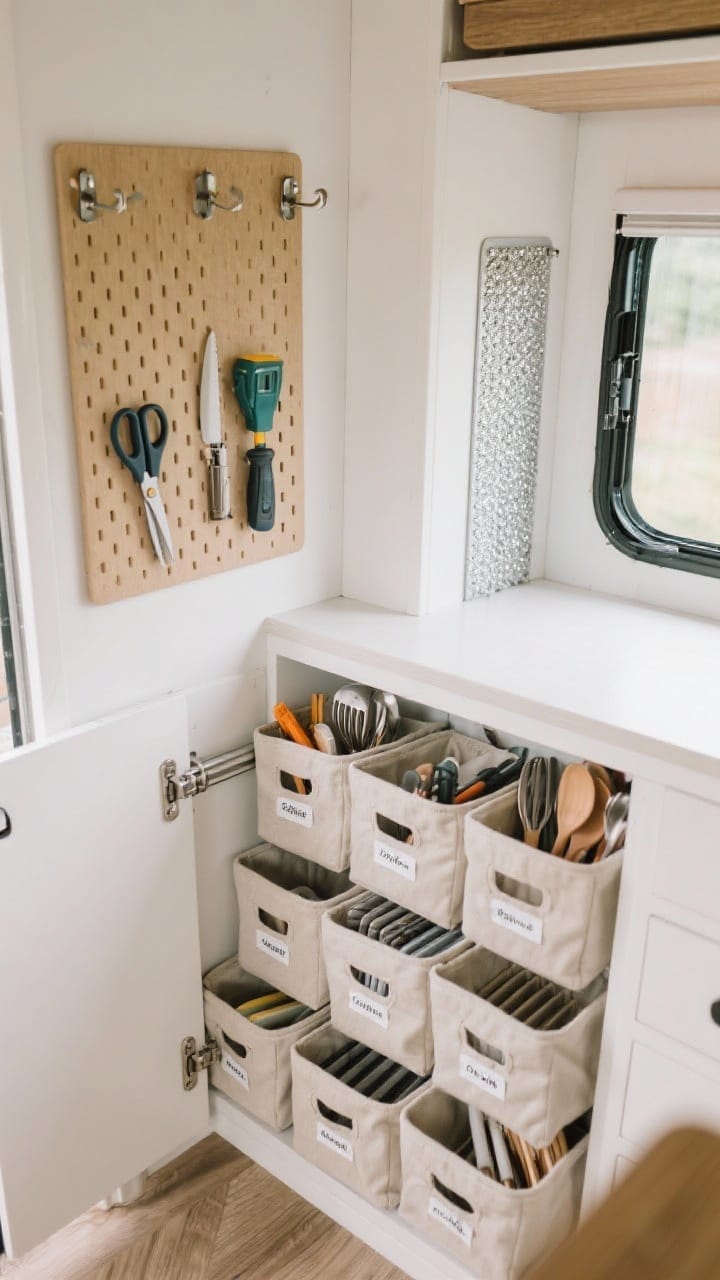
Clutter makes small spaces feel smaller. Smart storage hides the chaos and gives you back floor space.
Editing down what you really use is harder than adding storage, but it pays off fast. Less clutter always made small spaces feel bigger.
Do This First
- Edit ruthlessly: Only keep what you actually use. Be honest about that pasta maker.
- Go vertical: Install hooks, pegboards, and cargo nets to use wall and ceiling space.
- Double-duty pieces: Ottomans with storage, fold-down tables, nesting stools.
Small Budget, Big Impact
- Use collapsible bins and soft baskets to fit weird corners.
- Add drawer dividers and tension rods in cabinets to prevent avalanches.
- Stick magnetic strips inside doors for knives, scissors, and tools.
Pro tip: Label everything. Future-you won’t remember where the charging cords live.
→ Related ideas: Making Tiny Spaces Feel Bigger
6. Kitchen Refresh Without a Full Remodel
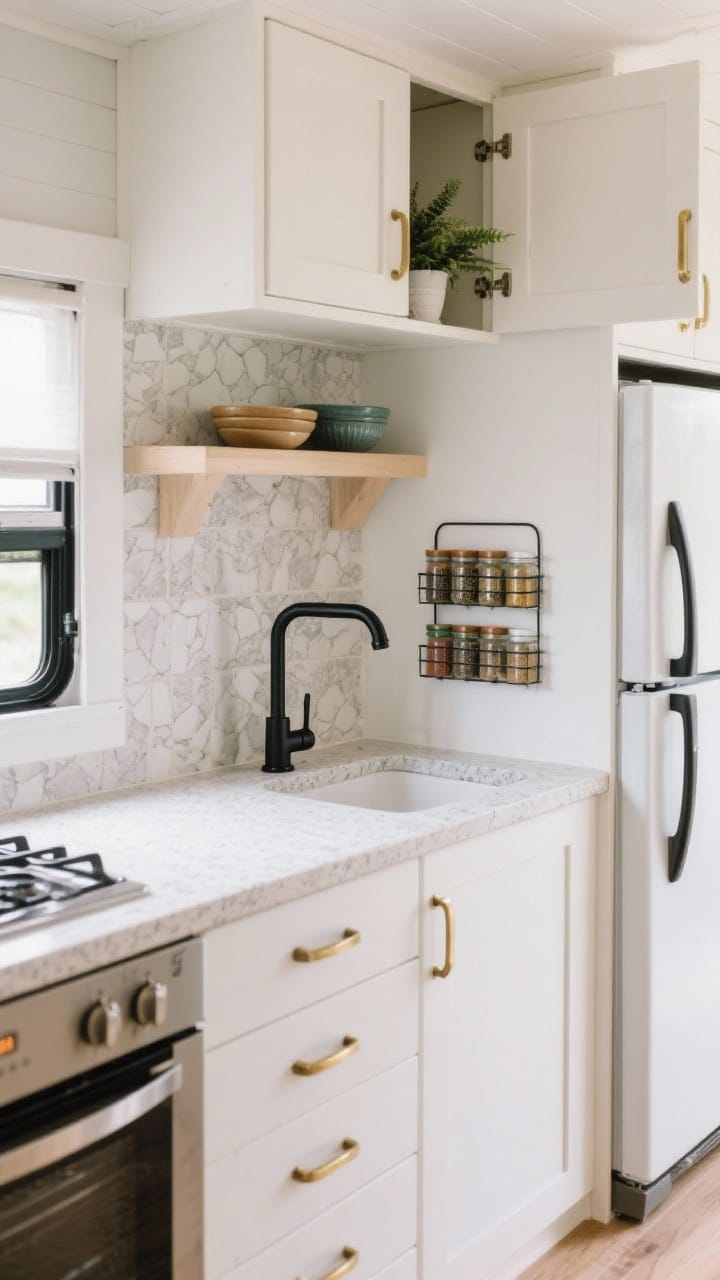
You don’t need new cabinets to make your galley feel gourmet. It’s about surfaces, hardware, and function.
High-Value Swaps
- Faucet: A matte black or brushed brass faucet elevates the whole area.
- Hardware: Sleek pulls in a modern finish instantly modernize dated doors.
- Open shelves: Remove one upper cabinet and add a lightweight shelf for pretty storage.
Budget-Friendly Tricks
- Cover countertops with contact paper or a butcher-block panel cut to size.
- Use adhesive backsplash for an easy, cleanable cooking zone.
- Add a magnetic spice rack to the side of the fridge or a metal strip.
FYI: Keep it light—literally. Avoid heavy materials that stress cabinets or affect weight distribution.
7. Bathroom Glow-Up On Dimes
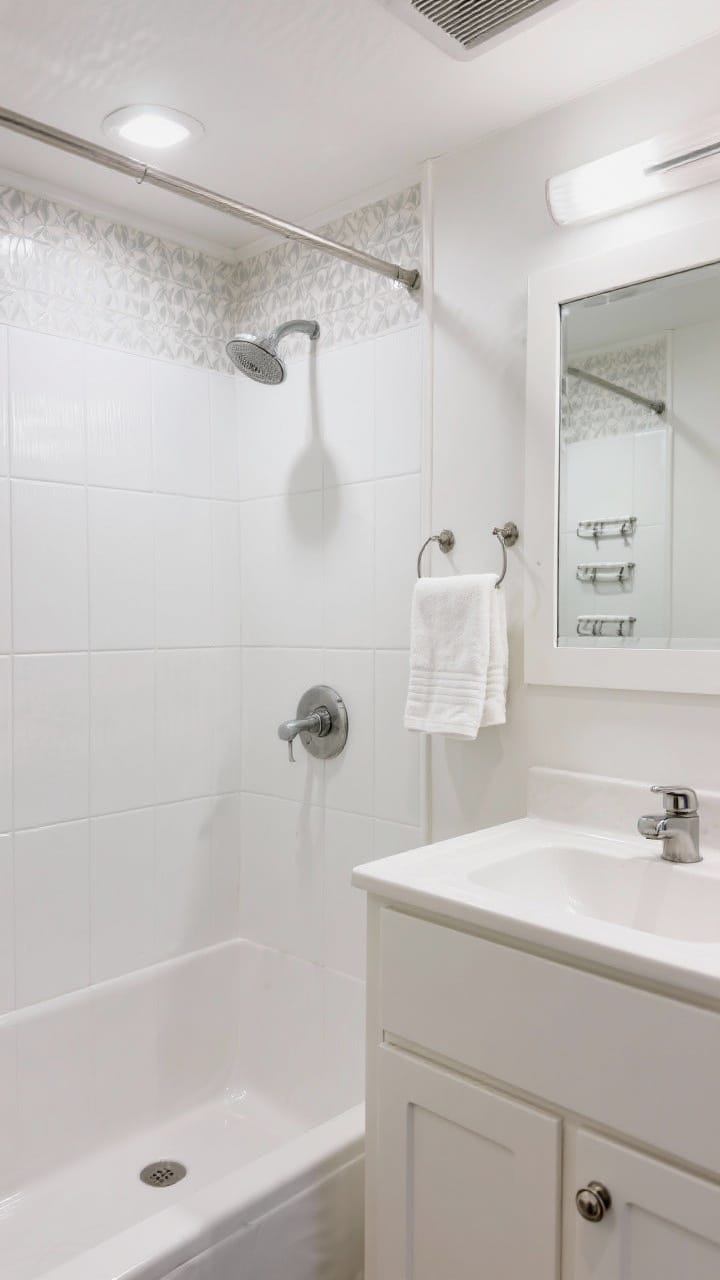
RV bathrooms are small but mighty. You can redo the look in a weekend, no tile saw needed.
Fast Fixes
- Shower walls: Use vinyl wall panels or waterproof wallpaper above the surround.
- Vanity refresh: Paint the cabinet, swap the knob, and update the faucet.
- Mirror trick: Frame an existing mirror with lightweight trim for a custom look.
Keep It Practical
- Install command hooks and over-door organizers for towels and toiletries.
- Choose fast-drying textiles to prevent musty smells.
- Use silicone caulk to reseal edges—clean lines make everything feel new.
Bonus: Swap the shower head for a low-flow, high-pressure option. It’s a small splurge worth every cent.
8. Seating, Slipcovers, and Cushions That Wow
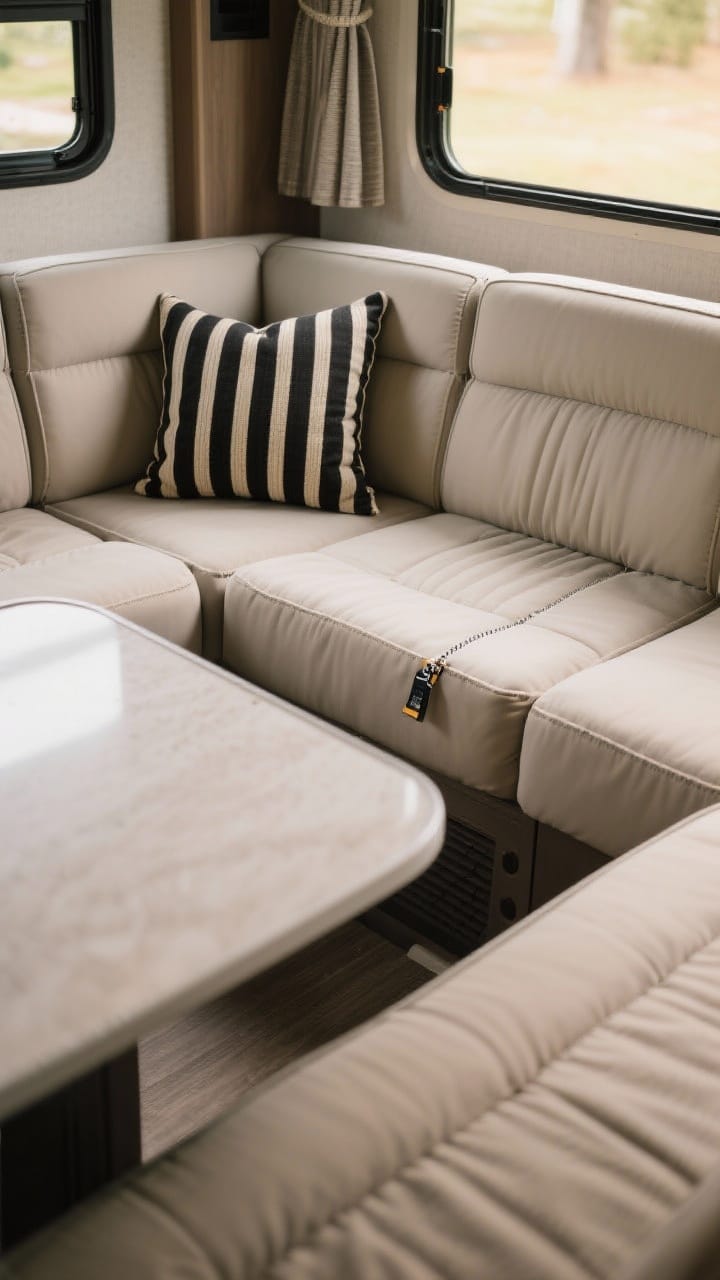
Your dinette and sofa take up major visual real estate. A few fabric fixes can change the whole vibe.
Budget-Friendly Upholstery Hacks
- Slipcovers: Stretch slipcovers for sofas and captain’s chairs = instant facelift.
- Dinette cushions: Wrap in new fabric with a heavy-duty stapler or use removable covers with zippers.
- Foam refresh: Replace flattened foam in just the seat areas to save money.
Style Notes
- Pick one statement fabric (stripe, plaid, or mudcloth) and keep the rest neutral.
- Add lumbar pillows instead of giant squares to save space and weight.
- Opt for performance fabric where you sit, cozy knits where you lounge.
Pro tip: Velcro is your best friend. Use it to keep cushions in place during travel days.
9. Decor That Travels Well
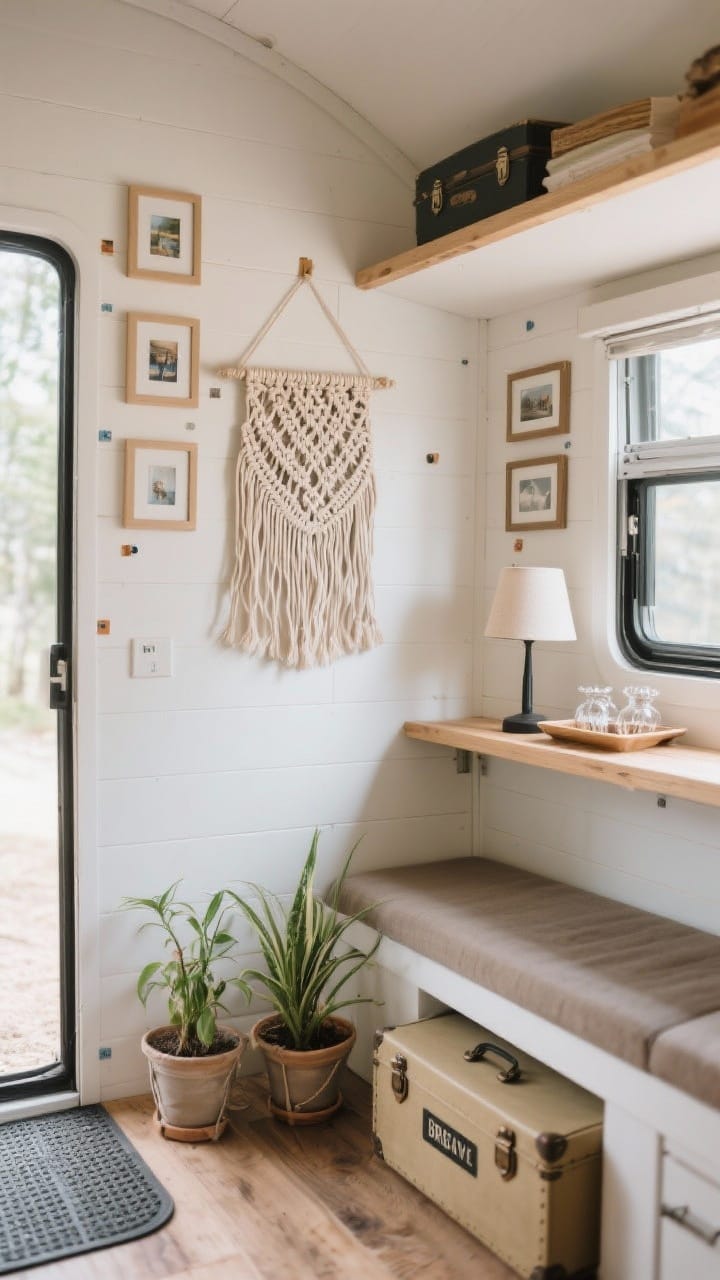
Yes, you can hang art in a moving home. The trick is choosing pieces that stay put and add personality without chaos.
Make It Personal
- Gallery wall: Lightweight frames + command strips = curated and secure.
- Textile art: Hang a small rug or macramé for texture with minimal weight.
- Plants: Faux or low-maintenance real plants in secured planters bring life.
Practical Pretty
- Use non-slip mats under everything—lamps, trays, decor.
- Opt for soft-edged items over glass or ceramic where possible.
- Keep a travel box for breakables you stash while driving.
IMO: A few thoughtful pieces beat a truckload of knickknacks. Edit, then edit again.
10. Budget Planning and Where to Splurge
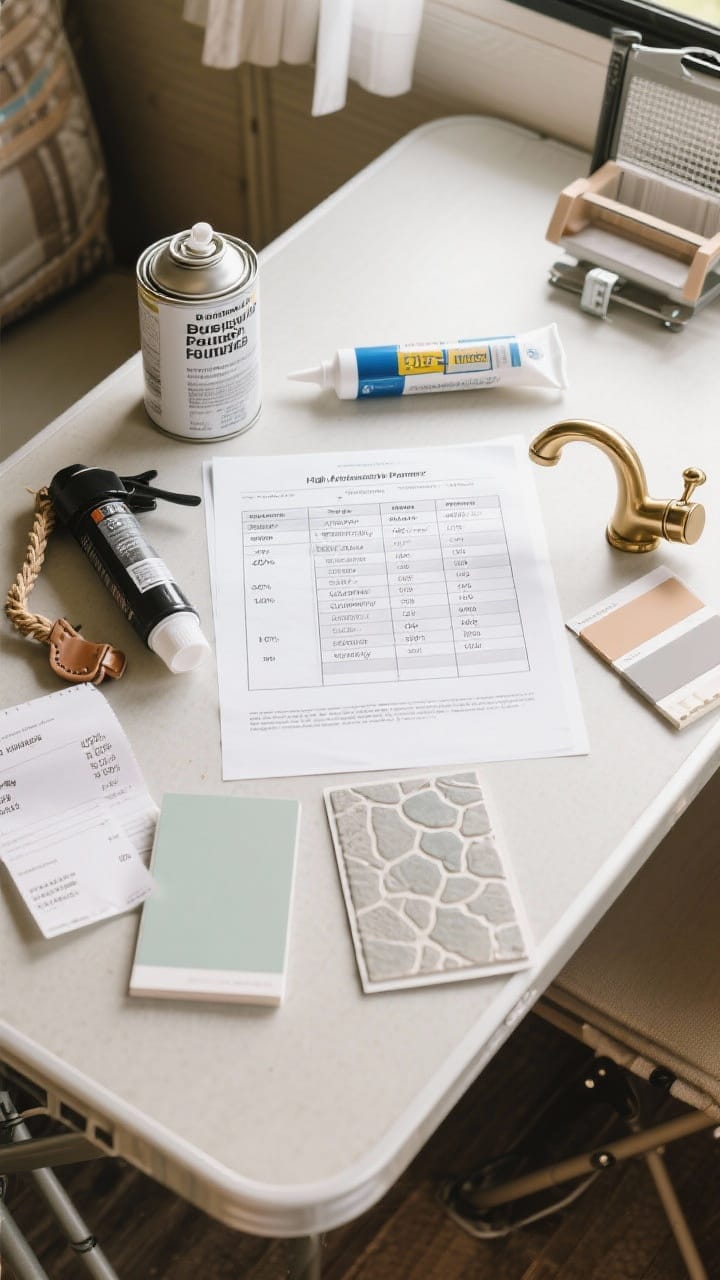
Let’s talk strategy. A renovation can be cute and cheap, but it also needs to function on the road.
Set A Realistic Budget
- Make a priority list: safety and function first, aesthetics second.
- Allocate roughly: 40% surfaces (paint, flooring), 25% soft goods, 20% lighting/hardware, 15% contingency.
- Track everything in a simple spreadsheet so you don’t “whoops” away your funds.
Smart Splurges
- Mattress/cushion foam: Sleep comfort is priceless in tiny spaces.
- Faucet and shower head: Daily-use items where quality shows.
- High-adhesion primer & quality caulk: Saves you from redoing later.
Where To Save
- Shop re-store and marketplace for hardware, light fixtures, and wood scraps.
- Use leftover paint for accent walls, shelves, and trim.
- Choose peel-and-stick and drop cloth projects over full replacements.
Safety check: Before you go wild, confirm weight limits, secure all changes for travel, and avoid blocking vents, exits, or access panels.
Bonus Mini-Projects Under $50
- Black spray paint on vents and hardware for a modern look.
- Rope or leather pulls for a boho moment.
- Install a fold-down spice or coffee shelf for morning happiness.
- Magnetic screen for the door so bugs don’t RSVP.
Final thought: You don’t need a full gut to get that “new camper who dis?” energy. Small upgrades add up fast.
Now you’ve got the game plan: paint, peel-and-stick, smart lighting, and cozy textiles—plus storage that actually works. Take it section by section, keep your receipts, and have fun making it yours. When you roll into your next campsite, don’t be surprised if someone asks, “Wait… did you hire a designer?” You can just smile and say, “Nope—budget did.”