There is something quietly magical about cooking outside on a warm summer evening, the smell of charcoal in the air, a cold drink sweating on the counter, and the sound of laughter drifting across the yard. If you have been dreaming of a dedicated outdoor cooking space but keep putting it off because it seems expensive or complicated, this article is for you. The good news is that you can absolutely build a small DIY outdoor summer kitchen on a budget, even if your outdoor space is modest and your tool collection is basic. With some smart planning and a little creativity, you can create a setup that feels genuinely useful and beautiful all season long.
How Do You Start With a Clear Vision and a Realistic Plan?
Start by mapping out how you actually cook and entertain outside, then build your plan around those real habits. A clear list of must-have features, grill station, prep space, storage, will guide every material and layout decision you make.

Before you buy a single thing, spend a few evenings thinking about how you actually cook and entertain outside. Do you grill every weekend? Do you want a prep area for chopping vegetables? Do you need storage for tools and seasonings? The answers to these questions will shape every decision you make, from layout to materials.
One thing I have noticed is that the most satisfying outdoor kitchens are the ones built around real habits, not aspirational ones. A simple L-shaped counter with a grill station and a small storage cabinet will serve most families far better than an elaborate island that never gets used to its full potential.
Layout Ideas
For small spaces, a straight single-wall layout works beautifully, think of it like a galley kitchen but outdoors, running along a fence or exterior wall. If you have a corner to work with, an L-shape gives you more surface area without taking up much more floor space. Even a 6-foot run of counter space can feel surprisingly generous once it is properly organized.
How Do You Choose the Right Location in Your Outdoor Space?
Choose a spot close to your indoor kitchen for easy supply runs, with natural shade and good airflow to keep smoke away from windows and doors. The right location makes your shaded outdoor setup far more comfortable and practical to use every day.
Where you place your outdoor kitchen matters more than most people realize. You want a spot that is close enough to your indoor kitchen for easy supply runs, but far enough from windows and doors that smoke does not drift inside. Shade is also worth thinking about, a cooking area that bakes in direct afternoon sun from 2 p.m. to 7 p.m. will feel punishing in July.
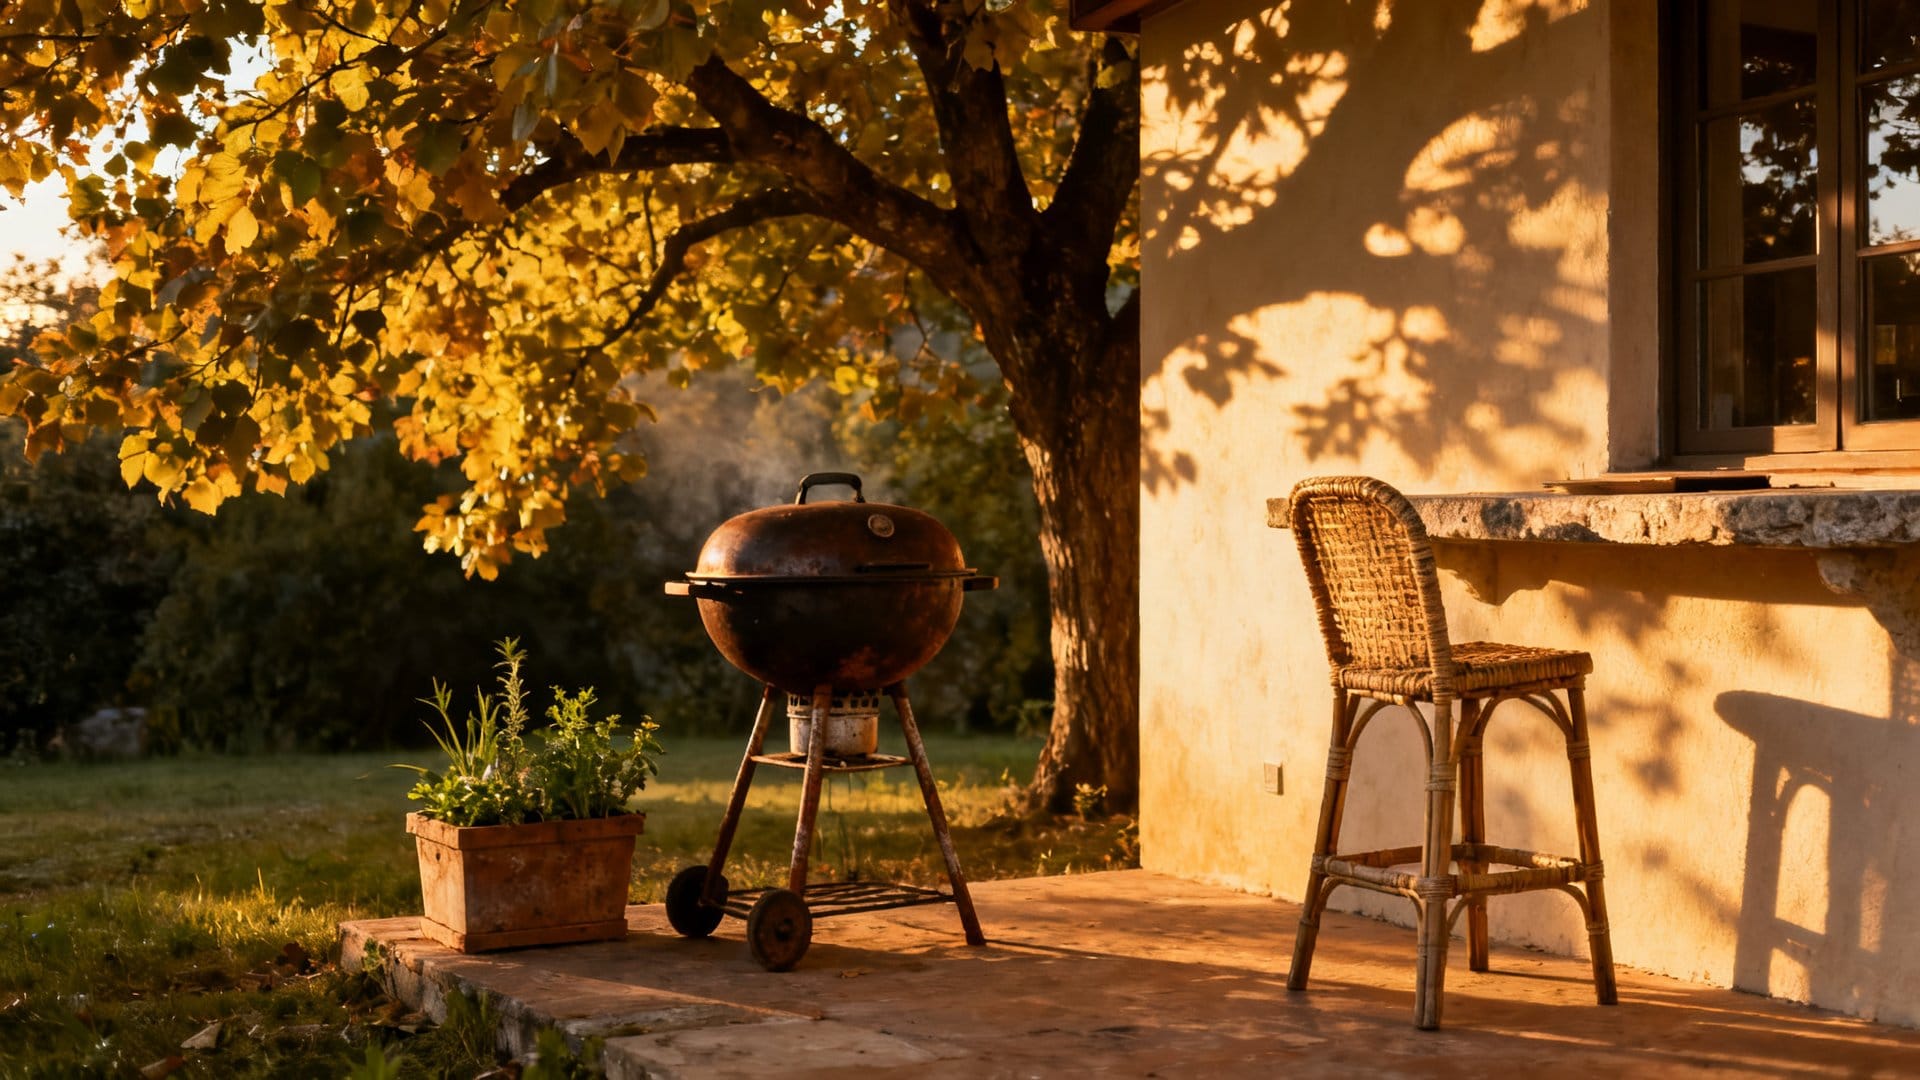
A friend of mine built her outdoor kitchen along the shaded side of her garage, and it completely changed how often she used it. She added a simple pergola overhead using cedar posts and shade cloth, which cost very little but made the whole space feel like a proper outdoor room. Natural shade from a mature tree works just as well, as long as you are mindful of falling debris near an open flame. For tips on keeping a cook space comfortable in intense heat, this guide to hot-climate outdoor kitchens is worth a look.
Pro tip: Before you commit to a location, spend time in that spot at different times of day during summer, morning, midday, and evening, to understand where the sun and shade actually fall before you start building.
With your location locked in, the next big decision is what to build with, and this is where smart material choices can make or break your budget.
Which Budget-Friendly Materials Actually Hold Up Outdoors?
Concrete blocks, pressure-treated lumber, and outdoor-rated tile are the most reliable budget-friendly materials for a DIY outdoor kitchen. They resist heat, moisture, and UV exposure without requiring a large upfront investment.
This is where so many DIY outdoor kitchen projects either succeed beautifully or fall apart within a season. The materials you choose need to handle heat, humidity, rain, and UV exposure without rotting, rusting, or warping. The great news is that durable does not have to mean expensive.
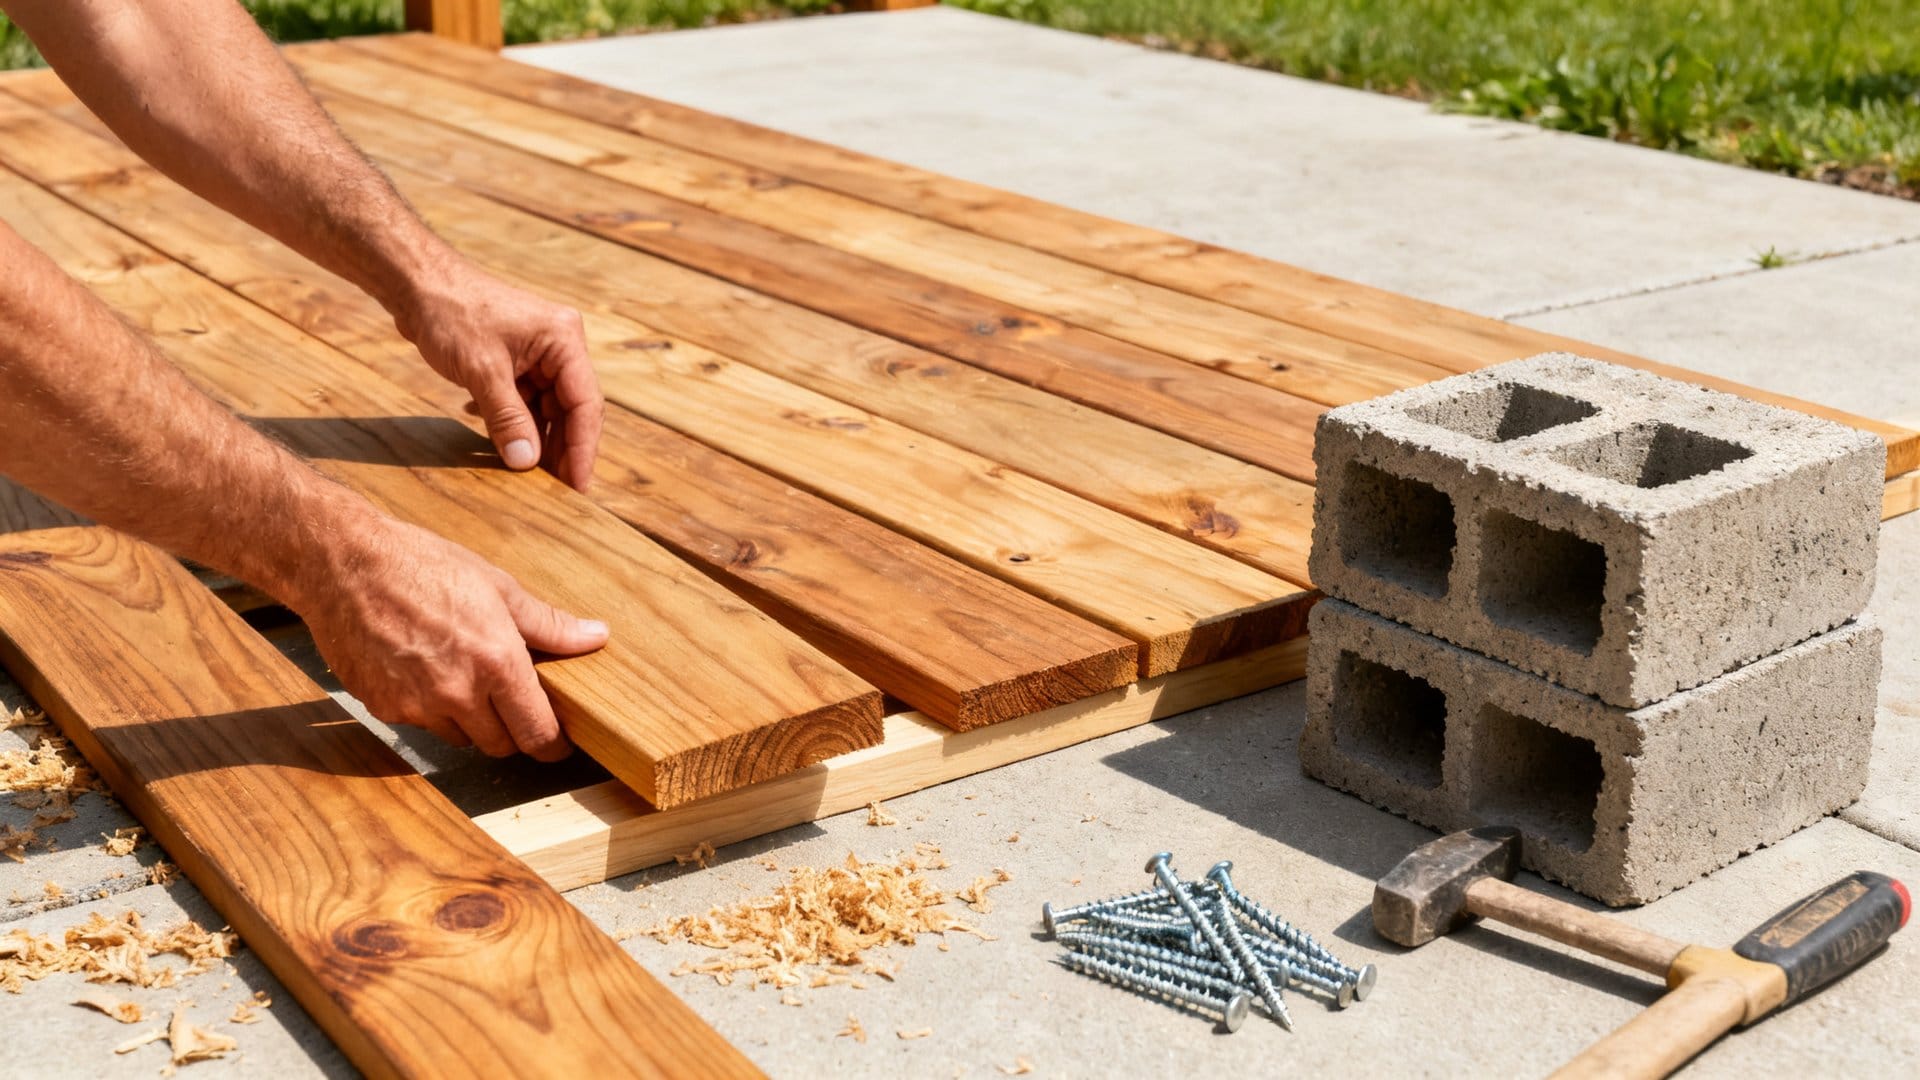
Concrete blocks and cinder blocks are among the most affordable structural materials you can use for a small outdoor kitchen base. They are weather-resistant, widely available at home improvement stores, and require no special tools to stack and arrange. Pair them with a poured concrete countertop or a piece of outdoor-rated tile over cement board, and you have a surface that looks polished and handles heat beautifully. Pressure-treated lumber works well for framing if you prefer a more traditional look, though it does require sealing and regular maintenance to stay in good shape outdoors.
I love how simple concrete block construction looks when it is finished with a coat of stucco or exterior paint in a warm terracotta or soft gray tone, it reads as intentional and designed rather than makeshift.
Materials That Work
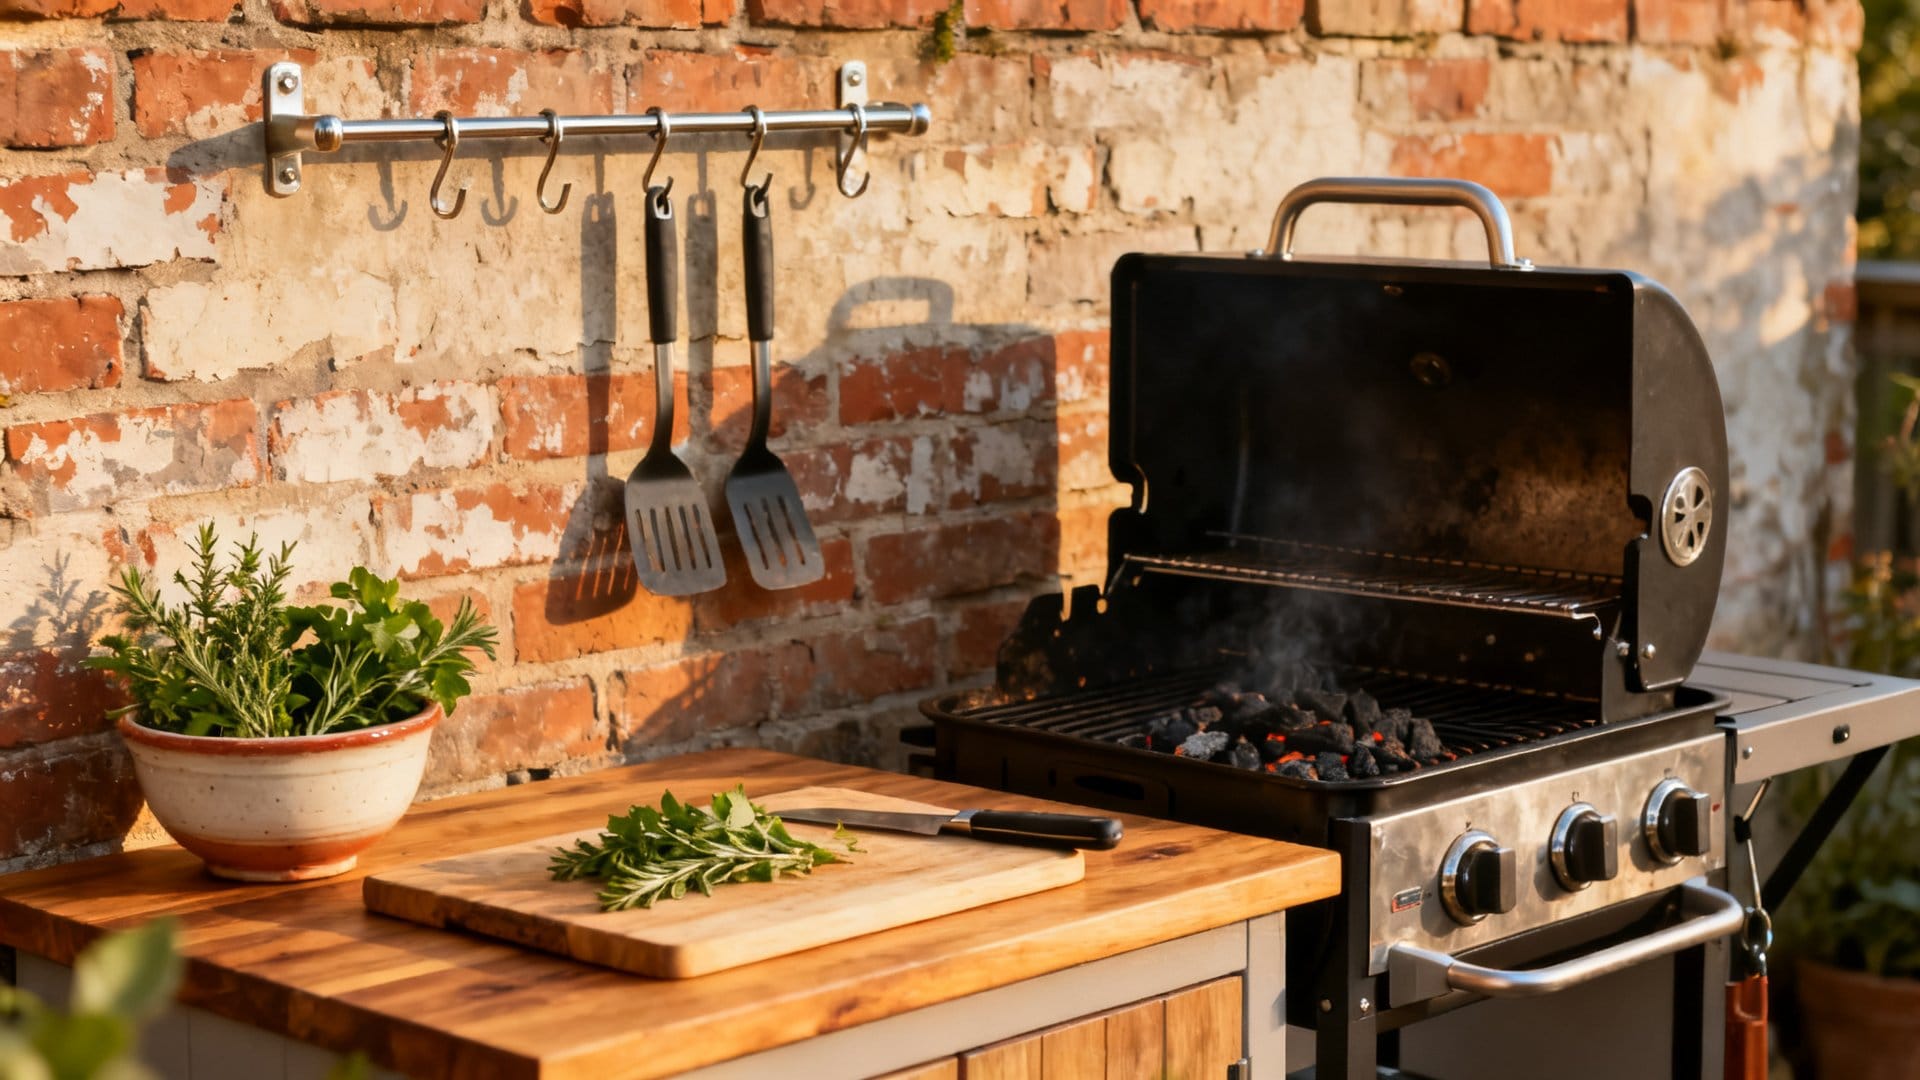
For countertops specifically, outdoor-rated porcelain tile is one of the most practical and affordable choices, it resists stains, heat, and moisture, and comes in styles that mimic everything from slate to wood grain. Poured concrete countertops are another strong option and can be done as a DIY project with bagged countertop mix from a home improvement store. Avoid wood surfaces directly near the grill, but reclaimed wood can work beautifully as a prep or serving area set slightly apart from the heat source.
What Are the Essential Components of a Small Outdoor Kitchen Setup?
The core components are a grill station, a prep counter with at least 18 inches of clear surface, and weatherproof storage for tools and seasonings. These three elements cover the vast majority of outdoor cooking needs without overcomplicating the build.
When you build a small DIY outdoor summer kitchen on a budget, the key is to prioritize the components that give you the most function for the least cost, and skip the extras you will rarely use. Most people find that a solid core setup covers 90 percent of their outdoor cooking needs.
What to Consider Including
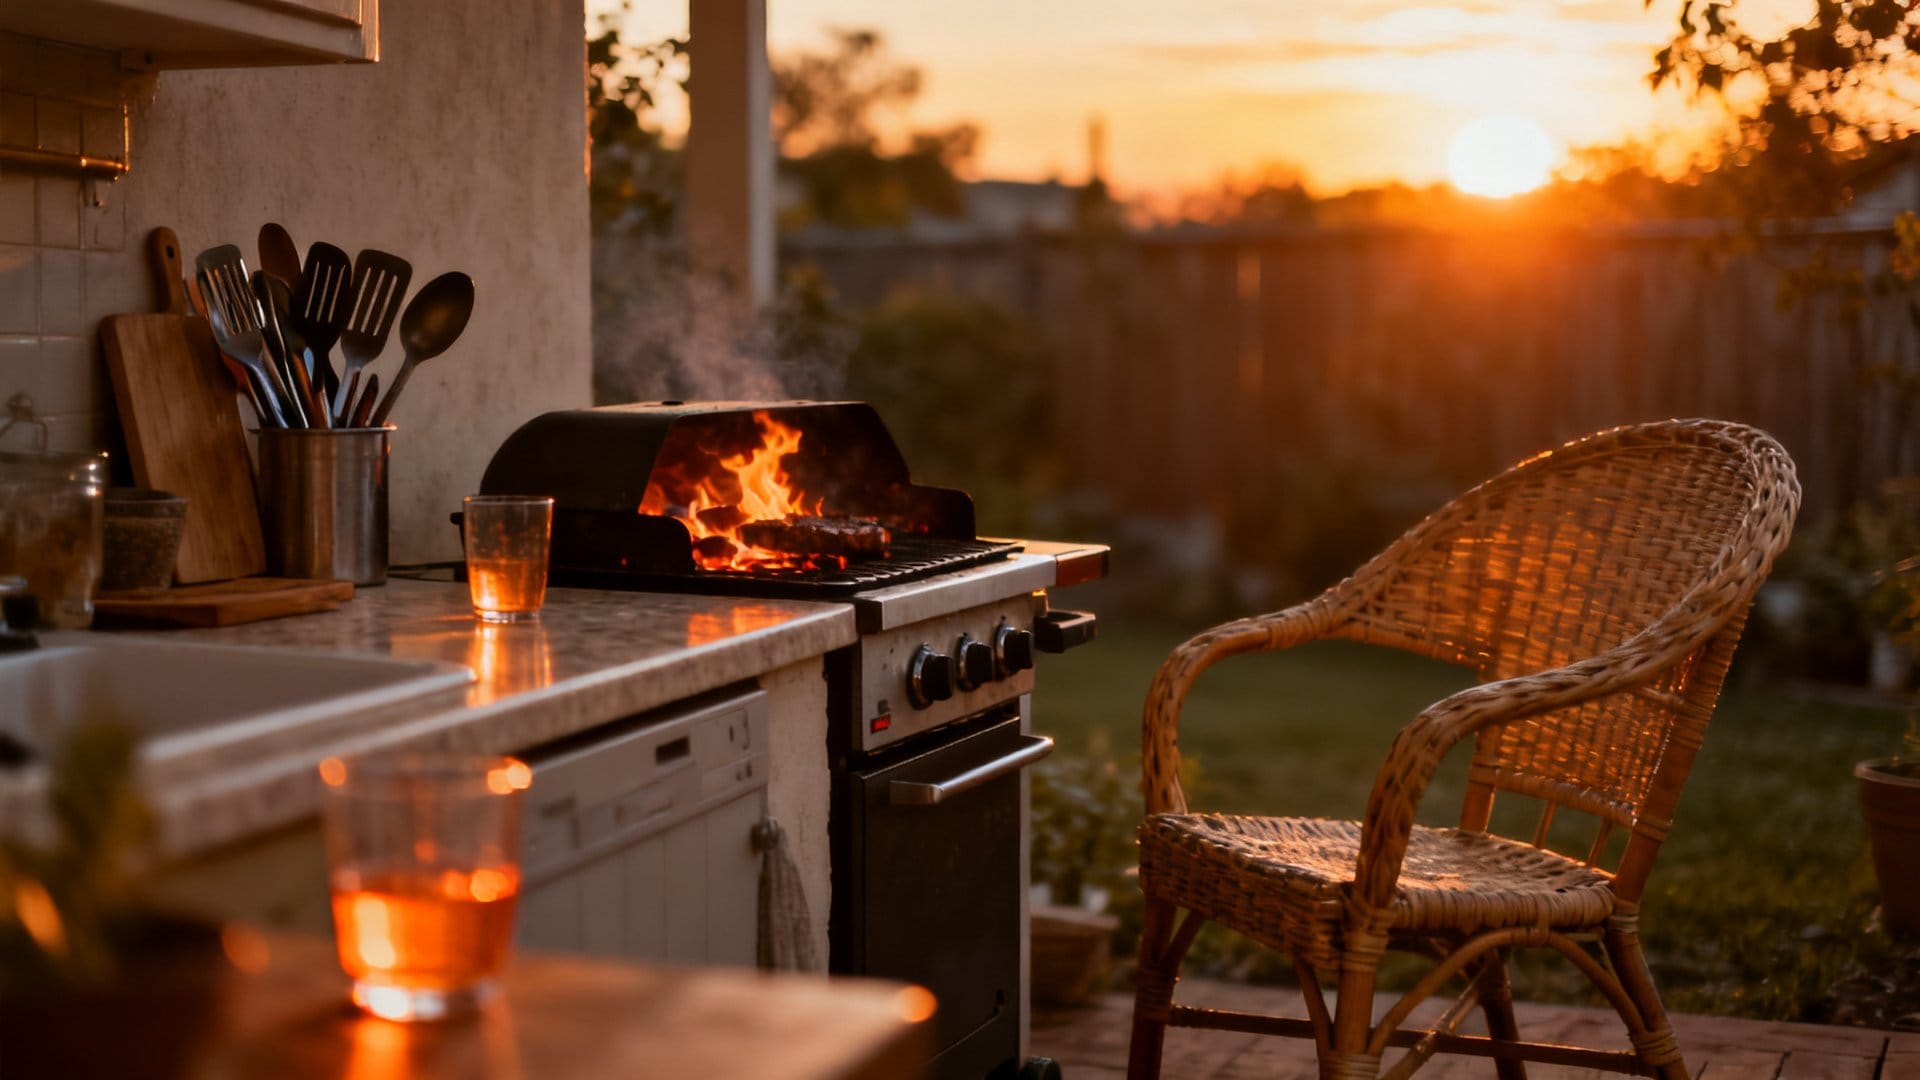
- A dedicated grill station: Frame an opening in your counter base to drop in a freestanding grill, or build a surround for a built-in grill insert if your budget allows
- A prep counter with at least 18 inches of clear surface: This is the feature most outdoor cooks say they wish they had added sooner, space to set a cutting board, a bowl of marinade, and a plate without juggling everything
- Weatherproof storage: A small outdoor cabinet or a set of stainless-steel drawers keeps tools, tongs, and seasonings within reach and protected from rain
- A side burner or camp-style propane burner: Useful for heating sauces, boiling corn, or keeping side dishes warm without running back inside
- Outdoor-rated electrical outlet nearby: Even a single GFCI outlet adds enormous convenience for a blender, string lights, or a small speaker, hire an electrician for this one piece if needed
You do not need all of these at once. Many people start with just the grill station and one counter section, then add storage and a side burner the following season as budget allows.
What Are Smart Ways to Keep the Cost Down Without Cutting Corners?
The biggest savings come from sourcing materials creatively, salvage yards, ReStores, and end-of-season sales, and building in phases rather than all at once. This approach keeps quality high while spreading costs over time.
Building outdoors on a tight budget is genuinely achievable, but it does require a bit of patience and resourcefulness. The biggest savings usually come from sourcing materials creatively rather than buying everything new at full price.
Habitat for Humanity ReStores, salvage yards, and online marketplace listings are great sources for things like tile, concrete blocks, lumber, and even used outdoor appliances. A friend of mine sourced beautiful slate tile for her outdoor kitchen counter from a ReStore for a fraction of what it would have cost new, and it looked absolutely intentional. Estate sales and end-of-summer clearance sales at home improvement stores are also worth watching for discounted outdoor appliances, fixtures, and hardware.
From what I have gathered, the easiest way to stay on budget is to build in phases rather than trying to complete everything at once. Lay the foundation and countertop in the first phase, add storage and finishing details in the second, and save any premium additions like a mini fridge or pendant lighting for later. This approach spreads the cost over time and lets you live with the space before committing to every detail.
Pro tip: When buying concrete blocks or pavers, always pick them up in person rather than ordering online, freight costs on heavy materials can easily double your material budget without you realizing it.
Once you have the structure and components in place, it is time to shift focus from function to atmosphere.
What Finishing Touches Make It Feel Like a Real Outdoor Room?
String lights, an outdoor rug, and potted herbs are the simplest finishing touches that change a functional cooking setup into a welcoming outdoor room. These details add warmth and personality without significantly increasing your budget.
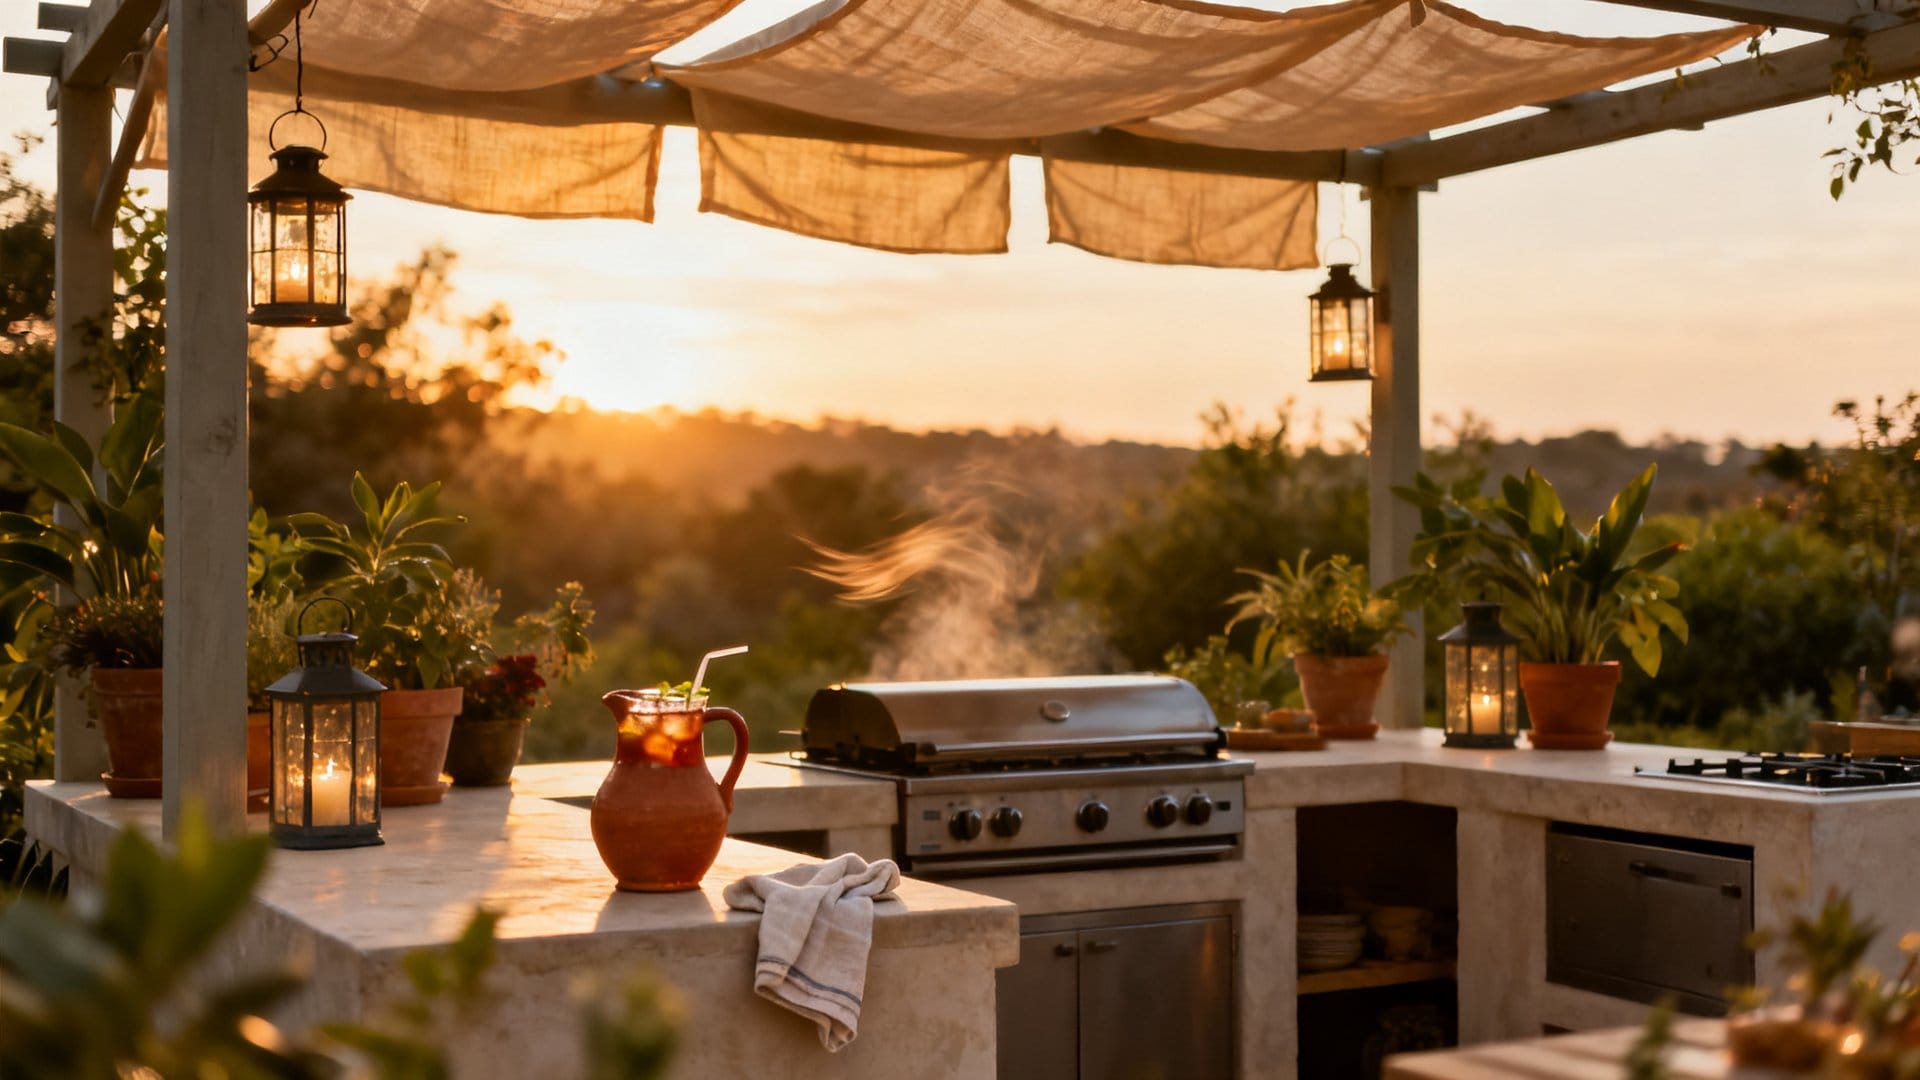
Once the functional bones are in place, the finishing details are what turn a practical cooking setup into a space you genuinely love spending time in. This is where personality comes in, and it does not have to cost much at all.
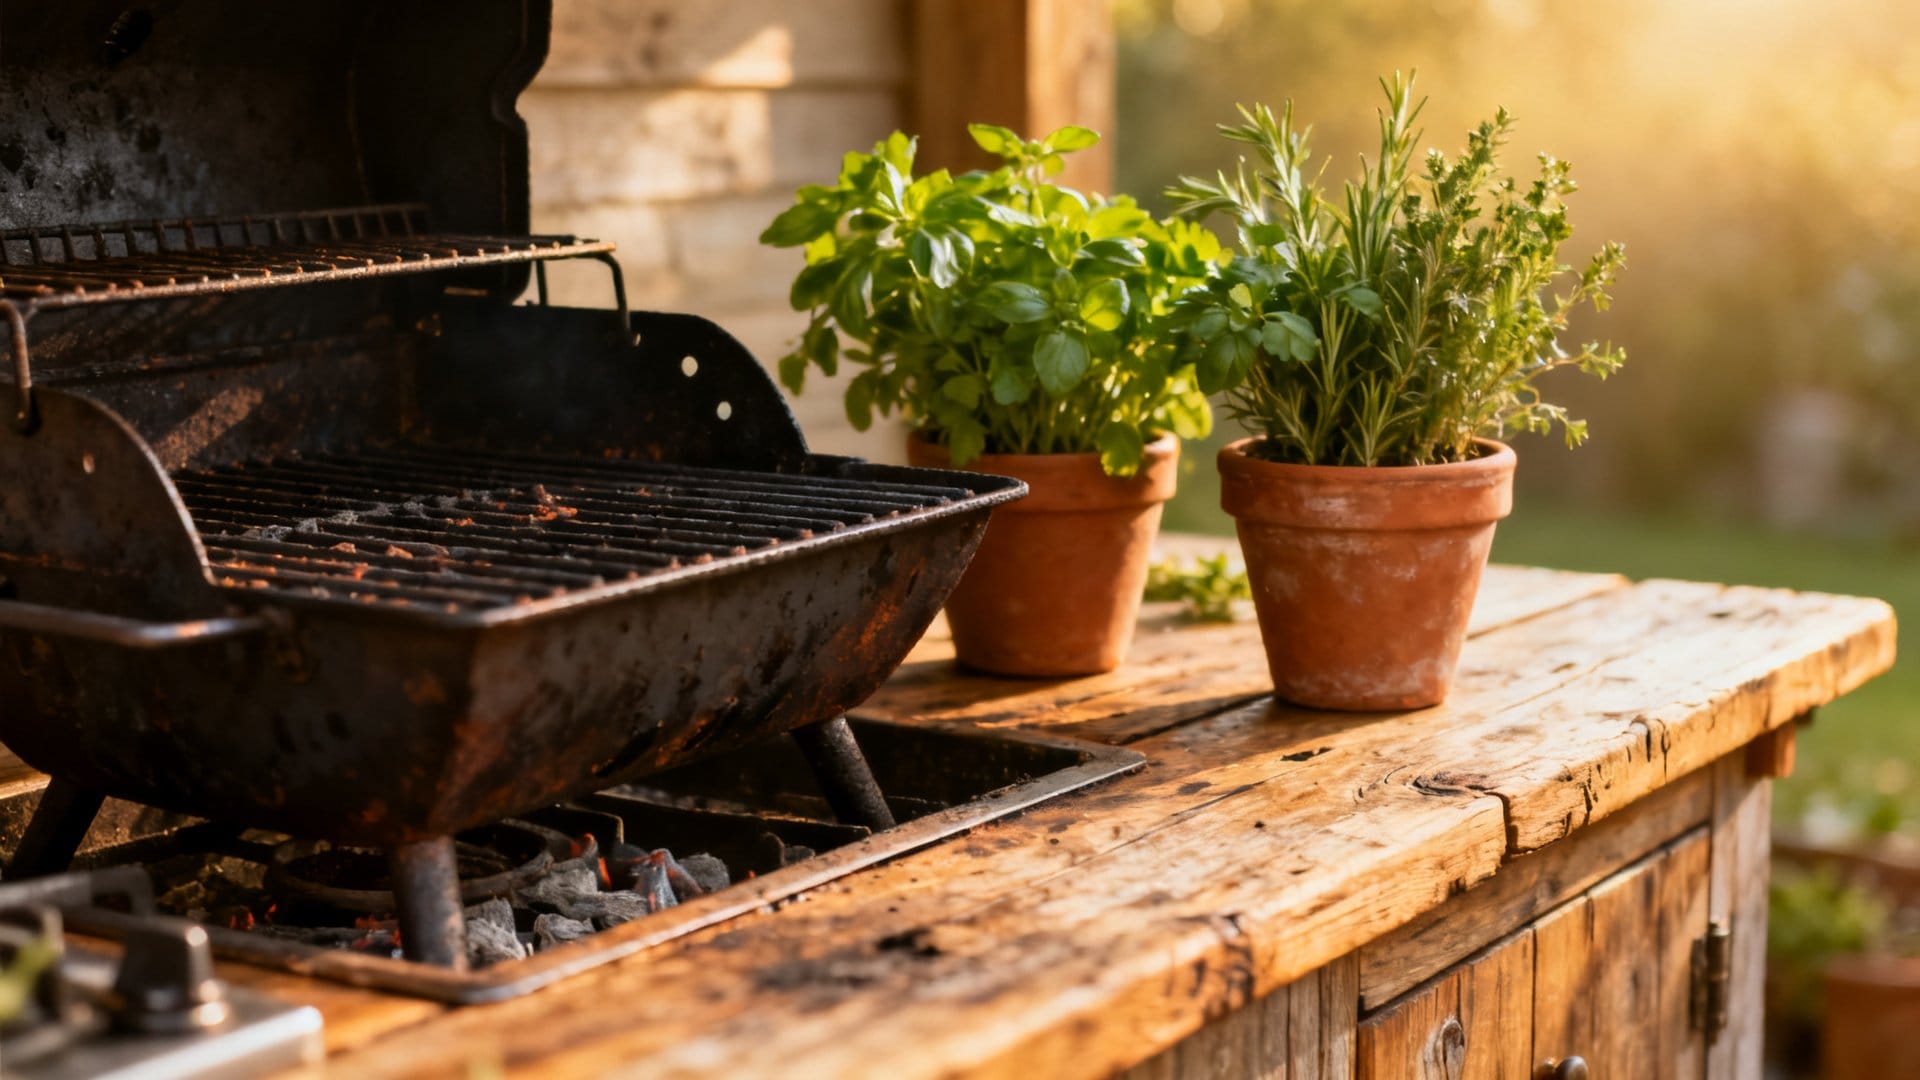
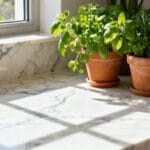
String lights strung overhead, either from a pergola, a fence, or a simple pair of wooden posts, instantly shift the mood from utilitarian to warm and welcoming after dark. A simple outdoor rug in a bold stripe or geometric pattern grounds the space and makes it feel intentional. Potted herbs like rosemary, basil, and thyme placed along the counter edge are both decorative and genuinely useful while you cook, I love how they add a soft, living texture to what might otherwise feel like a hard, utilitarian surface.
For a cohesive look, keep your color palette simple: two or three tones that connect the structure, the textiles, and the accessories. A warm white stucco base with terracotta pots and natural wood accents reads as relaxed and inviting. A gray concrete finish with black hardware and deep green plants feels more modern and crisp. Either works beautifully in a summer setting.
Finishing Touches
A chalkboard panel painted directly onto one section of the structure is a charming and practical detail, use it to write the menu for the evening, keep track of grill temperatures, or let kids draw while dinner cooks. Small hooks mounted along the side of a cabinet keep tongs, towels, and pot holders off the counter and within easy reach, which sounds minor but makes a real difference in how smoothly outdoor cooking flows.
Final Thoughts
Building a small DIY outdoor summer kitchen on a budget is one of those projects that rewards you all season long, every cookout, every lazy Sunday afternoon, every impromptu dinner with friends feels a little more special when you have a dedicated outdoor space designed around how you actually live. You do not need a large yard, a big budget, or professional construction skills to make it happen. Start simple, choose durable materials, and let the space grow with you over time. Happy grilling!
Frequently Asked Questions
The cost of a small DIY outdoor summer kitchen can vary widely depending on materials and features, but many homeowners complete a functional setup for anywhere between $500 and $2,500. By repurposing materials, shopping sales, and prioritizing only the features you truly need, you can keep costs at the lower end of that range. Avoiding custom stonework and prefabricated cabinetry in favor of concrete blocks, pressure-treated lumber, or upcycled furniture can dramatically reduce your overall spend.
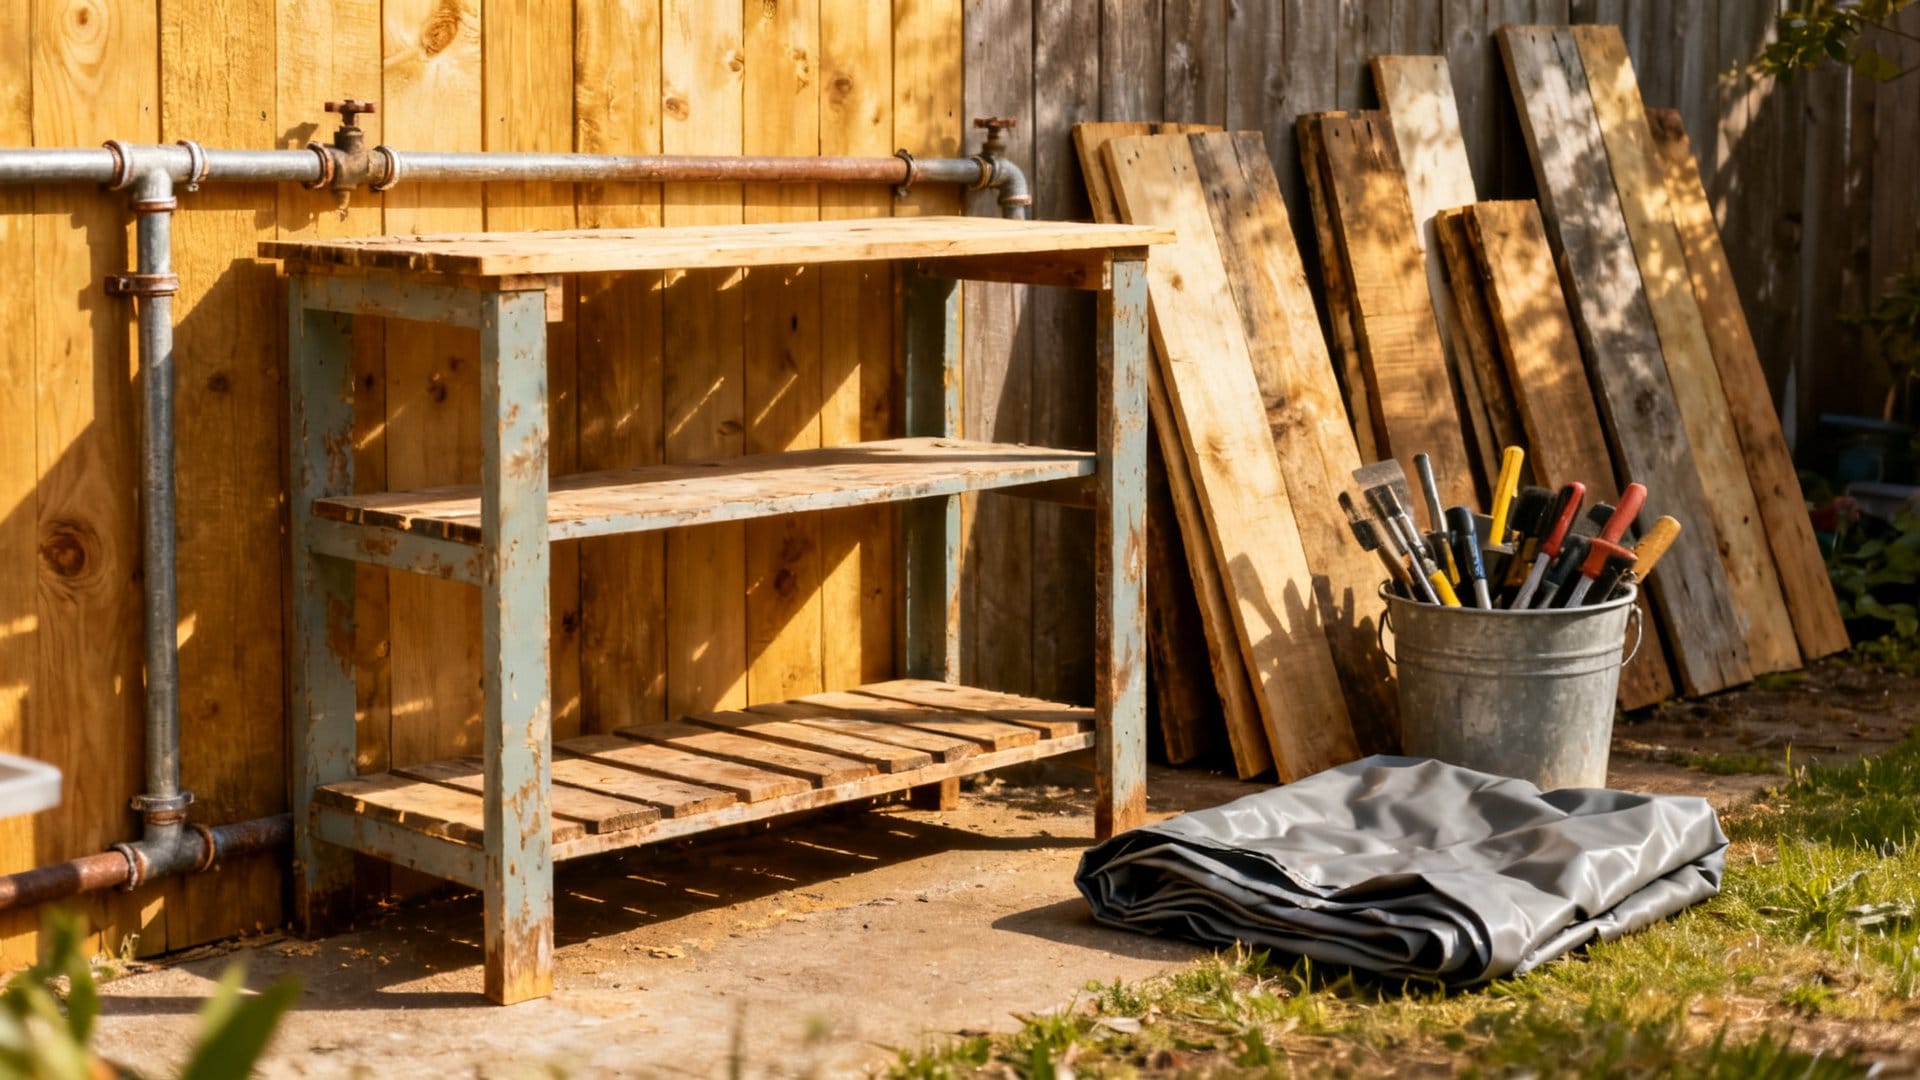
At a minimum, a functional outdoor summer kitchen should include a reliable cooking surface such as a grill or flat-top griddle, a dedicated prep area with a weather-resistant countertop, and some form of storage for tools, utensils, and seasonings. A simple shelving unit or enclosed cabinet made from treated wood can handle storage needs without a large investment. As your budget and confidence grow, you can always add features like a small sink, a mini refrigerator, or additional counter space.
Whether you need a permit depends entirely on your local municipality, the size of the structure, and whether it involves permanent utility connections like gas lines, plumbing, or electrical wiring. Freestanding, non-permanent setups that do not connect to utilities are often exempt from permit requirements, but you should always check with your local building authority before starting any construction. Skipping this step can result in fines or being required to dismantle your kitchen, so a quick phone call or website check is well worth the effort.
Pressure-treated lumber, concrete cinder blocks, and galvanized steel are among the most affordable and weather-resistant materials for a DIY outdoor summer kitchen frame and structure. For countertops, poured concrete, tile over cement board, and natural stone remnants from local suppliers all offer durability at a reasonable price point. Whatever materials you choose, applying a weatherproof sealant and using stainless steel or galvanized hardware will significantly extend the life of your kitchen and protect your investment through multiple seasons.
Absolutely, many of the most popular and functional outdoor summer kitchen designs are intentionally beginner-friendly, relying on simple assembly techniques rather than advanced carpentry or masonry skills. Designs built around stacked cinder blocks, modular shelving, or repurposed outdoor furniture require minimal tools and can often be completed over a single weekend. Starting small with a basic grill station and prep table, then expanding incrementally as your skills and budget grow, is a practical and rewarding approach for first-time builders.
You Might Also Like

Get cozy seasonal ideas in your inbox
Seasonal decor, recipes & home inspiration — straight to you. No spam, unsubscribe anytime.