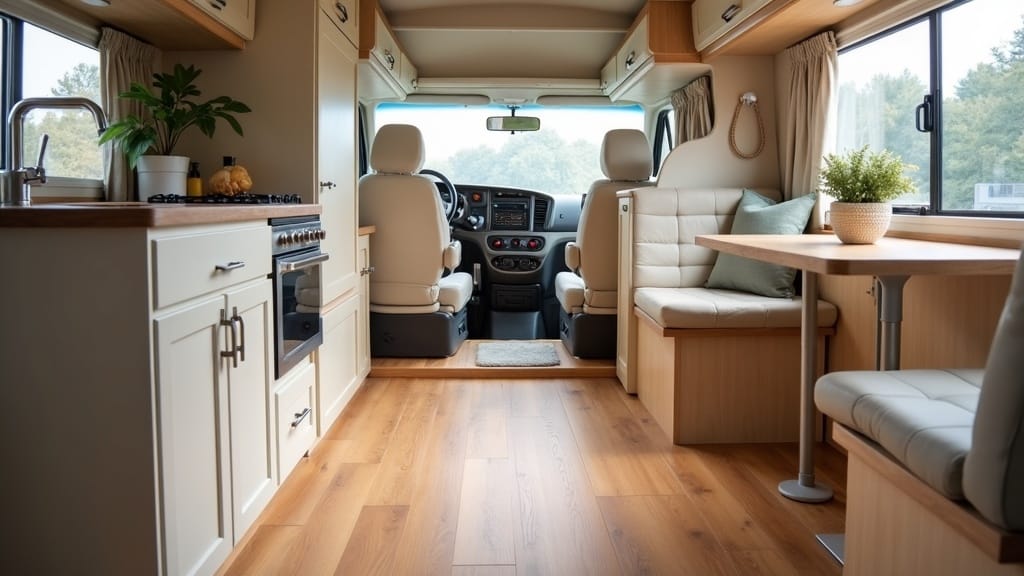
Step into most older campers and you can almost smell the 90s, that mix of stale curtains and brown laminate. A solid DIY camper renovation turns that dated box on wheels into a space that actually feels like yours, whether you live in it full-time or just take it out for long weekends. The 20 DIY camper renovation ideas below are the ones that genuinely move the needle on a small rig, none of them need a workshop or a huge budget, just a few weekends and some patience with tight corners.
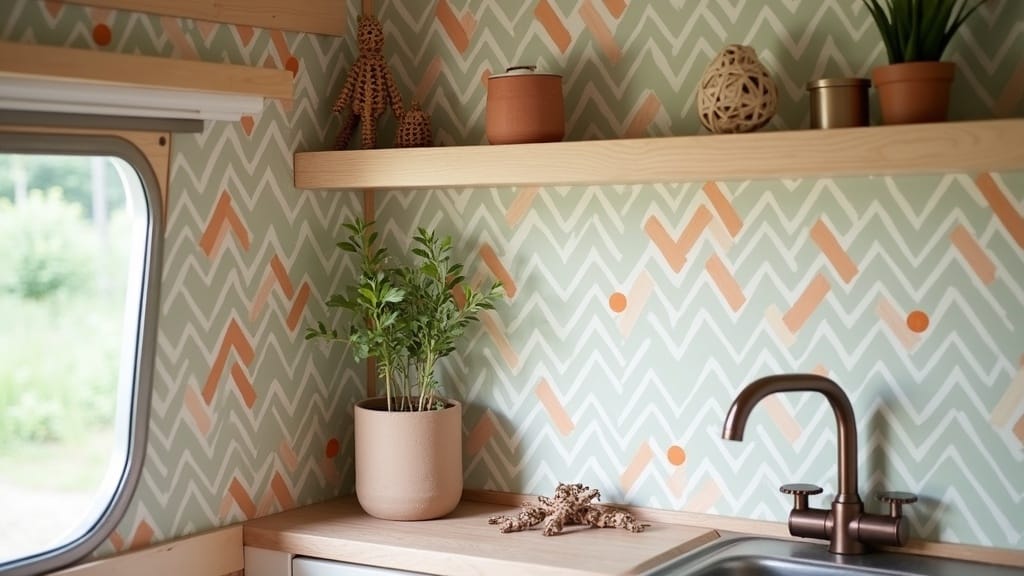
1. Refresh Your Walls with Peel-and-Stick Wallpaper
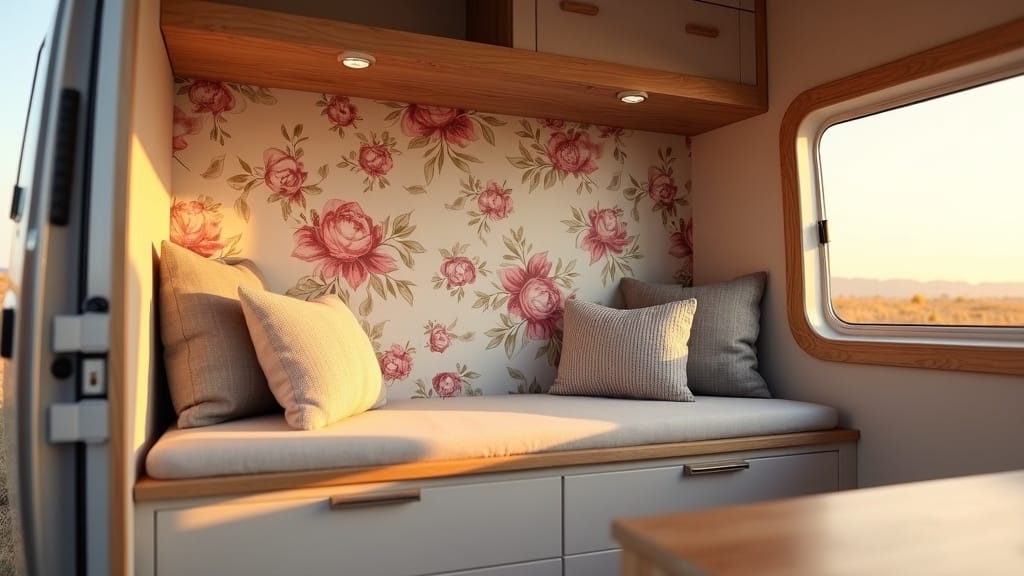
Nothing changes a small space faster than updating the walls. Peel-and-stick wallpaper is perfect for campers, it’s easy to apply, removable, and comes in endless styles. You can create a totally different vibe overnight.
Style Notes
- Use light patterns to make tight areas feel larger.
- Add a bold accent wall behind the bed or kitchenette.
- Try textured looks like faux brick or shiplap for rustic charm.
This is one of the fastest and least expensive camper makeovers. Plus, if you get tired of the look, you can switch it out easily. I first saw peel-and-stick wallpaper done well in a friend’s camper — she covered the whole back wall in a botanical print and it looked completely convincing until she peeled a corner back to show me it was removable.
A coat of peel-and-stick wallpaper changes everything, see what’s possible:
💡 Related idea:19 Budget Camper Makeover Ideas→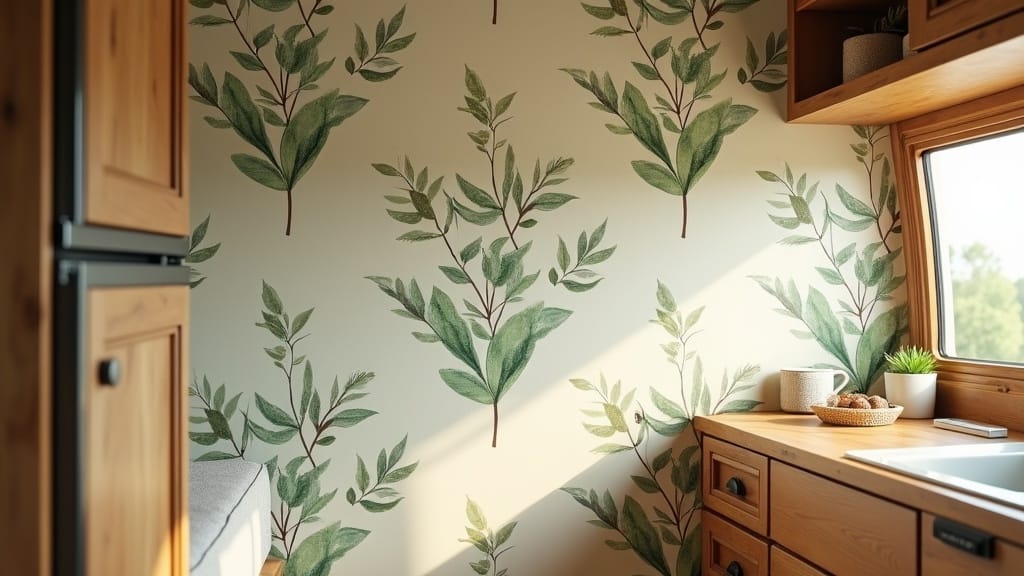
Get the look: Shop peel-and-stick camper wallpaper on Amazon →
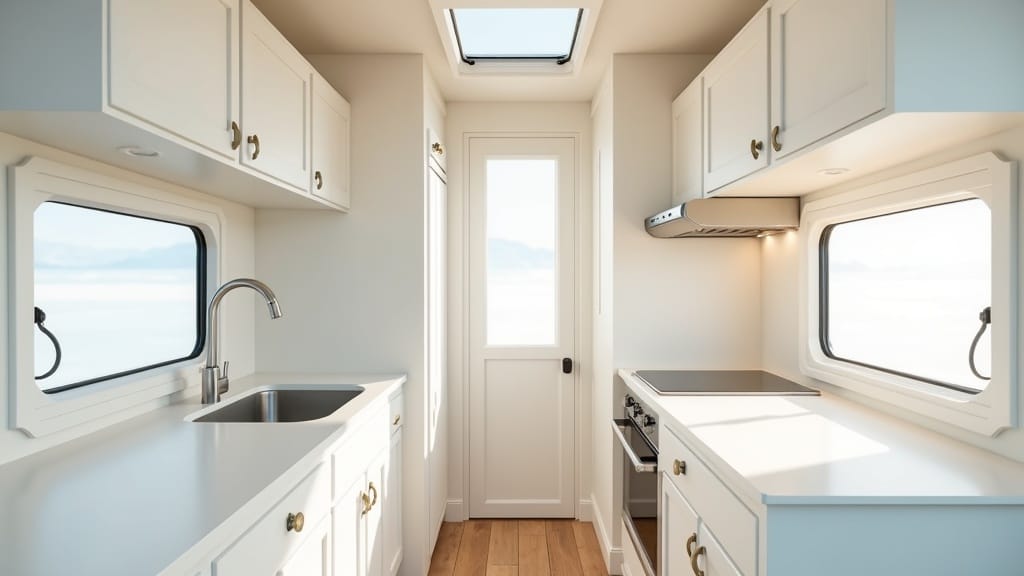
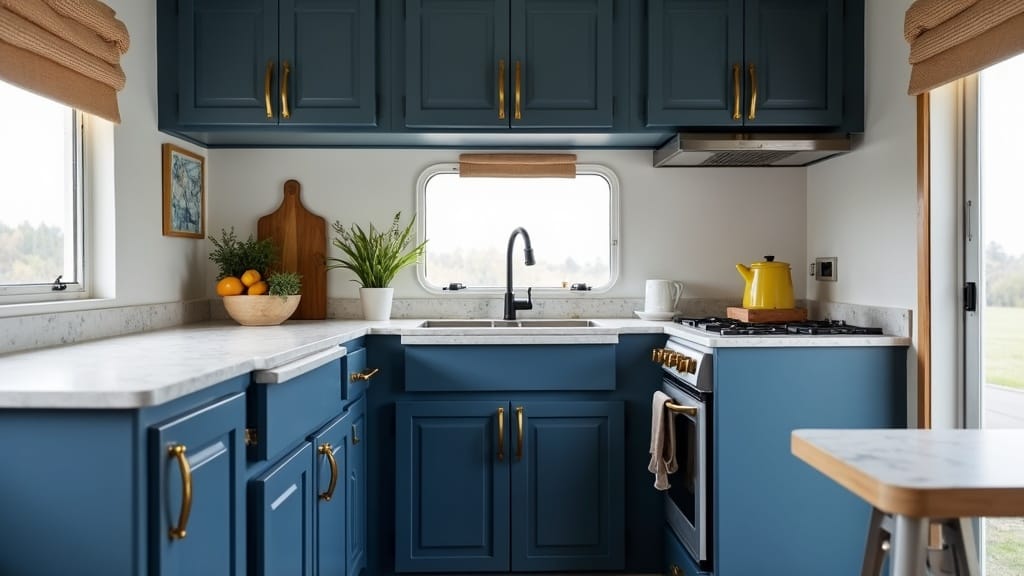
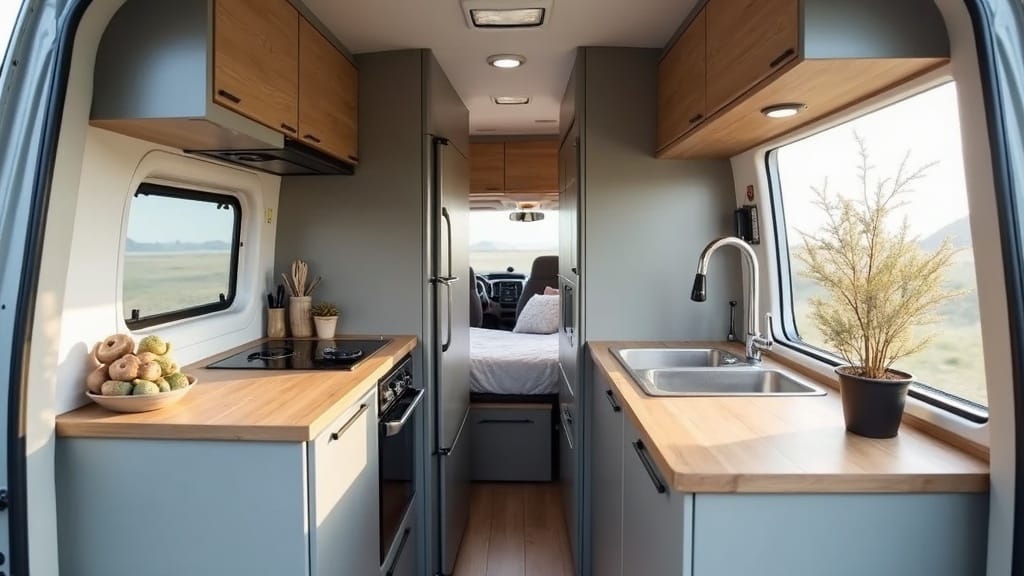
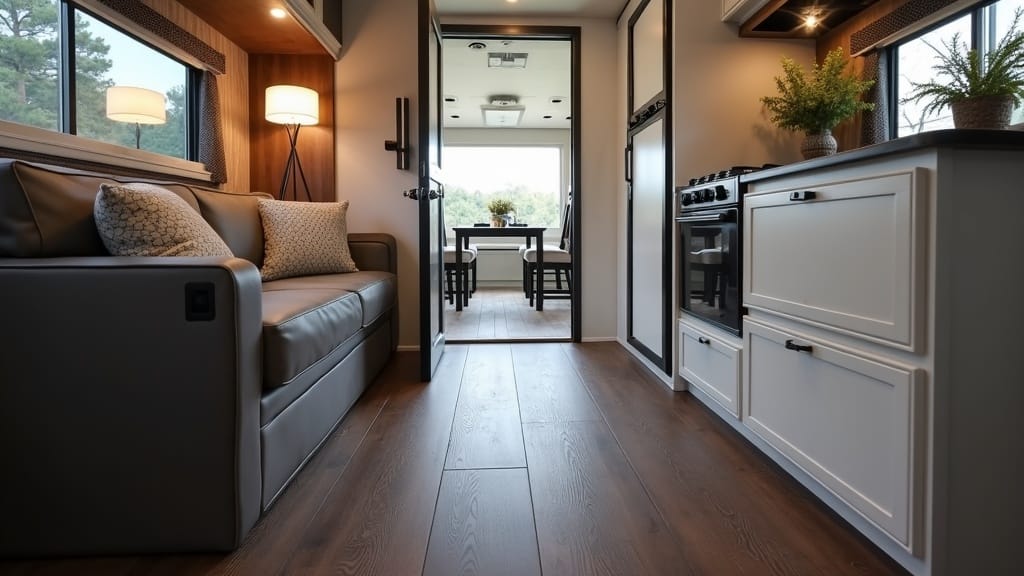
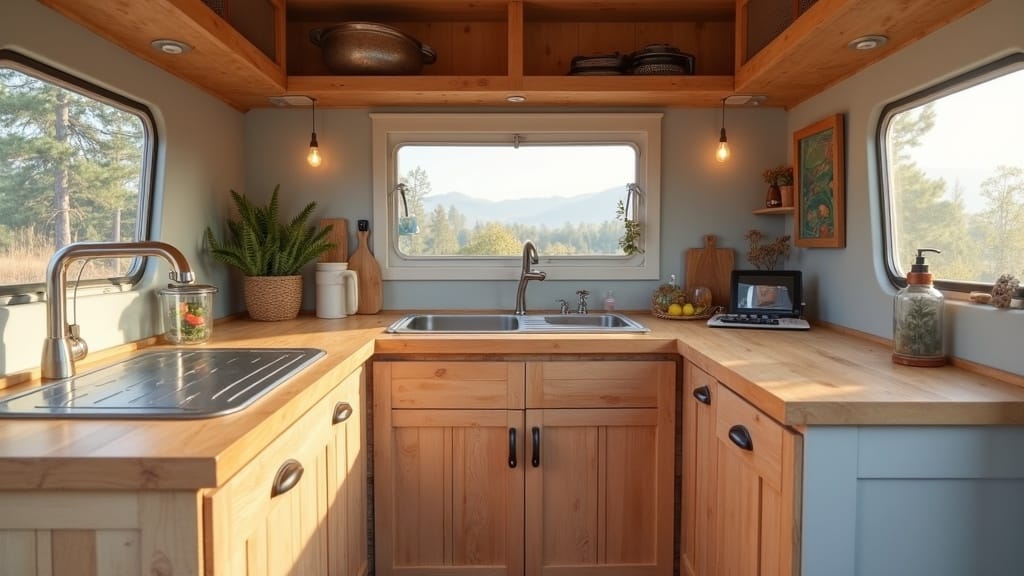
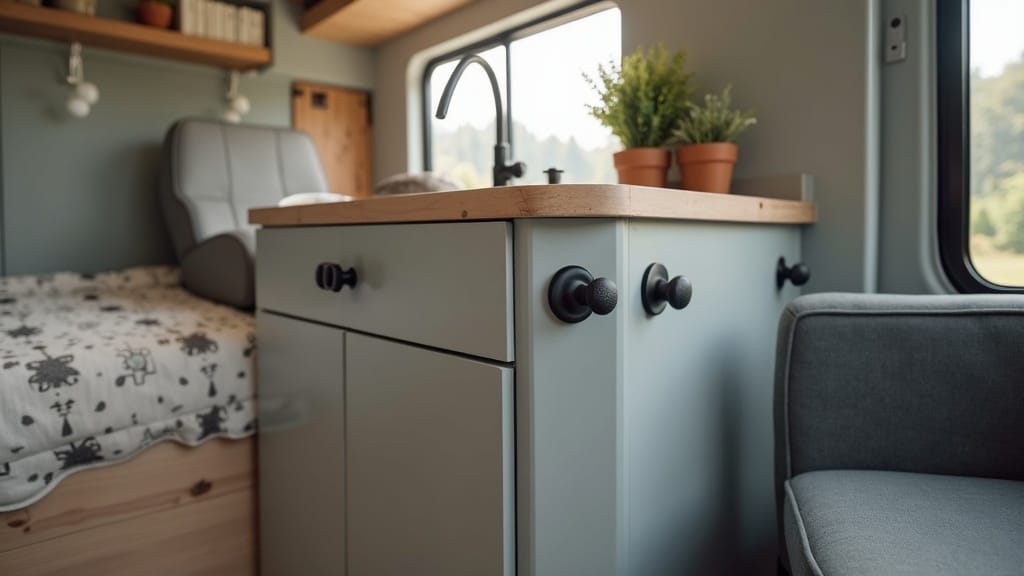
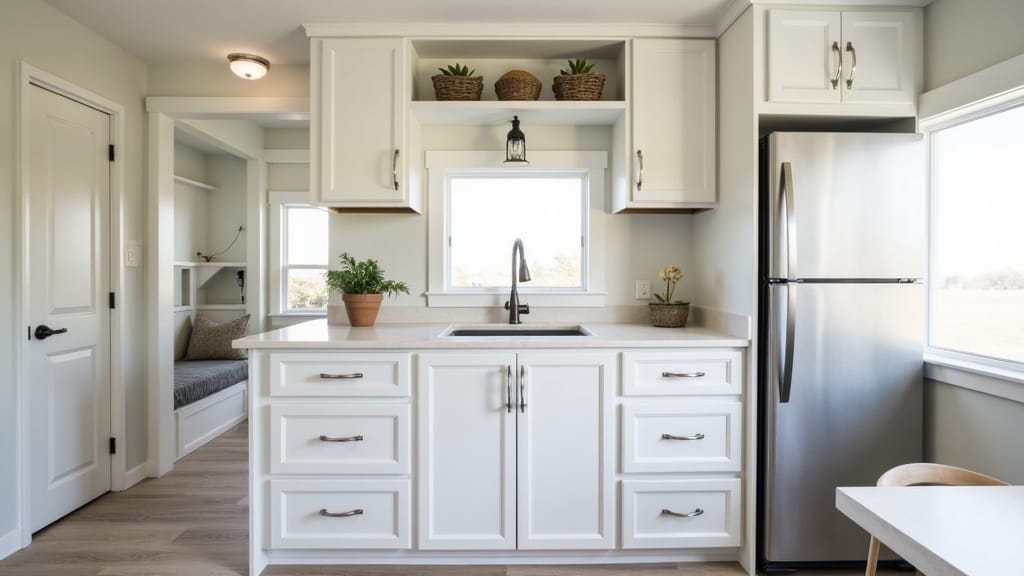
2. Upgrade Cabinetry with a Fresh Coat of Paint
Those dark oak-look cabinets are the single biggest reason most campers feel like a cave. Painting them is the cheapest upgrade with the most visible payoff, even a soft off-white pulls in daylight from the little windows and makes the whole interior read as a room instead of a storage box.
Color Palette Ideas
- White or light gray for a clean, airy look.
- Deep navy or sage green for a cozy, modern vibe.
- Add gold, brass, or matte black hardware for contrast.
Painted cabinets genuinely change how a camper feels, the space photographs and lives bigger, even though nothing moved. Plan on a long weekend: degreasing, light sanding, a bonding primer (skip this and the paint peels at every door pull), then two thin topcoats.
Fresh cabinet paint is one of the fastest visual upgrades you can make in a camper:
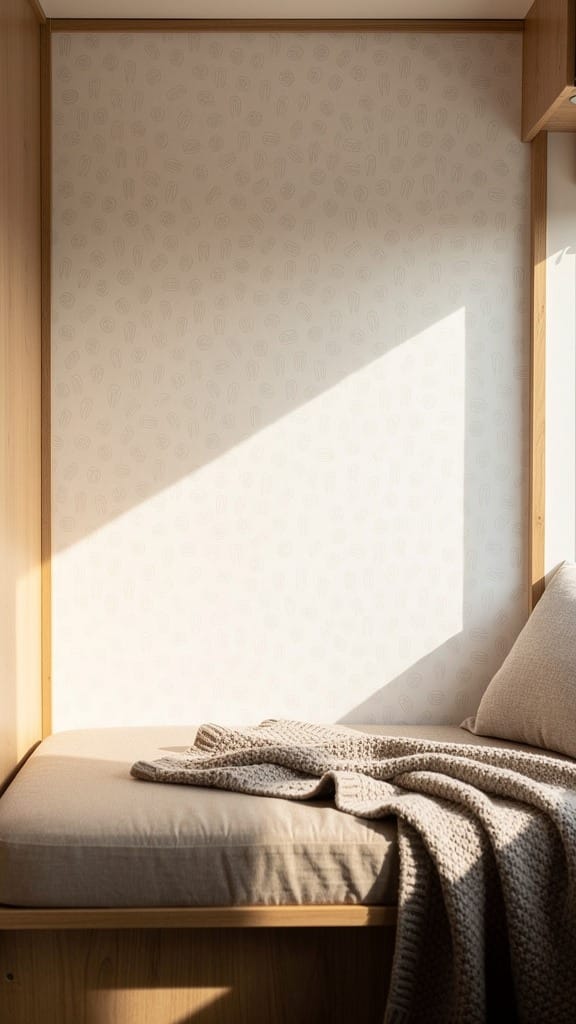
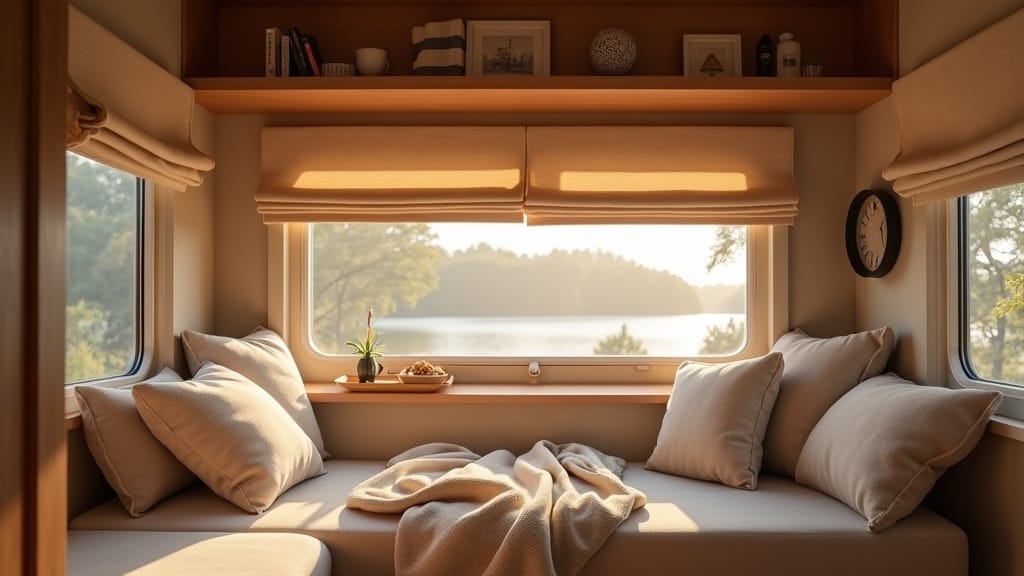
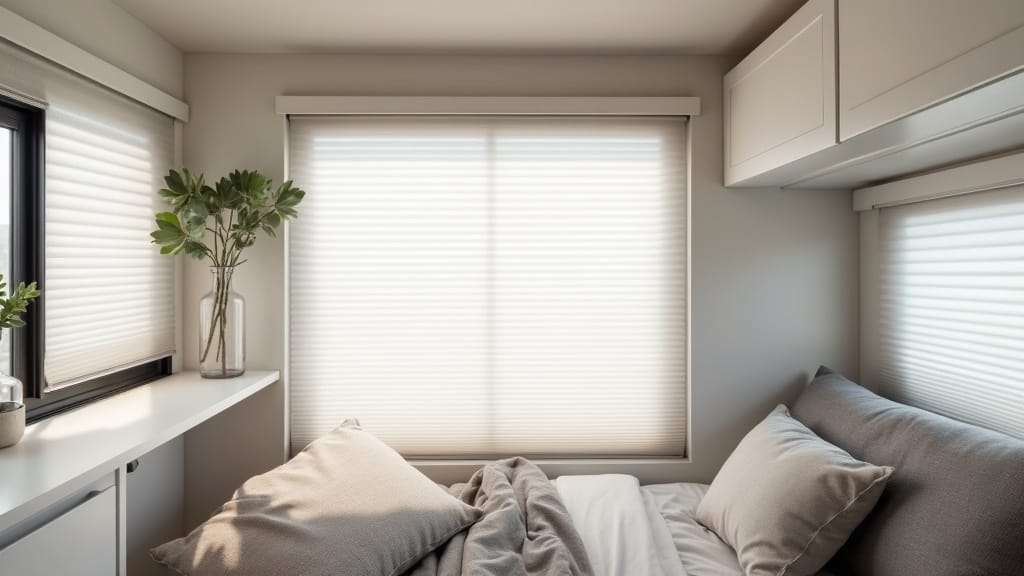
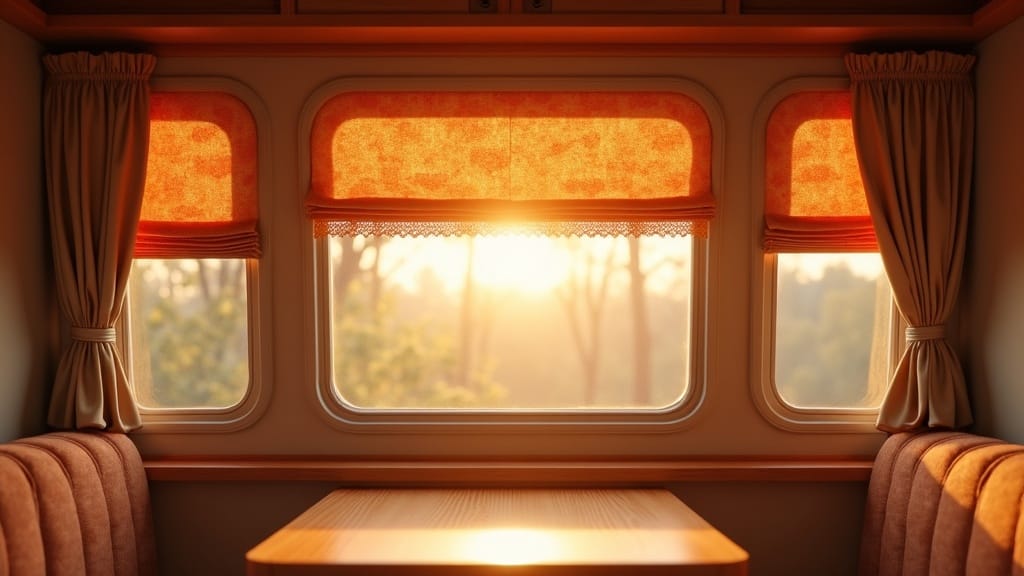
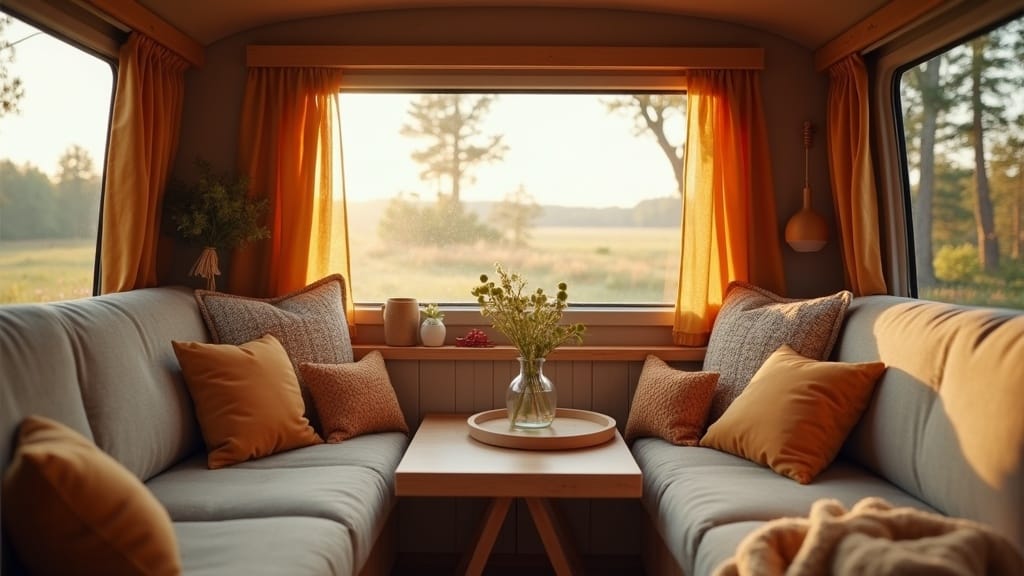
3. Replace Curtains with Stylish Shades
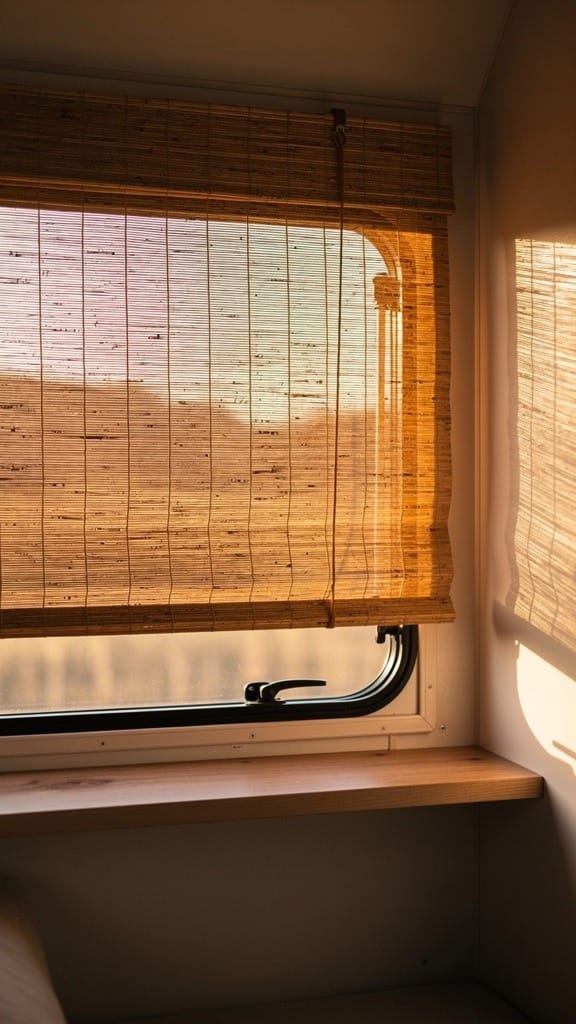
Old camper curtains can make the space feel dated and dusty. Swap them out for roller or Roman shades that blend better with your decor. It’s a small upgrade that makes a big impact on the overall aesthetic.
Materials To Try
- Blackout fabric to help with light control and insulation.
- Bamboo or woven wood shades for natural texture.
- Dual-layer options for flexible privacy and light control.
This project not only updates your style but also gives you better temperature management and sleep quality on the road.
The right window shades do more than block light, they set the whole tone:
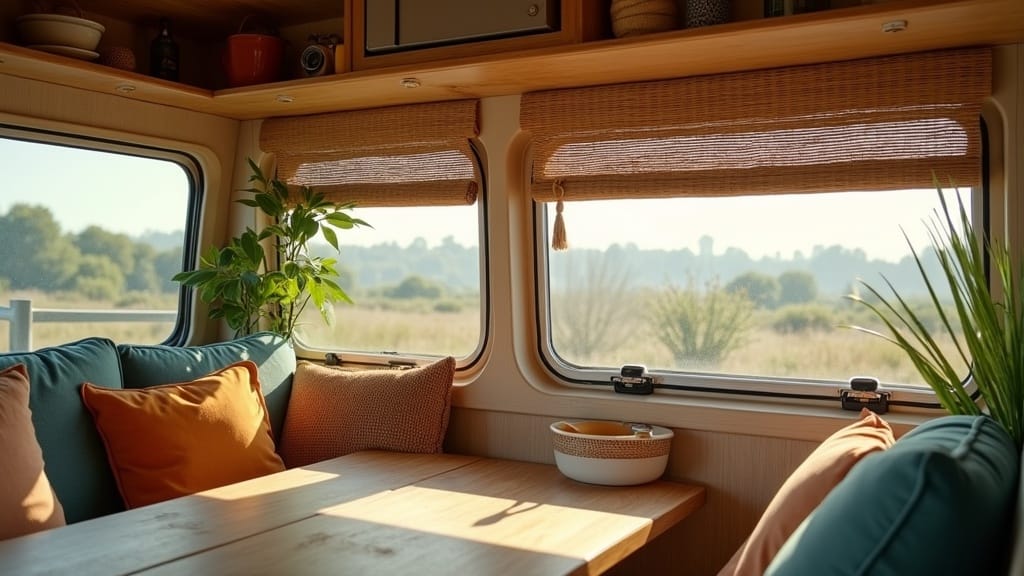
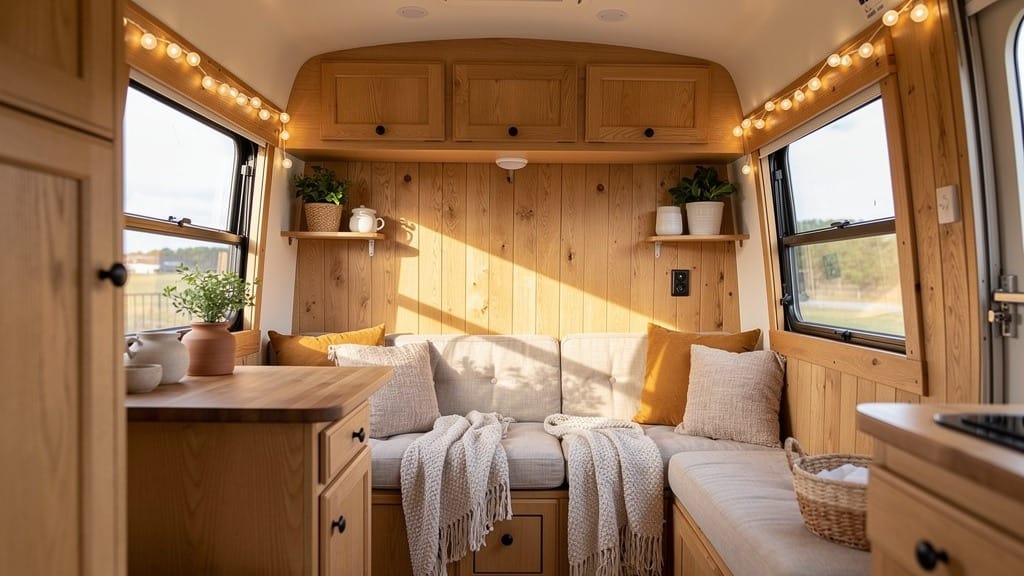
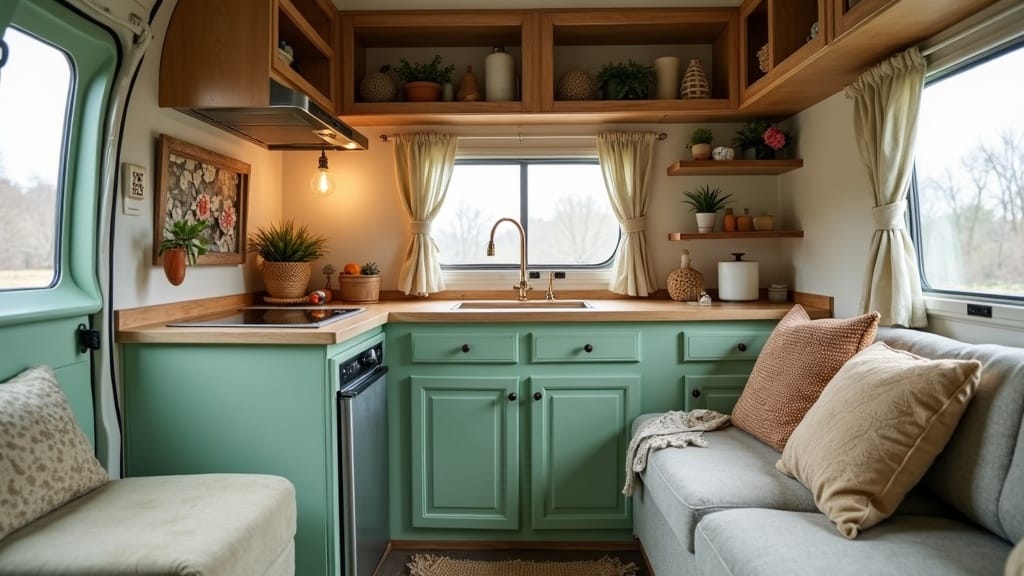
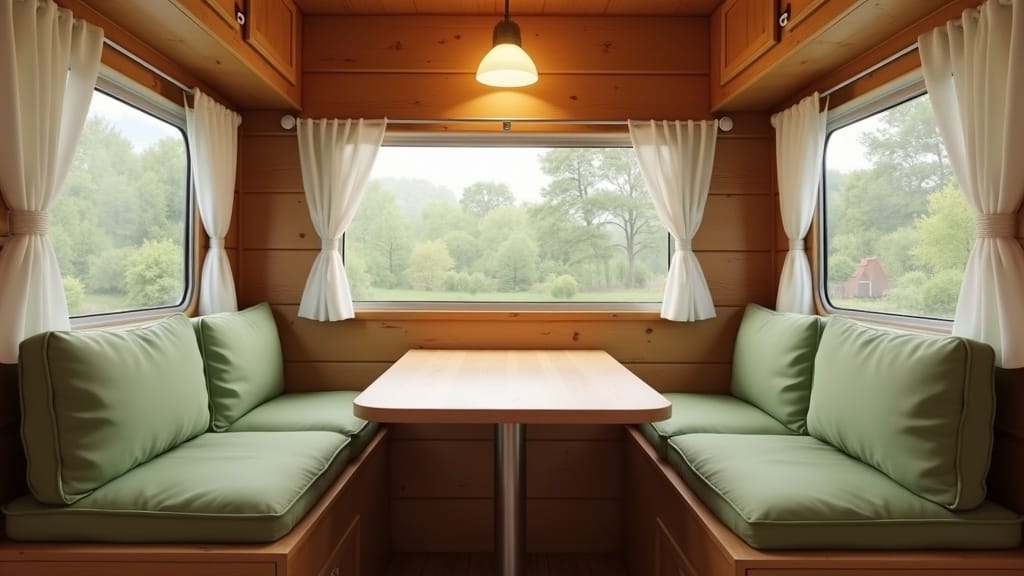
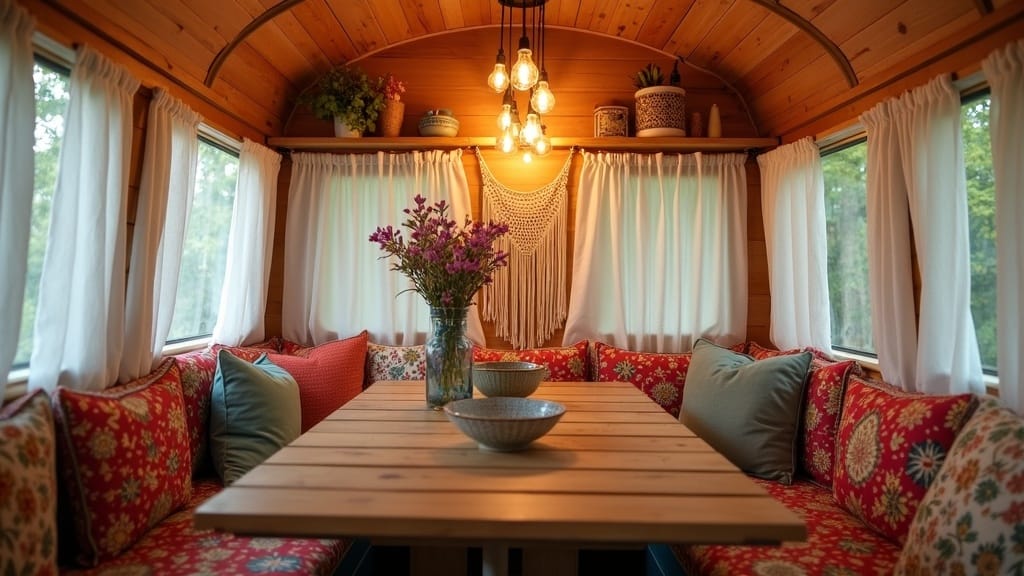
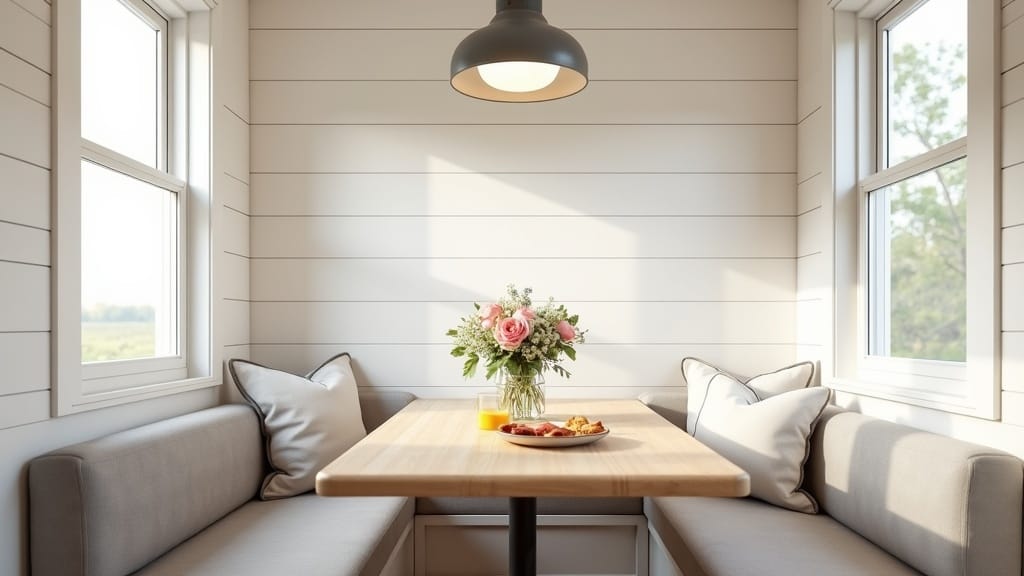
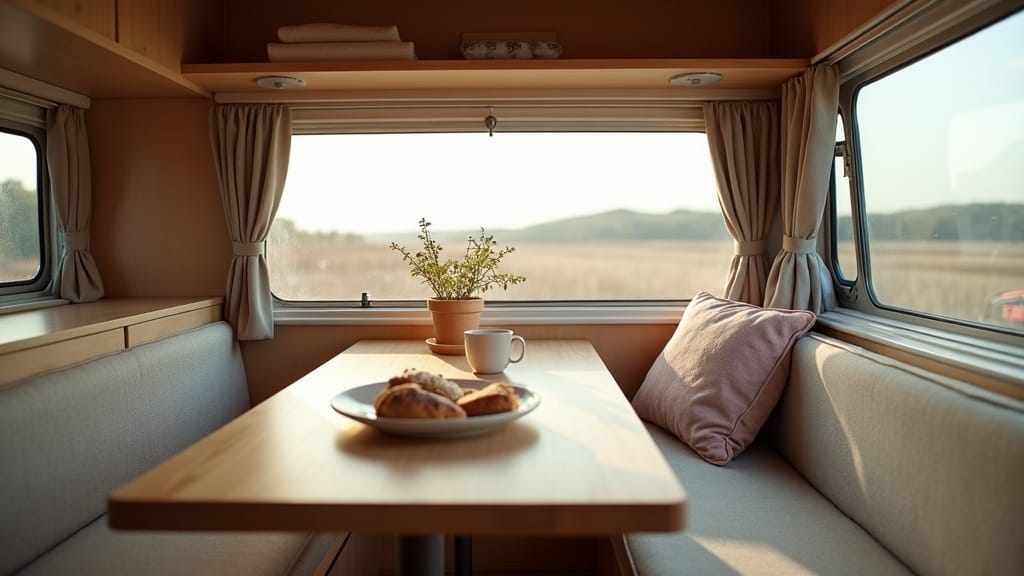
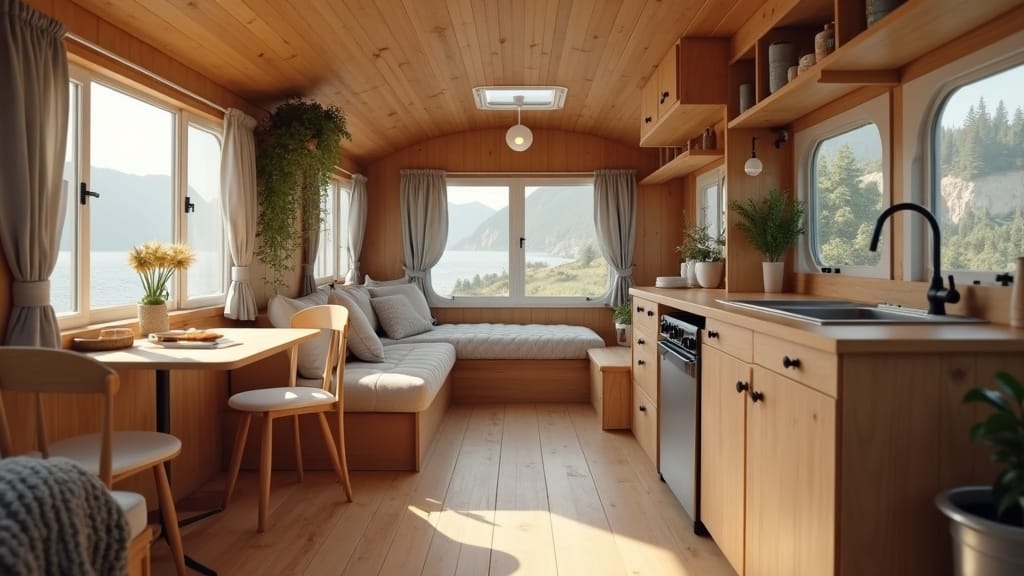
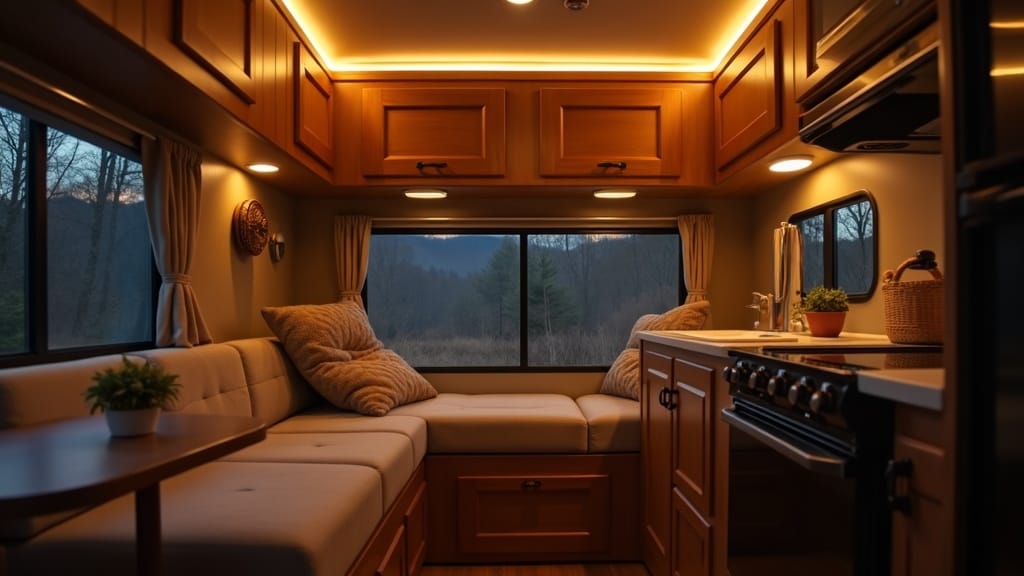
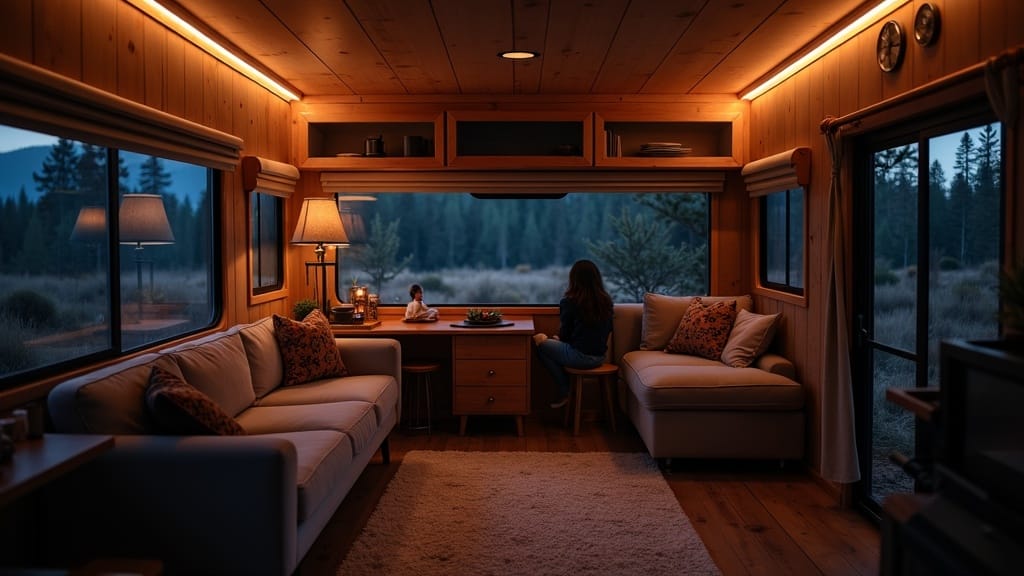
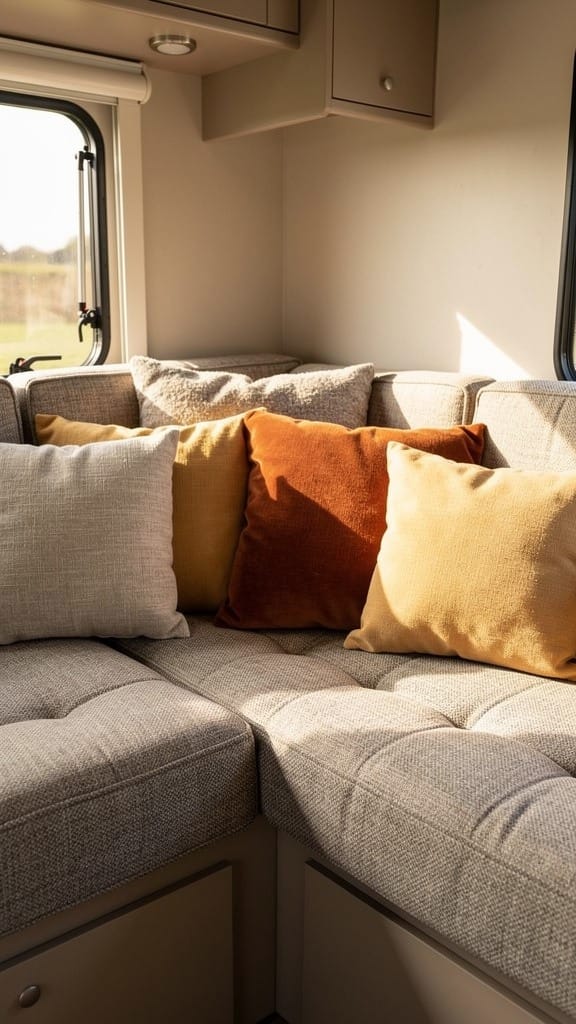
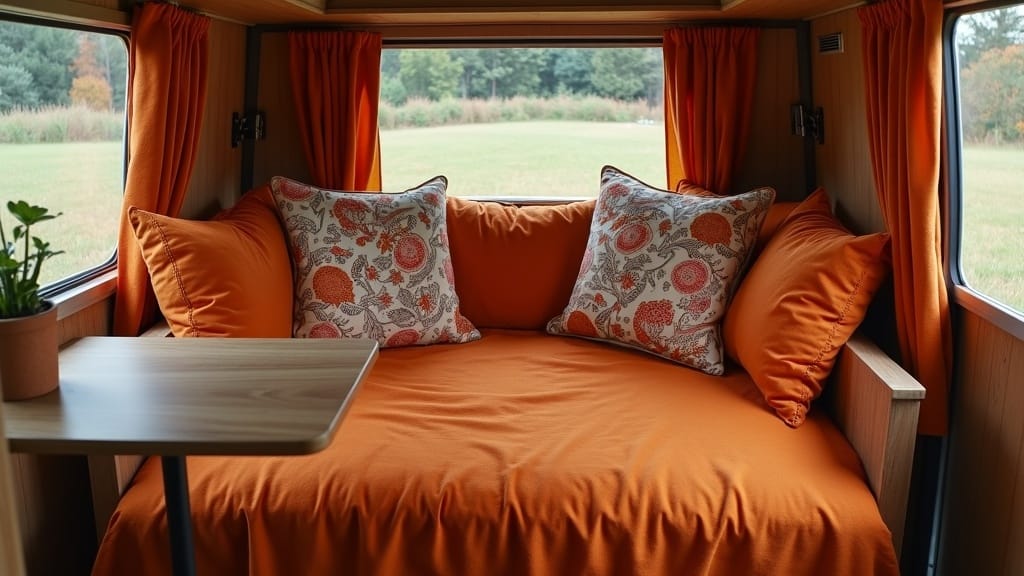
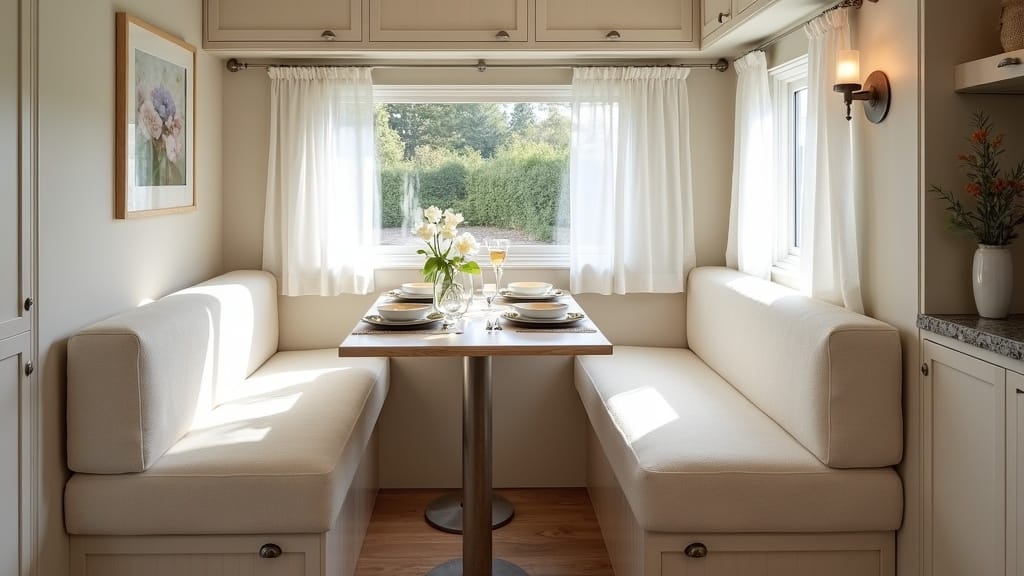
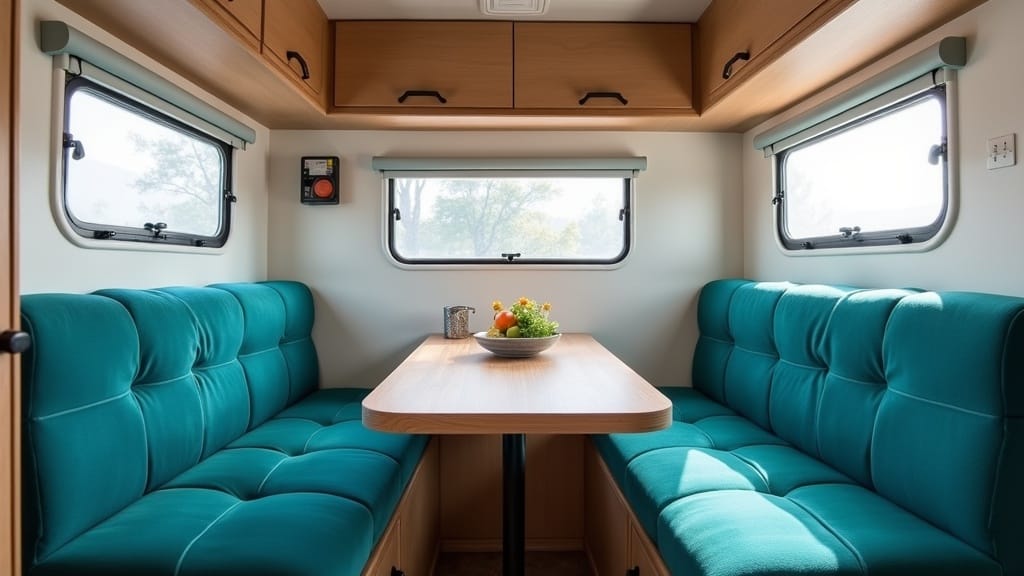
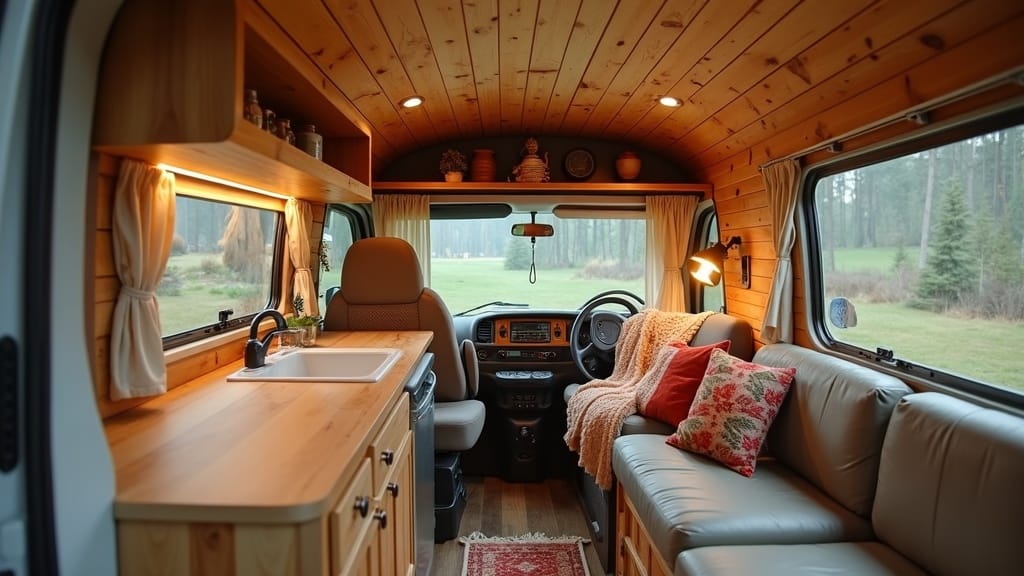
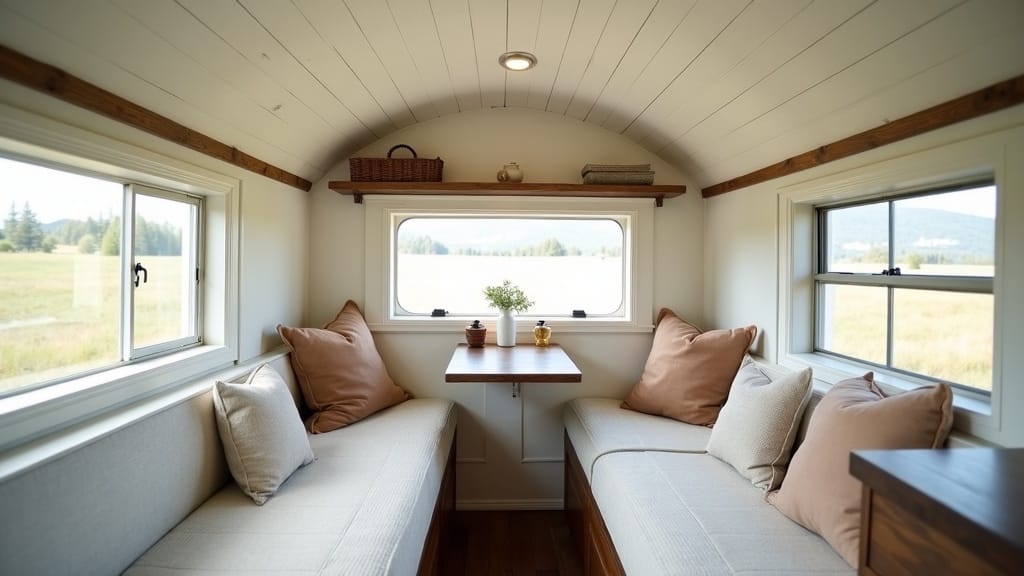
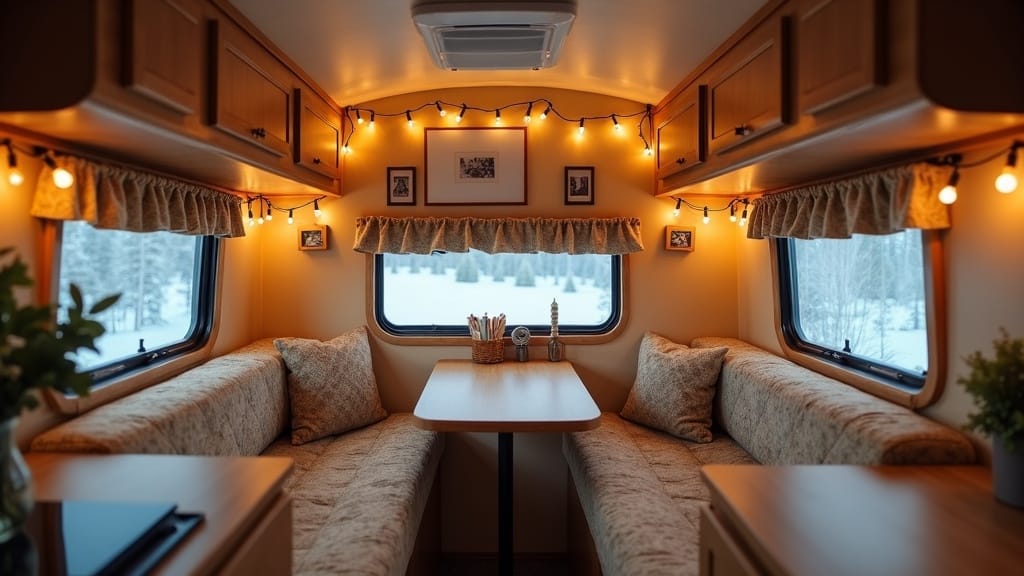
4. Create a Cozy Dining Nook Revamp
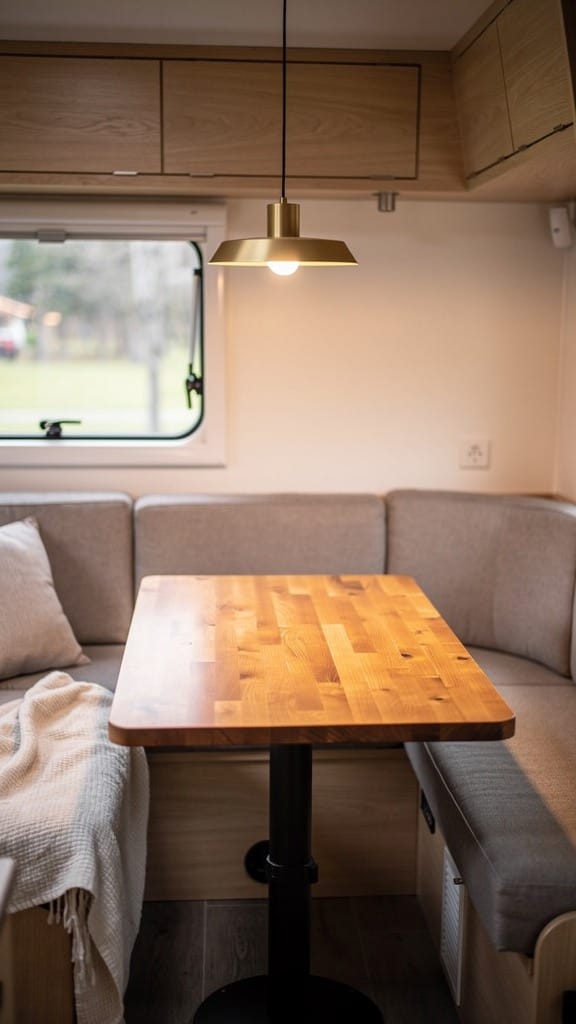
The dinette is one of the most-used spaces in a camper, so why not make it special? Updating the cushions, table, and lighting turns it into a comfortable hangout zone for meals or board games.
Cozy Touches
- Reupholster cushions with durable, washable fabric.
- Swap out the tabletop for a butcher block for warmth.
- Hang a pendant light or sconce for ambiance.
A refreshed dining area feels more inviting and functional, perfect for lingering conversations and coffee breaks. My brother reupholstered his dinette cushions last summer — same foam, new fabric, and the spot that everyone used to avoid became the one where everyone ends up sitting.
A cozy dining nook turns into one of the most inviting spots in the camper:
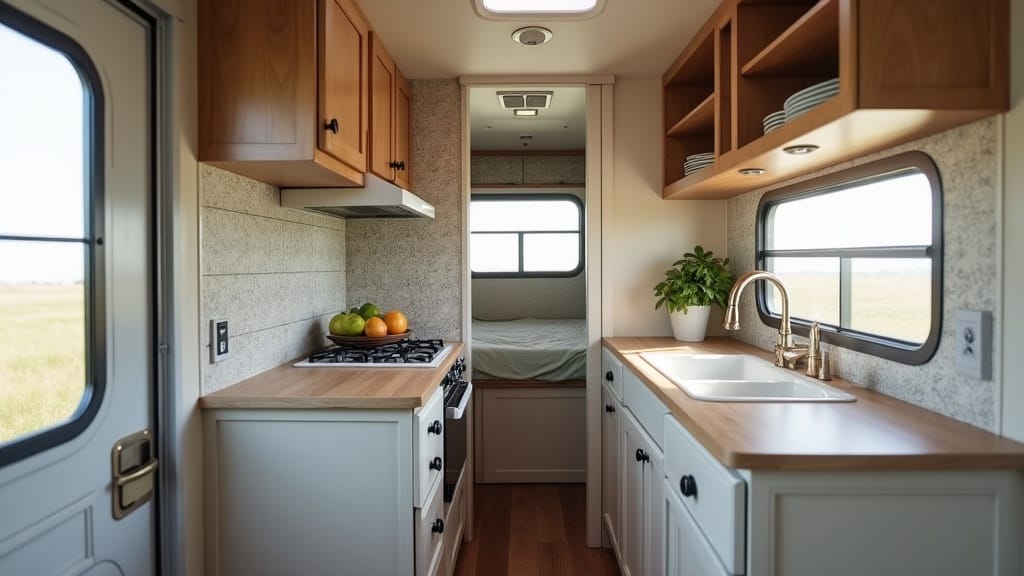
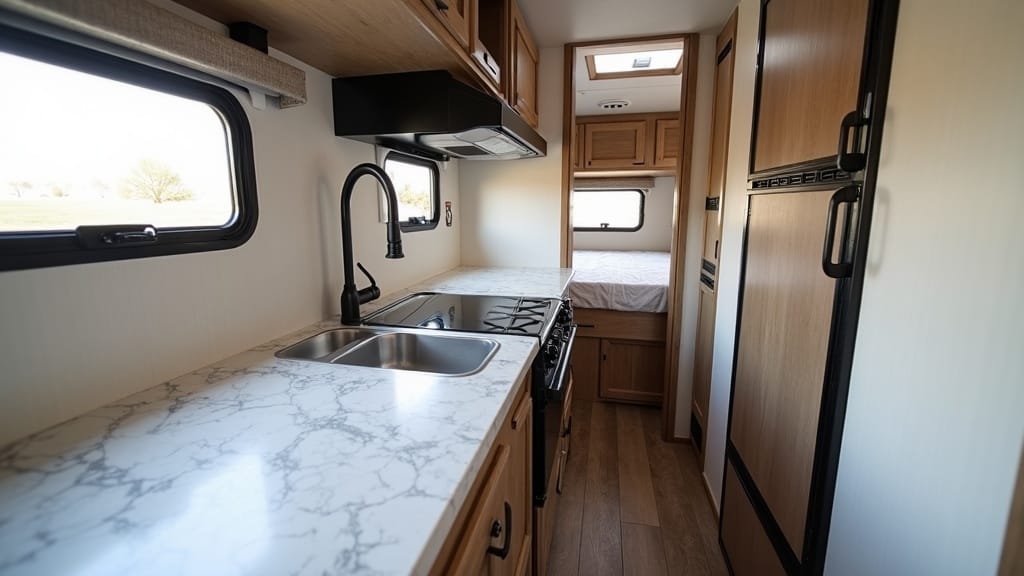
5. Install Vinyl Plank Flooring
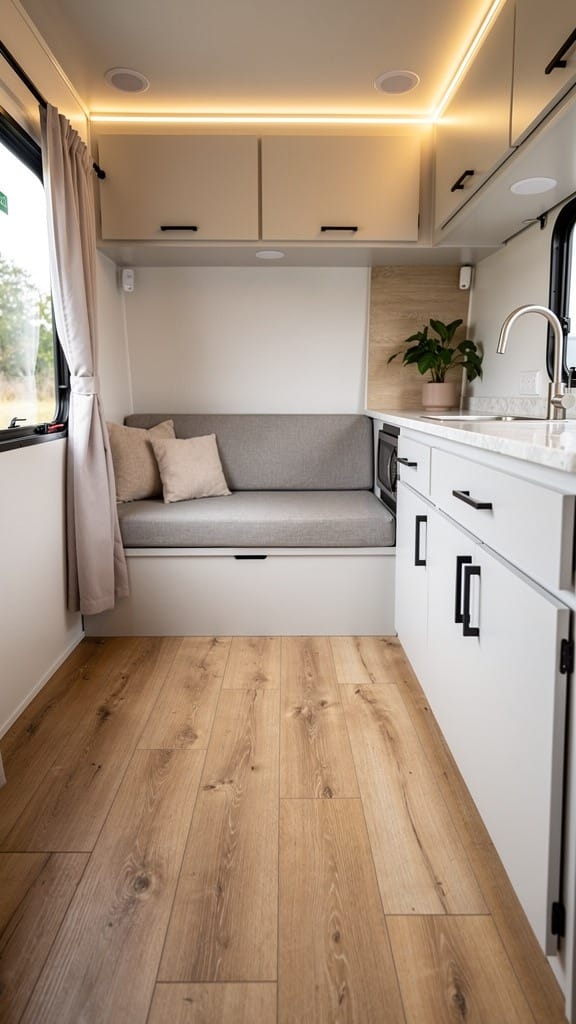
Dingy old floors are instant mood killers. Vinyl plank flooring is durable, easy to install, and water-resistant, everything a camper floor should be. It also looks surprisingly upscale.
Key Design Elements
- Choose lighter tones to open up small spaces.
- Opt for click-together planks for easier installation.
- Add area rugs for comfort and style layering.
Once you install new flooring, your whole camper feels refreshed. It’s an upgrade that totally changes the vibe underfoot, literally! If you're planning a bigger interior overhaul, our list of cute camper interior ideas is a great place to continue the inspiration.
Vinyl plank flooring is one of those upgrades you feel underfoot every day, durable, warm, and surprisingly easy to install:

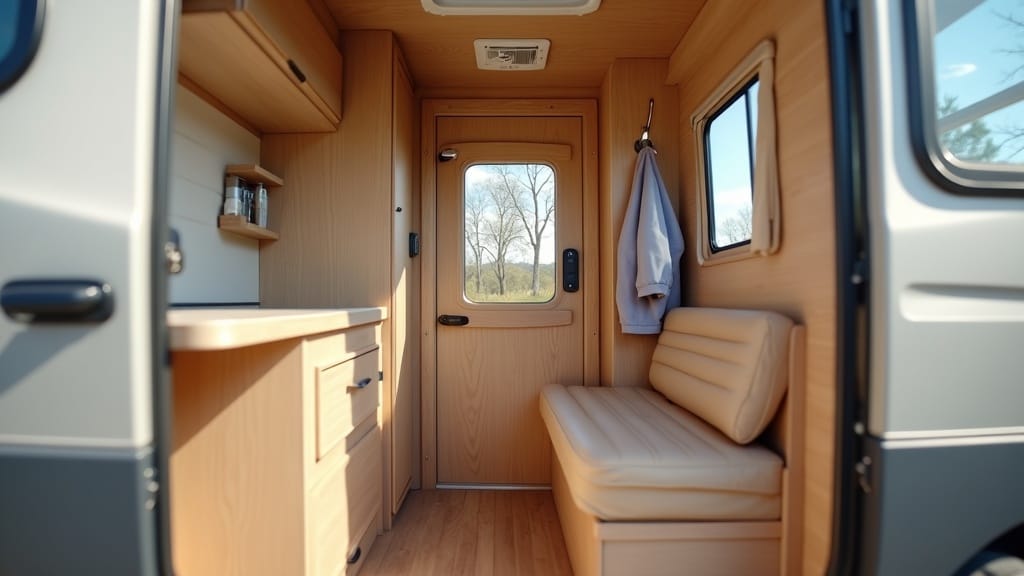
6. Build a Functional Entryway Space
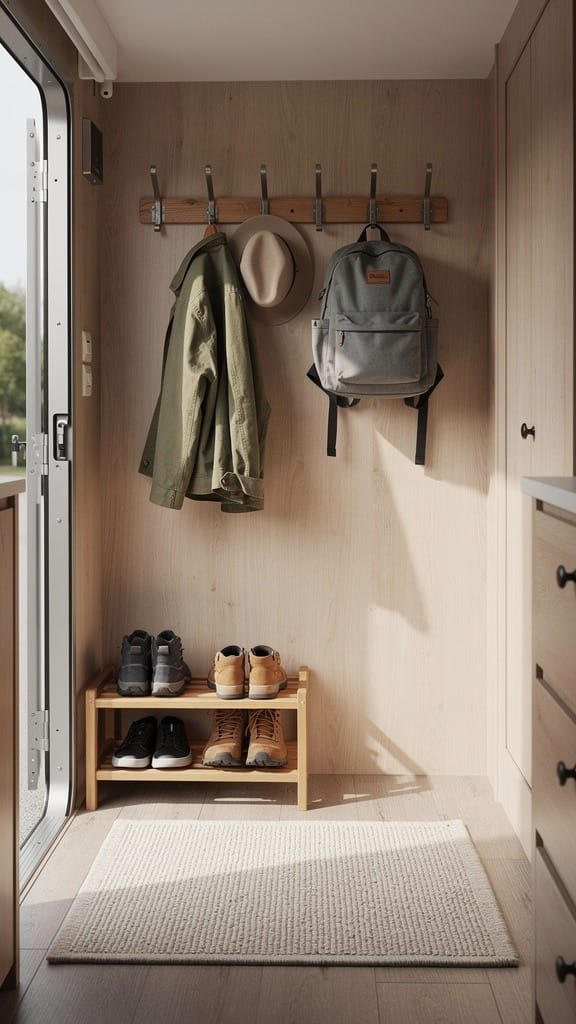
Even if your camper’s entryway is tiny, it deserves attention. A small organization zone helps keep shoes, keys, and coats in check. No more tripping over clutter when you walk in!
Layout Suggestions
- Add a narrow bench with hidden storage.
- Install hooks or a peg rail for jackets and bags.
- Use a welcome mat that traps dirt before it spreads.
This little makeover adds immediate convenience and helps your camper feel more like a real home. Getting the overall flow right matters too, and these small camper layout ideas help you plan the whole space.
A well-thought-out entryway keeps the whole camper feeling organized from the start:
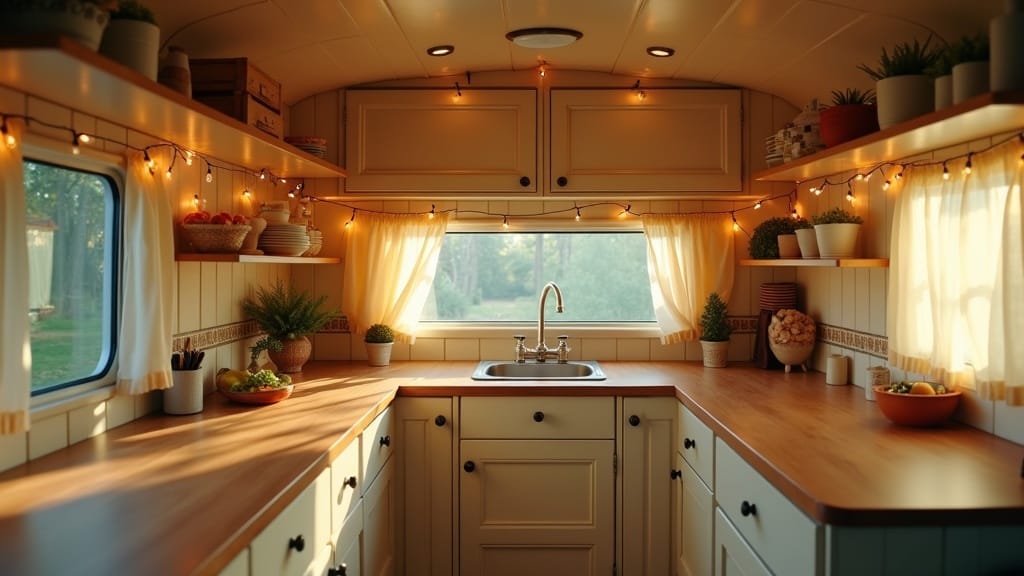
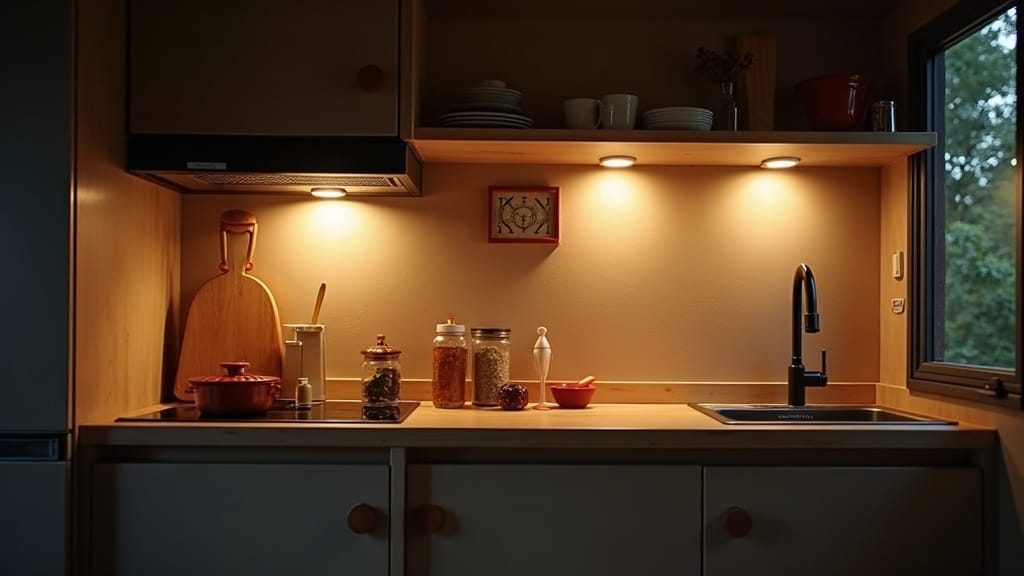
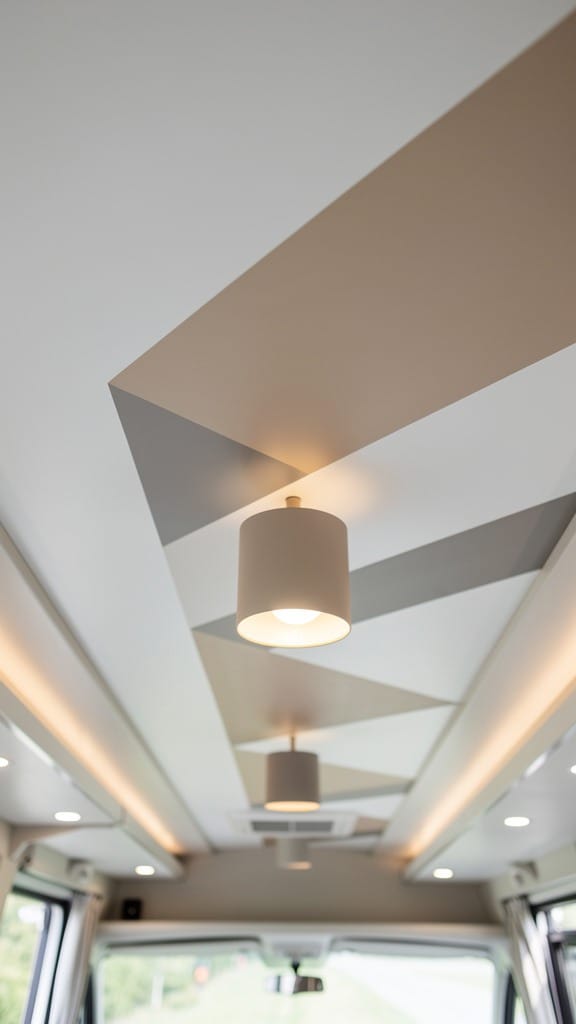
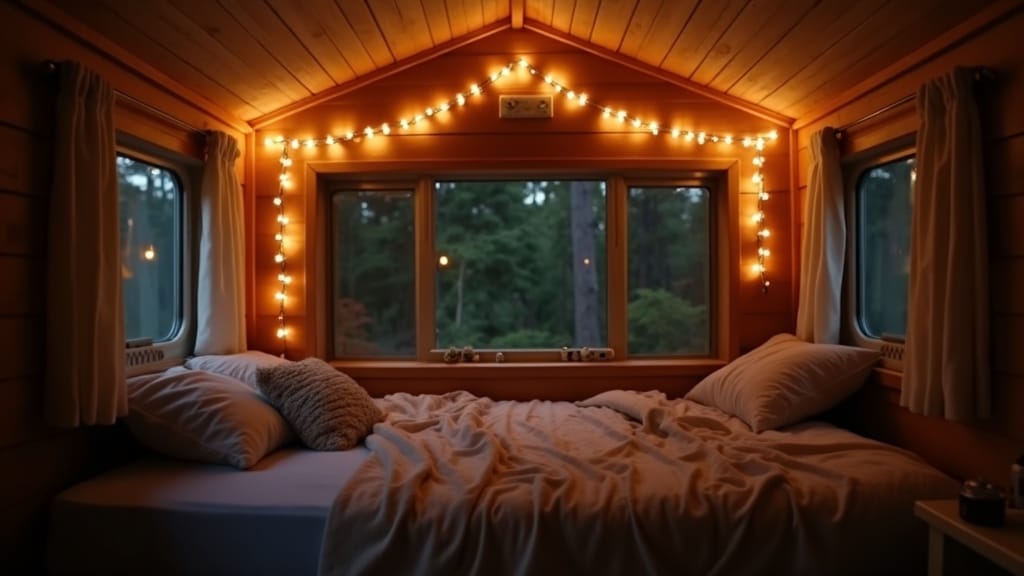
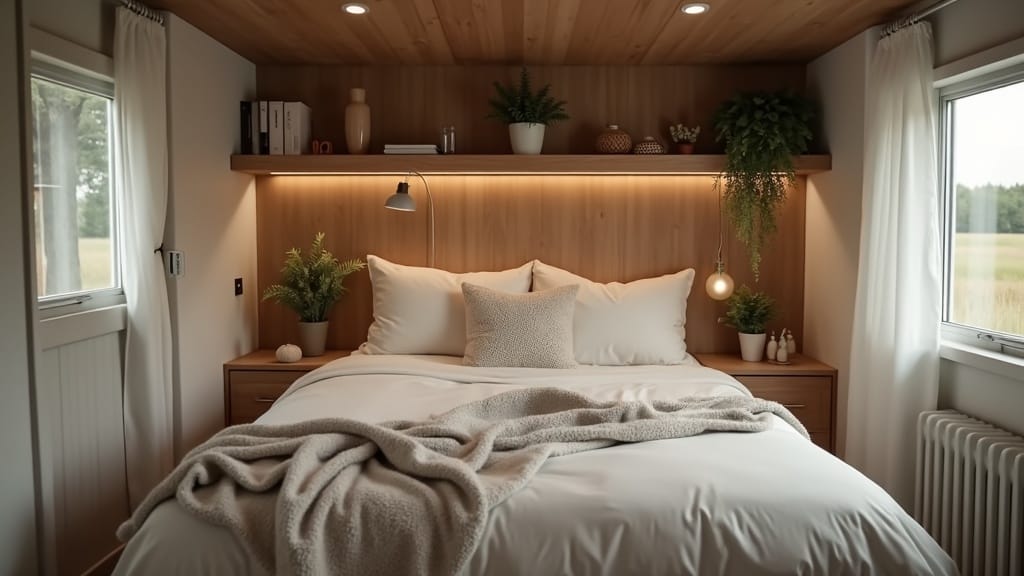
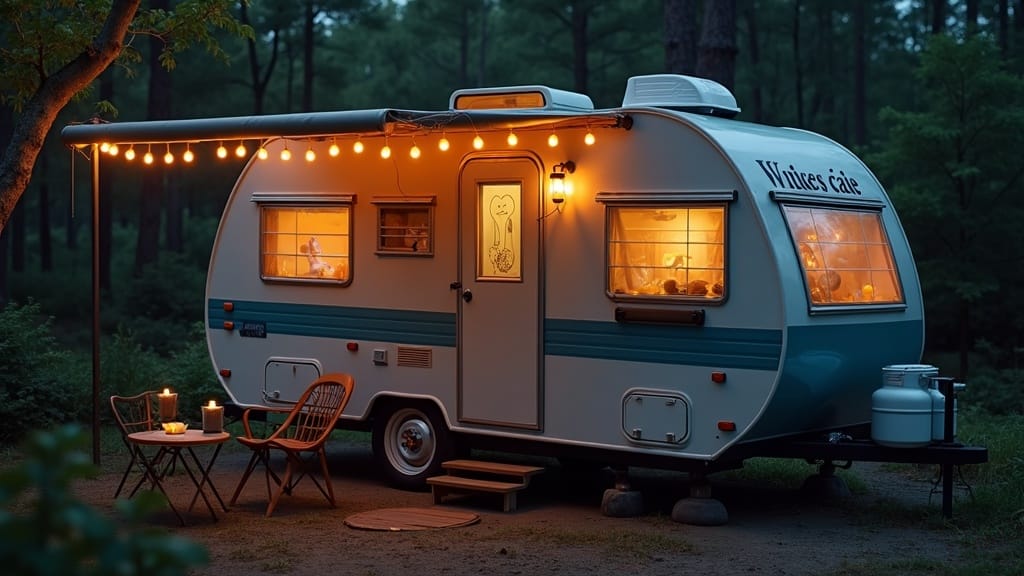
7. Add LED Strip Lighting for Ambience
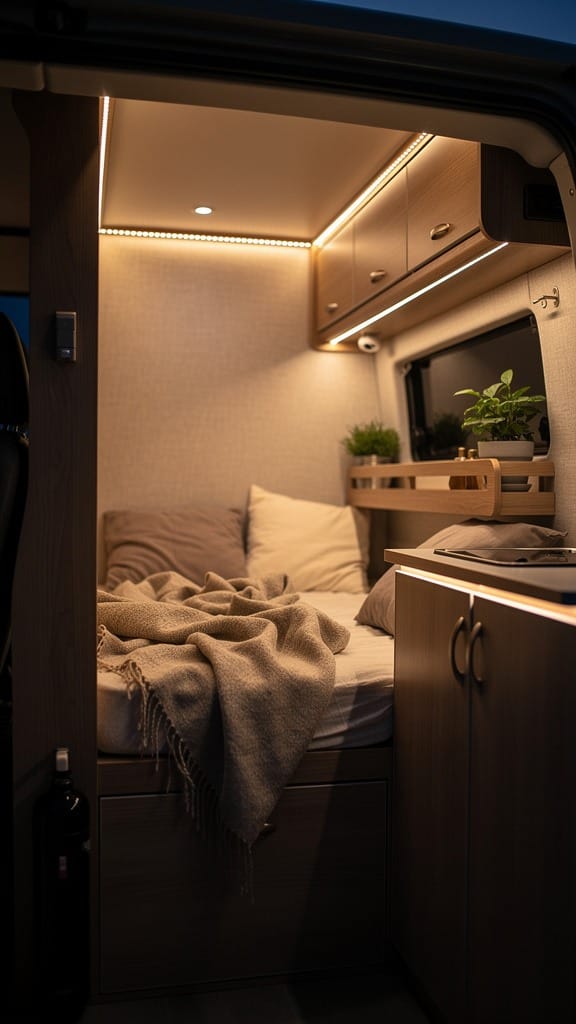
Lighting does more for the mood of a camper than any throw pillow ever will. LED strips pull almost nothing off the house battery, and go up under cabinets and along ceiling trim in an afternoon, just buy the ones with a proper adhesive backing; the cheap rolls fall off once it gets warm inside.
Lighting Tricks
- Run LED strips under cabinets for a soft glow.
- Install color-changing LEDs for mood lighting.
- Use battery-operated remotes for easy control.
The difference is immediate, soft warm light under the cabinets in the evening turns a tin box into somewhere you actually want to spend time. I helped a friend set these up in her camper a couple of years back and she said it was the one change she'd do first if starting over. For more lighting inspiration, see our guide to cozy camper lighting ideas.
✨ While you’re here:How to Make a Small Camper Feel Bigger→
LED strip lighting is one of the cheapest ways to completely change the mood inside:
Get the look: Shop camper LED strip lights on Amazon →
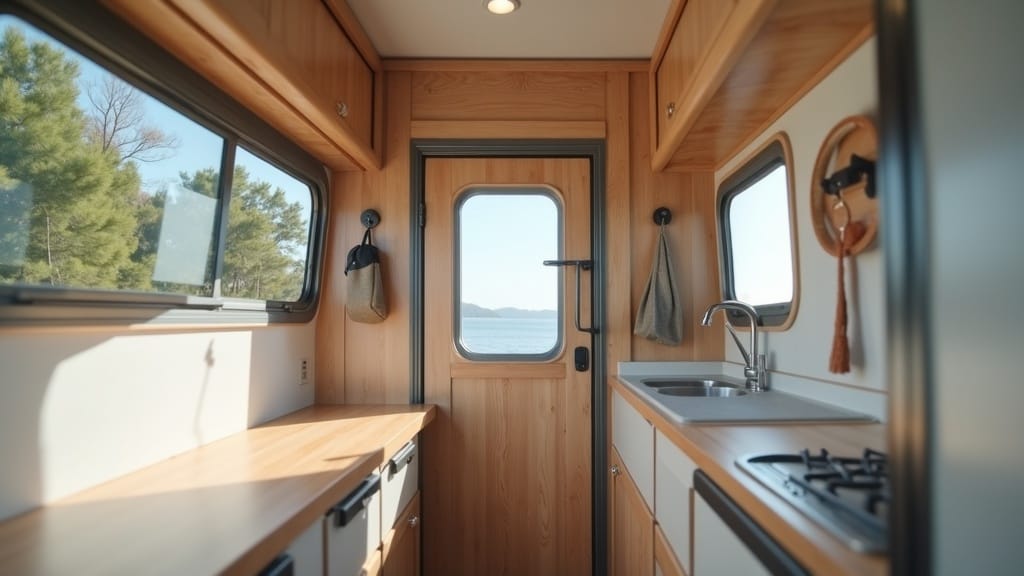
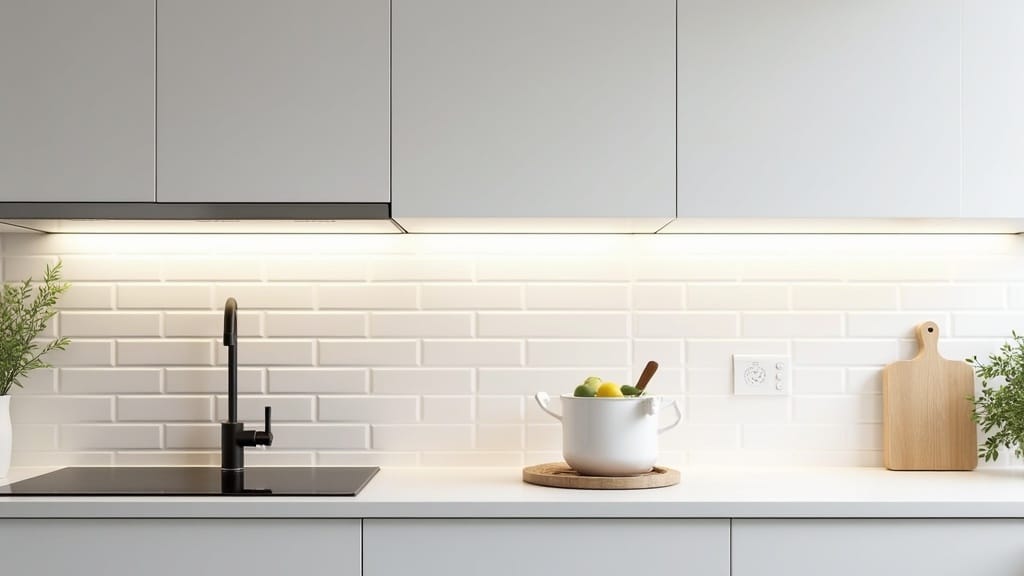
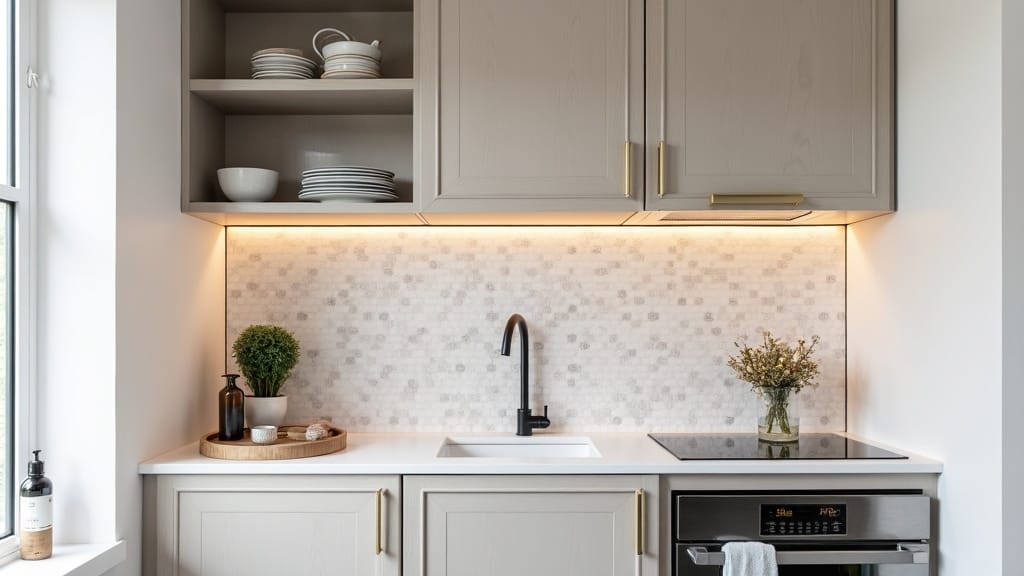
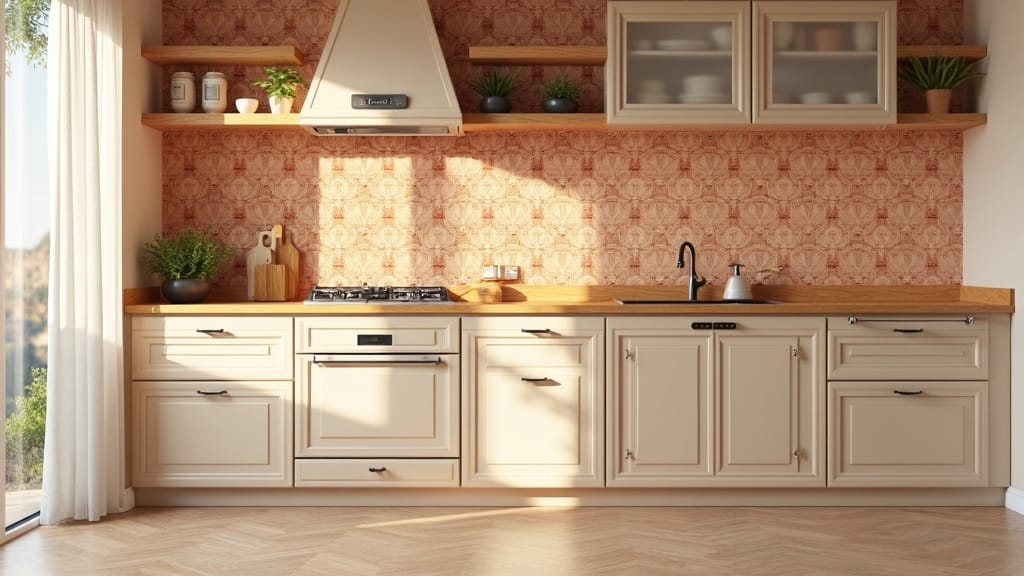
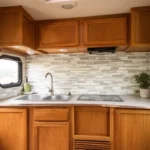
8. Build a Removable Backsplash
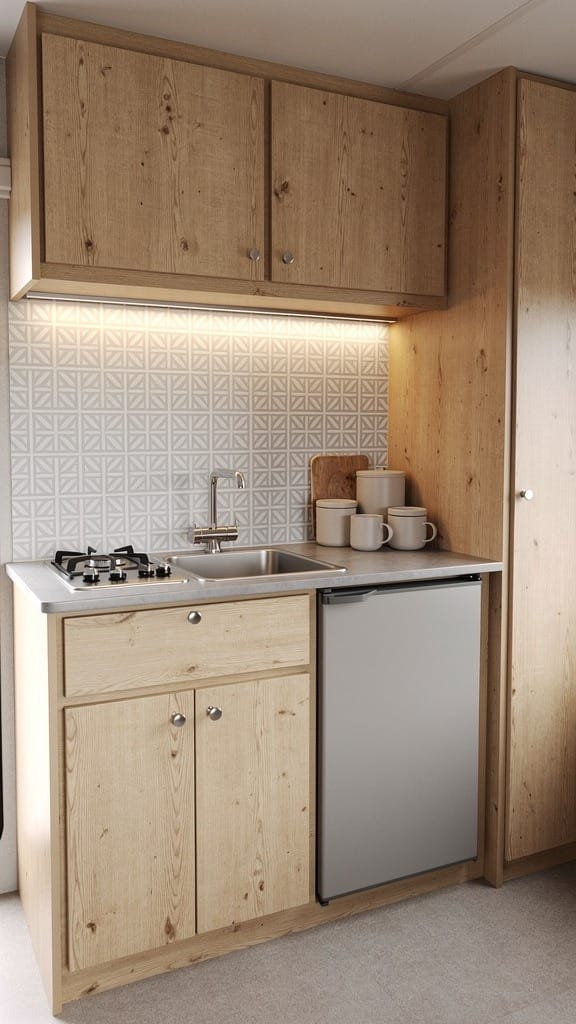
Your kitchenette deserves a pop of personality too! A peel-and-stick backsplash adds style without the weight or permanence of real tile.
Decorating Details
- Choose mosaic or subway tile designs for a classic look.
- Stick with heat- and water-resistant materials near cooking areas.
- Use a coordinating color with your countertop for cohesion.
This update makes your camper kitchen shine, and it’s completely reversible if you ever want to change it up later.
A simple backsplash protects the wall and adds serious character to a camper kitchen:
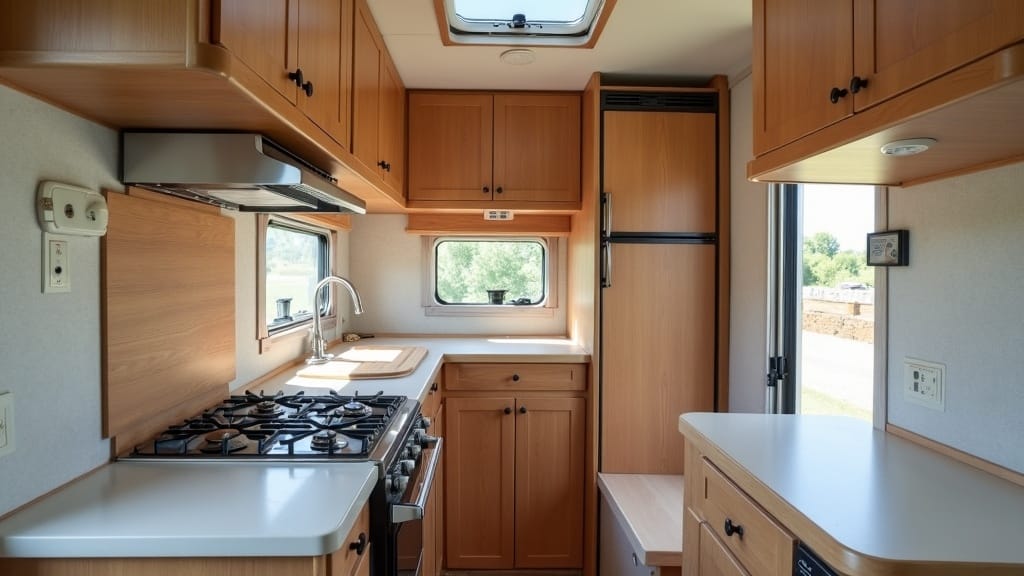
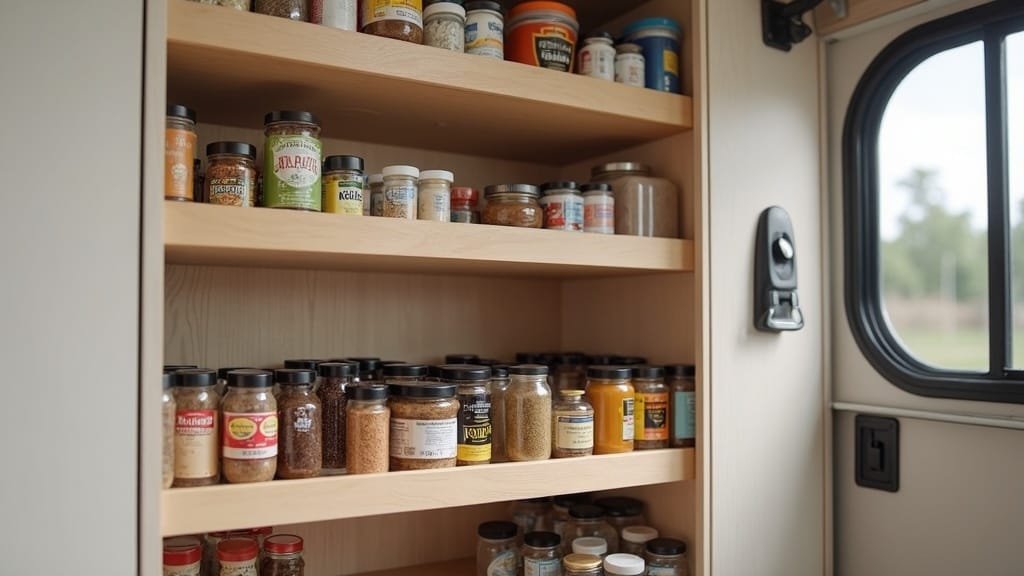
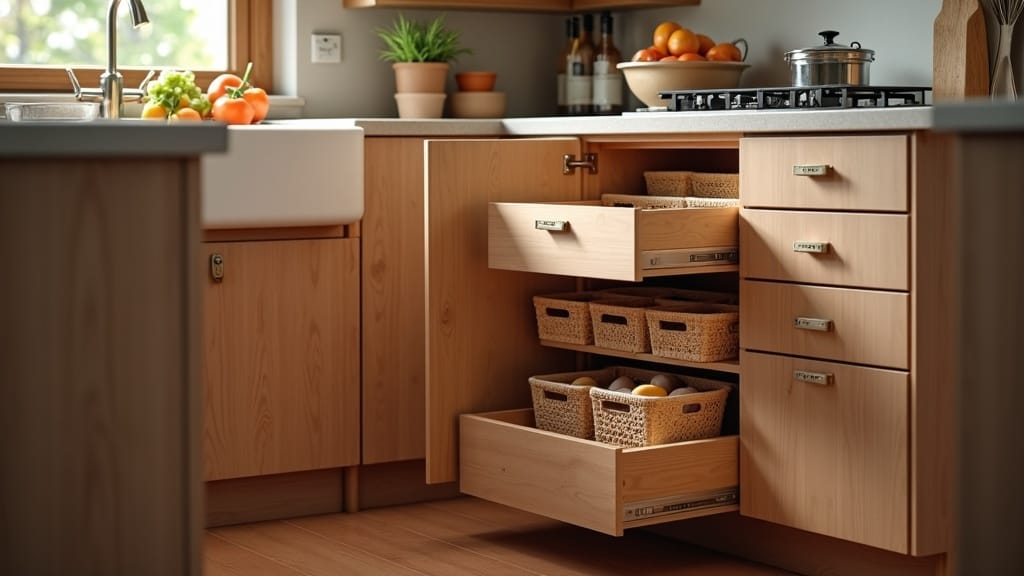
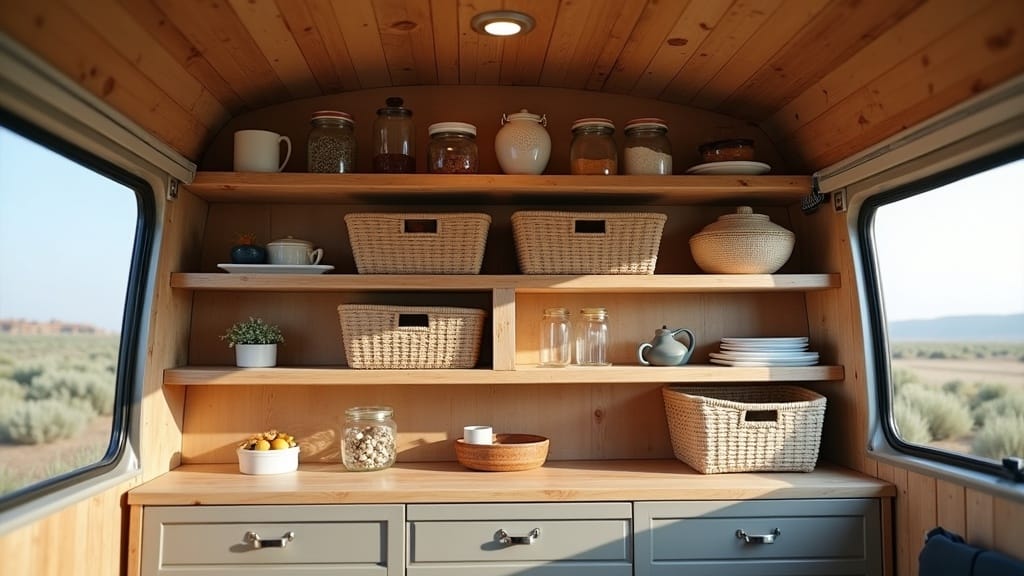
9. Install a Pull-Out Pantry for More Storage
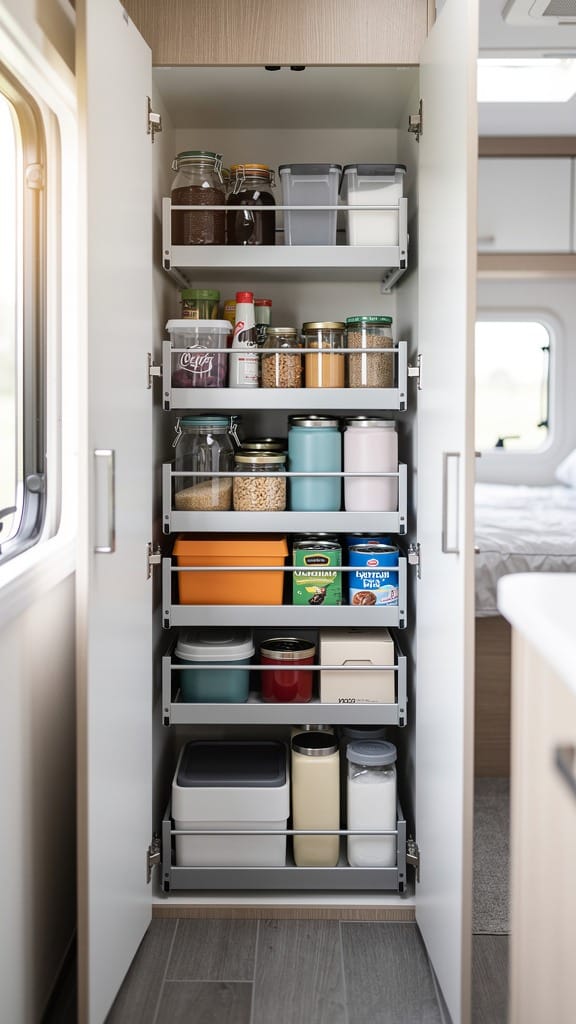
Storage is like gold in campers. A slim pull-out pantry helps you make use of narrow unused gaps between appliances or cabinets. It’s a genius DIY that instantly multiplies storage capacity.
Small Space Tricks
- Fit rolling shelves into small vertical spaces.
- Use lightweight wood or aluminum framing.
- Add labeled baskets or jars for organization.
This clever addition gives you a surprising amount of room for dry goods and snacks, essential for long road trips. If maximizing storage is your main goal, our dedicated guide on small camper storage ideas goes even deeper into smart solutions.
A pull-out pantry turns dead wall space into one of the most useful spots in the kitchen:
Get the look: Shop this pull-out cabinet organizer on Amazon →
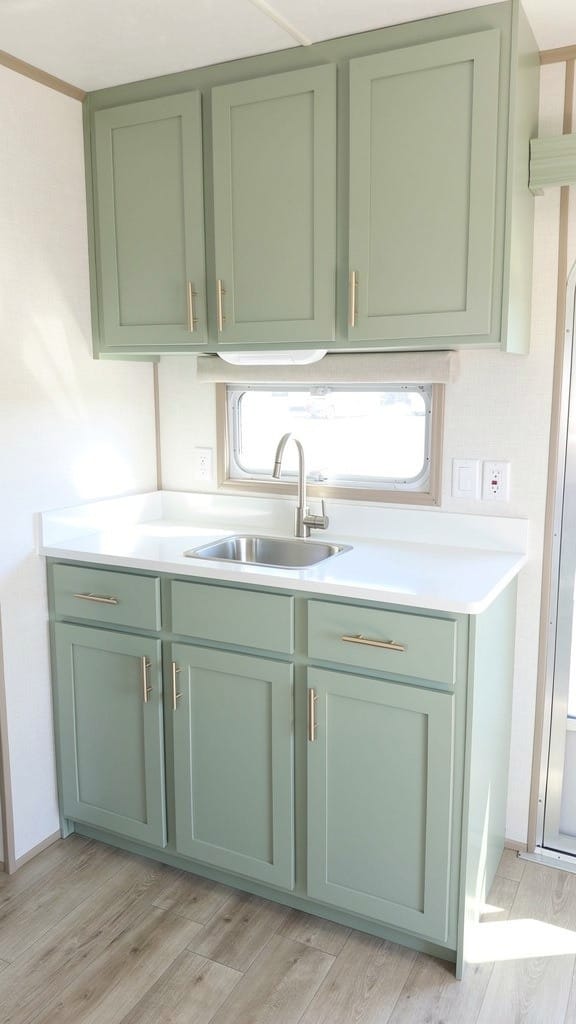
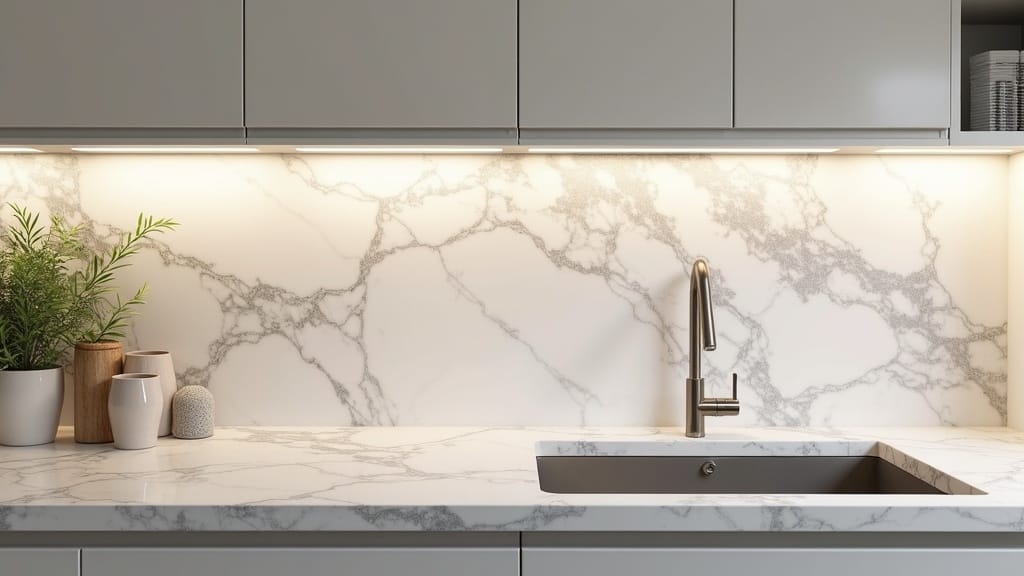
10. Update Countertops with Contact Paper
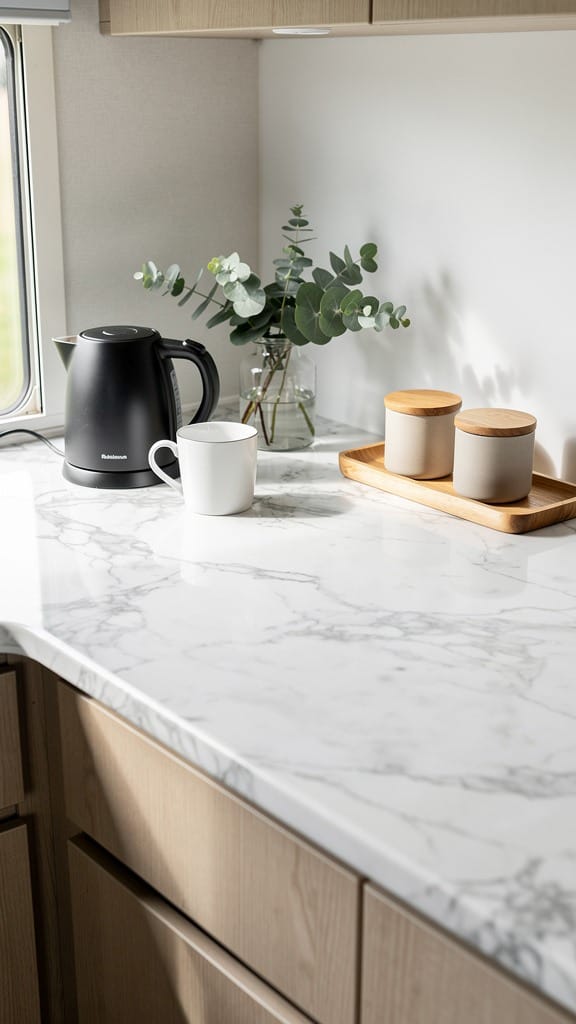
Real countertop replacements can get pricey, but contact paper is an easy workaround. Modern designs look incredibly convincing and cost just a few dollars per roll.
Materials To Try
- Marble-effect vinyl for a modern kitchen feel.
- Butcher-block print for warmth and rustic charm.
- Matte finishes to reduce glare and smudges.
It’s a quick win and can completely uplift your cooking area without requiring major tools or skills.
Contact paper on the countertop is one of those surprisingly convincing upgrades:
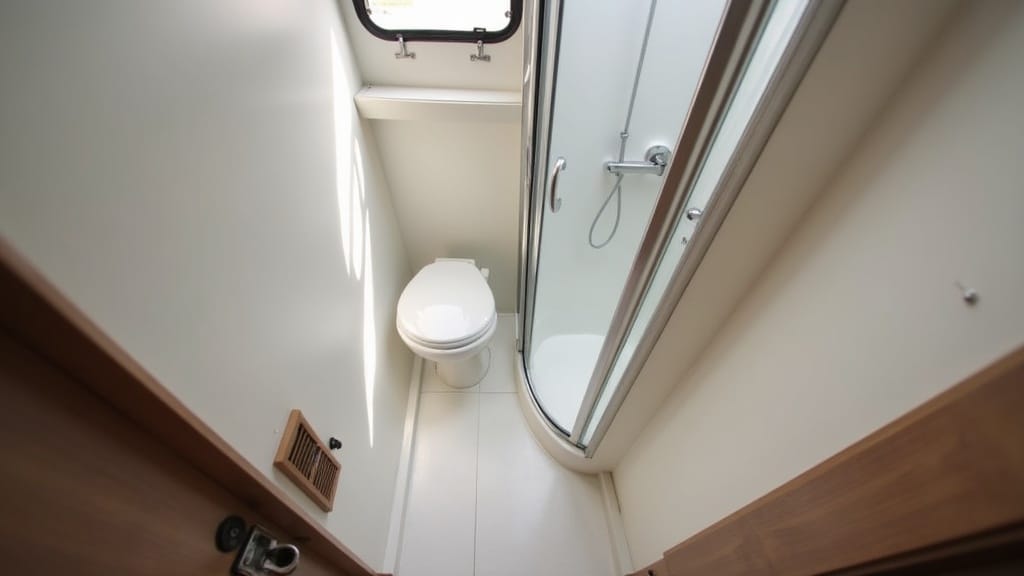
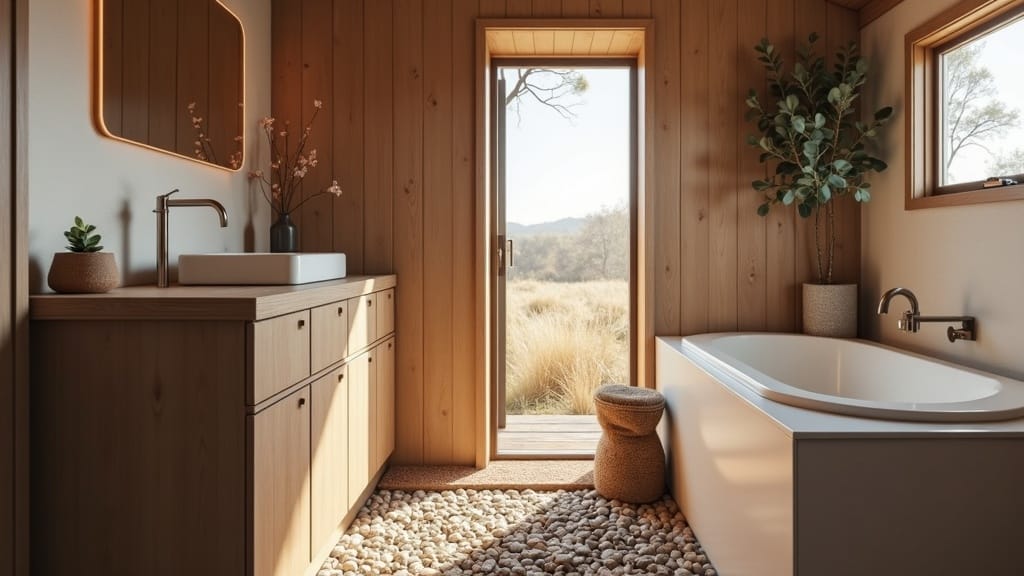
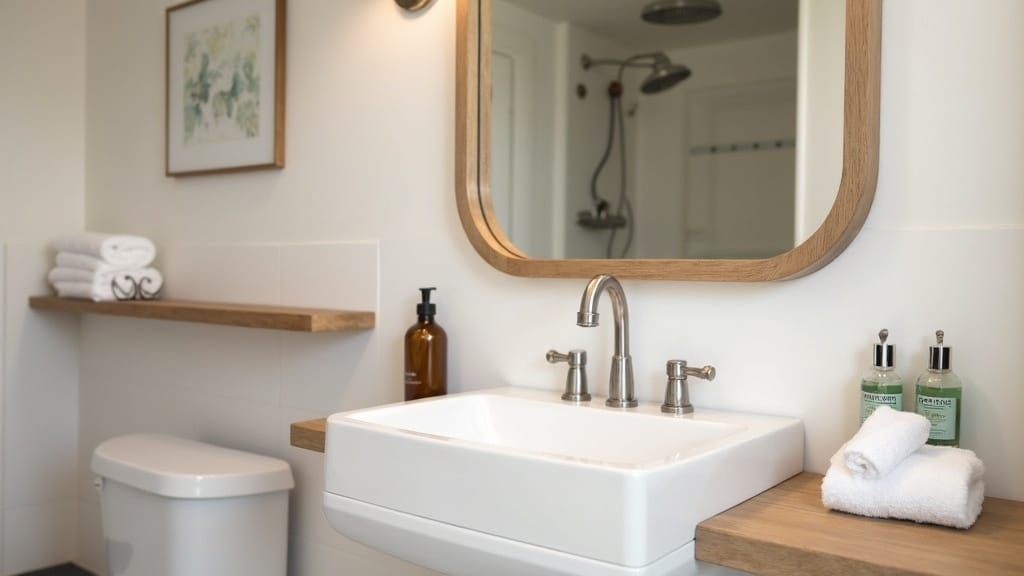
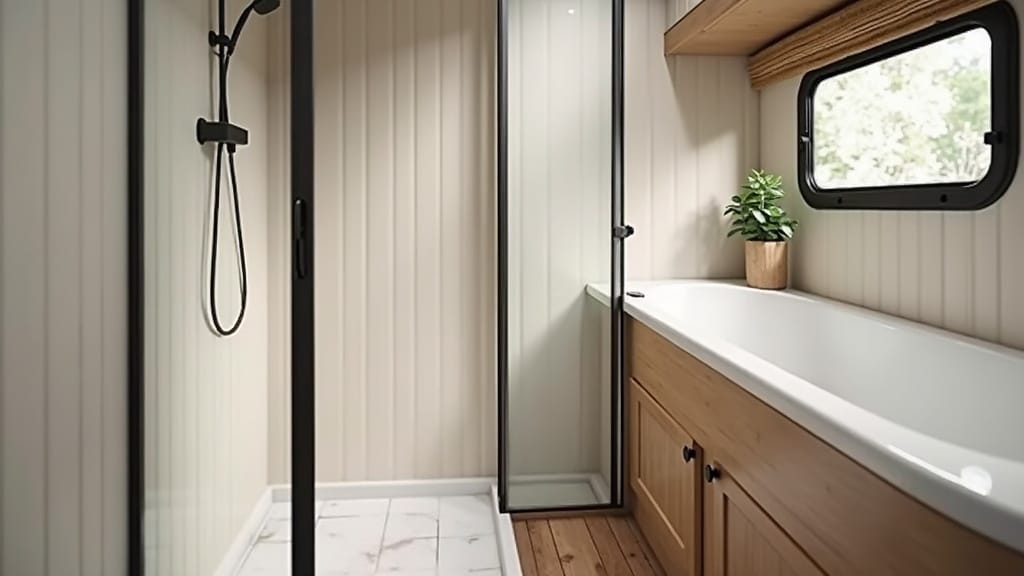
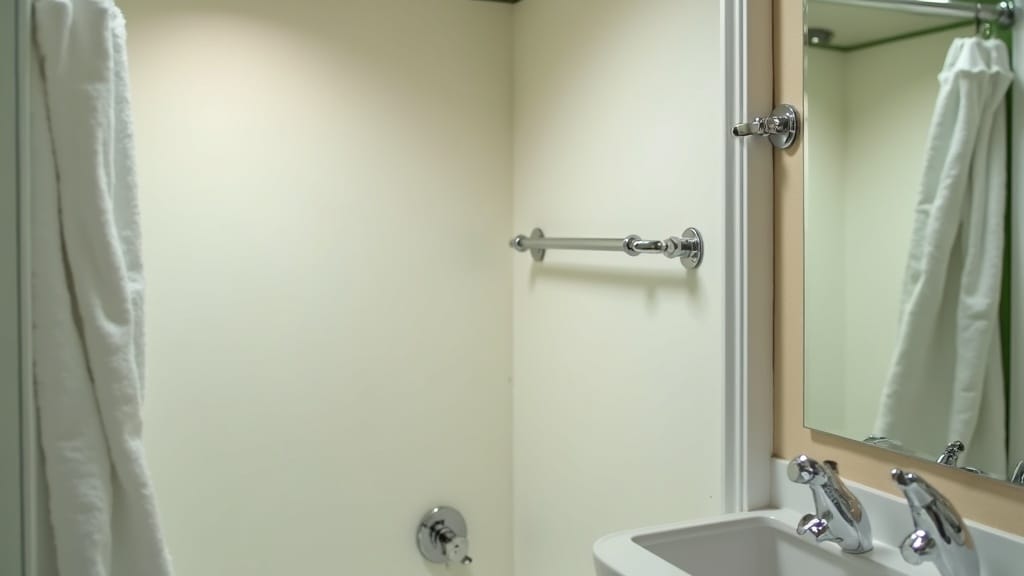
11. Convert the Bathroom into a Mini Spa Oasis
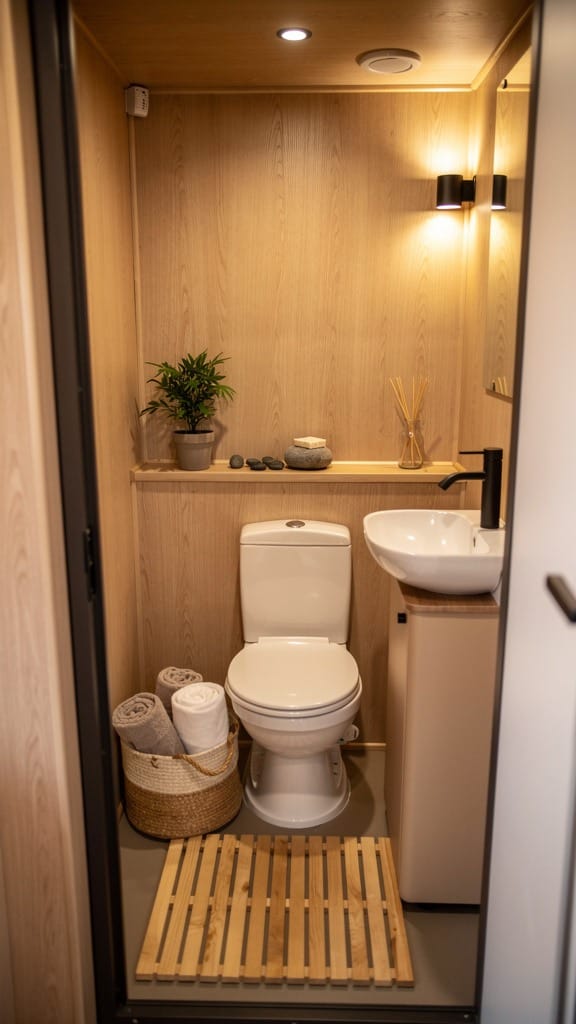
A cramped camper bathroom doesn’t have to feel like an airplane lavatory. With a few tweaks, it can become a refreshing little retreat after a long hike.
Cozy Touches
- Add bamboo bath mats and matching shelving.
- Swap plastic containers for amber glass bottles.
- Use eucalyptus or lavender scents for relaxation.
Once the bathroom is redone, you stop dreading it. Even with a small hot water tank, the right low-flow head and a proper surround turn it from a chore into the part of the day you actually want. Dollar for dollar, nothing else inside the camper raises daily comfort this much. If storage is your real headache in there, these tiny camper bathroom storage ideas help you use every inch.
Even the smallest camper bathroom can feel spa-like with the right details:

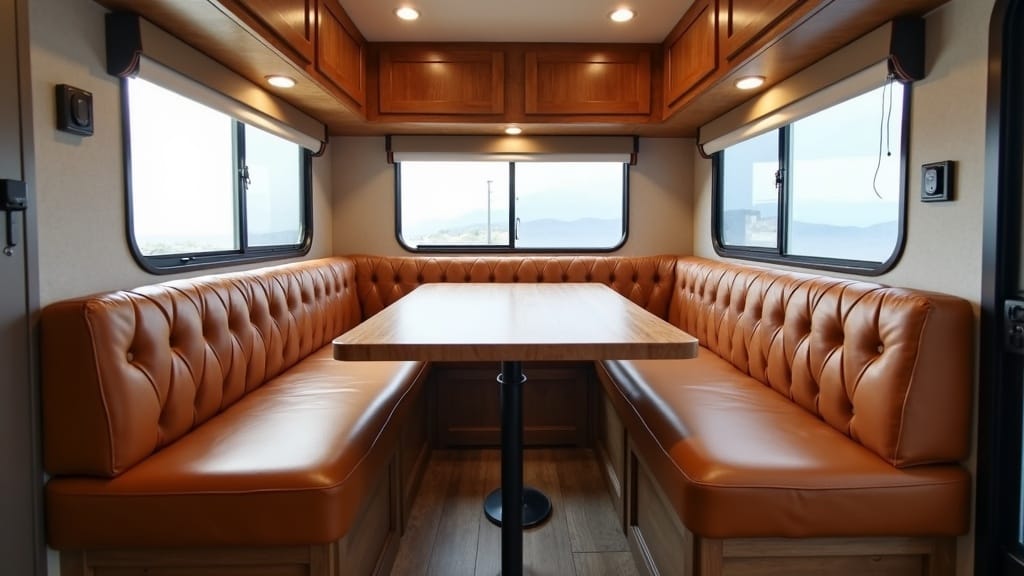
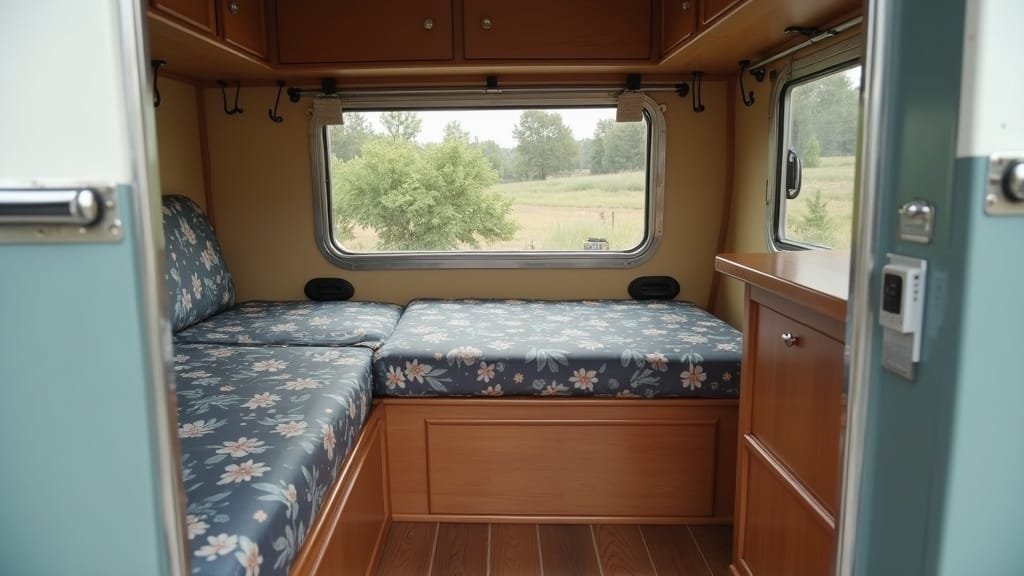
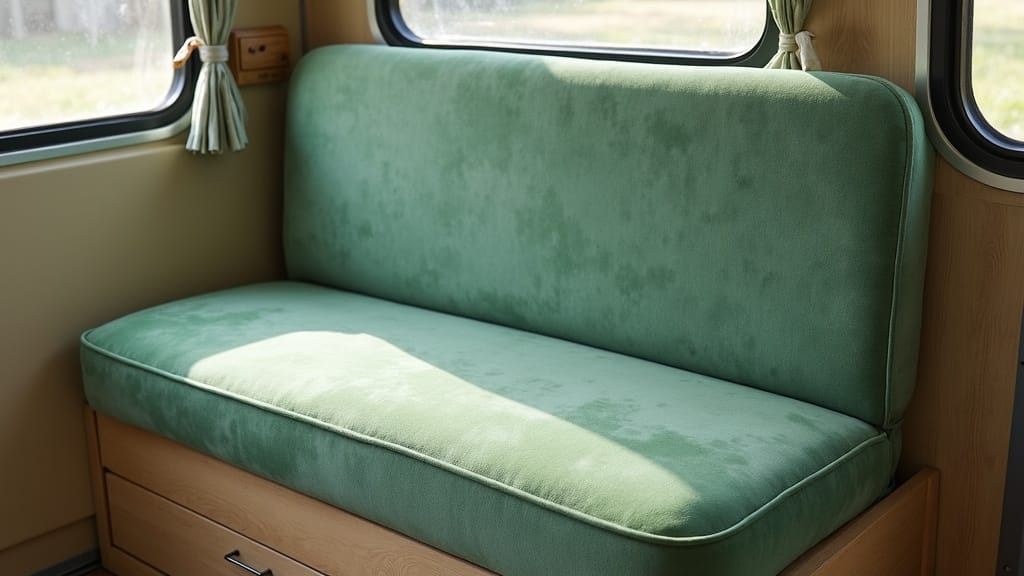
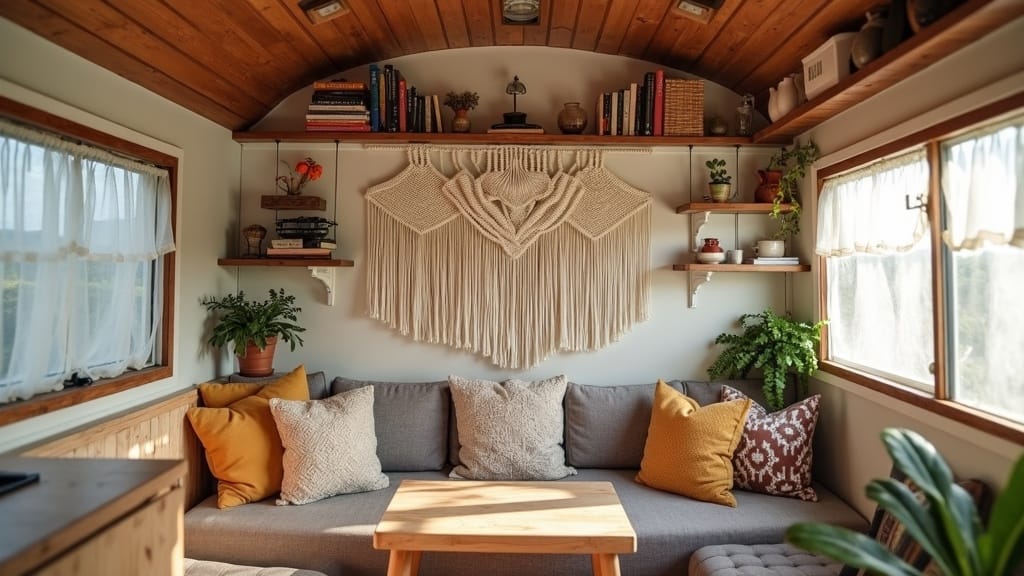
12. Reupholster Old Seating
Factory RV upholstery usually screams “beige 1990s.” Reupholstering gives your seating a fashionable new personality while maintaining comfort. Choose materials that can handle adventure life!
Materials To Try
- Outdoor fabrics that resist stains and fading.
- Leather or faux leather for easy cleaning.
- Removable slipcovers for washability and flexibility.
This is the kind of update that pulls your whole design theme together, making your space feel professional and cohesive. If you’re rethinking seating altogether, these space-saving camper furniture ideas show how the right pieces can work double duty.
Reupholstered seating makes a camper feel custom, and it's easier than it looks:
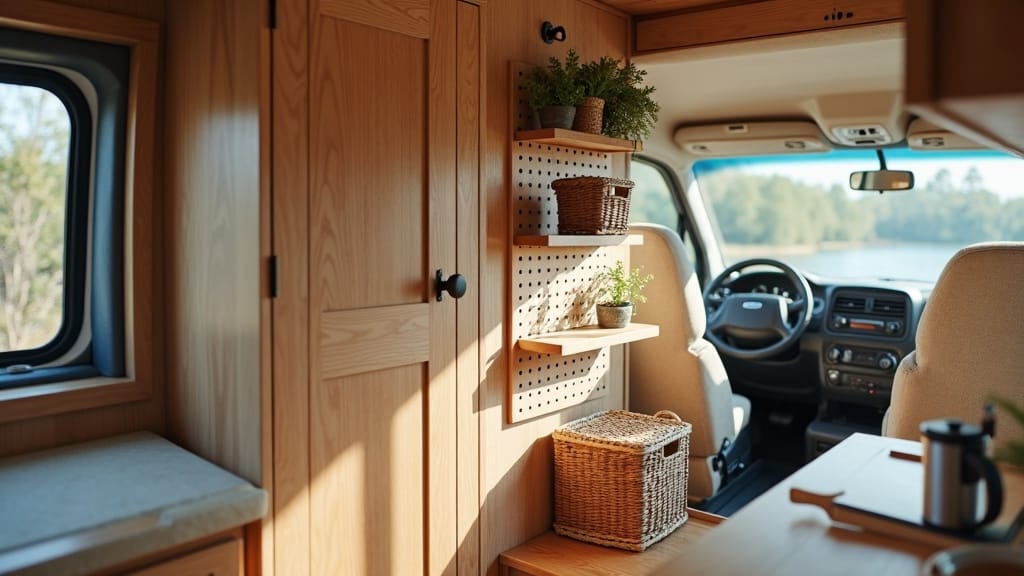
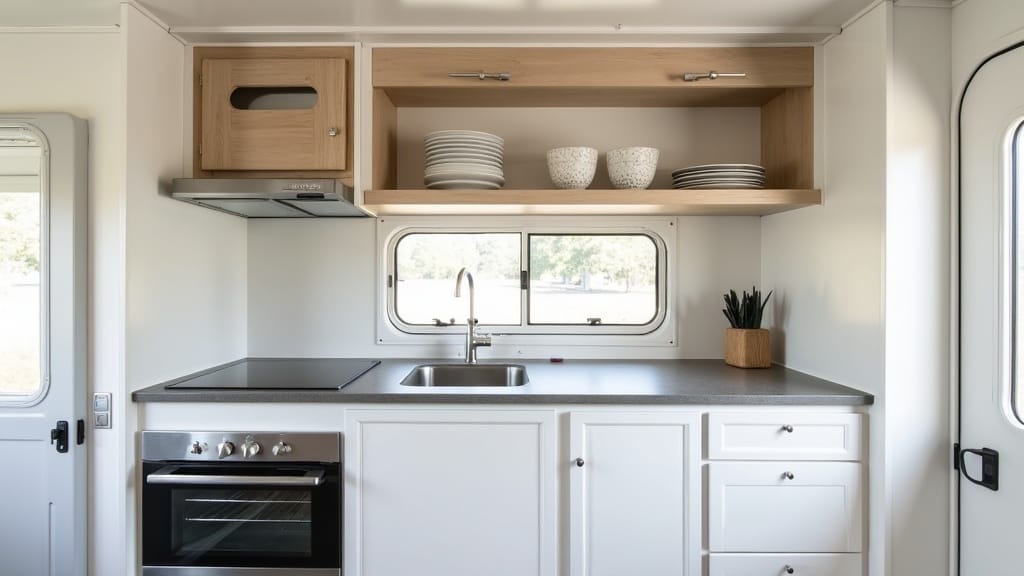
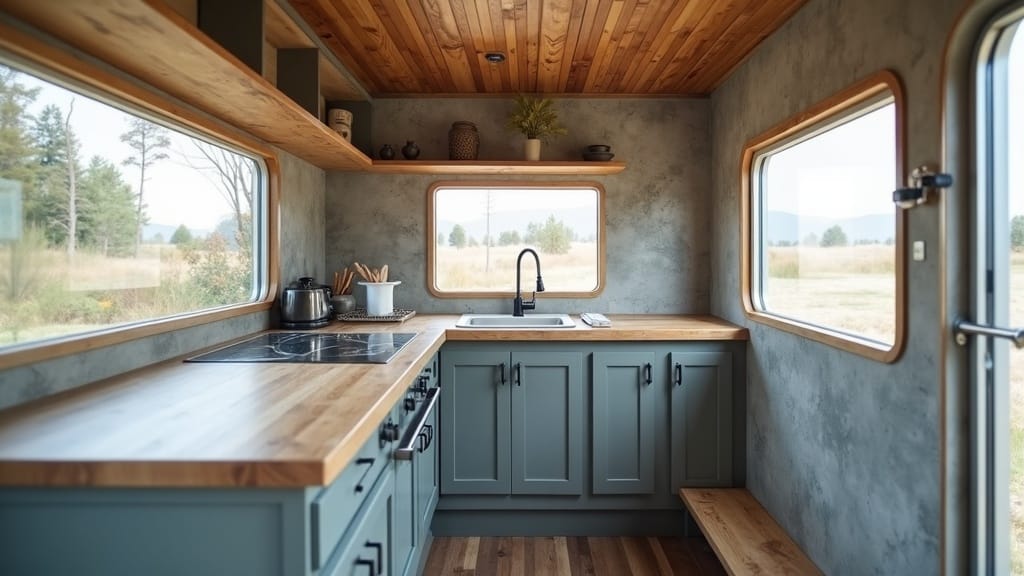
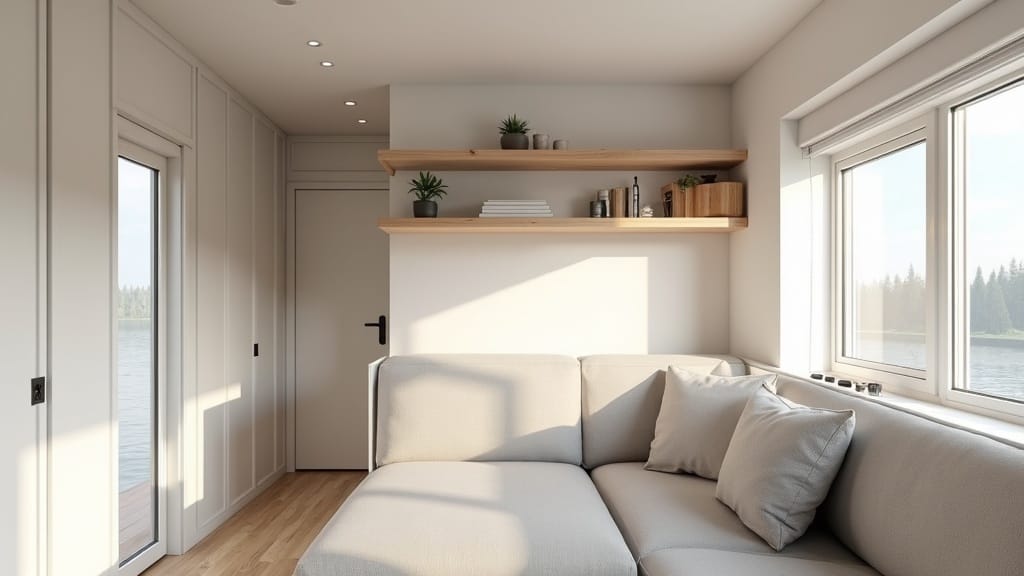
13. Install Open Shelving for Easy Access
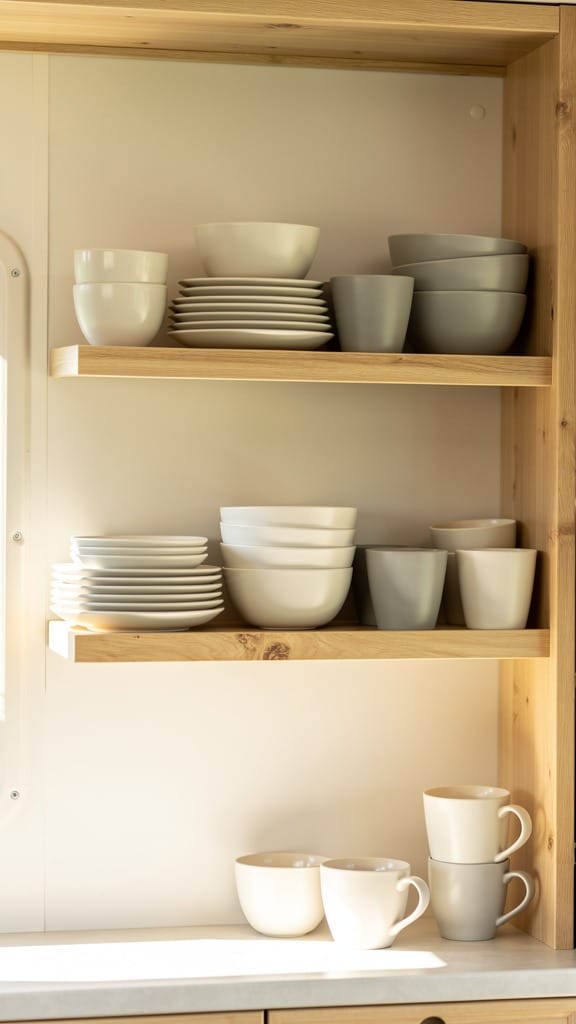
Open shelving adds personality and practicality. It’s great for small campers where every inch counts, since it eliminates bulky cabinet doors and highlights decor pieces.
Key Design Elements
- Use lightweight pine or cedar boards to reduce weight.
- Add metal brackets or leather straps for a stylish look.
- Display mugs, plants, or spices for a cozy kitchen feel.
Visually, open shelving makes your camper feel wider and airier, plus, it’s a great excuse to show off your favorite travel mugs.
Open shelving keeps things accessible and gives the interior a much lighter feel:
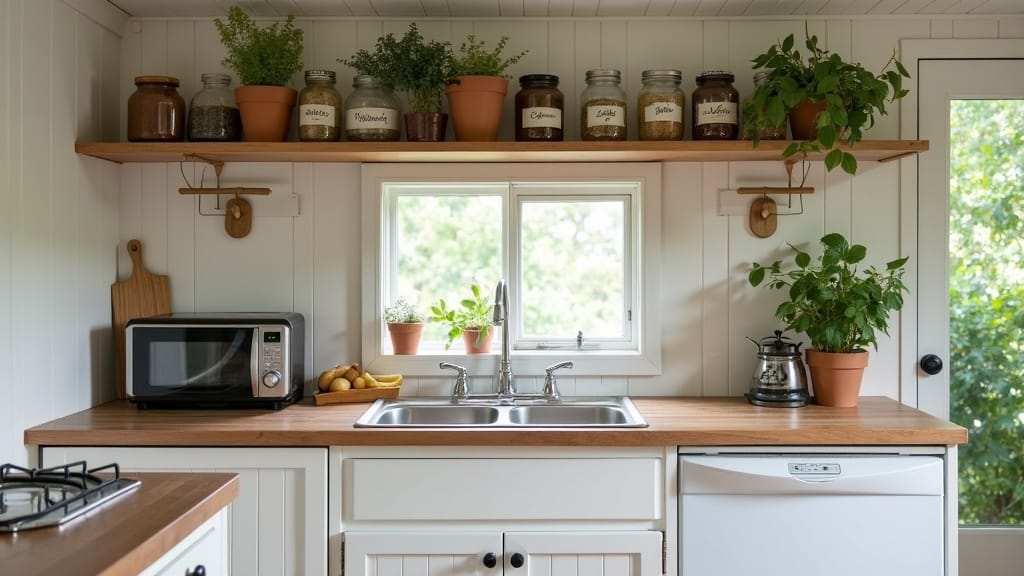
Get the look: Shop these floating shelves on Amazon →
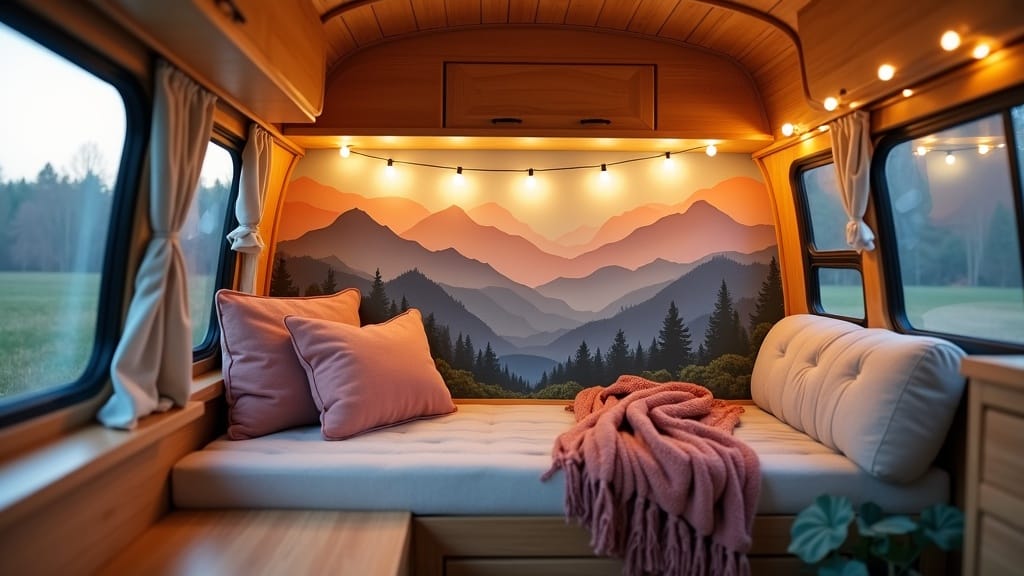
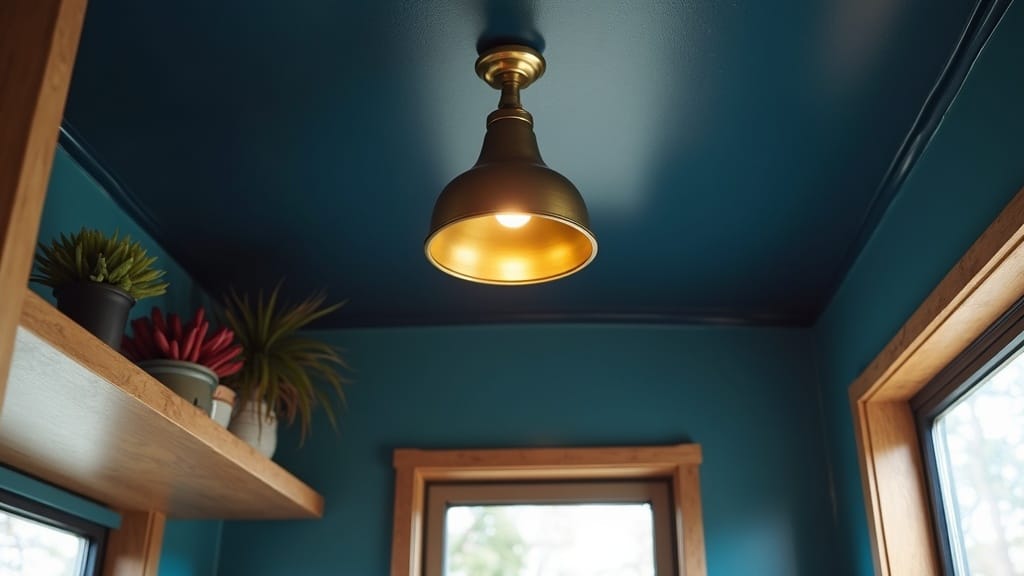
14. Add a Statement Ceiling
Campers rarely have inspiring ceilings, but that’s easy to fix! A painted or wallpapered ceiling draws the eye upward and makes the whole room feel intentional.
Style Notes
- Choose light colors to avoid a “lowered ceiling” look.
- Wood planks or faux beams add rustic charm.
- Metallic or patterned wallpaper creates a modern edge.
This unexpected twist instantly adds character, and every guest will notice it the moment they walk in.
Most people ignore the ceiling, which is exactly why it's such an effective statement:

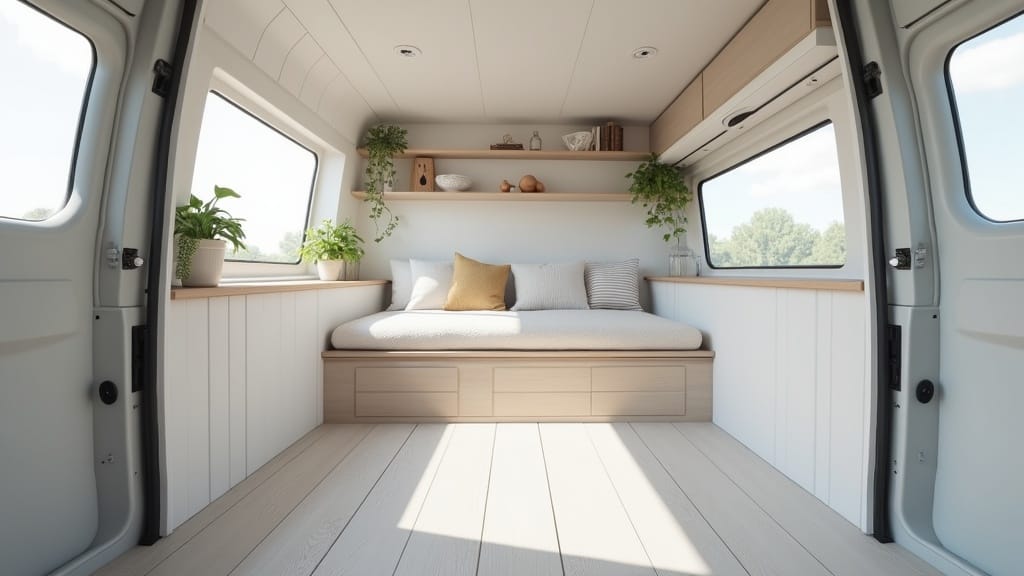
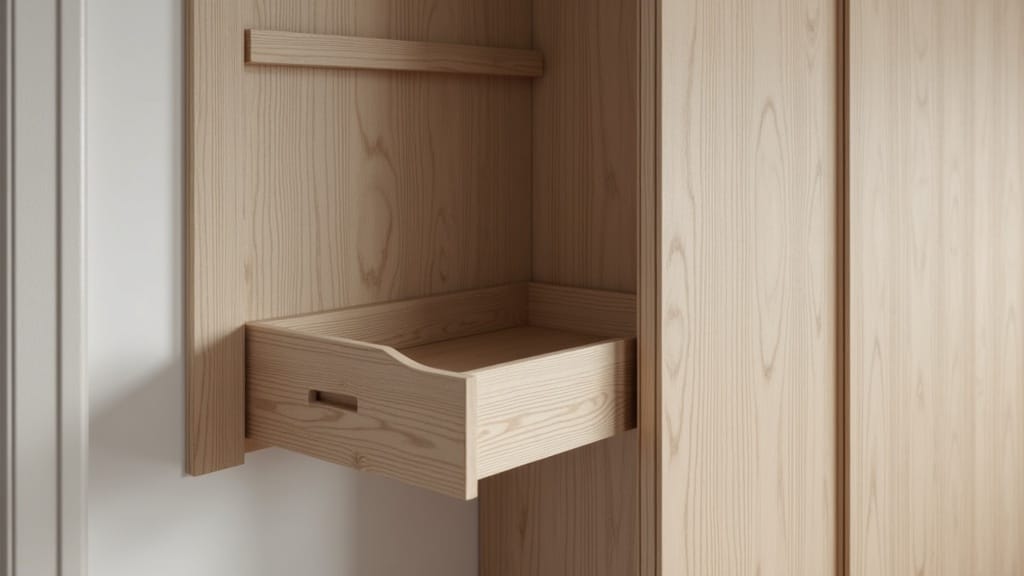
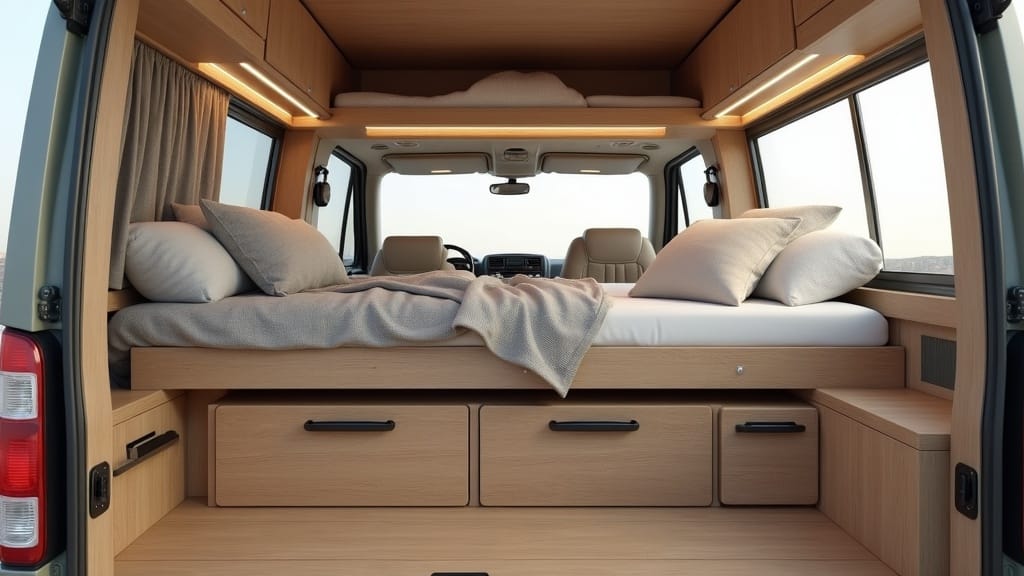
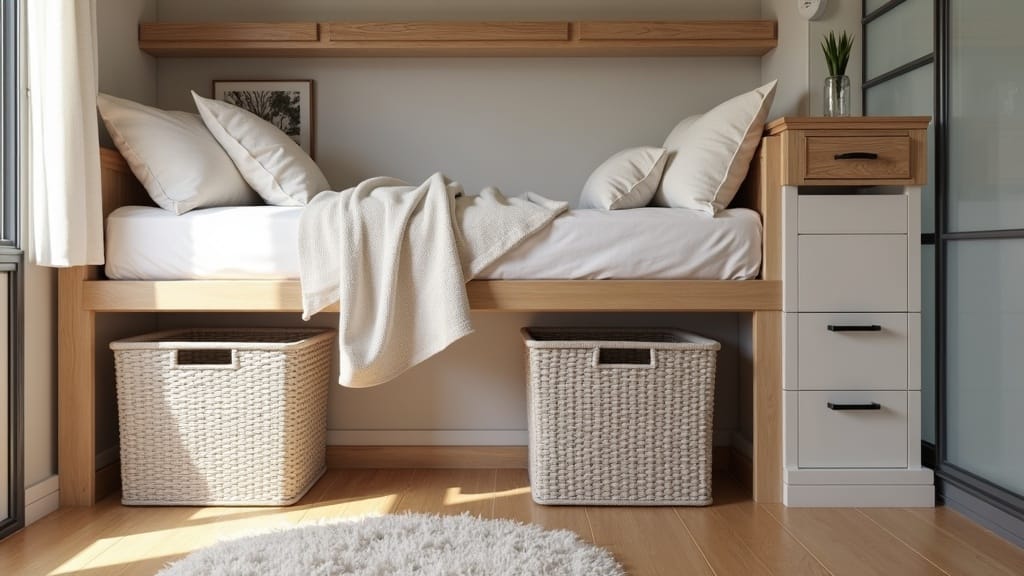
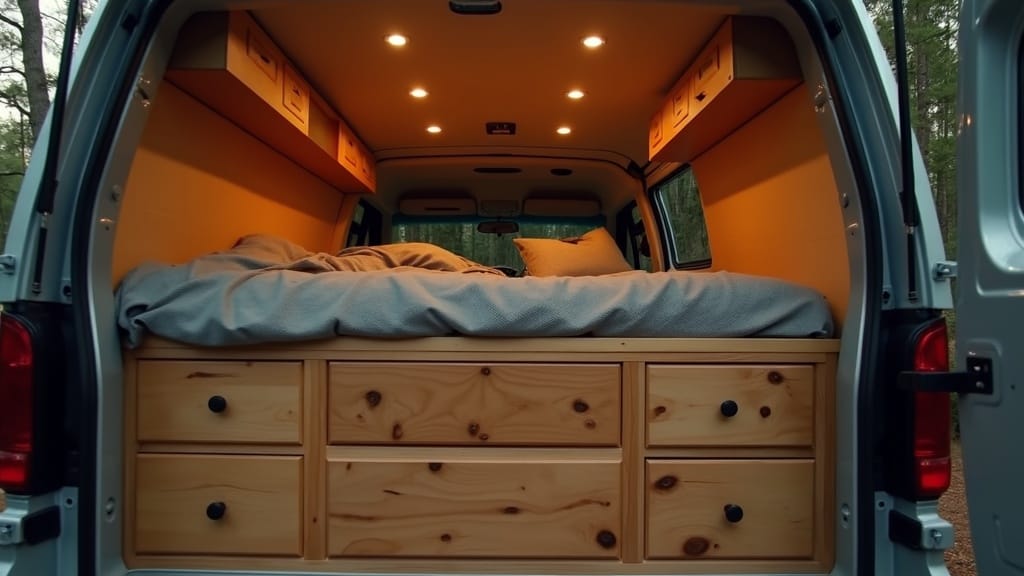
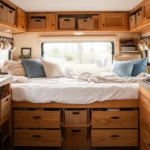
15. Create Hidden Storage Under the Bed
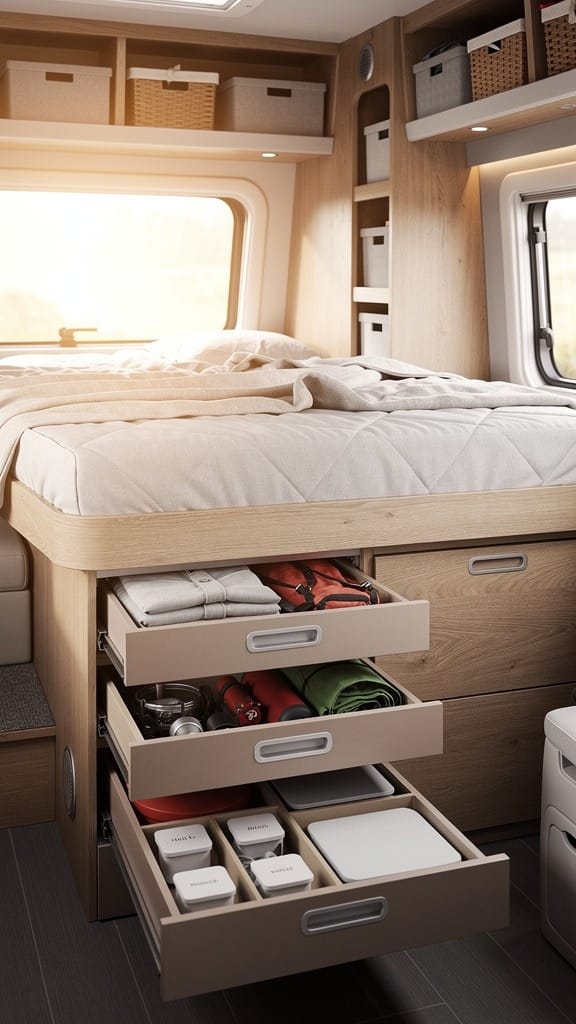
When you’re living tiny, hidden storage is your best friend. Lift-up or slide-out compartments under your bed make smart use of dead space for seasonal gear or bulky items.
Small Space Tricks
- Use gas struts or hinges for easy access.
- Add bins or drawers for organized categories.
- Store rarely used items like blankets or tools below.
This hack unlocks valuable room without adding clutter or weight, perfect for long-term travelers.
The space under the bed is some of the most underused real estate in any camper:

Get the look: Shop this under-bed storage bin on Amazon →
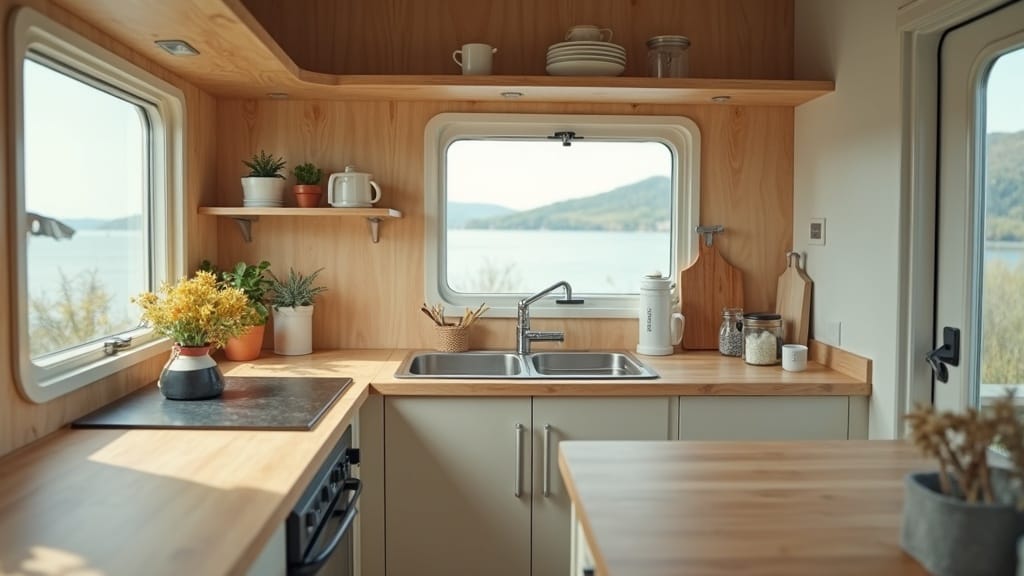
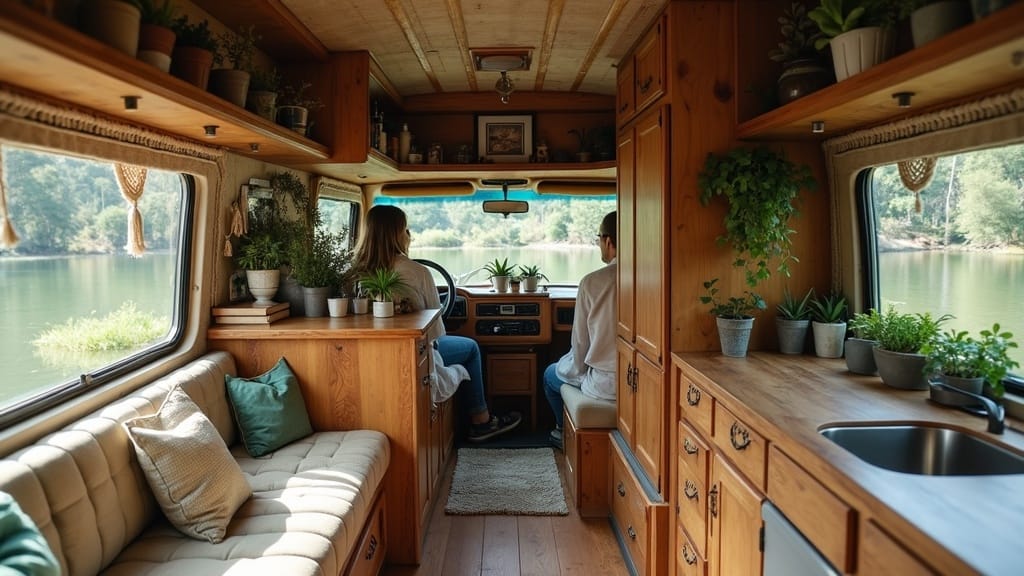
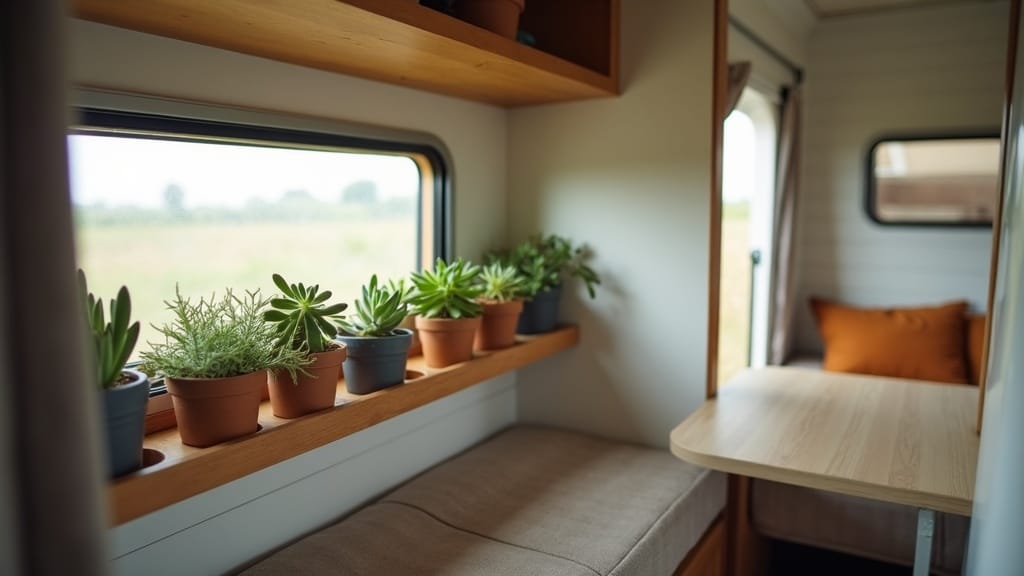
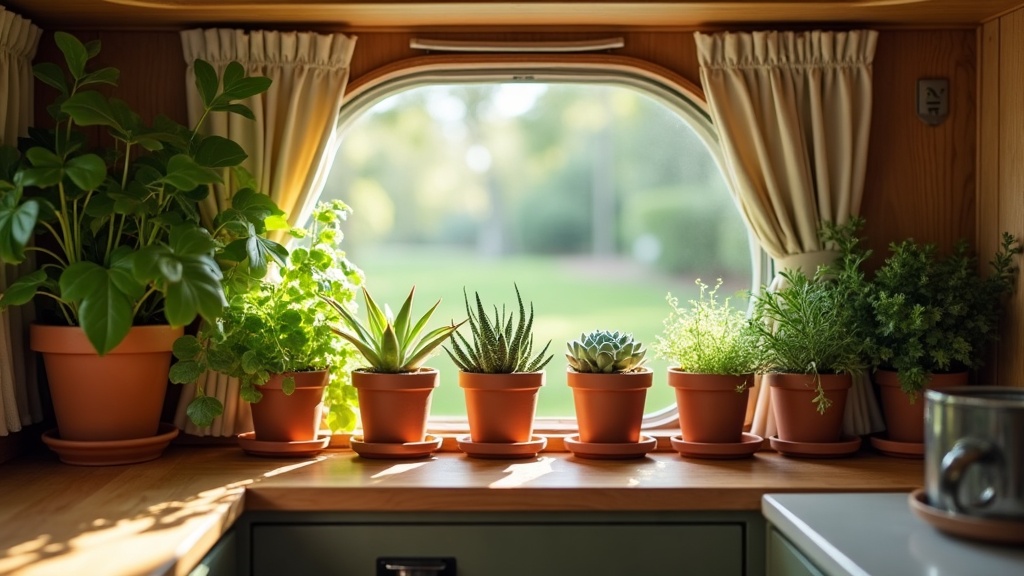
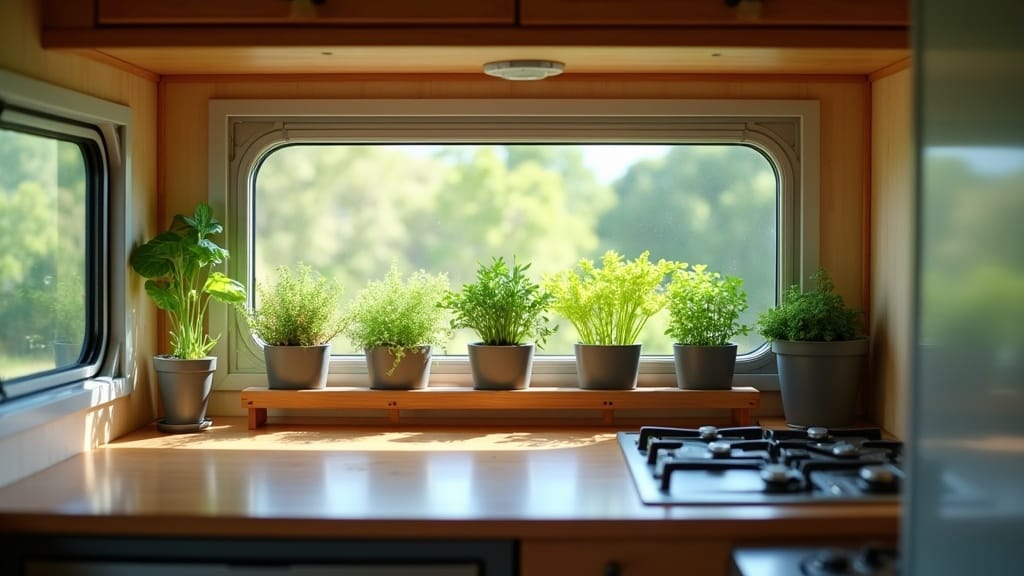
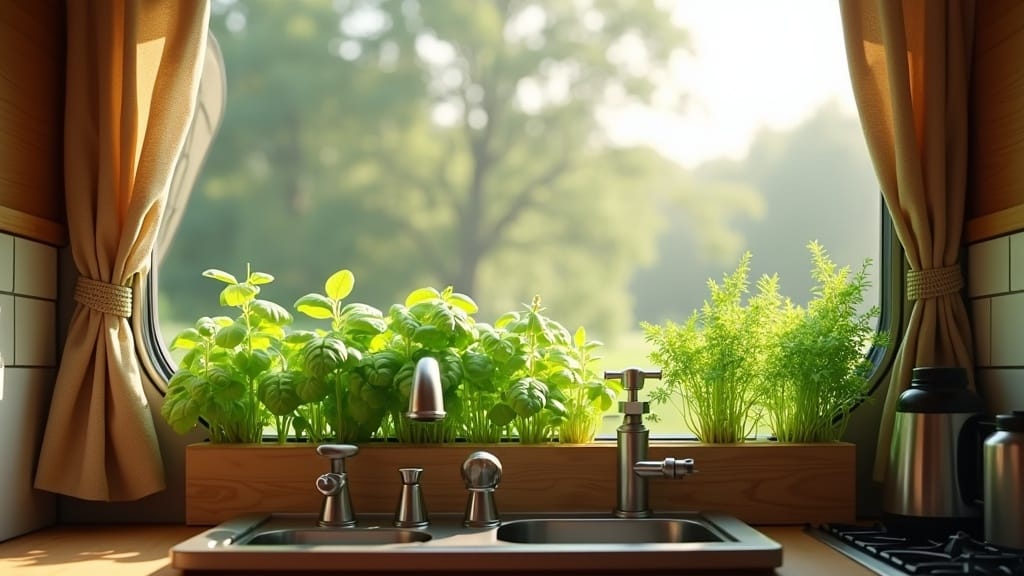
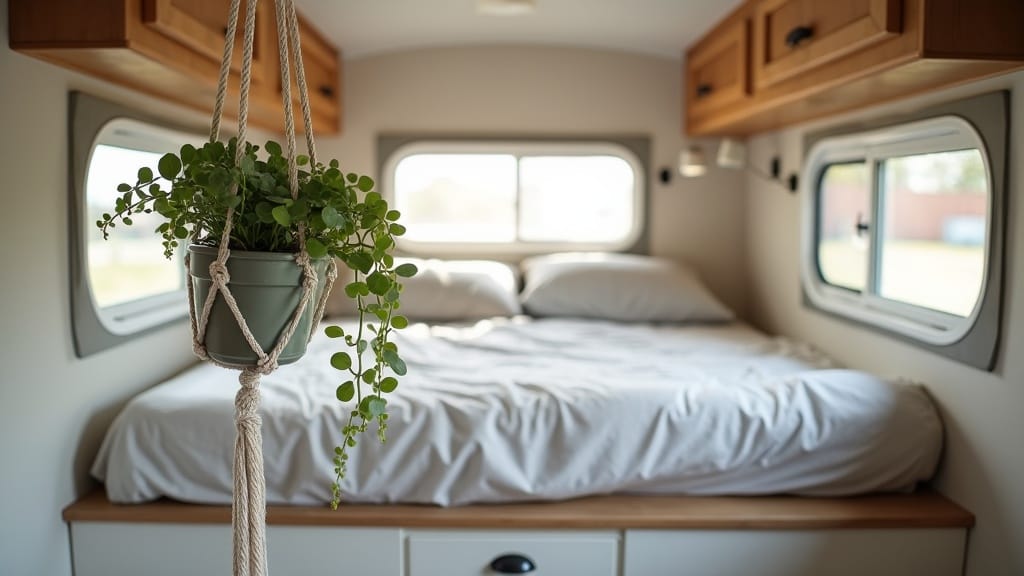
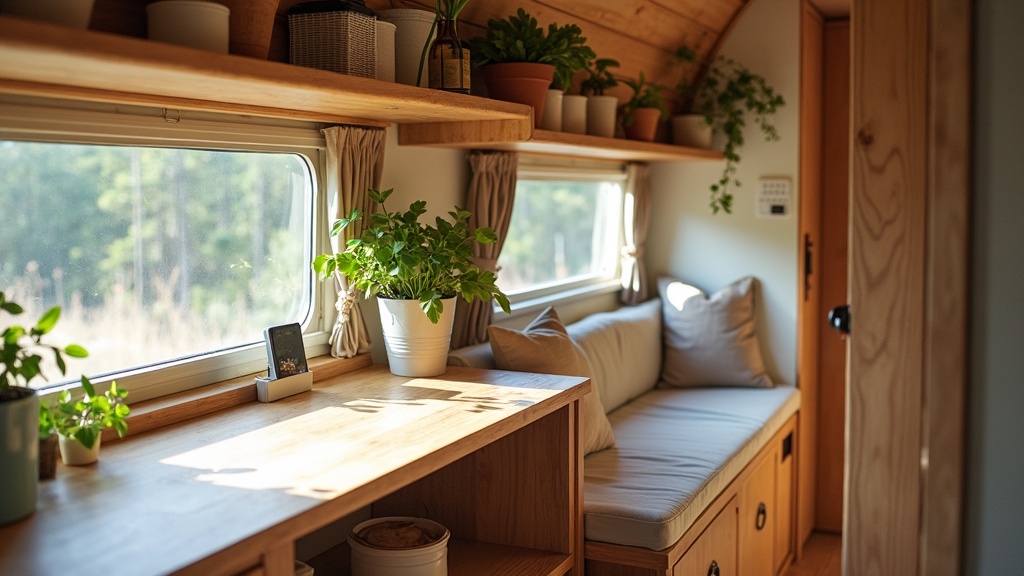
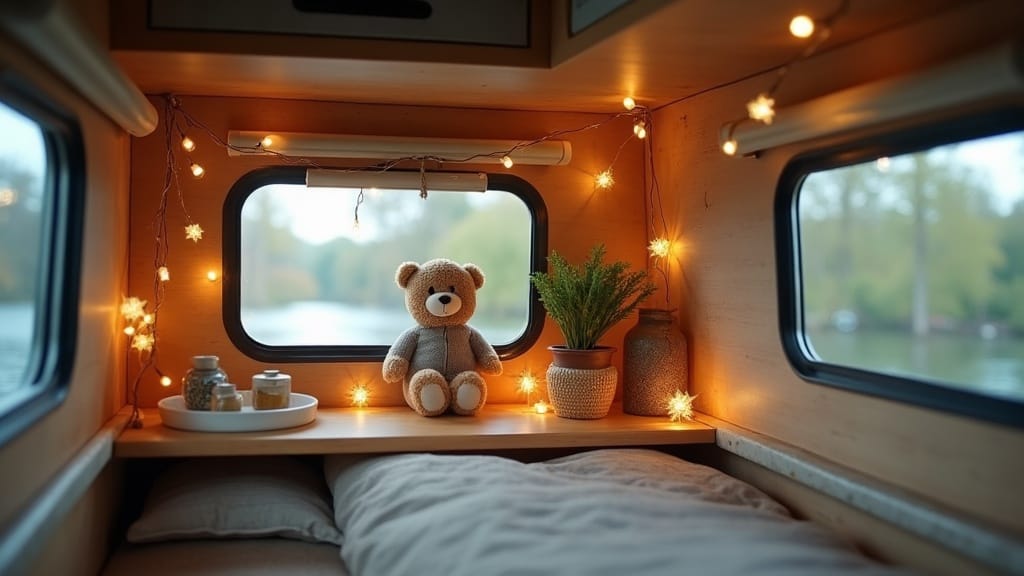
16. Bring Nature Indoors with Plants
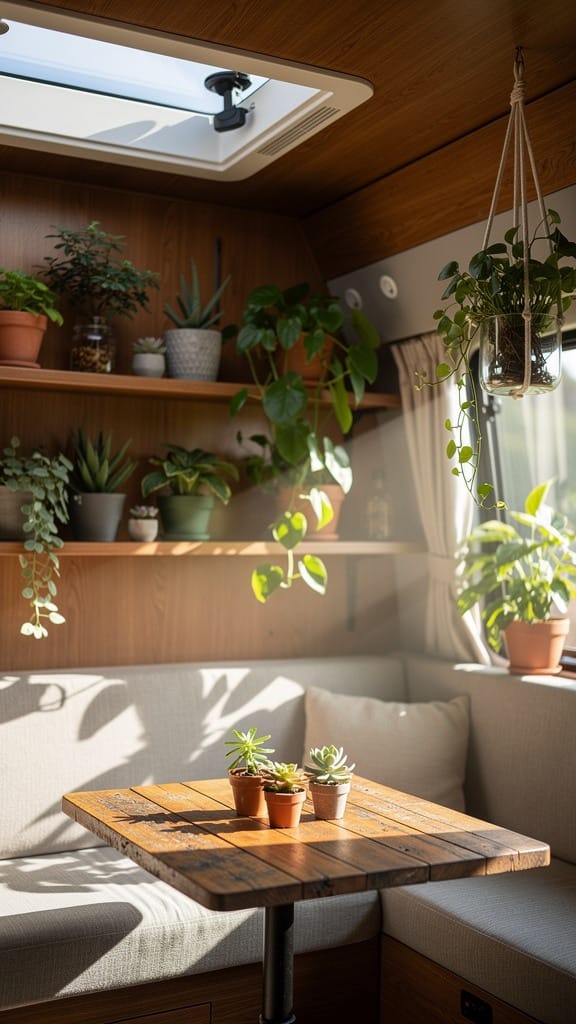
A few green touches make your camper feel more alive and cozy. Don’t worry, you don’t need a full garden! Just a handful of hardy plants can do wonders.
Decorating Details
- Use wall-mounted pots to save counter space.
- Pick low-maintenance plants like succulents or pothos.
- Hang planters near windows for plenty of sunlight.
Plants add color, purify the air, and create a calm, homey feel. My girls always head straight for any camper or van that has something green in it — there's something about a little plant on a shelf that makes a space feel lived-in rather than freshly staged.
A few plants do more for a camper's atmosphere than almost any other single addition:
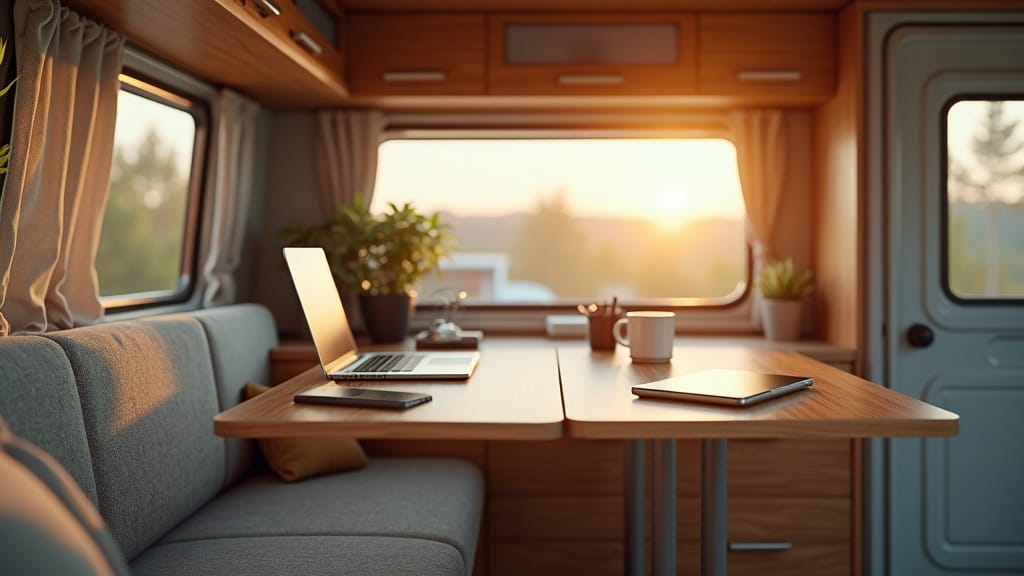
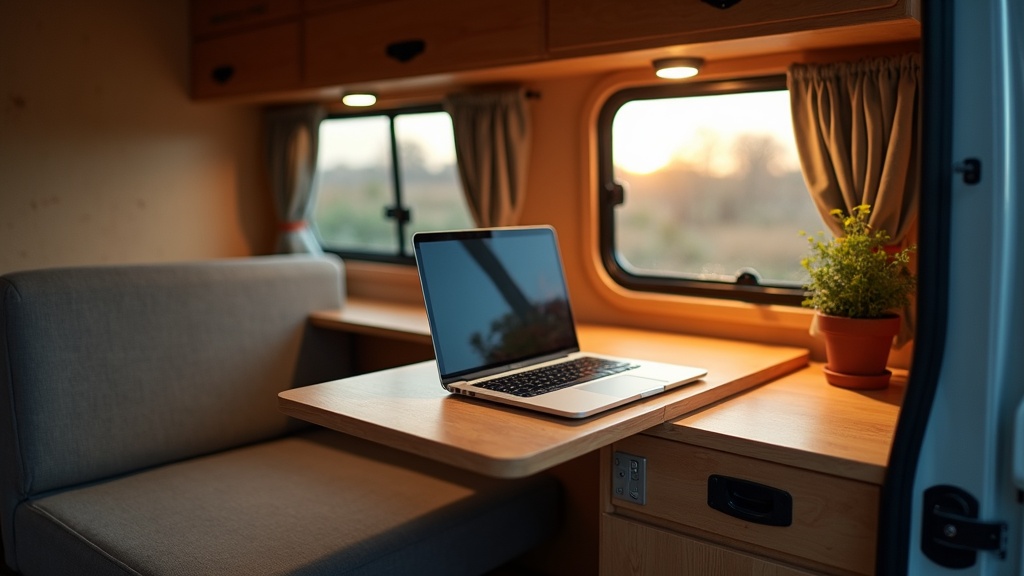
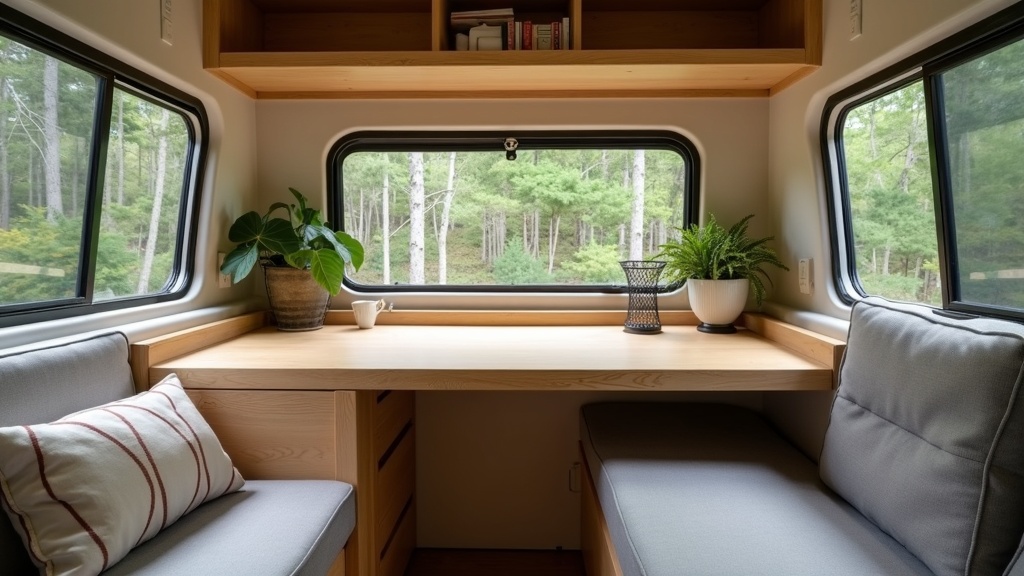
17. Add a Folding Desk for Remote Work
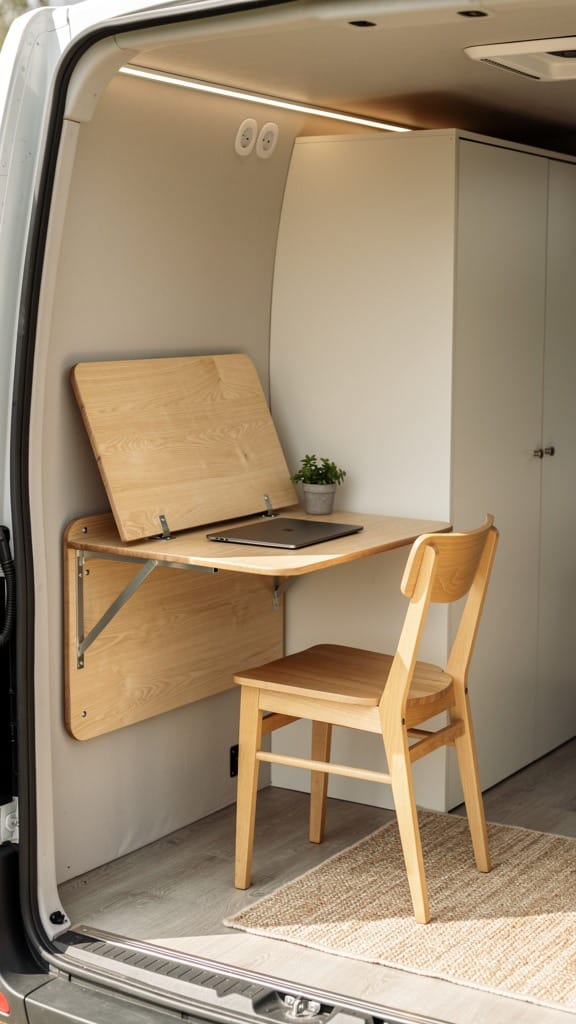
If you’re working on the road, a dedicated workspace helps maintain productivity. A fold-down desk can be stored away when not in use, perfect for tight-floor campers.
Layout Suggestions
- Attach a folding tabletop to a wall with hinges.
- Use collapsible stools for flexible seating.
- Add a corkboard or organizer above the workspace.
This idea blends function with simplicity, giving you the best of both worlds: efficient use of space and a place to focus when you need it.
A fold-down desk turns a corner that was doing nothing into a proper workspace:

Get the look: Shop this wall-mounted folding desk on Amazon →
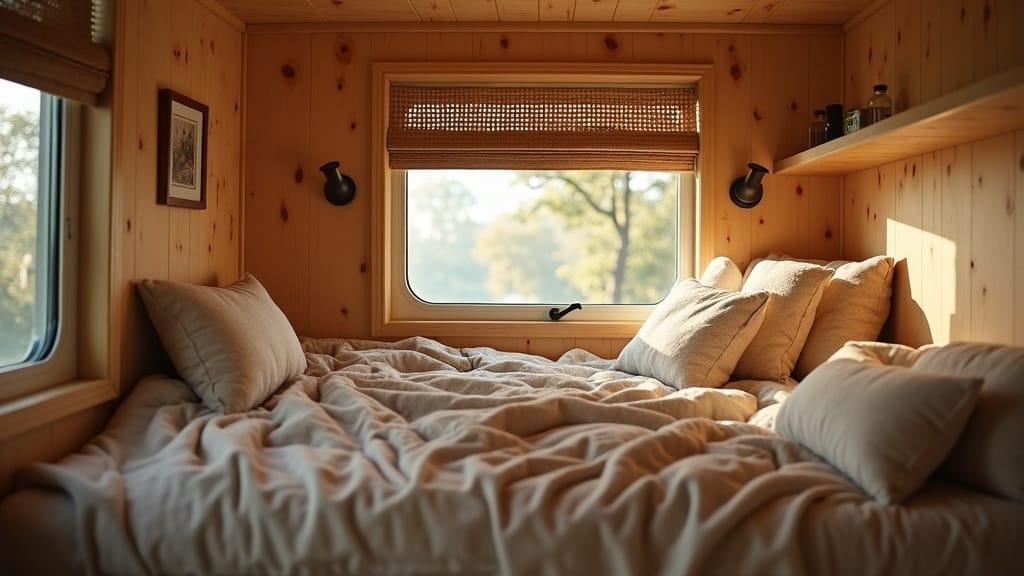
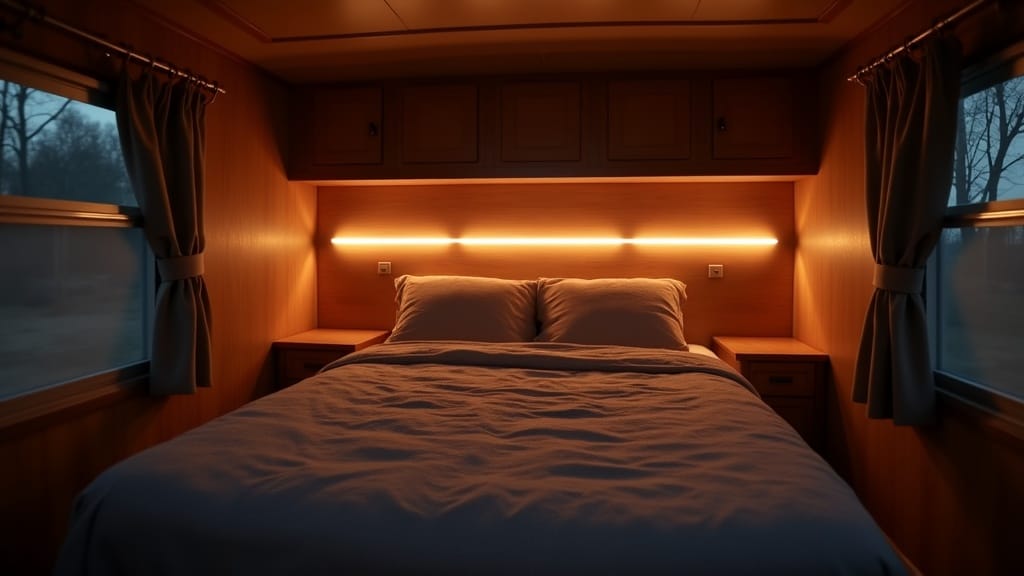
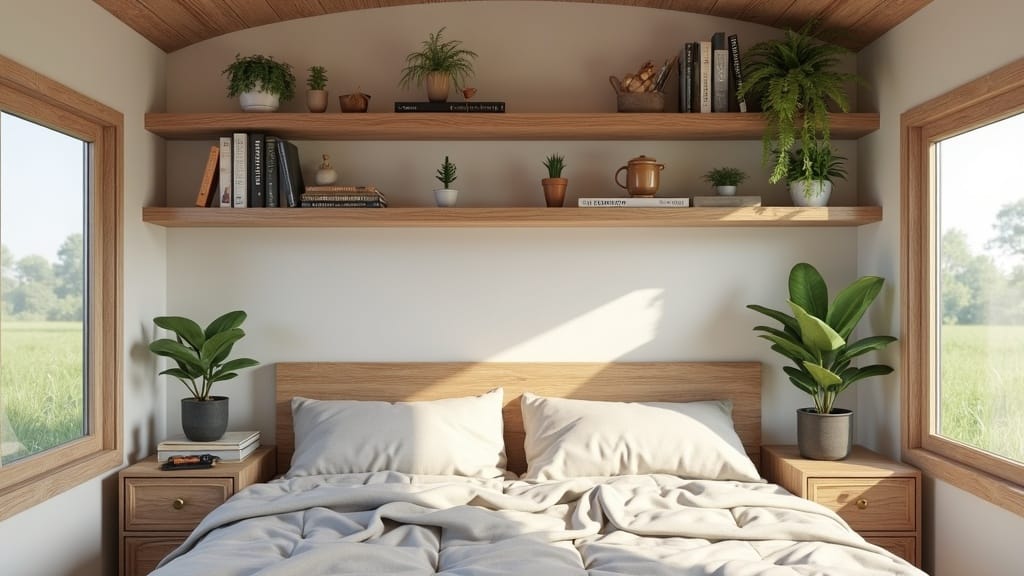
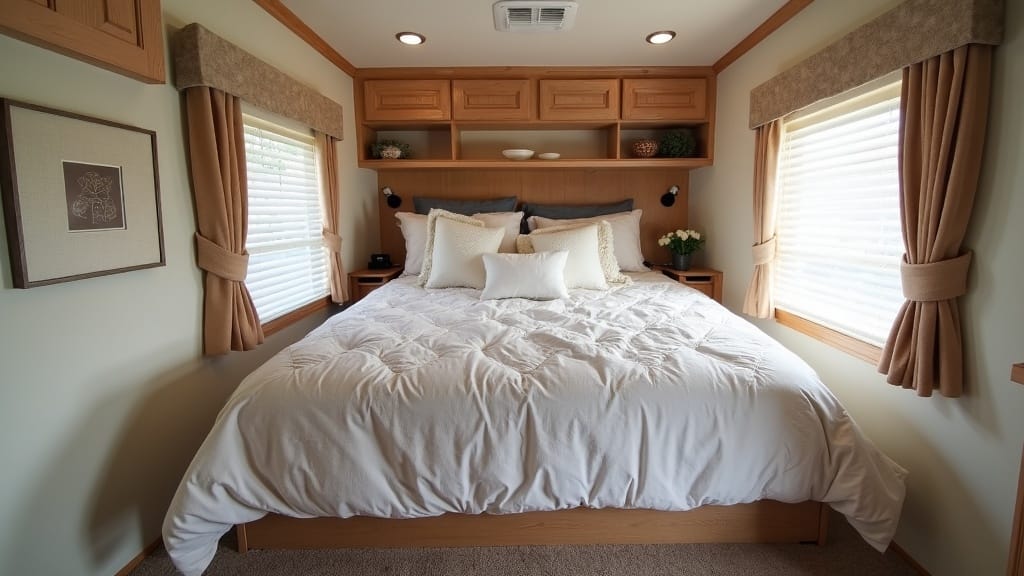
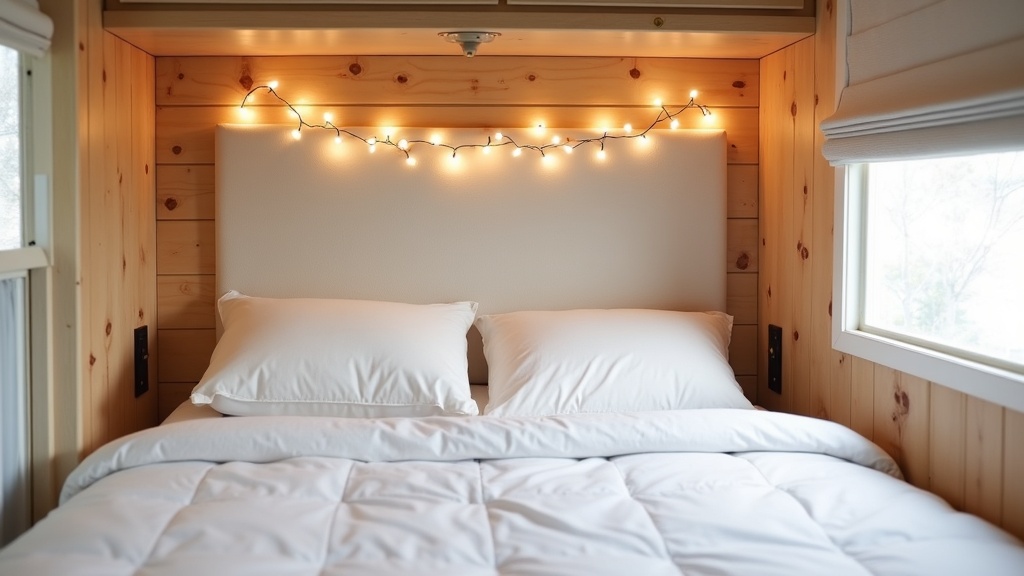
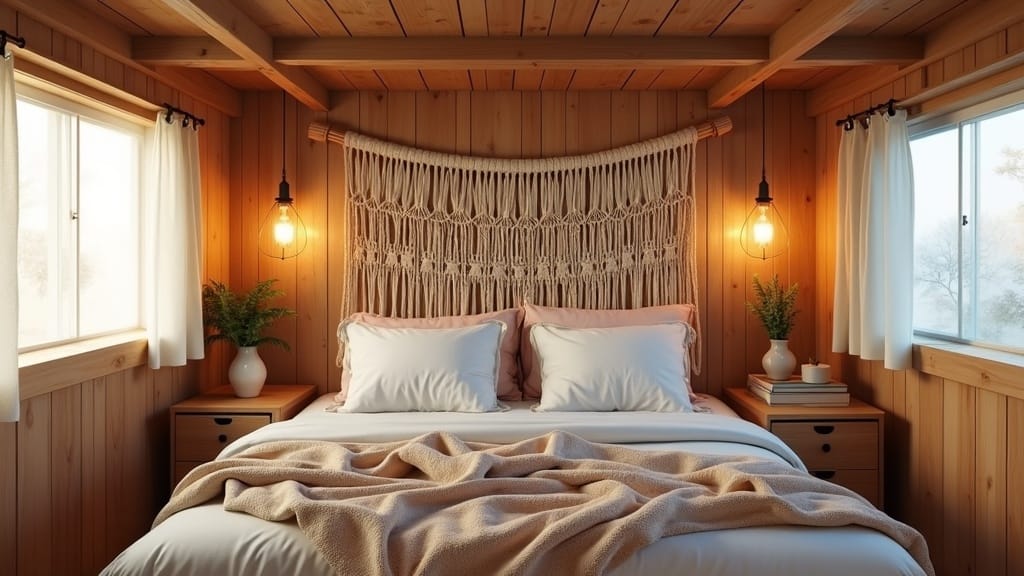
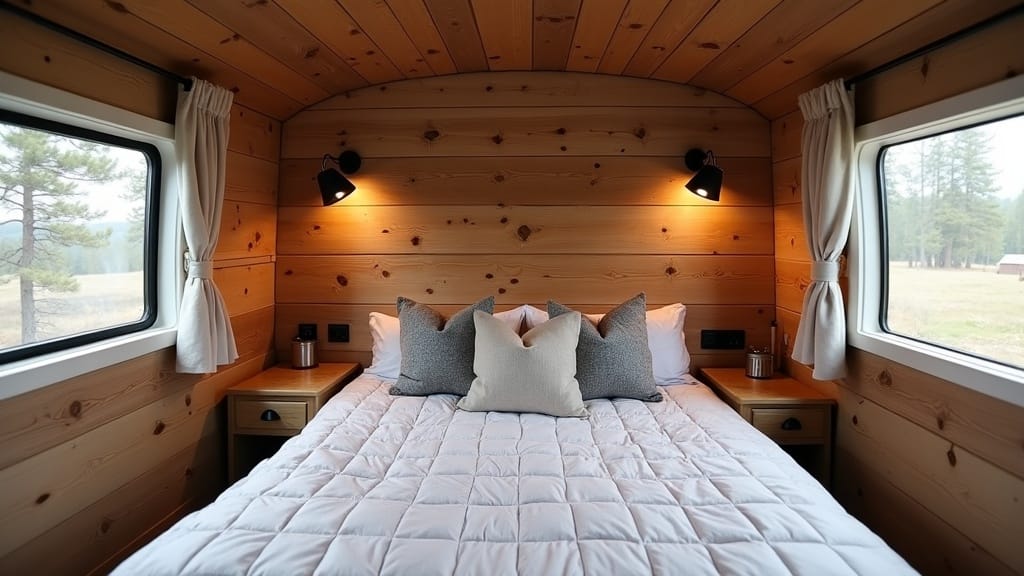
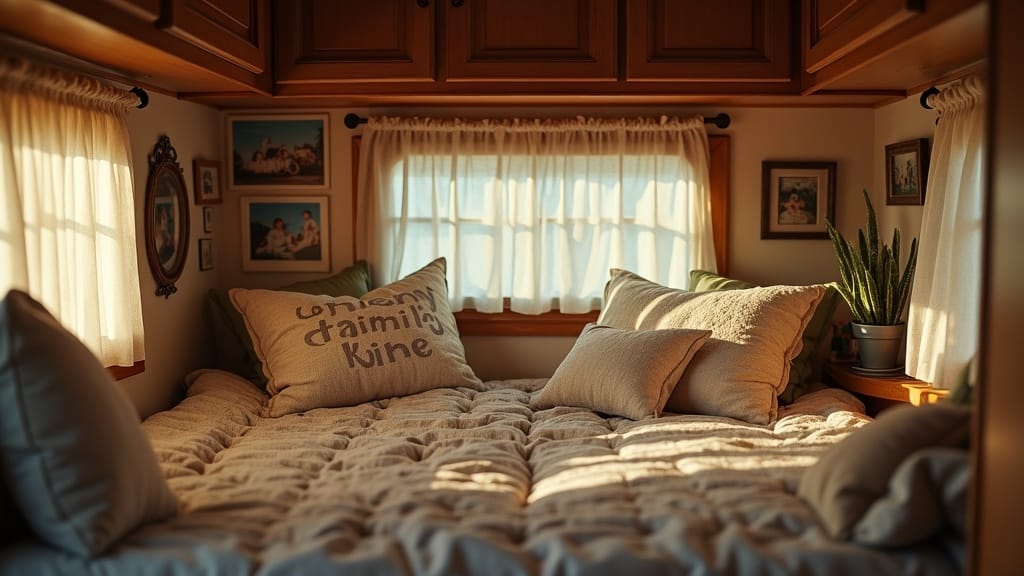
18. Create a Custom Headboard for Your Bed
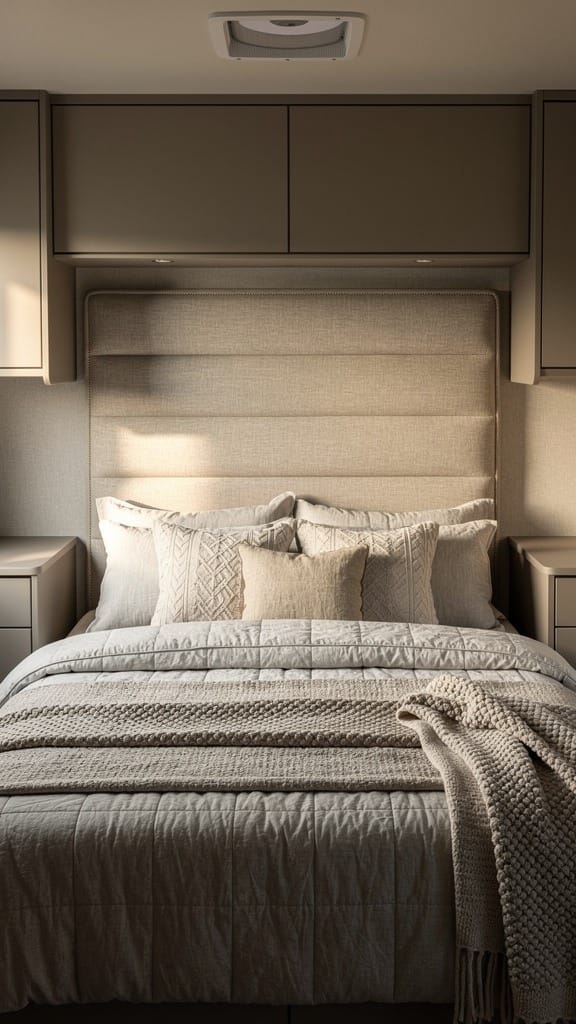
Even in small spaces, your sleeping area deserves some flair. A DIY headboard instantly makes the bed feel more intentional and comfortable.
Style Notes
- Try tufted fabric panels for softness.
- Use reclaimed wood planks for a rustic look.
- Add LED backlighting for a cozy glow.
It’s a small project with a surprisingly large visual impact, instantly making your camper feel homier (and a little bit boutique hotel). If creating the perfect sleeping nook is your priority, our cozy camper bedroom ideas will give you plenty more inspiration.
A well-made headboard anchors the sleeping area and gives the whole space a finished look:
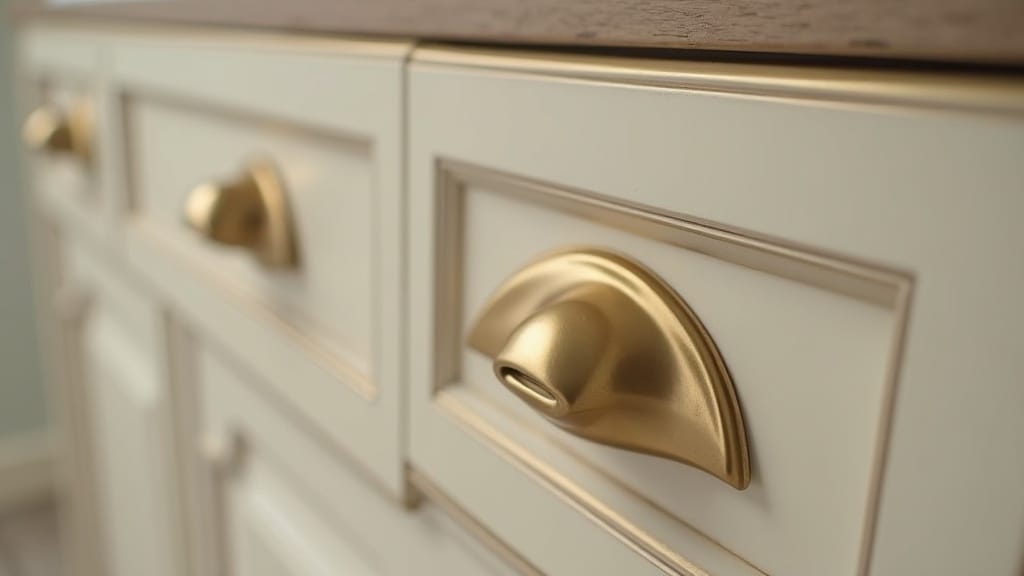
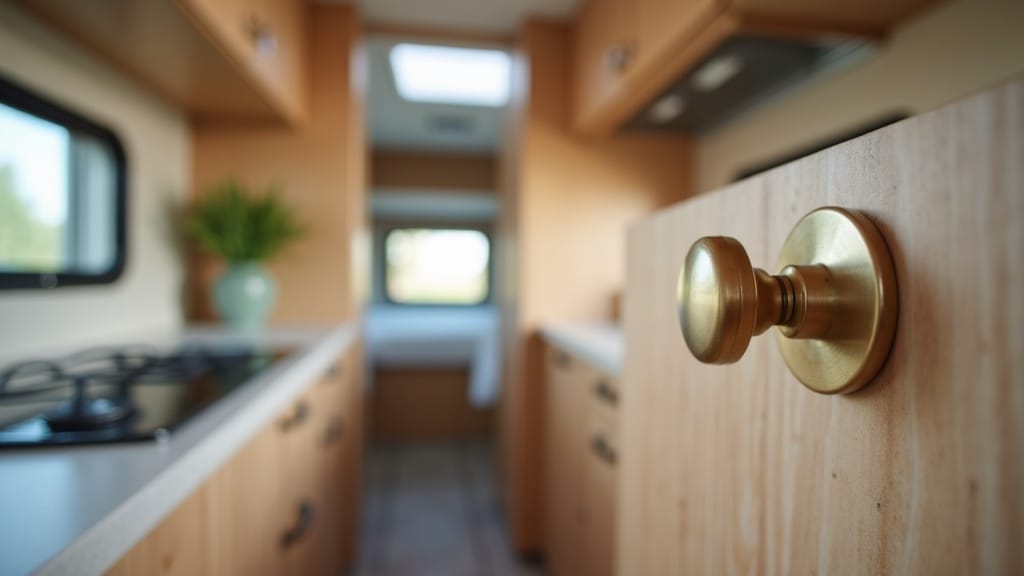
19. Replace Old Hardware Throughout
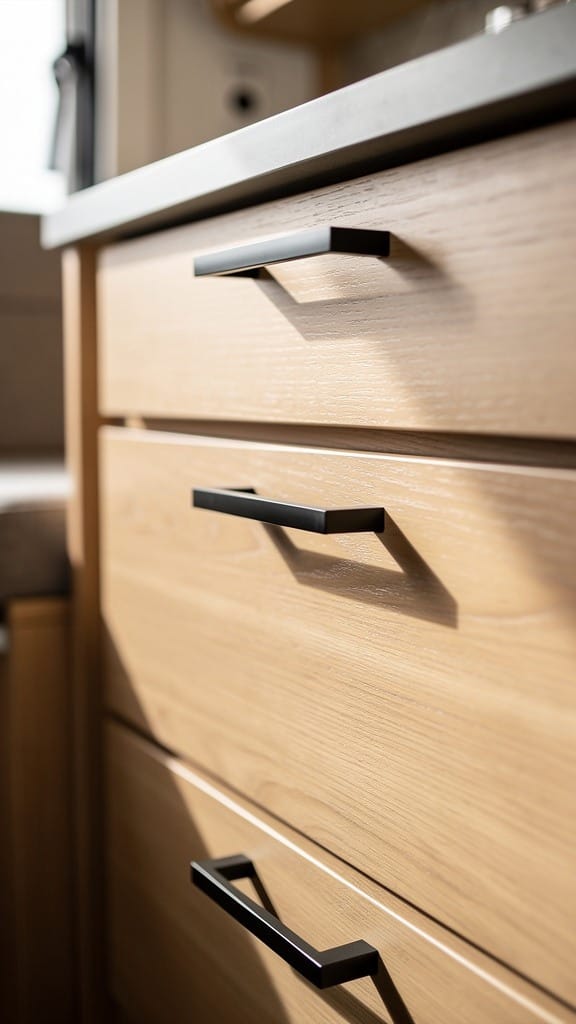
One of the easiest camper renovations is swapping out hardware, because tiny details matter. Drawer pulls, cabinet knobs, and even switch plates can all match your theme.
Key Design Elements
- Matte black for modern sophistication.
- Brass for warmth and vintage appeal.
- Brushed nickel for timeless versatility.
You’ll be shocked how refreshed the camper looks after such a simple swap. Honestly, this is one of those “why didn’t I do this sooner?” upgrades.
Swapping the hardware is one of the smallest changes that makes the biggest visual difference:
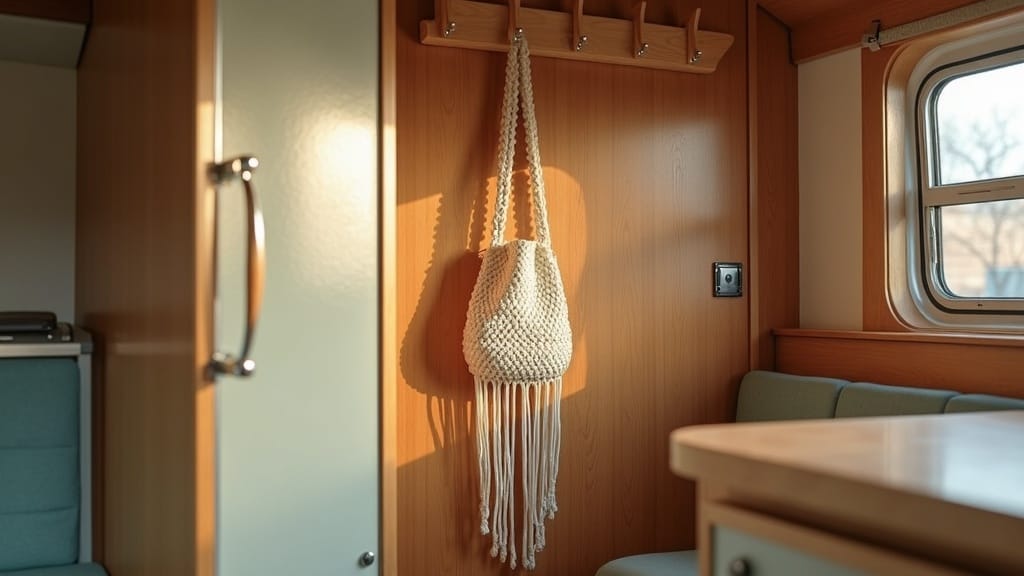
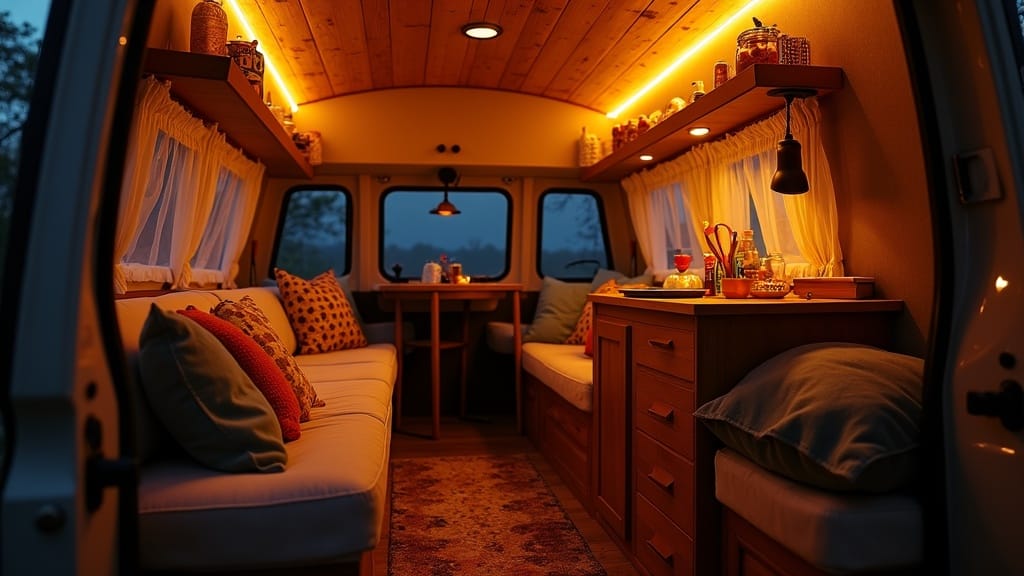
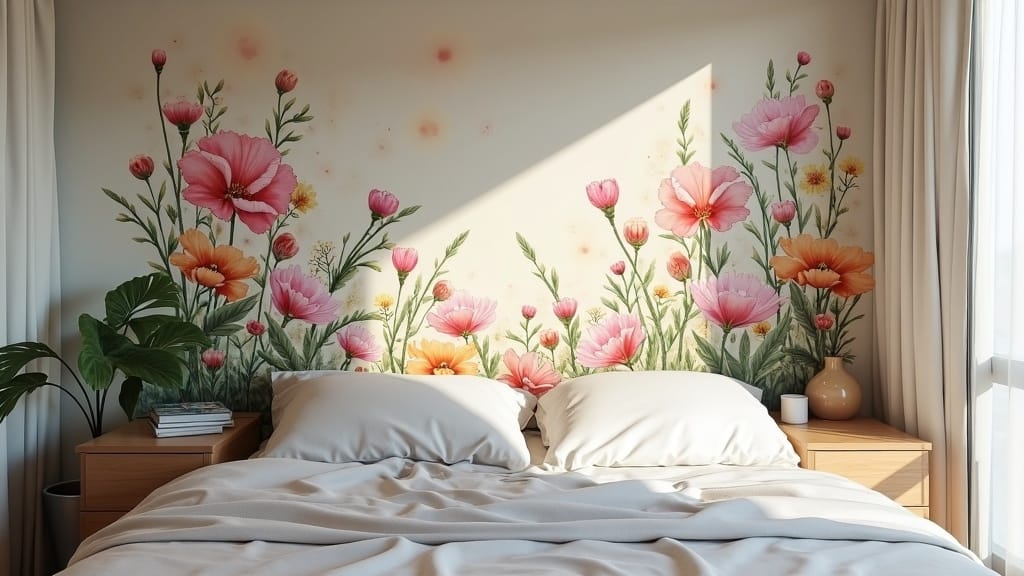
20. Add a Personal Decor Touch
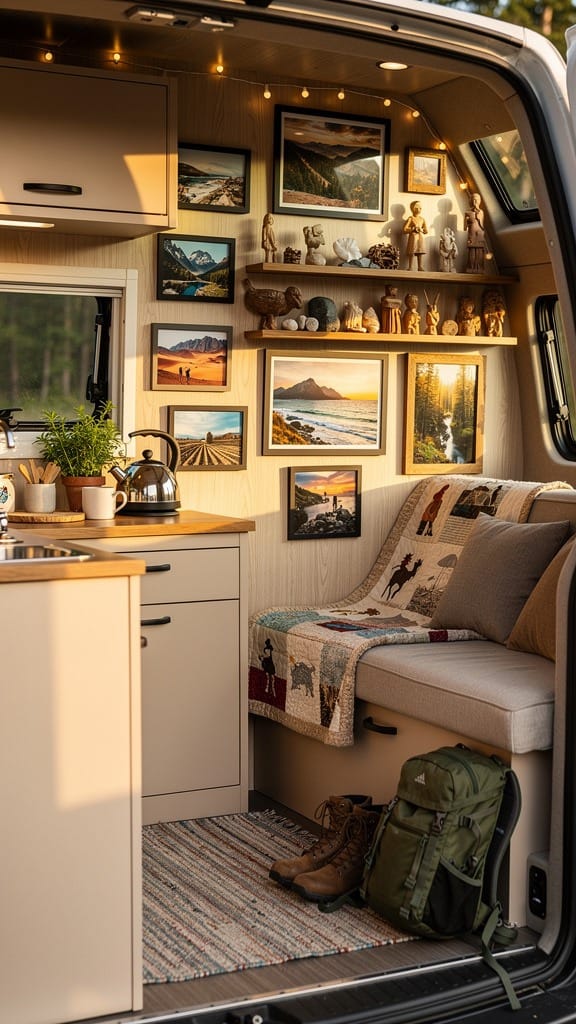
Last but not least, make the space truly yours. Personal touches like wall art, photos, or souvenirs from your adventures make your camper unique and full of stories.
Decorating Details
- Hang lightweight frames with adhesive strips.
- Display small travel tokens on open shelves.
- Use cozy textiles like throw blankets and pillows to define your style.
This final layer completes your renovation by adding heart and character. I visited a friend's renovated camper a couple of years ago and the part that stuck with me wasn't the floors or the paint, it was the small stuff: a worn travel map pinned above the table, a few photos tucked into the mirror frame. Those details are what make it feel like someone actually lives there. If you want more of those finishing touches, our roundup of cute camper decor accessories is full of easy ideas.
👁️ Worth a look:18 Camper Wall Decor Ideas→
Small personal touches are what turn a camper into something that actually feels like yours:
Final Thoughts
A good DIY camper renovation doesn’t have to mean a full gut job or professional help. The best camper renovation ideas are the ones you can pull off over a free weekend, not a full rebuild. With a bit of creativity and elbow grease, you can create a custom travel home that perfectly fits your personality and lifestyle. Bookmark the camper renovation ideas that fit your rig and tackle them one at a time. Happy renovating!
Frequently Asked Questions
Start with small updates like peel-and-stick wallpaper, new cabinet hardware, and LED lighting. These changes are affordable, require minimal tools, and instantly refresh your camper’s interior without a full remodel.
Not at all! Most DIY camper renovation ideas, such as painting, installing peel-and-stick wallpaper, or adding storage solutions, can be done with basic tools and a bit of patience. Online tutorials can also guide you through the trickier projects safely.
Use light colors on walls and furniture to open up the space visually. Installing mirrors, multifunctional furniture, and good lighting can also make even a compact camper feel roomy and inviting.
Yes, quality peel-and-stick products, like wallpaper, tiles, and backsplash panels, are designed to withstand movement and temperature changes. Just make sure to clean and dry surfaces before applying for the best adhesion.
Start by assessing your camper’s condition and setting a budget and timeline. Create a detailed list of desired upgrades, gather inspiration photos, and tackle one project at a time to keep the process manageable and enjoyable.
You Might Also Like
Get cozy seasonal ideas in your inbox
Seasonal decor, recipes & home inspiration — straight to you. No spam, unsubscribe anytime.