Your tiny camper has massive potential, like, “why didn’t I do this sooner?” potential. If you’ve been dreaming about turning your pint-sized rig into a stylish, functional retreat, you’re in the right place. These 11 tiny camper remodel ideas are practical, budget-friendly, and seriously cute. We’re talking storage wins, smart lighting, and small-space magic that makes your camper feel bigger without adding a single inch.
Grab your measuring tape and your favorite playlist. The best tiny camper remodel ideas start small and stack up fast, so let’s make your camper feel like a cozy little retreat on wheels.
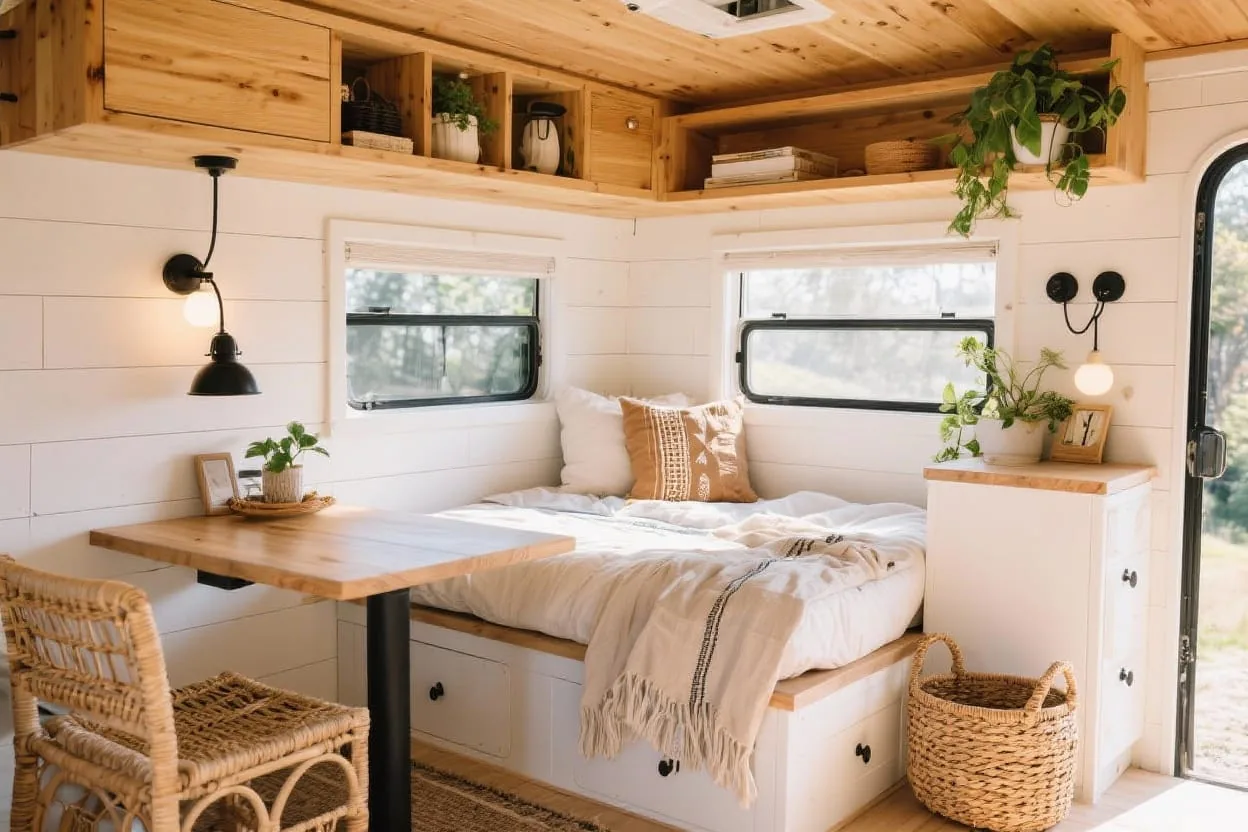
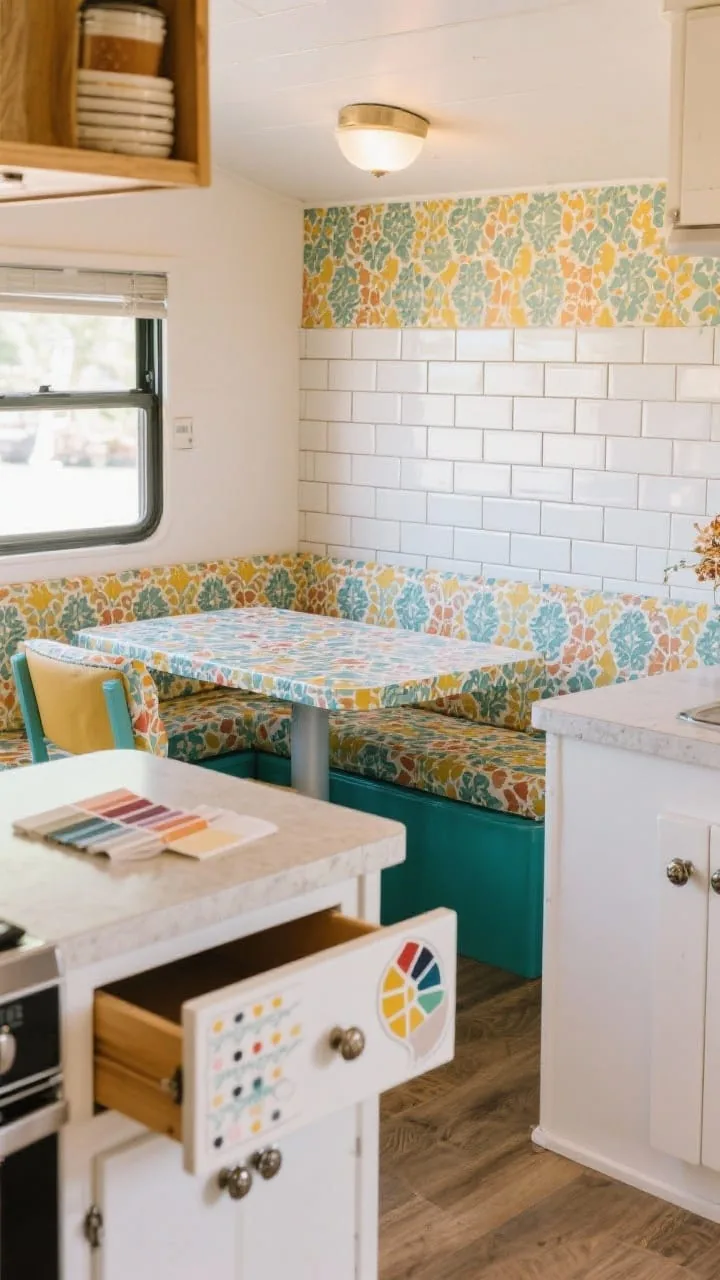
1. Paint It Bright (And Keep It Cohesive)
Step one: paint is your best friend. Almost every tiny camper remodel starts right here, because color sets the whole mood. In a tiny space, light, neutral walls bounce light and make everything feel larger and cleaner. Think soft white, creamy beige, or pale gray. Then add color with accents so it doesn’t feel sterile.
I tried this approach a few years ago, and the difference was immediate. Light walls really do make a tiny camper feel calmer and more open. It’s one of those changes that looks bigger than the effort behind it.
How to Nail It
- Matte or satin finish hides imperfections better than glossy.
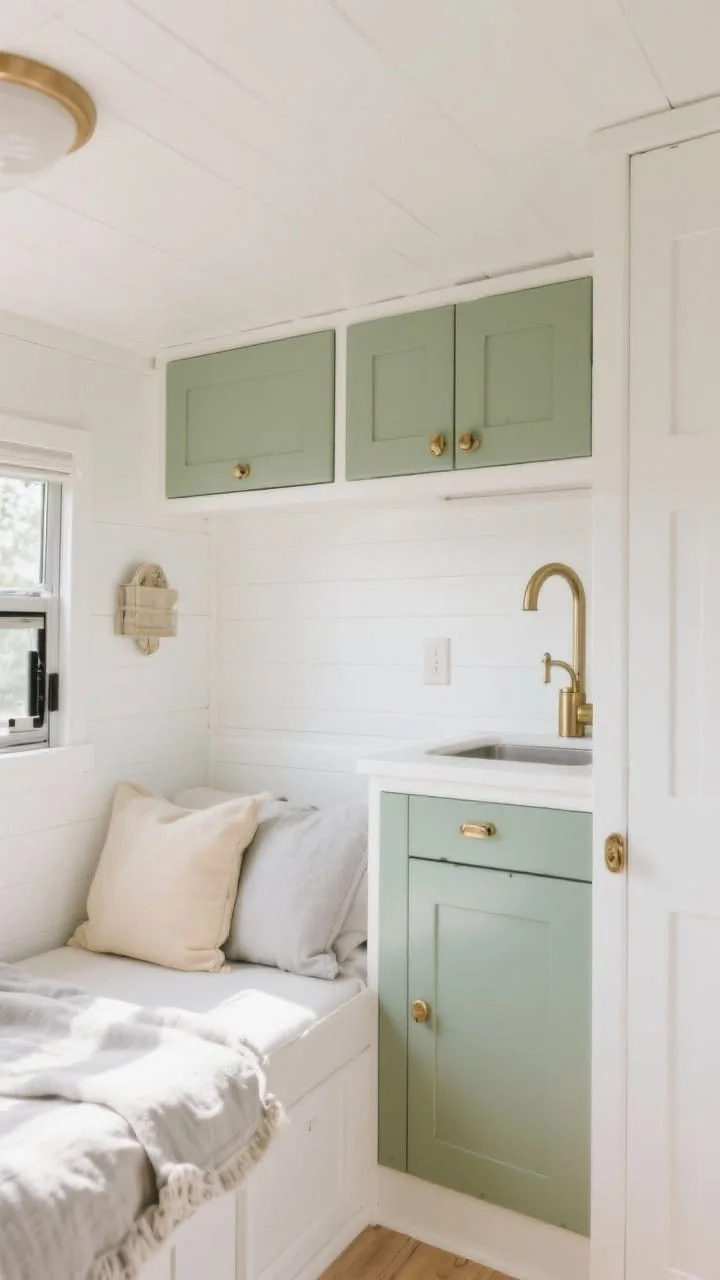
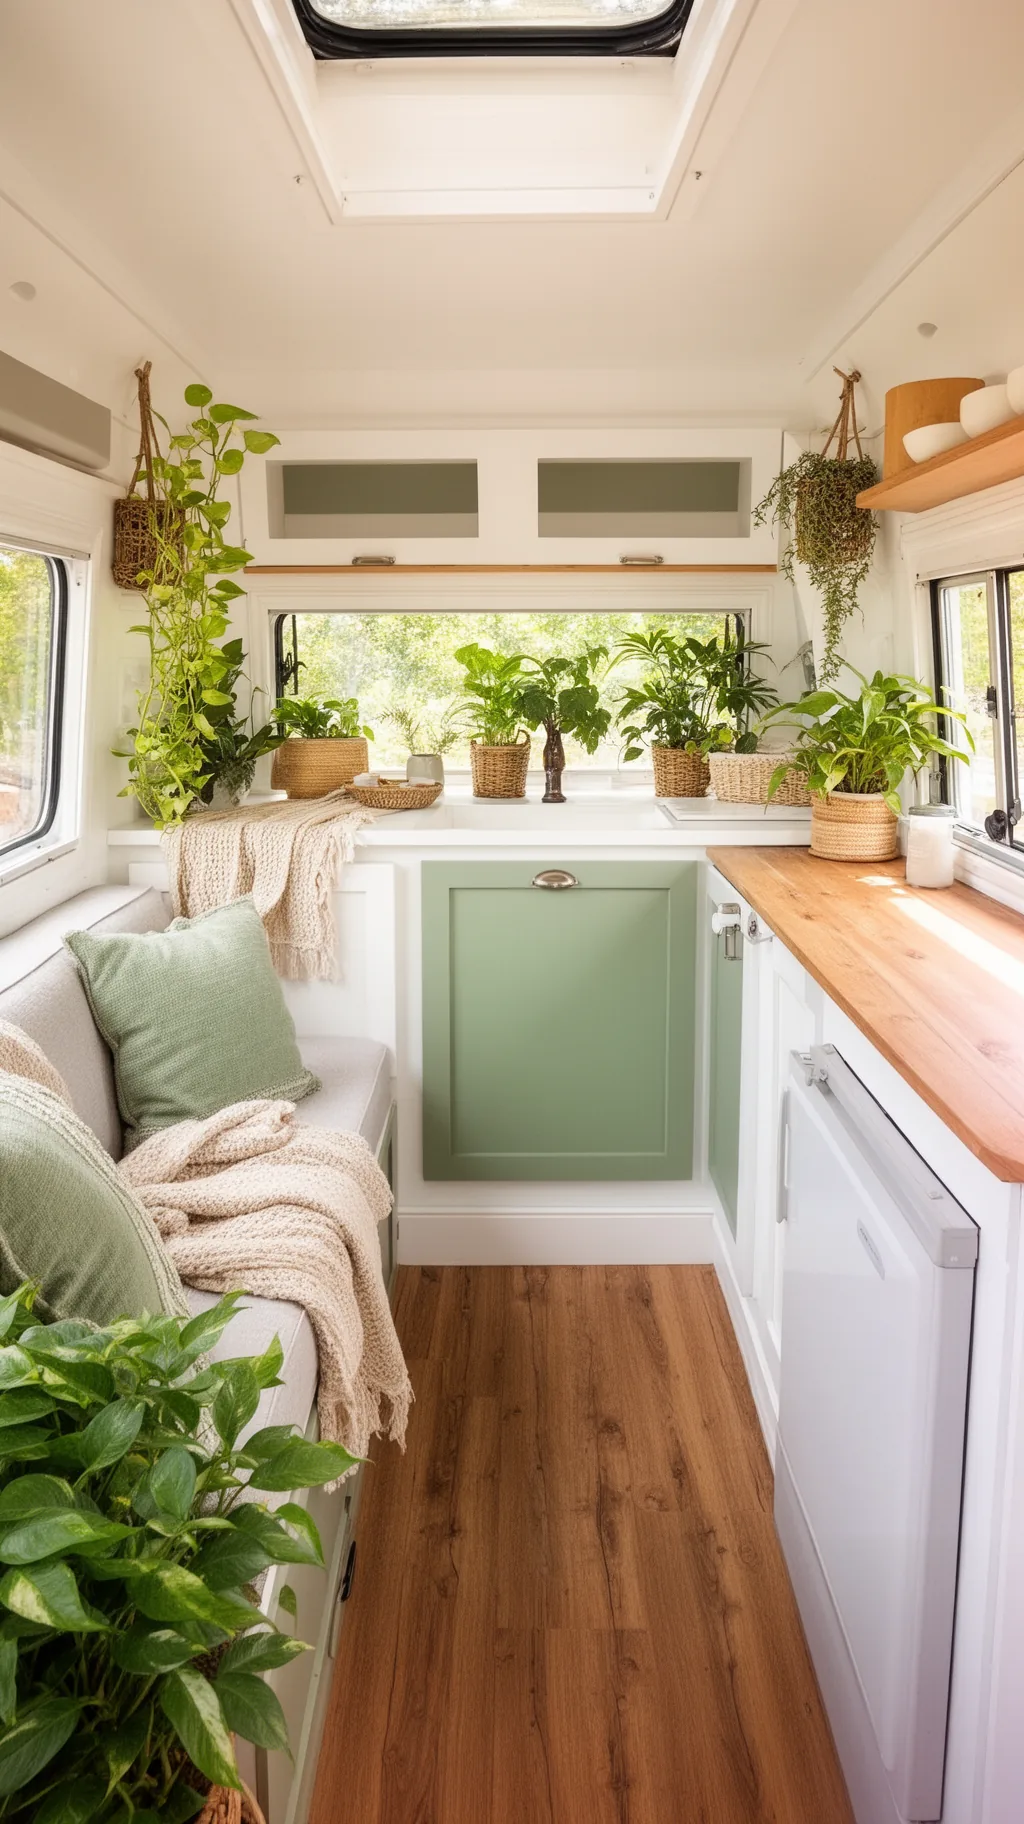
- Paint cabinets a contrasting color (sage, navy, or charcoal) for depth without heaviness.
- Use primer made for RV surfaces, laminate and veneer need a good grip.
- Keep a limited palette: 1 main color + 1 accent + 1 metal finish (brass, matte black, or chrome).
Pro tip: paint the ceiling a warm white to avoid tunnel vibes. It’s subtle but makes the space feel taller.
Swipe through these bright camper makeovers for inspiration.
 1 / 5
1 / 5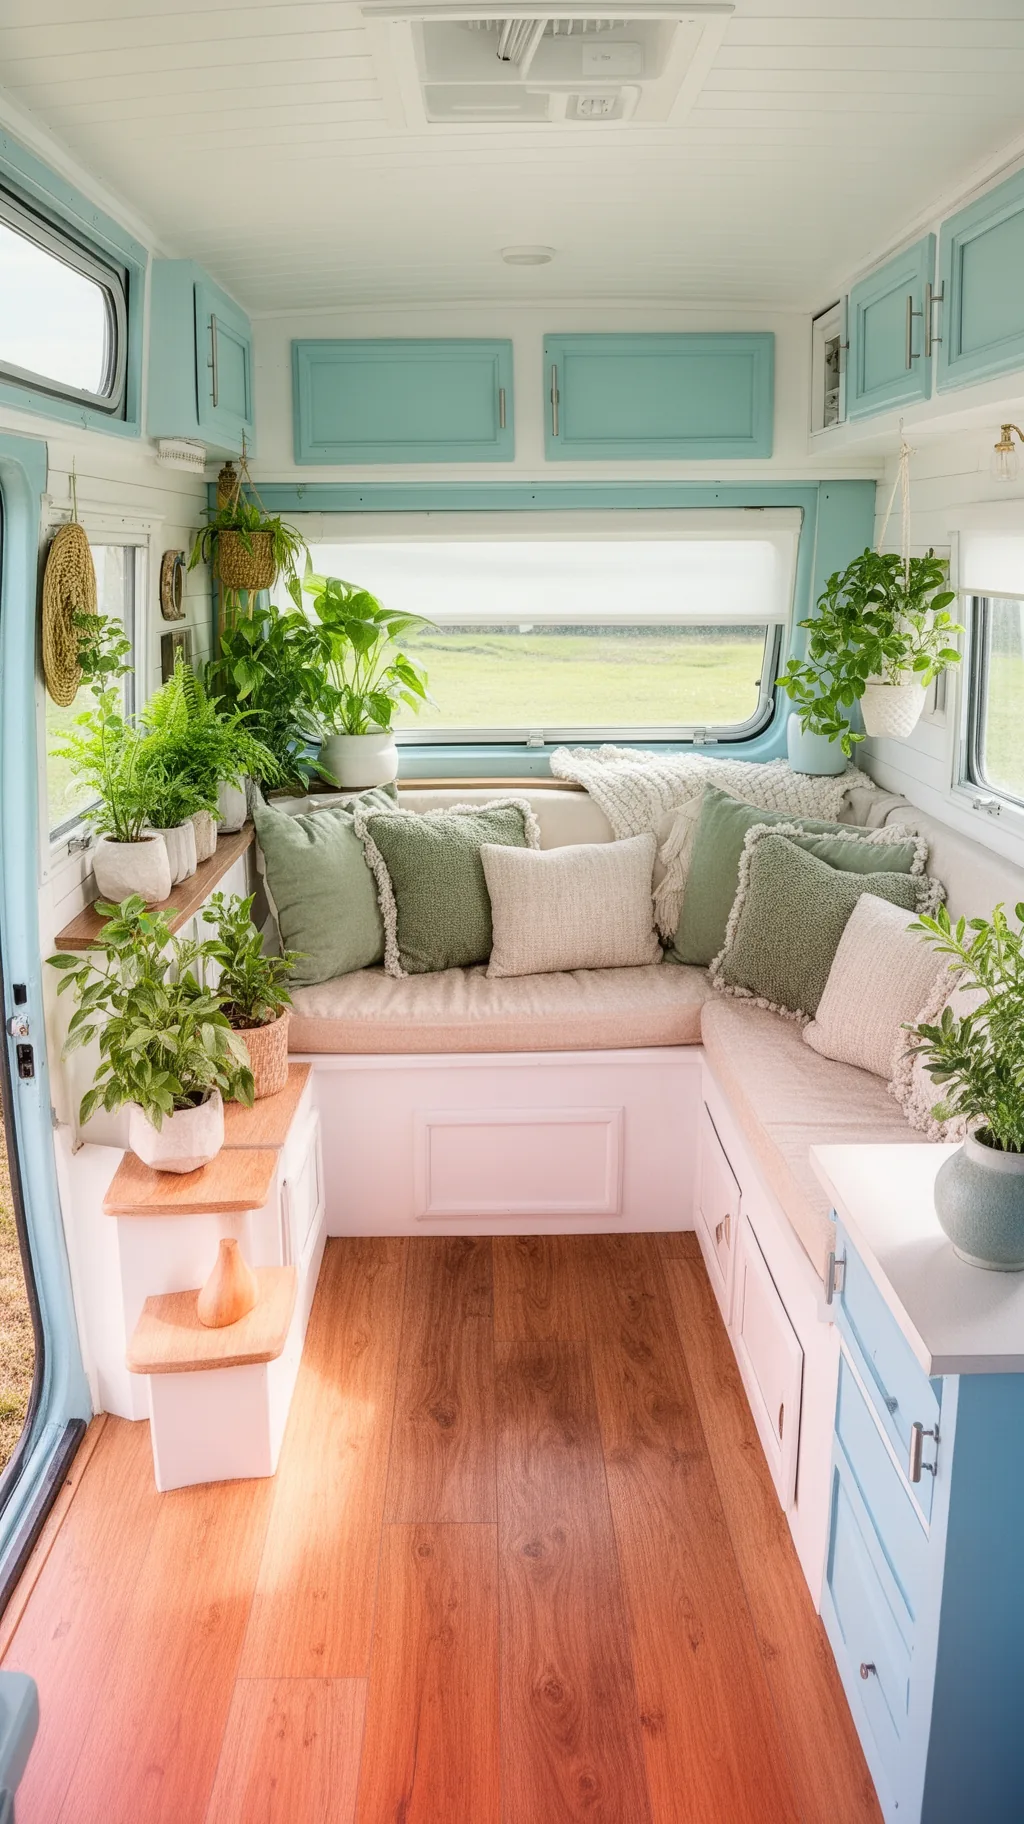 2 / 5
2 / 5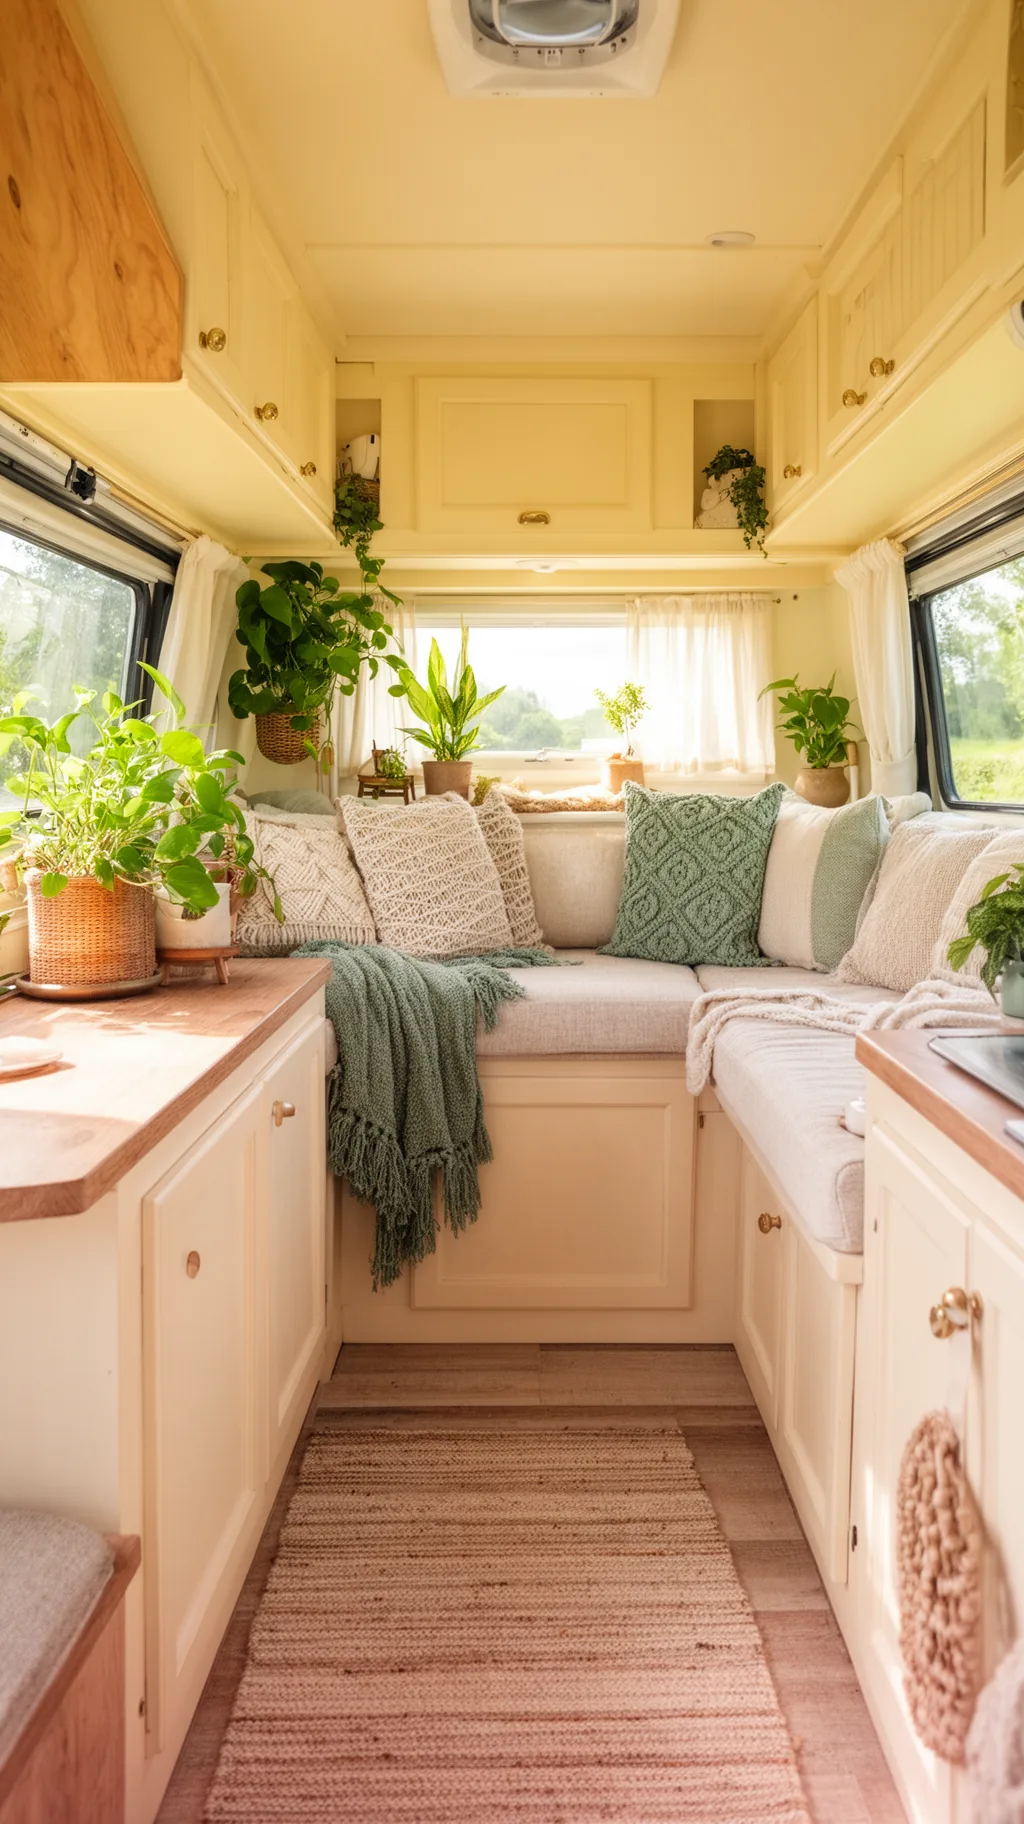 3 / 5
3 / 5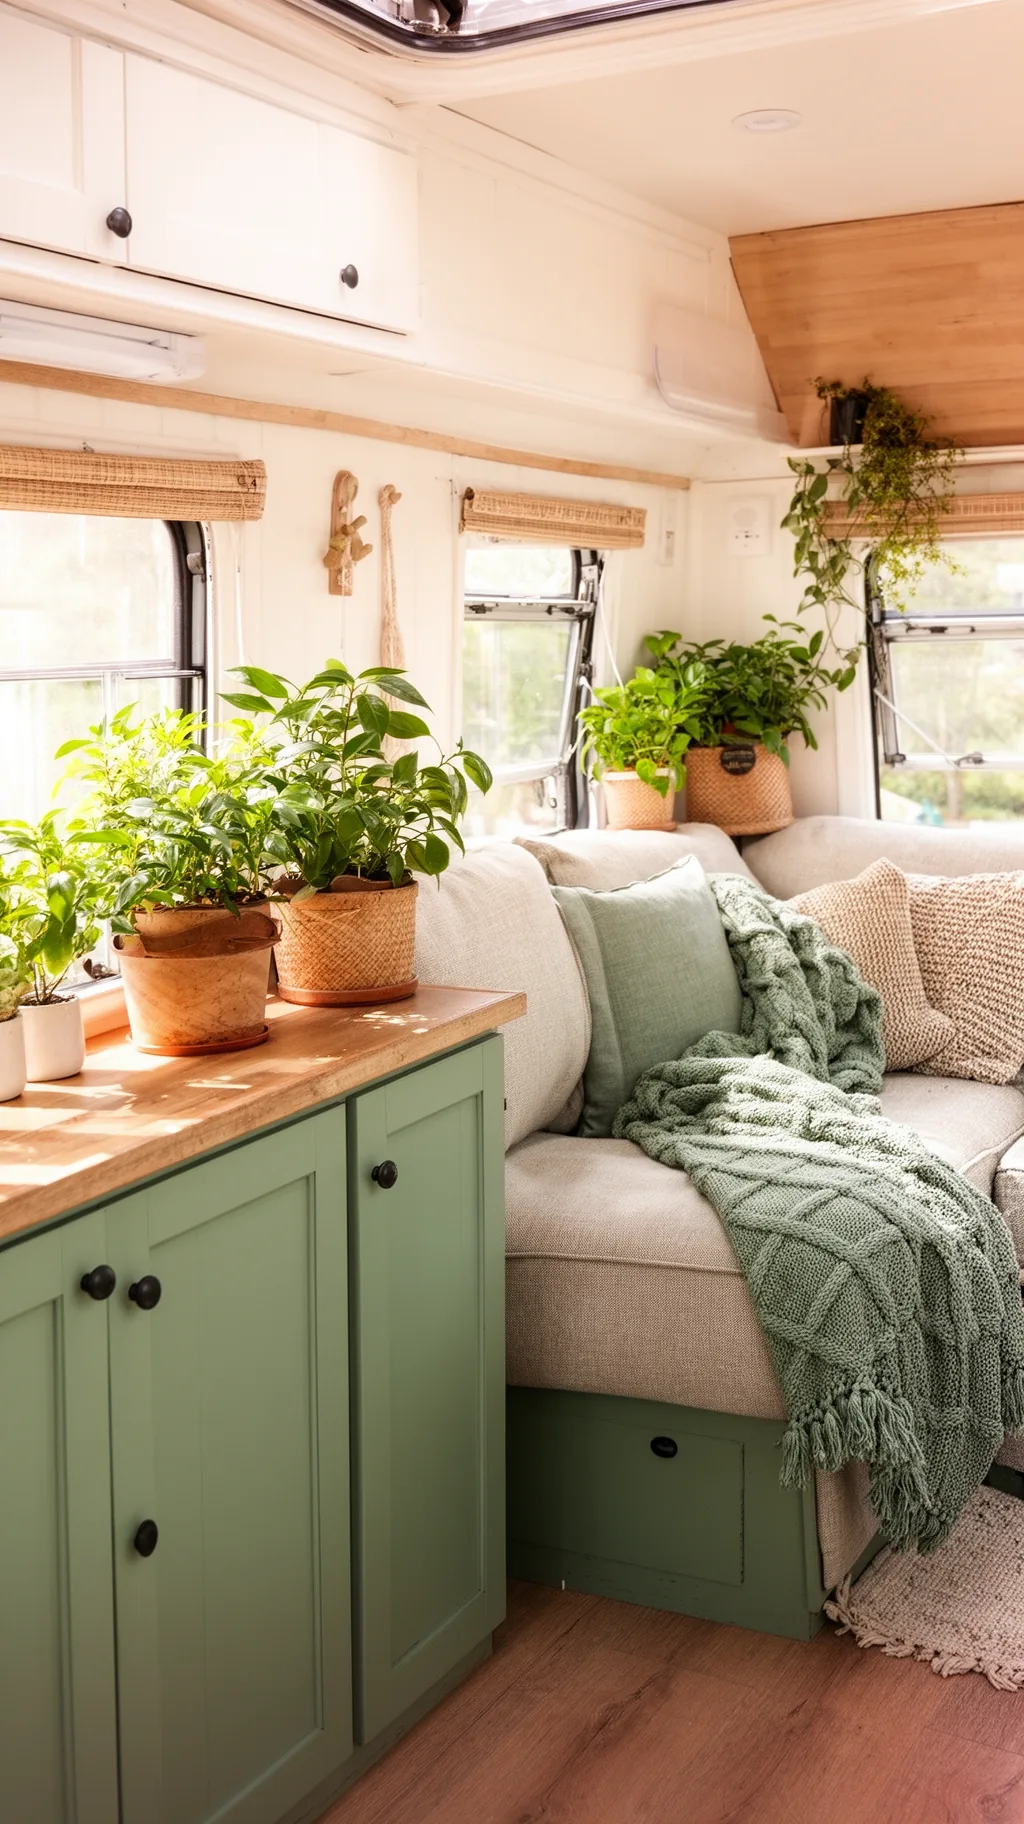 4 / 5
4 / 5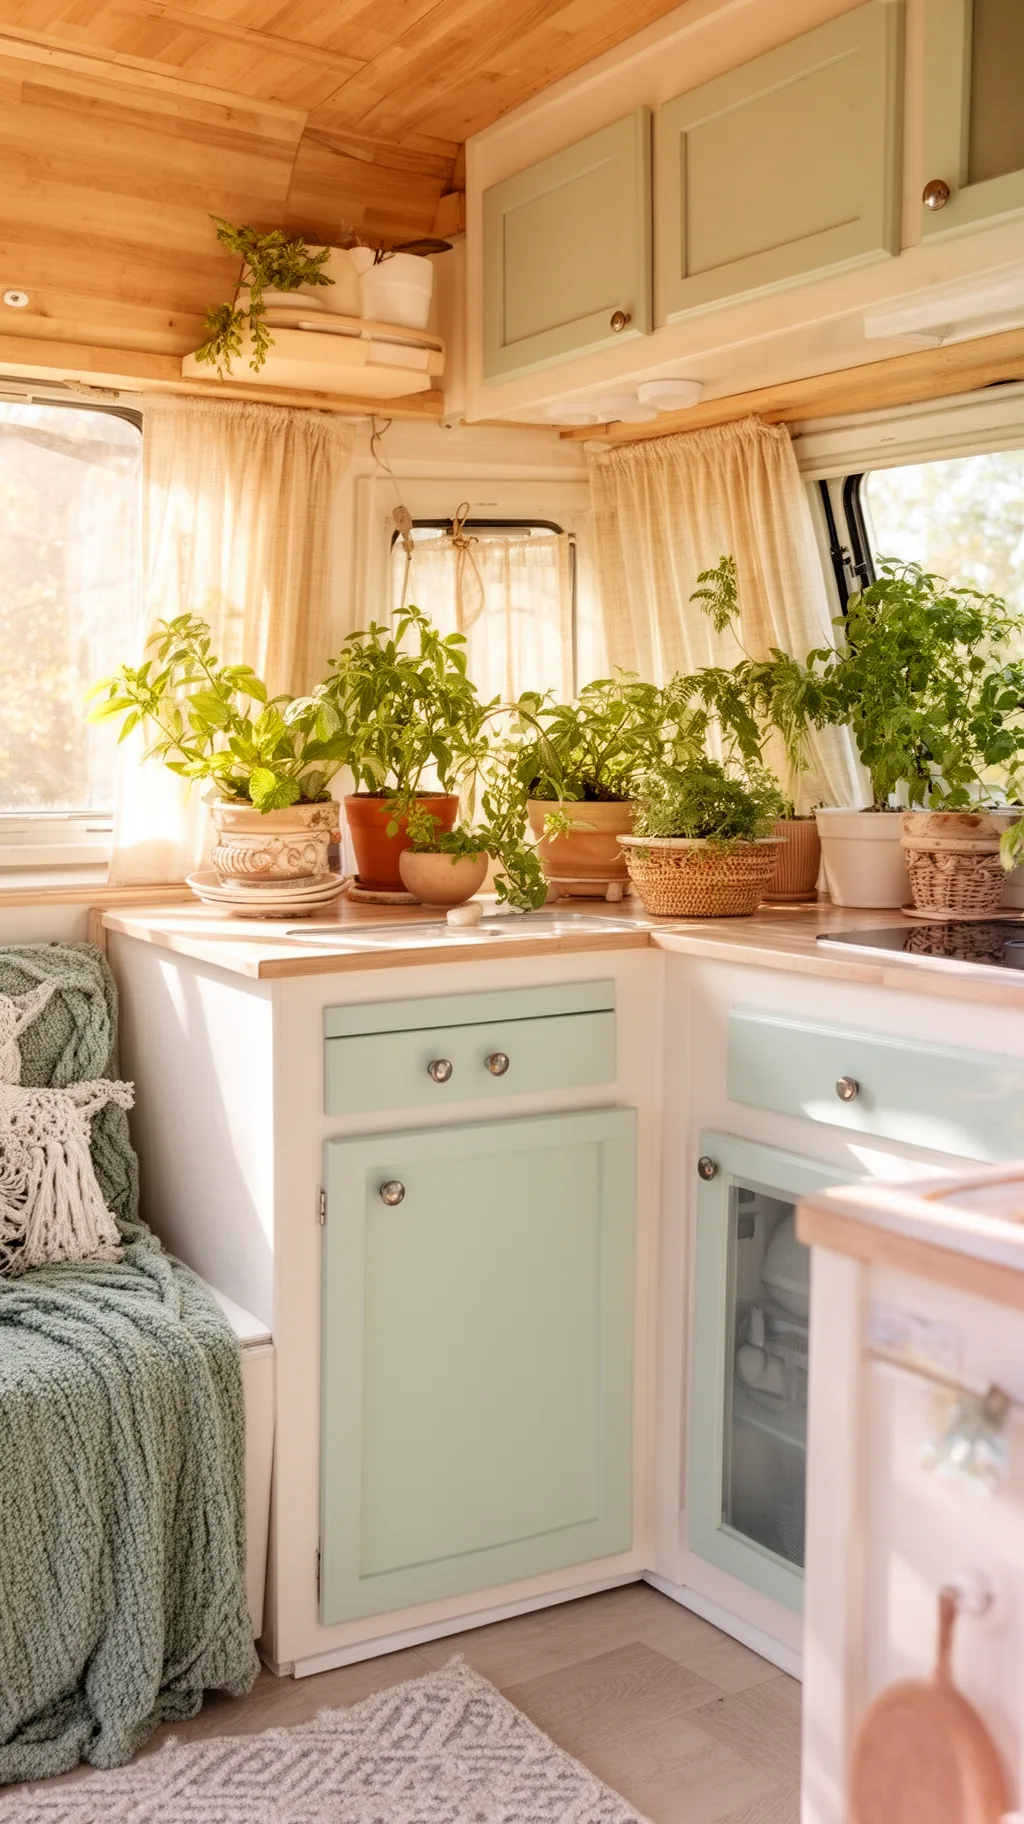 5 / 5
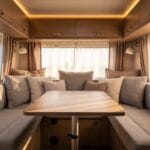
5 / 52. Swap Bulky Furniture for Built-Ins
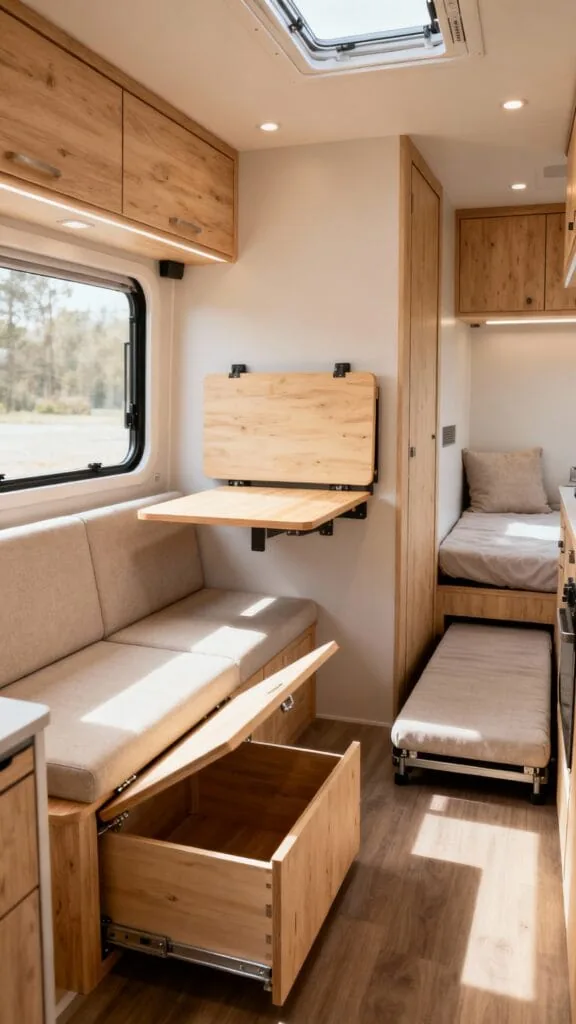
Camper furniture is often clunky and awkward. Replacing it with custom built-ins (or smart IKEA hacks) gives you better storage and a cleaner layout. Built-ins visually “disappear,” which is exactly what we want.
Smart Layout Ideas
- Bench seating with lift-up lids replaces folding chairs and hides blankets, shoes, or pet gear.
- Wall-mounted drop leaf tables fold away when not in use (hello, floor space).
- Murphy bed or trundle platform keeps the sleeping area neat and multipurpose.
- Use thin-profile cushions with high-density foam for comfort without bulk.
FYI: Use lightweight plywood or aluminum framing so you don’t mess with your tow weight.
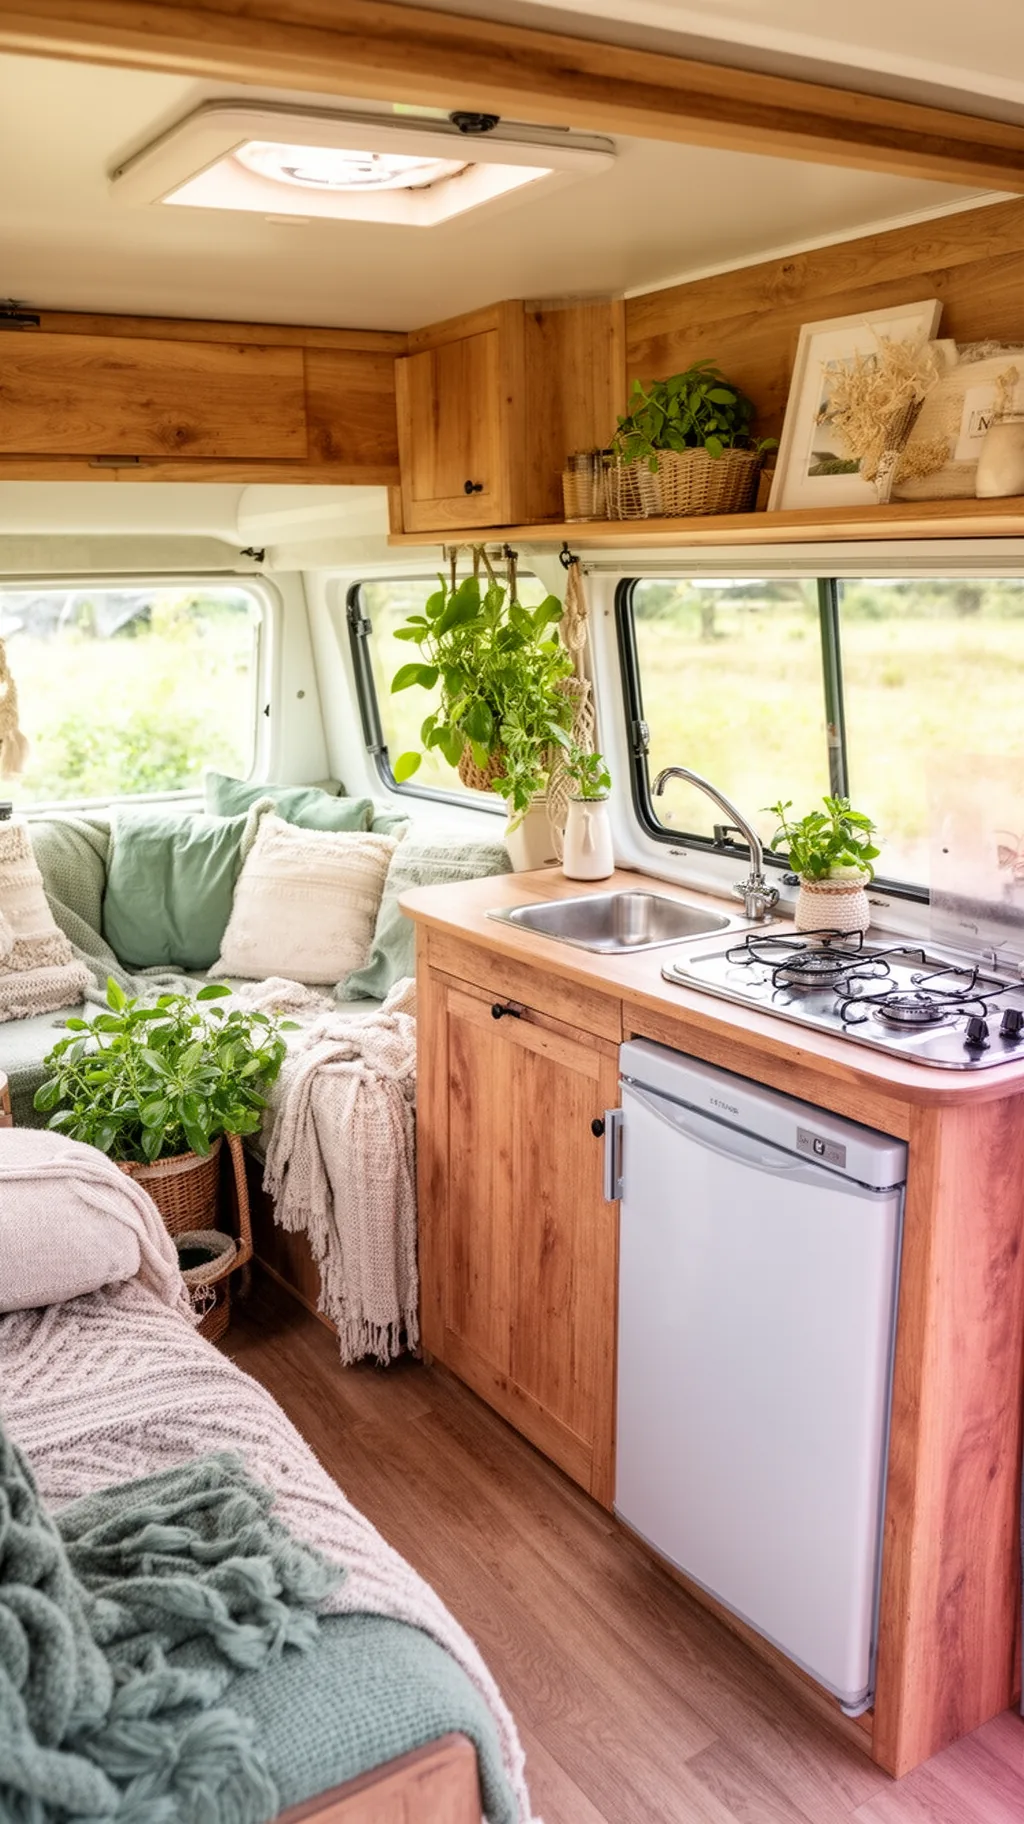
3. Create a Real Kitchen Triangle (Even If It’s Tiny)
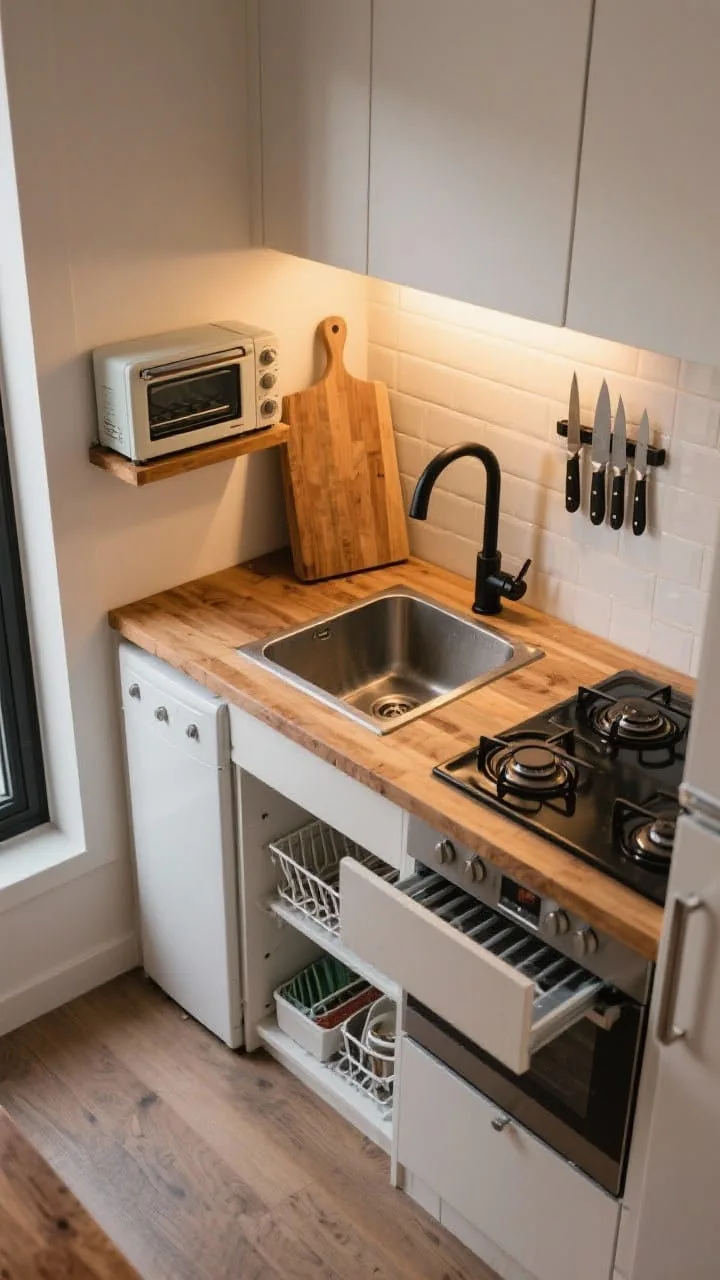
If your galley kitchen is chaos, you won’t cook in it. Rework the micro-layout to create a simple “triangle”: prep space, cooktop, and sink, within arm’s reach.
Small Kitchen Upgrades That Matter
- Butcher block or laminate counters with integrated cutting board covers for the sink = instant prep space.
- Swap chunky microwaves for a compact convection toaster oven (multi-use wins).
- Add a magnetic knife strip and folding dish rack to free up counter space.
- Install a pull-out pantry next to the fridge for spices, oils, and cans.
And yes, a pretty new faucet goes a long way. Go matte black or brushed brass for a modern lift.
Take a peek at a few of these tiny camper kitchens.
 1 / 5
1 / 5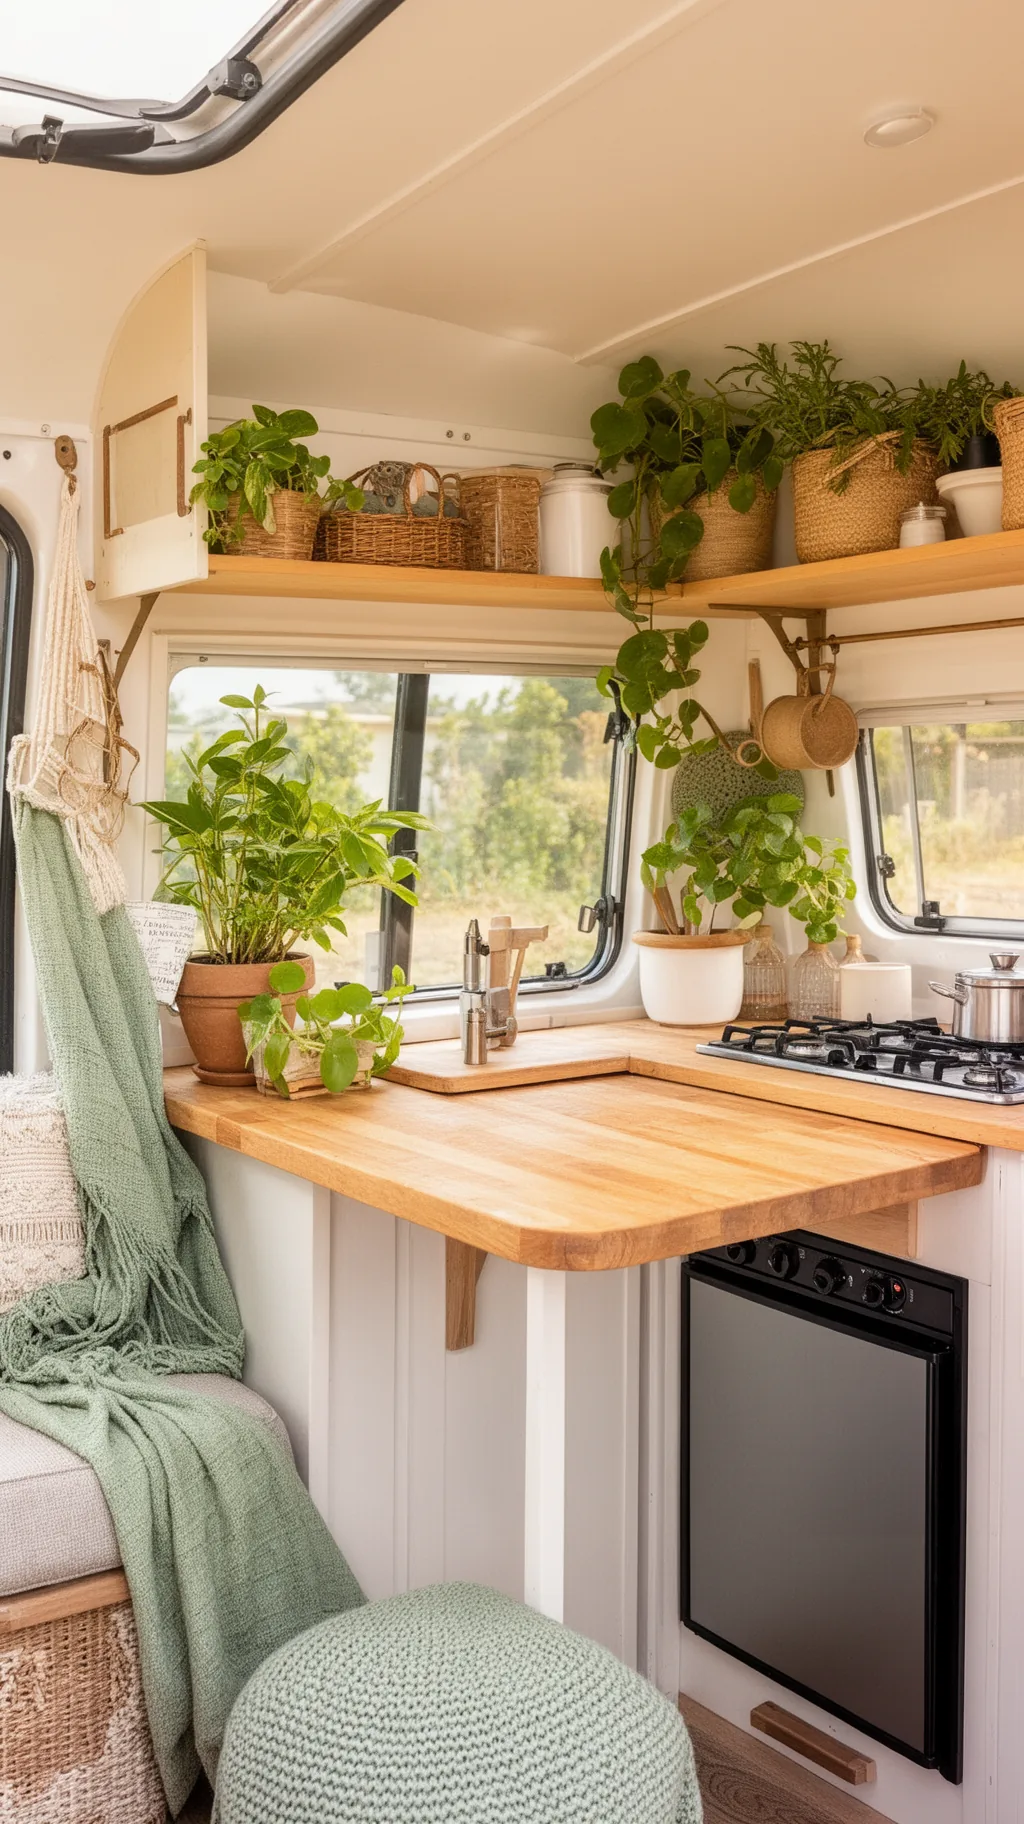 2 / 5
2 / 5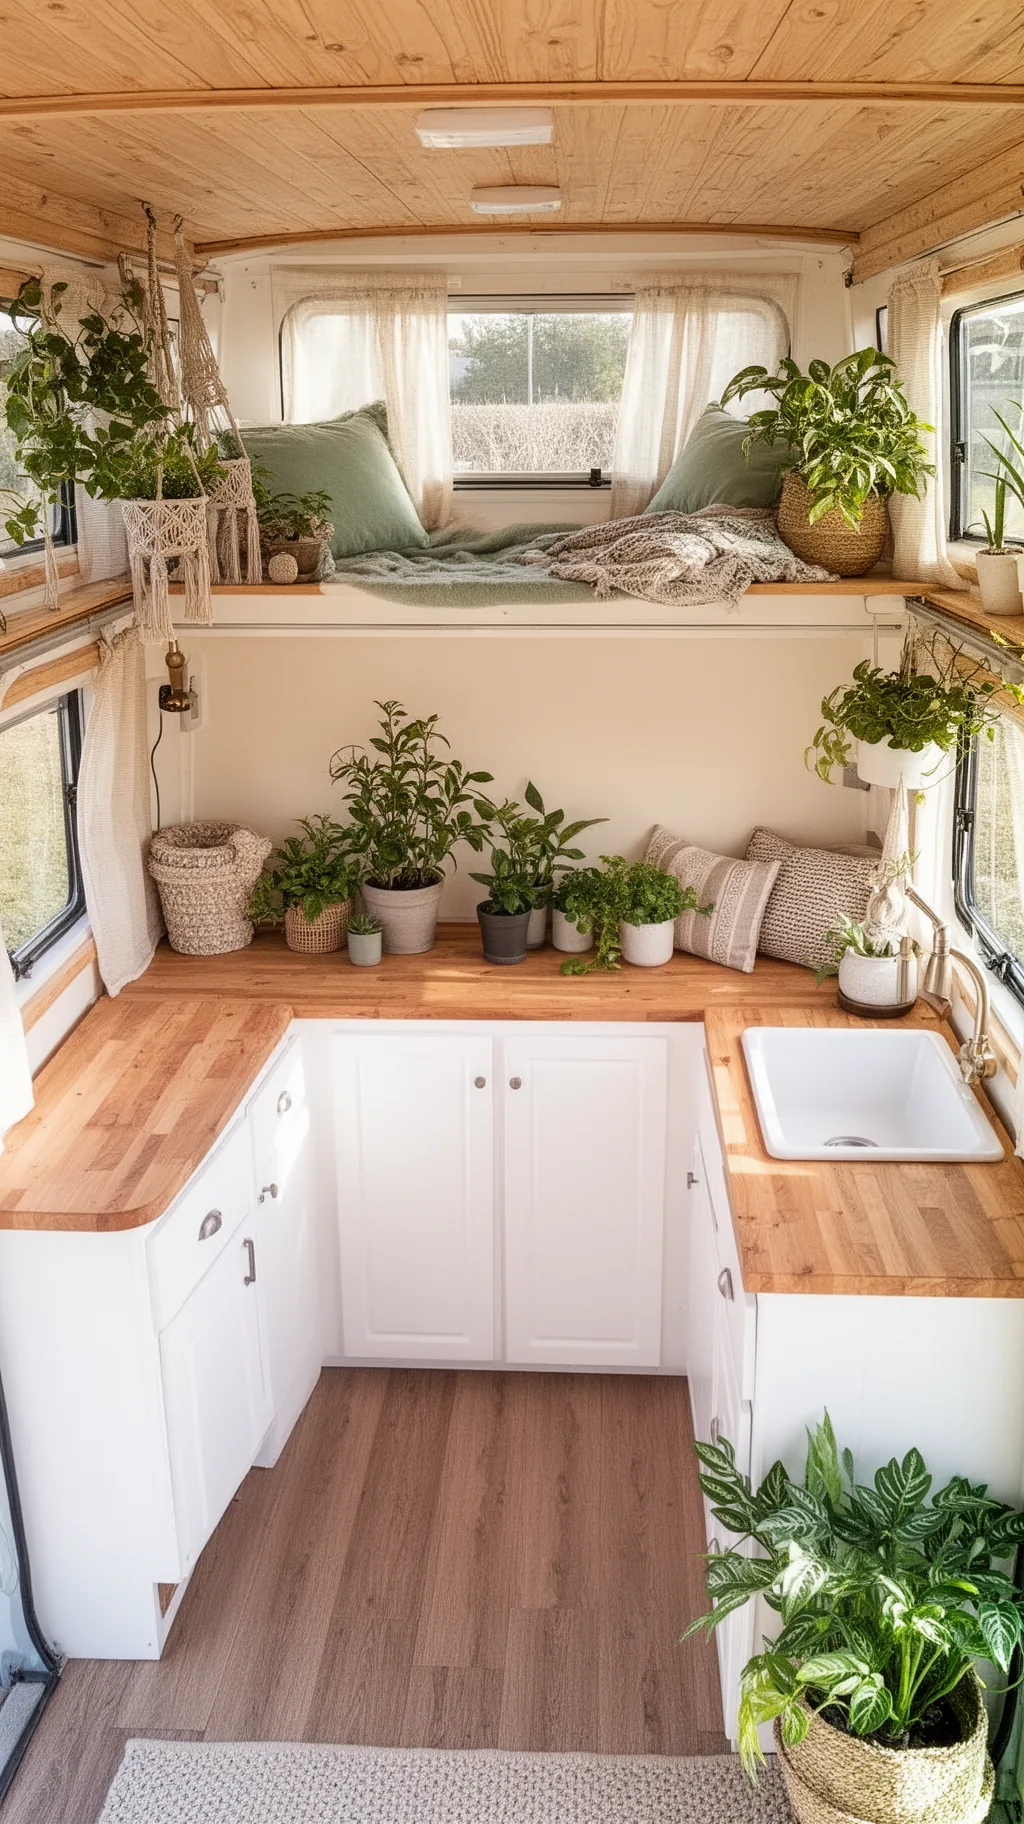 3 / 5
3 / 5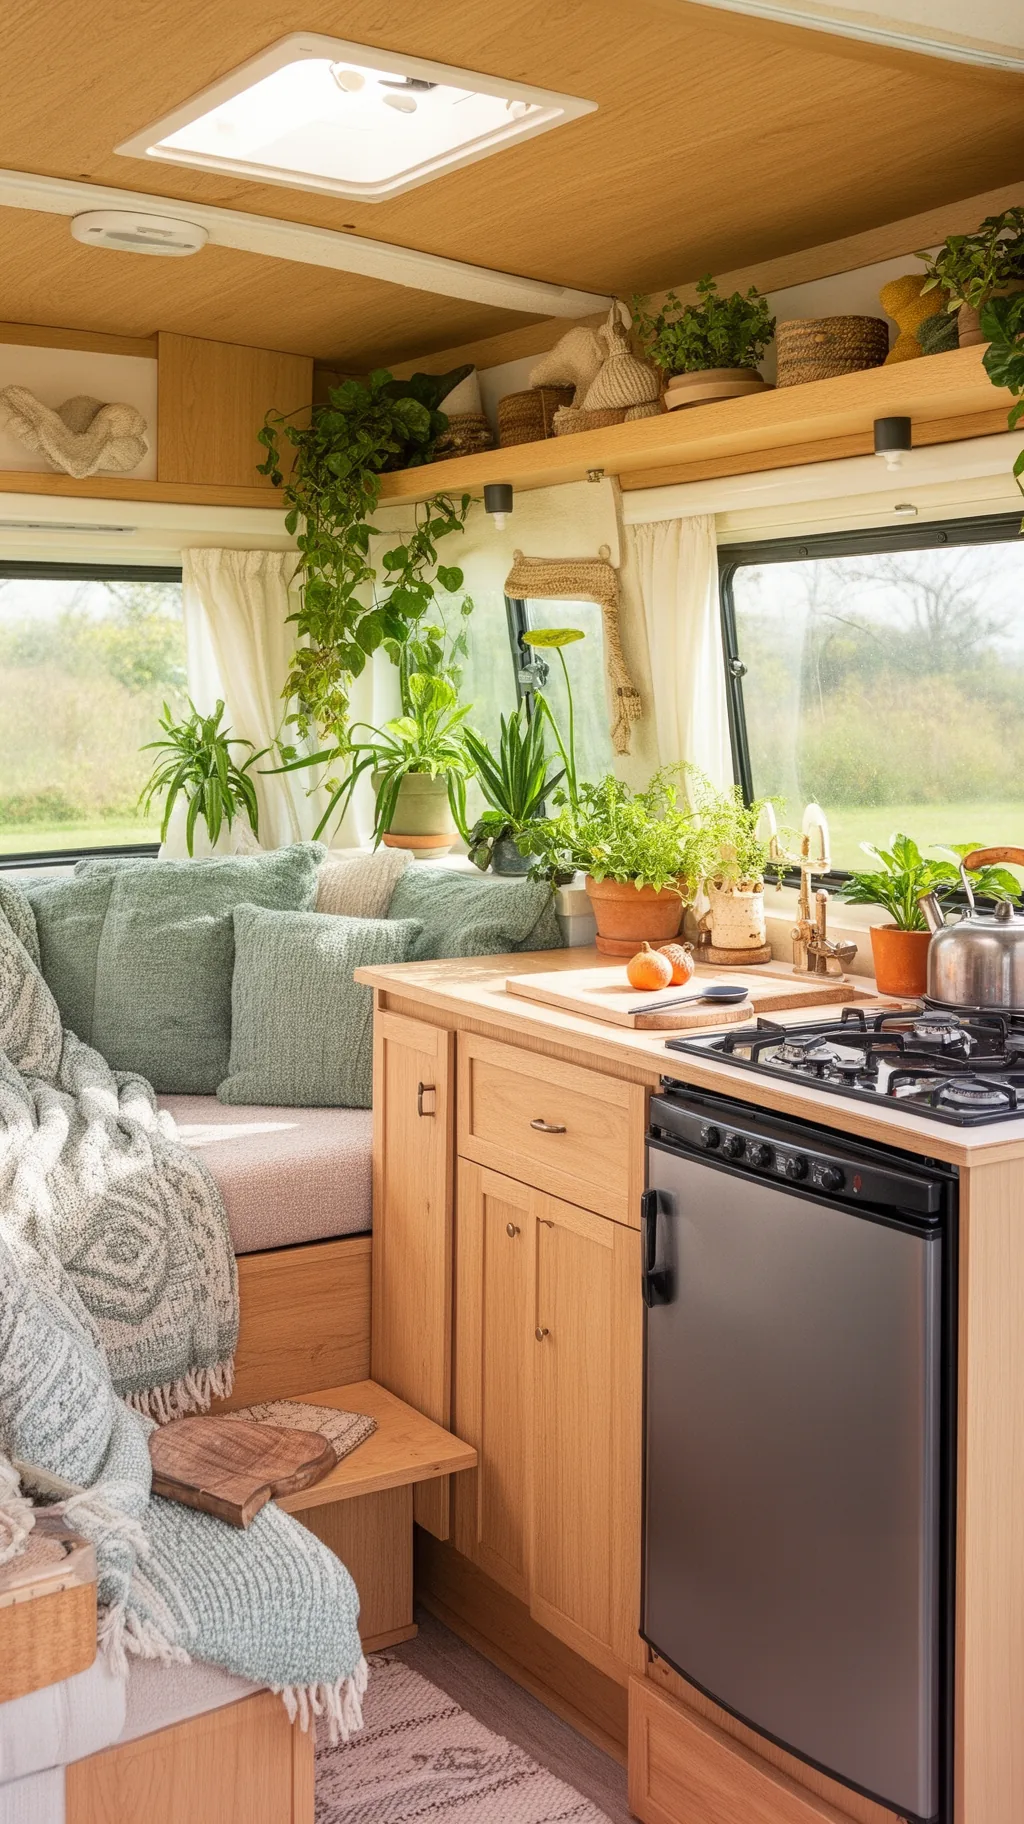 4 / 5
4 / 5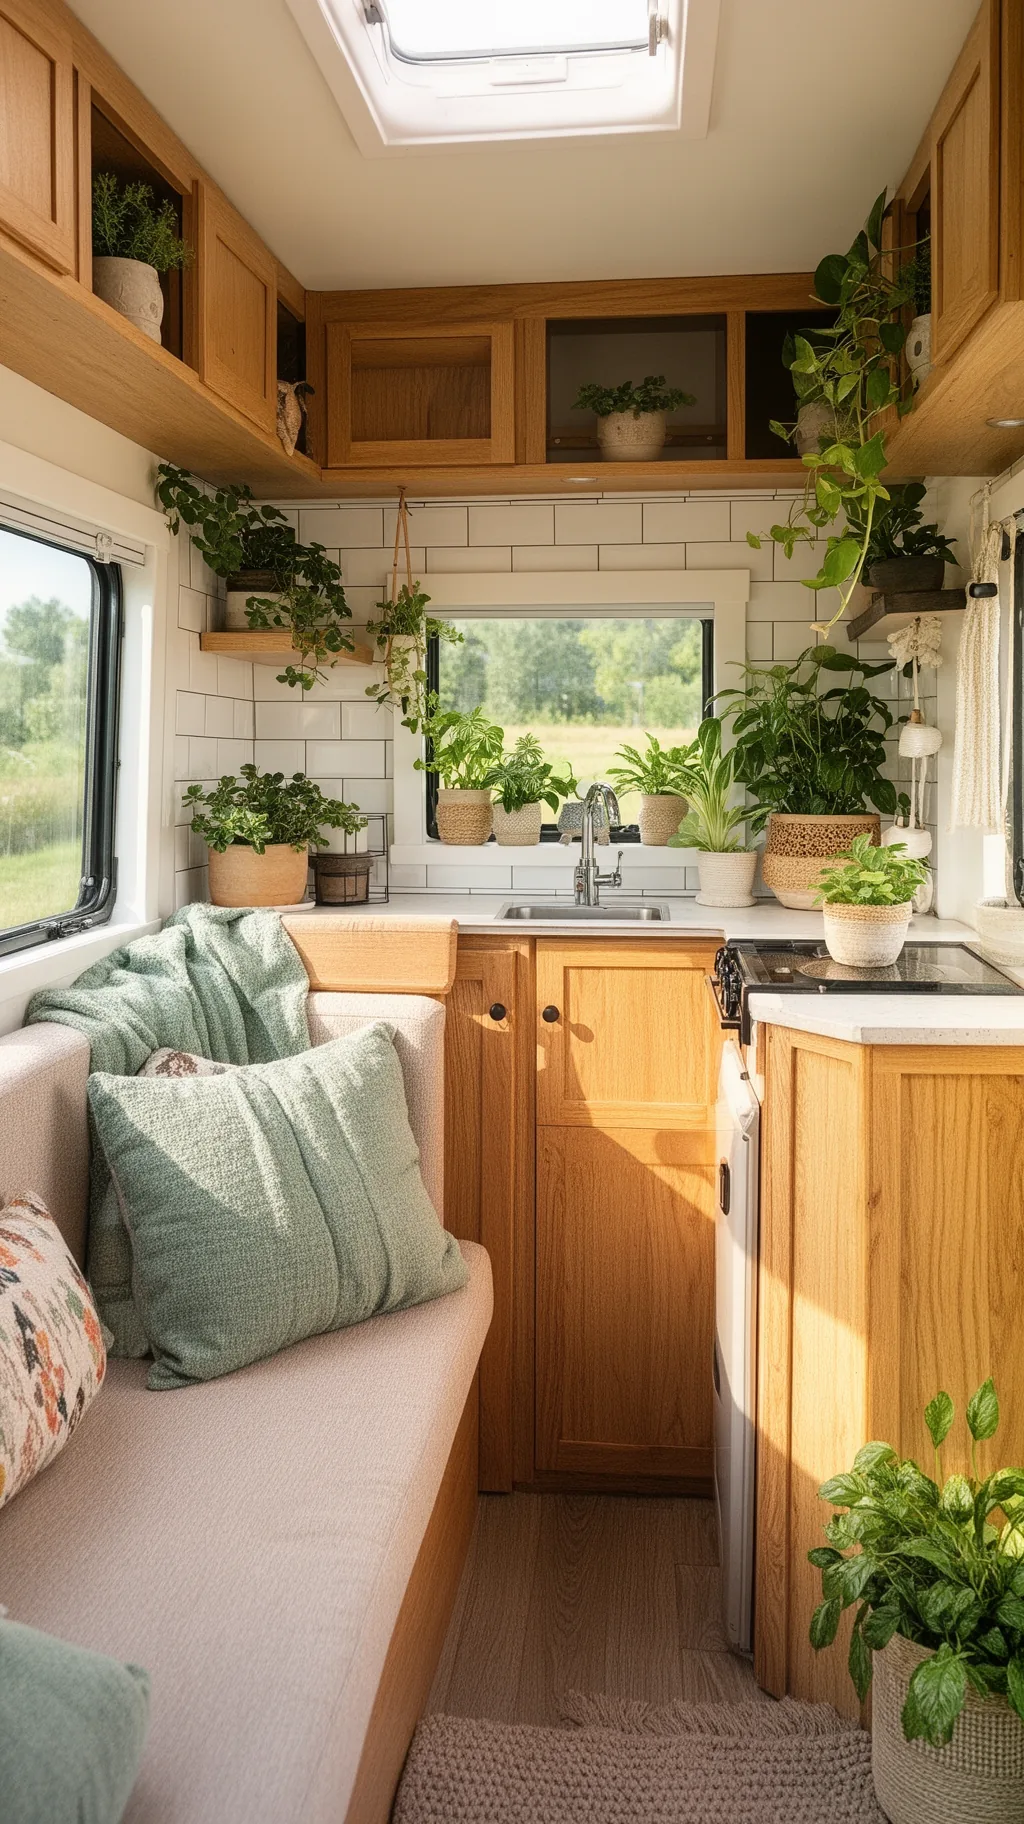 5 / 5
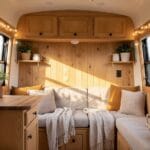
5 / 54. Max Out Vertical Storage Like a Designer
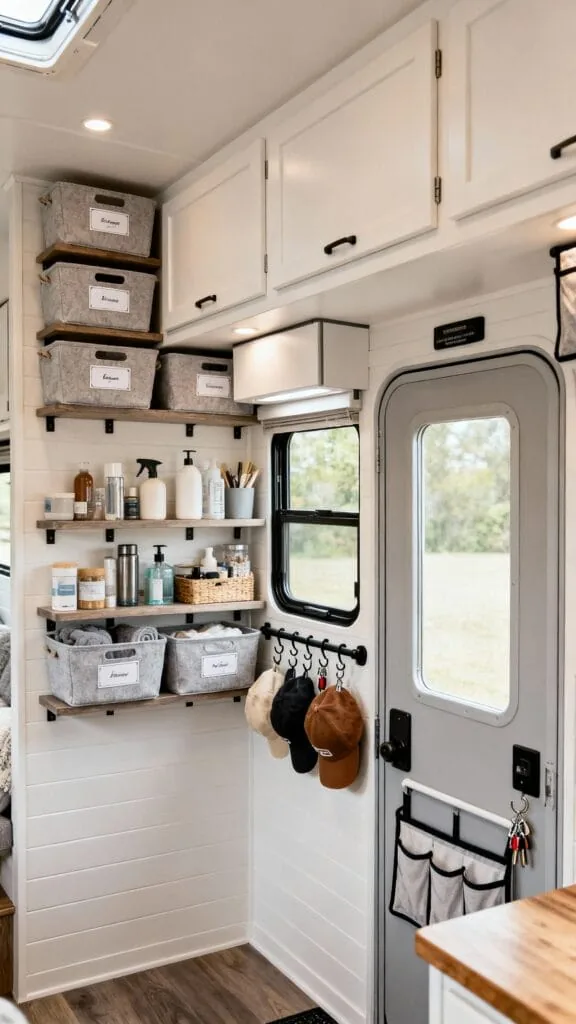
When you can’t go wider, go higher. The secret to tiny spaces is using every vertical inch, but making it look intentional, like a curated wall, not a garage pegboard.
This idea surprised me with how practical it is over time. Once everything has a vertical “home,” daily routines get faster. It also makes the camper feel more intentional, not cluttered, which is exactly what the smartest tiny camper remodel ideas are after.
Make Your Walls Work
- High shelves with lips for baskets (soft goods up top, daily stuff at eye level).
- Command hooks and micro rails near the door for hats, keys, dog leashes.
- Over-door organizers inside the bathroom and wardrobe for toiletries and socks.
- Install slim cabinets above windows, lightweight, shallow, and super handy.
Keep it pretty with matching baskets and labels. Function + aesthetics = chef’s kiss.
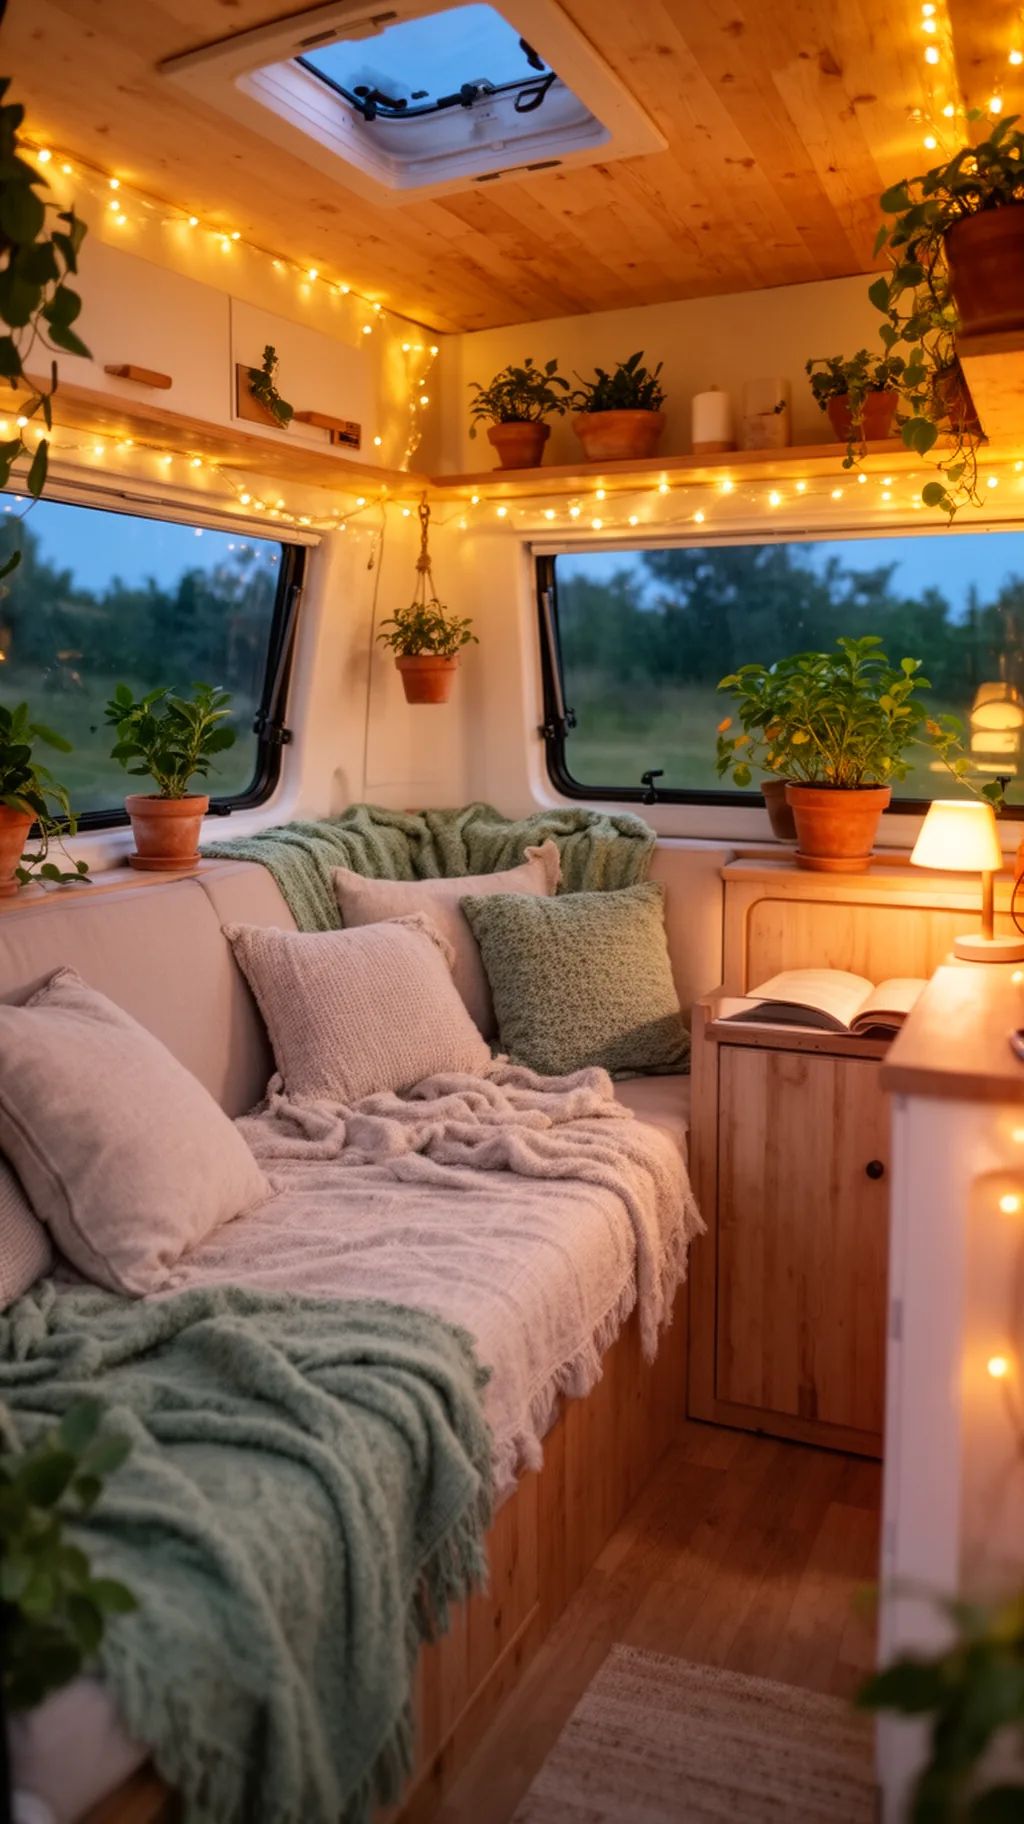
5. Layer Lighting for Instant Mood (And Visibility)
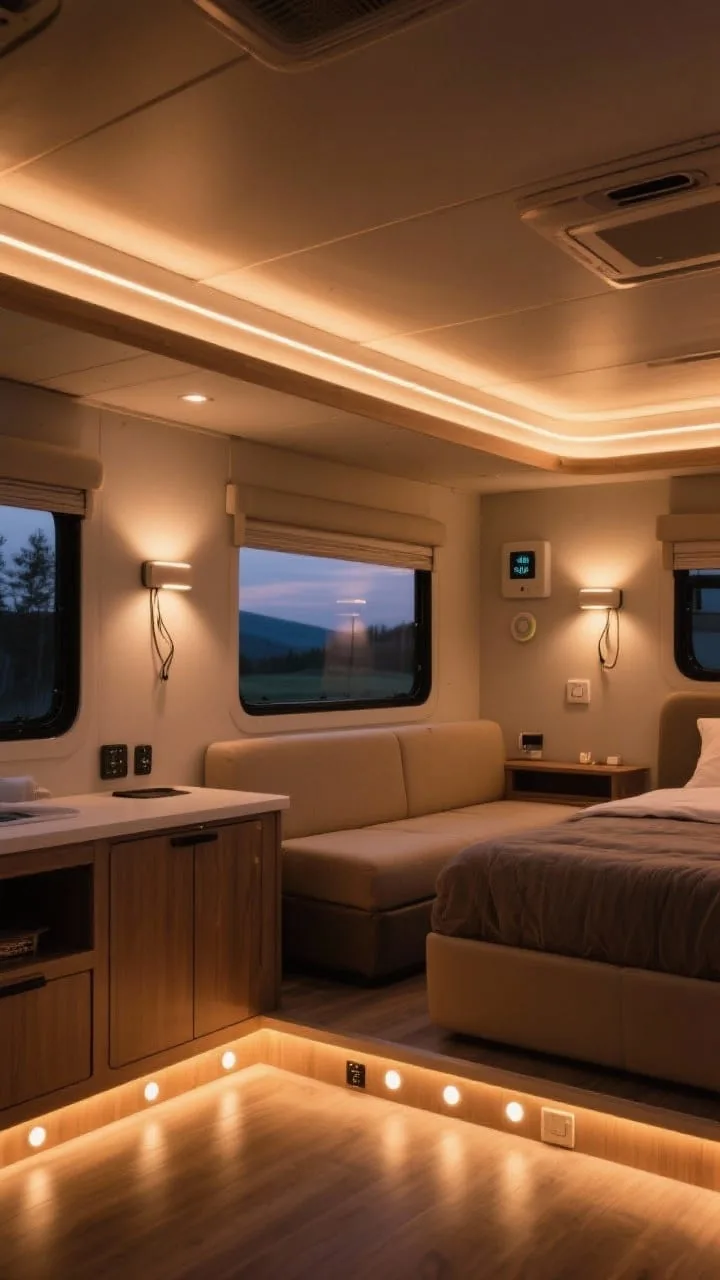
Overhead lights alone make campers feel flat. These tiny RV lighting ideas go even deeper if you want a full glow-up. You want layers: ambient, task, and accent. Bonus if it’s all dimmable so you can go from meal prep to cozy campfire vibes with a tap.
Lighting That Works Hard
- LED puck lights under cabinets for task lighting.
- Battery sconces or plug-in wall lamps with cord covers by the bed.
- Warm white LED strips along toe kicks or ceiling coves for glow without glare.
- Add a smart hub and dimmers so you can control zones with your phone.
Pro tip: choose 2700–3000K bulbs for warmth. Anything cooler reads “office,” not “weekend getaway.”
Scroll through and see which glow speaks to you.
 1 / 5
1 / 5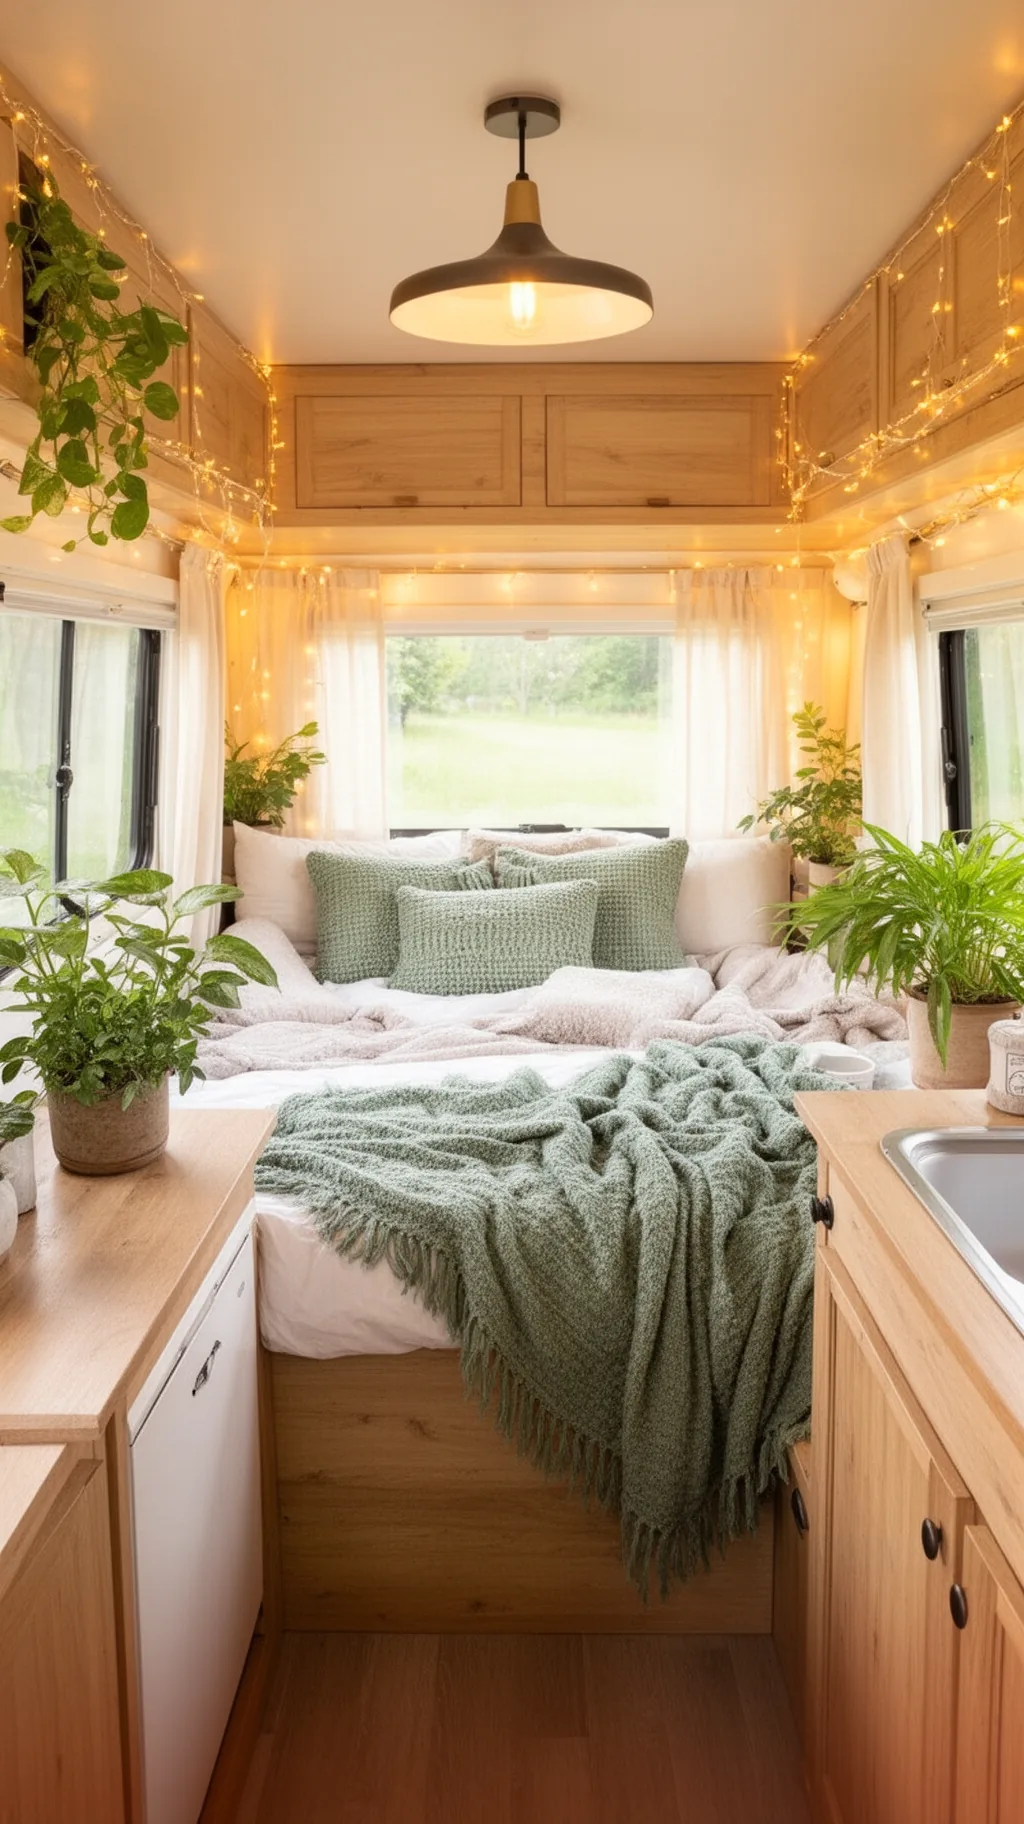 2 / 5
2 / 5 3 / 5
3 / 5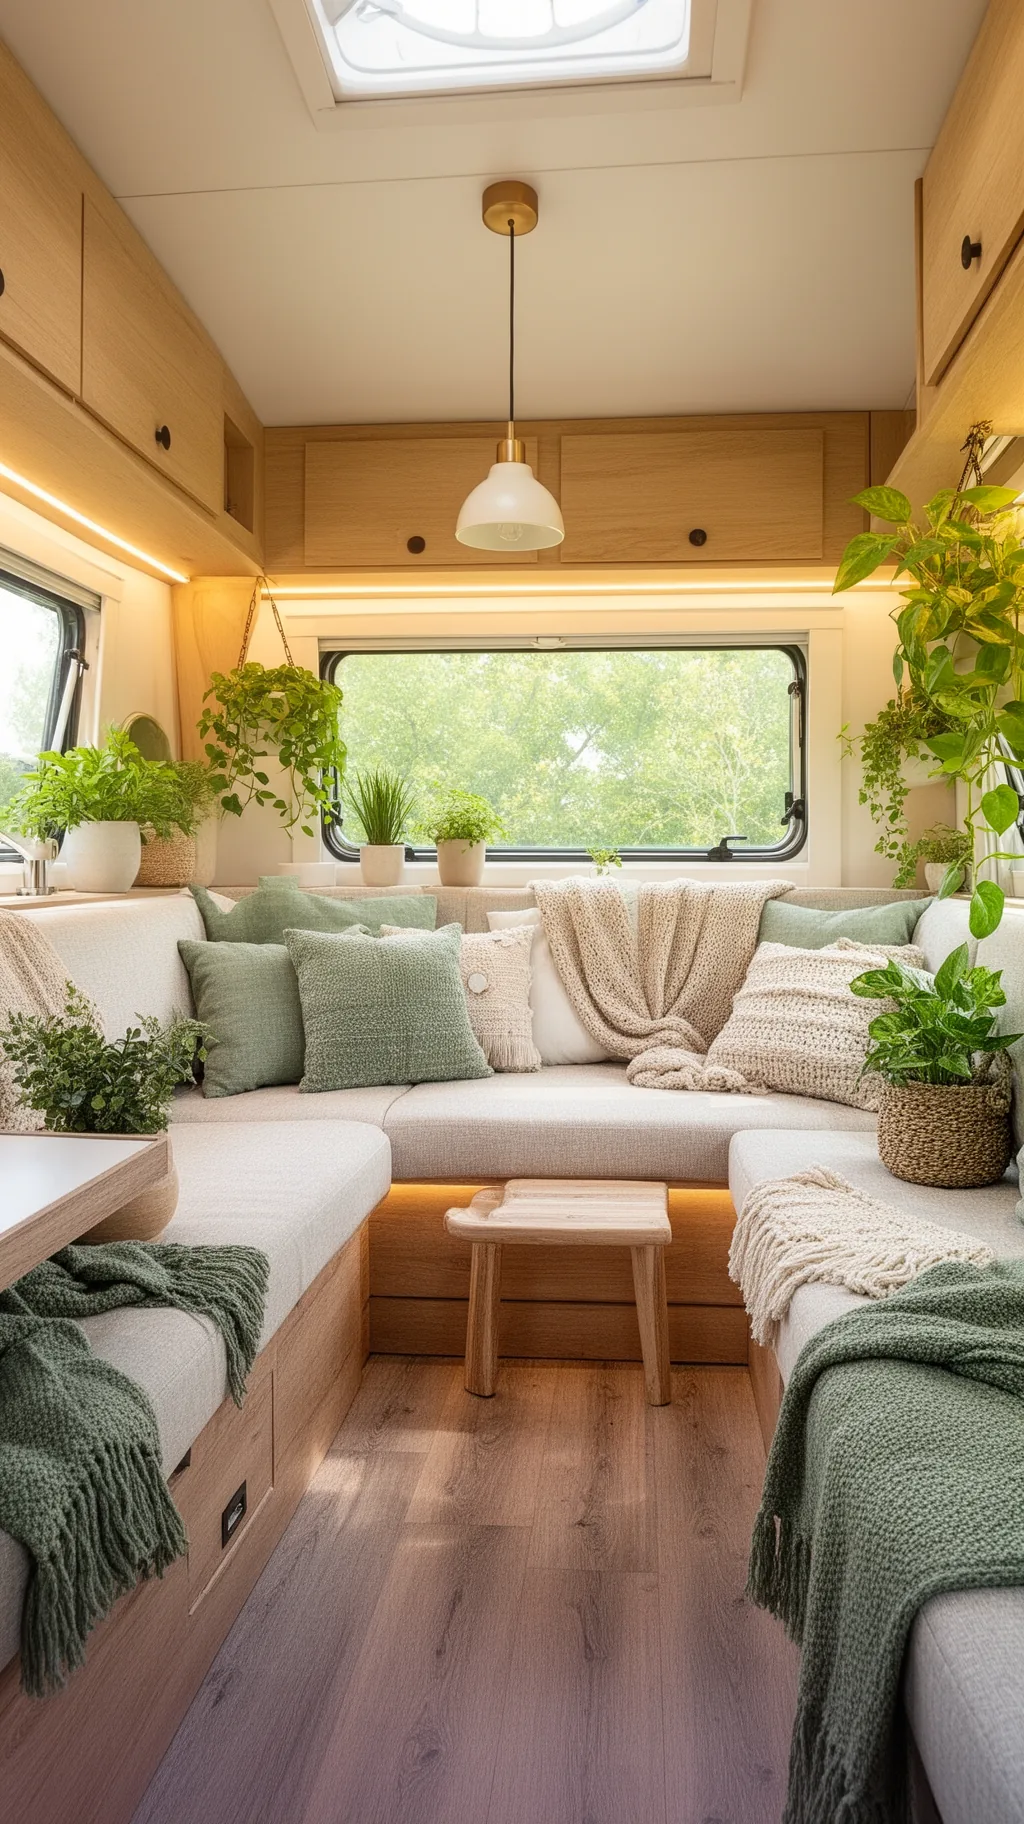 4 / 5
4 / 5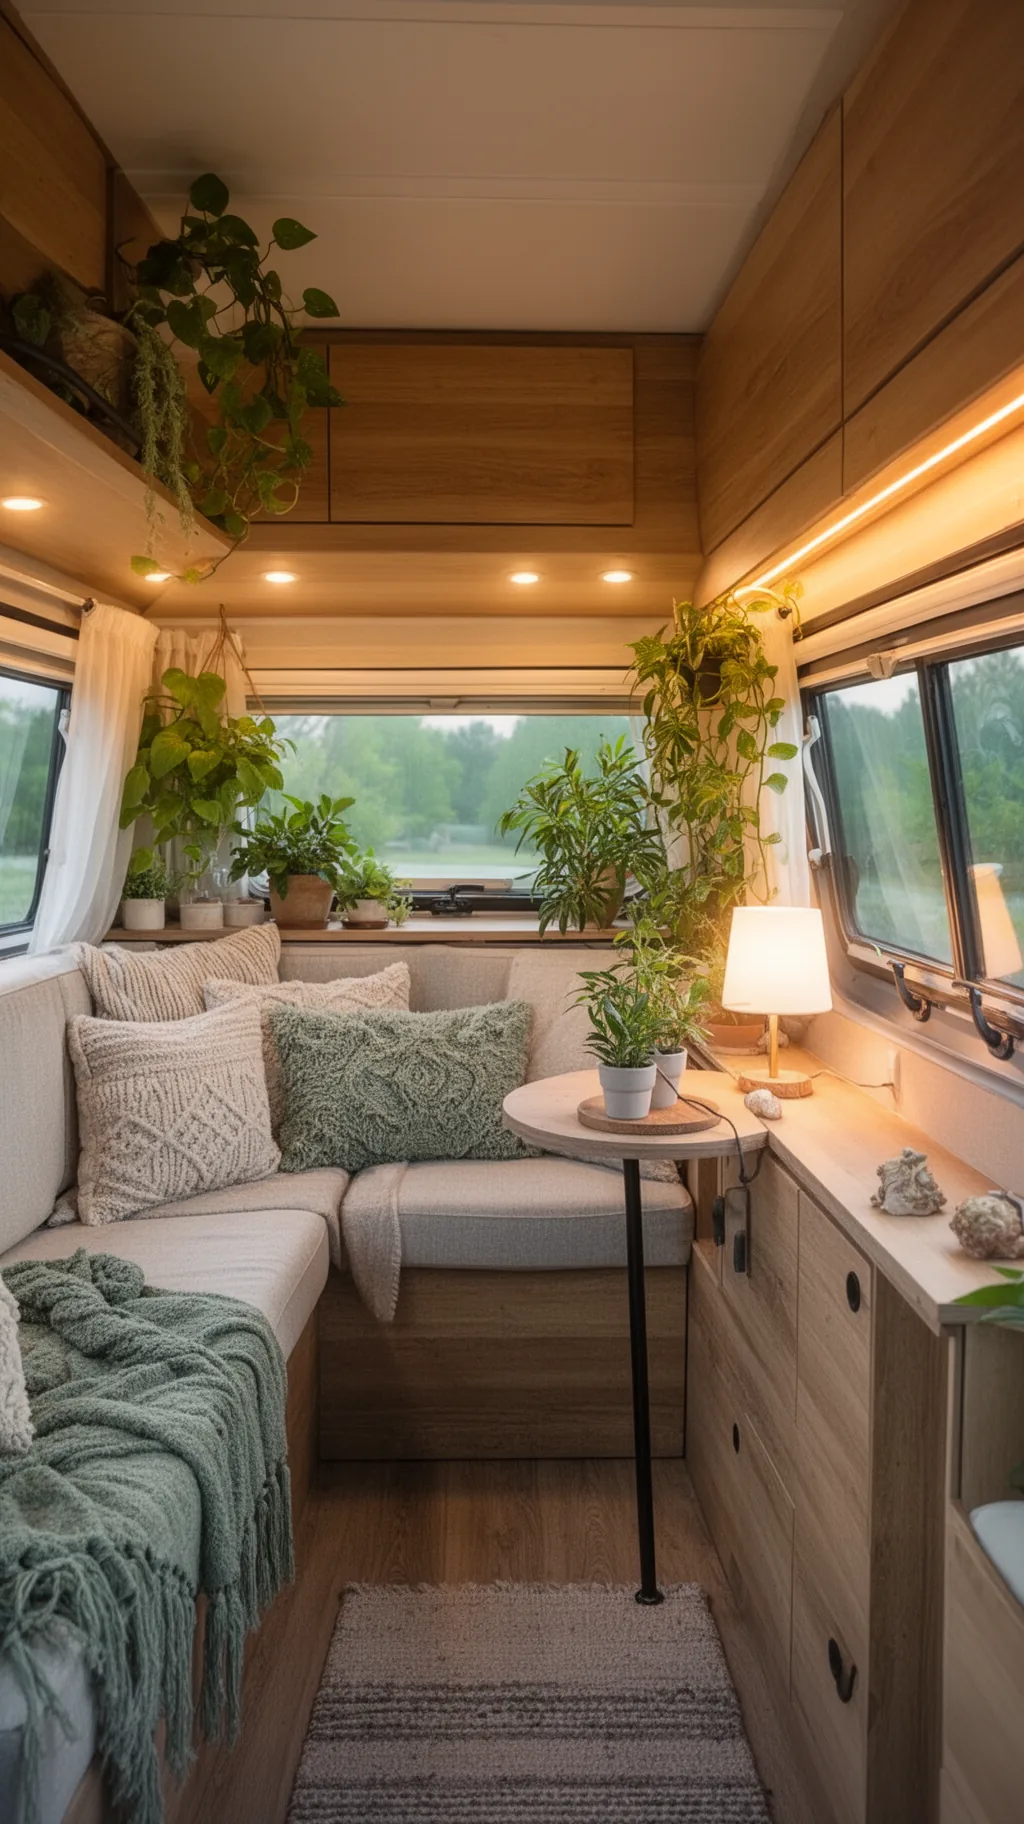 5 / 5
5 / 56. Upgrade Fabrics: Curtains, Cushions, and Bedding
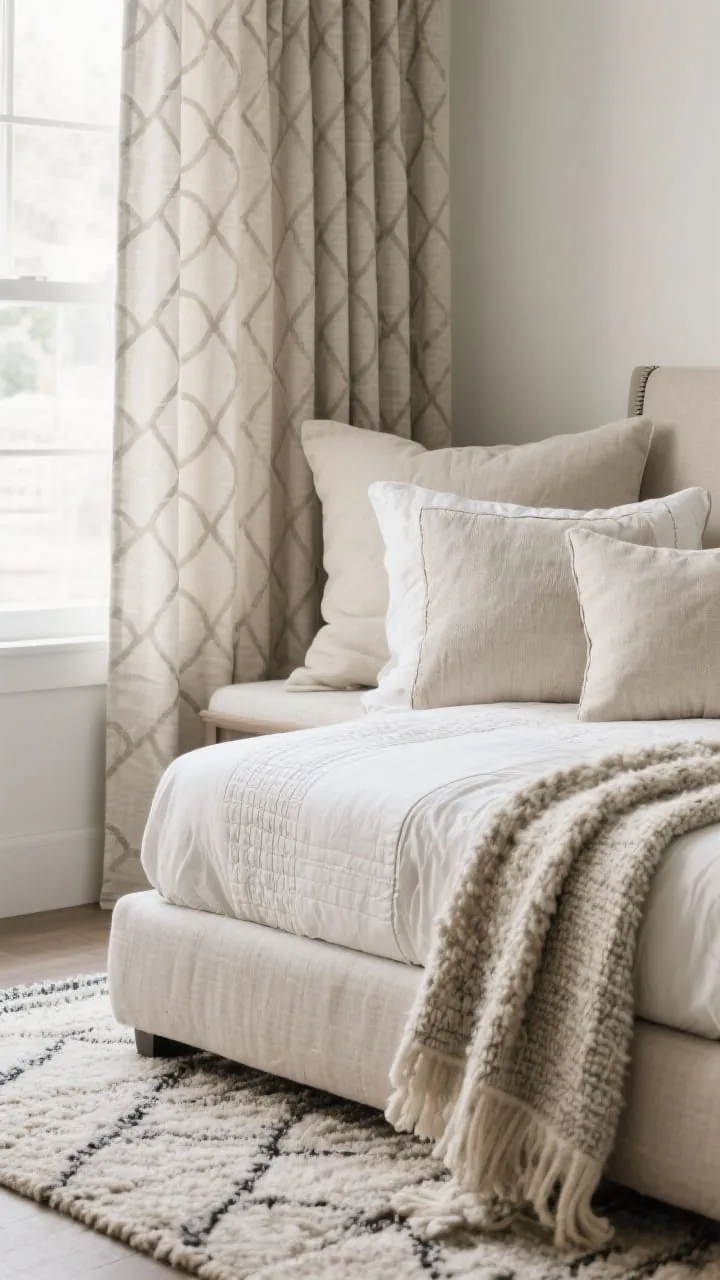
Fabric is the easiest way to make your camper feel like home. Swap scratchy, dated textiles for soft, durable, washable options that look good and handle spills.
Textile Refresh Checklist
- Blackout curtains or roller shades to control light and heat.
- Performance fabric cushion covers (think Crypton or outdoor-rated) in modern patterns.
- Layered bedding with a fitted sheet + quilt + throw for an “unfussy boutique” look.
- Add a wool or indoor-outdoor rug that traps dirt but cleans up fast.
Keep patterns in the same color family so it feels chic, not chaotic. IMO, a striped runner is always a win. And if the sleeping nook is your main focus, these cozy camper bedroom ideas go a little deeper.
7. Give the Bathroom a Spa Moment
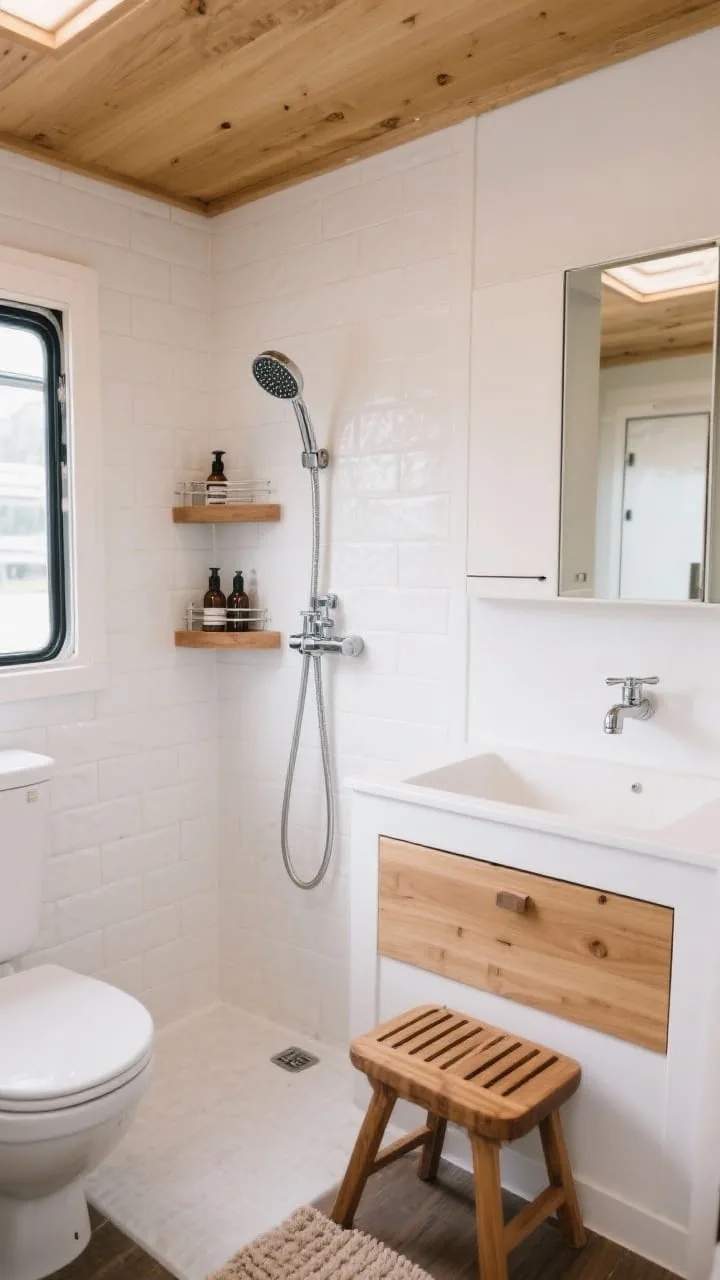
Small bathroom? No problem. A few upgrades make it feel like a spa, not a closet with a hose.
Small Changes, Big Impact
- Peel-and-stick tile or waterproof wall panels for the shower splash zone.
- Replace the faucet and shower head with a compact, high-pressure model.
- Corner shelves or a tension pole caddy for bottles (no more floor clutter).
- Swap the mirror for a medicine cabinet, instant hidden storage.
Add wooden accents (teak bath mat, small stool) for warmth and a spa vibe. Keep the color palette clean: white, wood, and one accent color.
Here are a few spa style camper baths to get the ideas flowing.
 1 / 5
1 / 5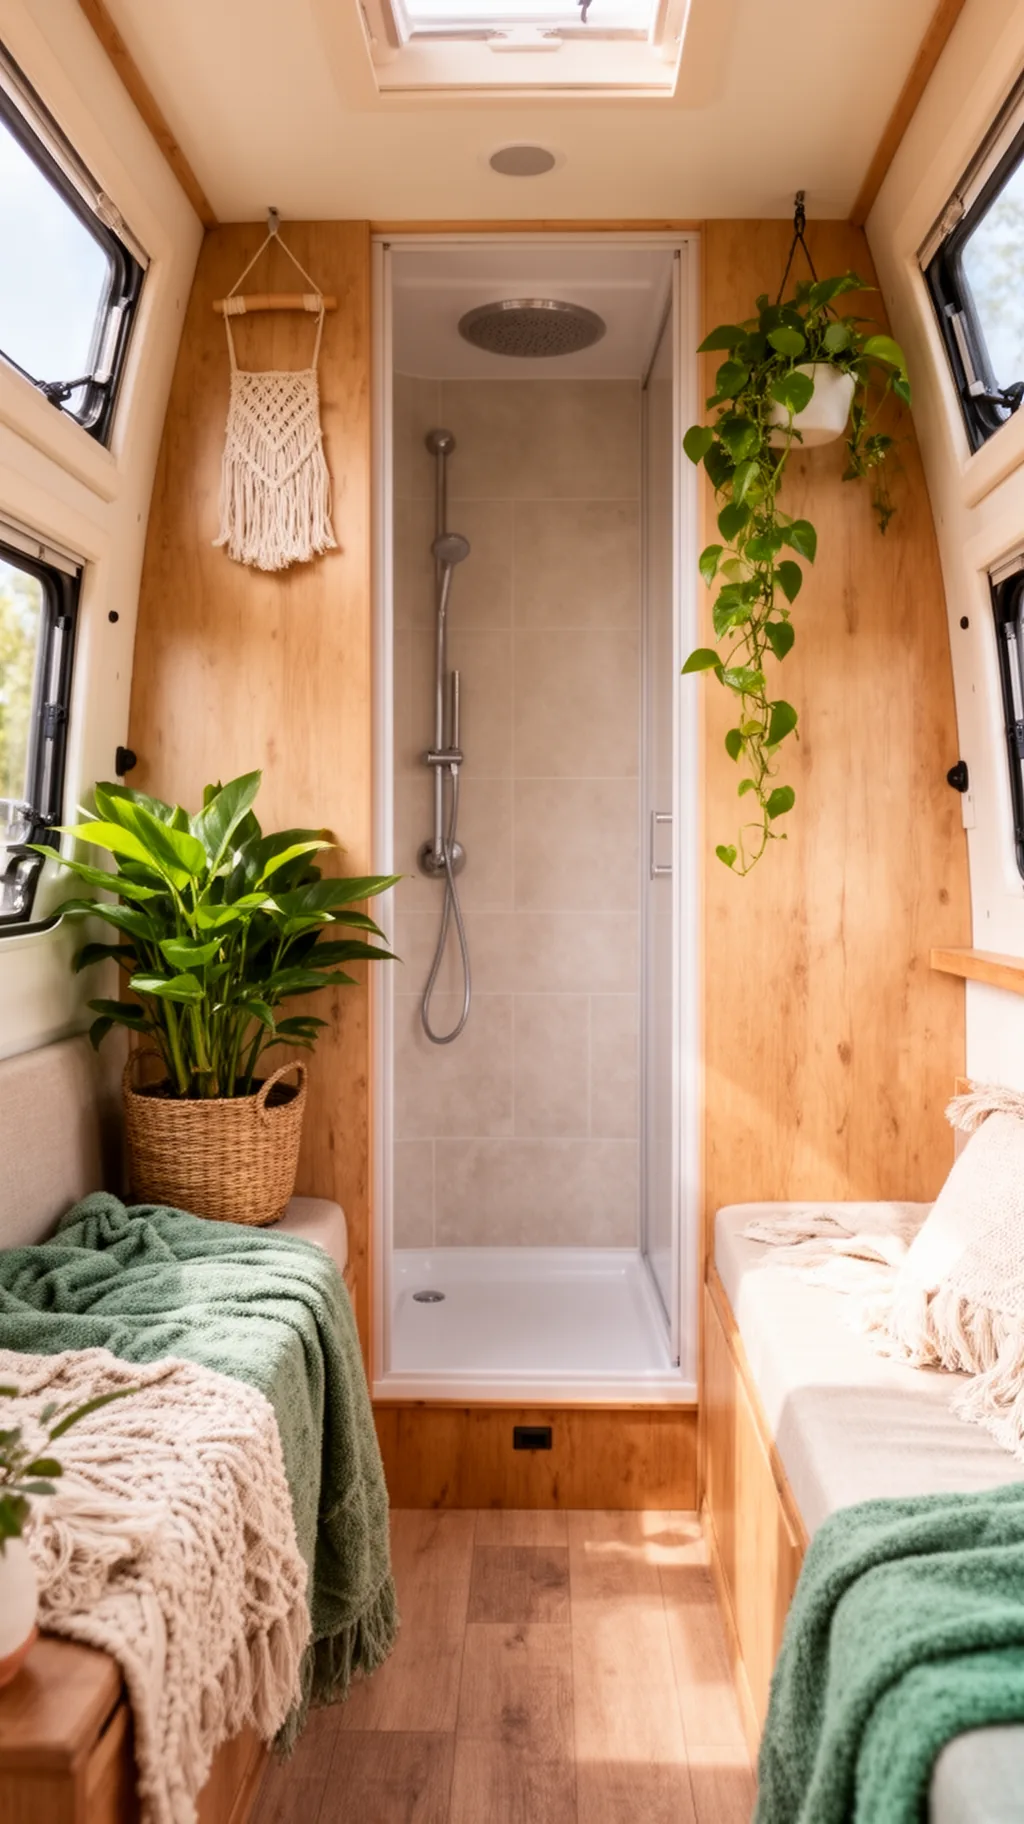 2 / 5
2 / 5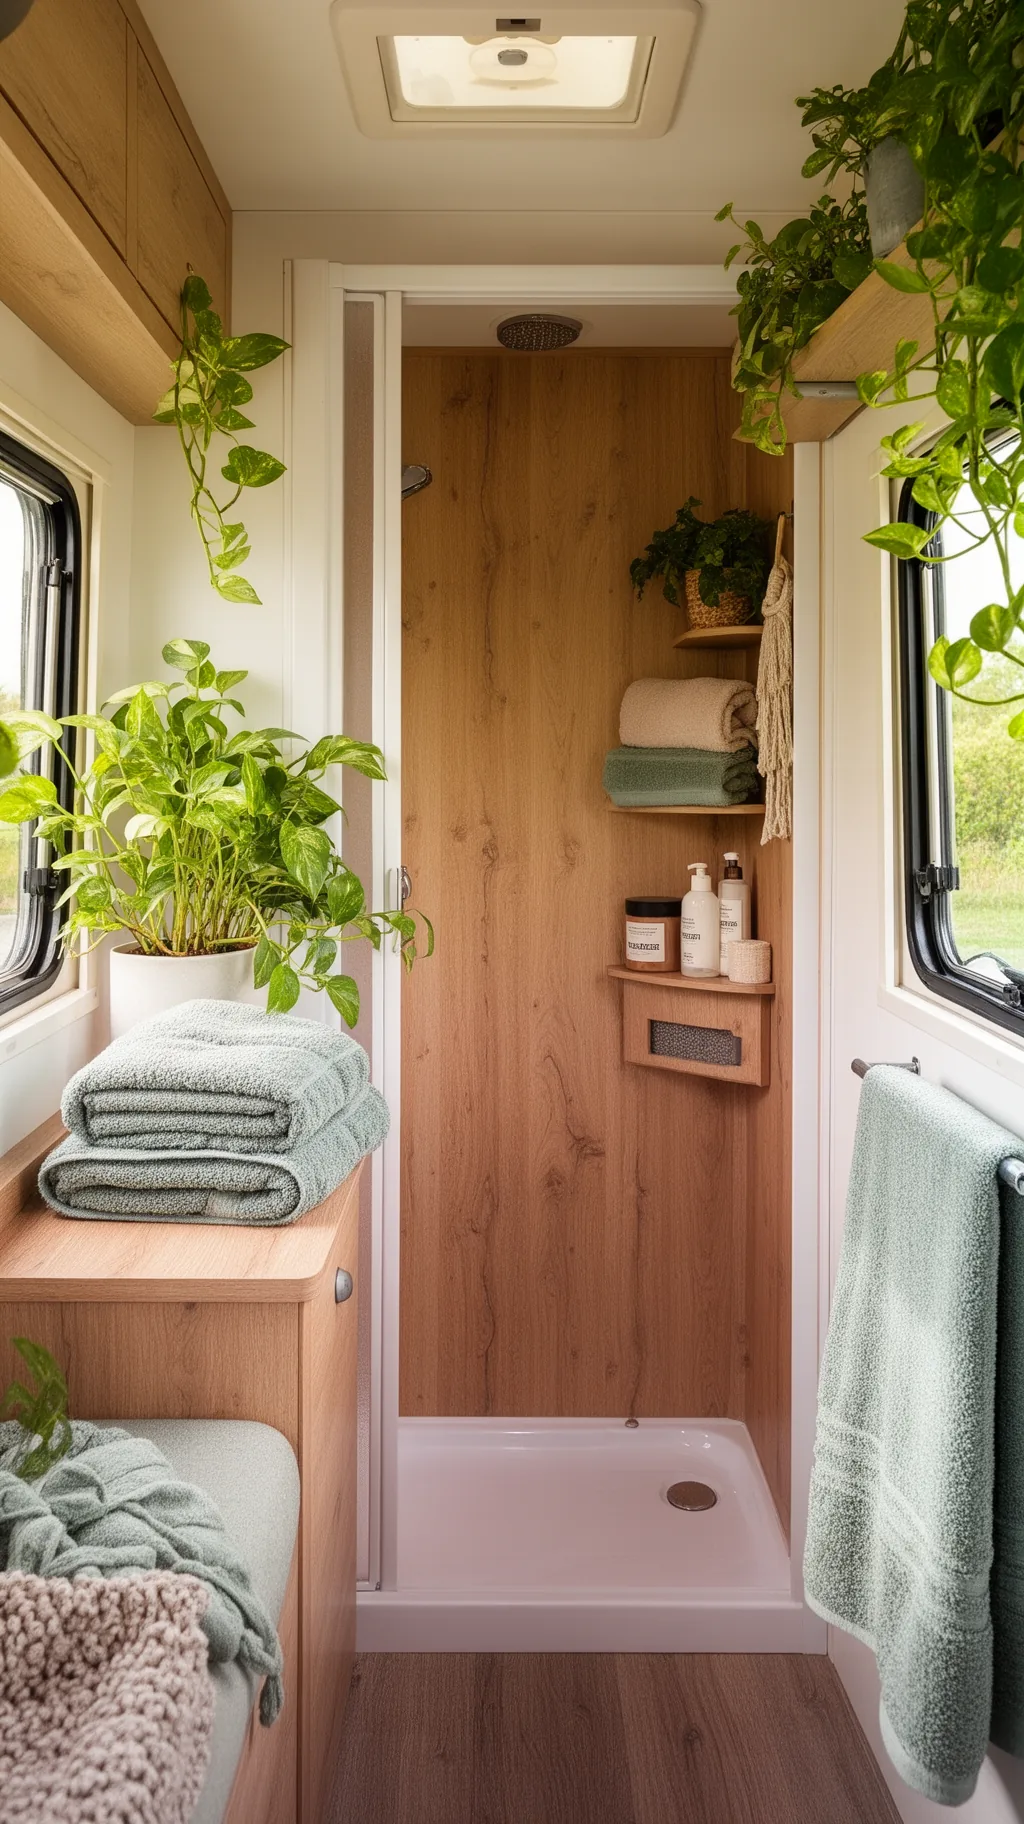 3 / 5
3 / 5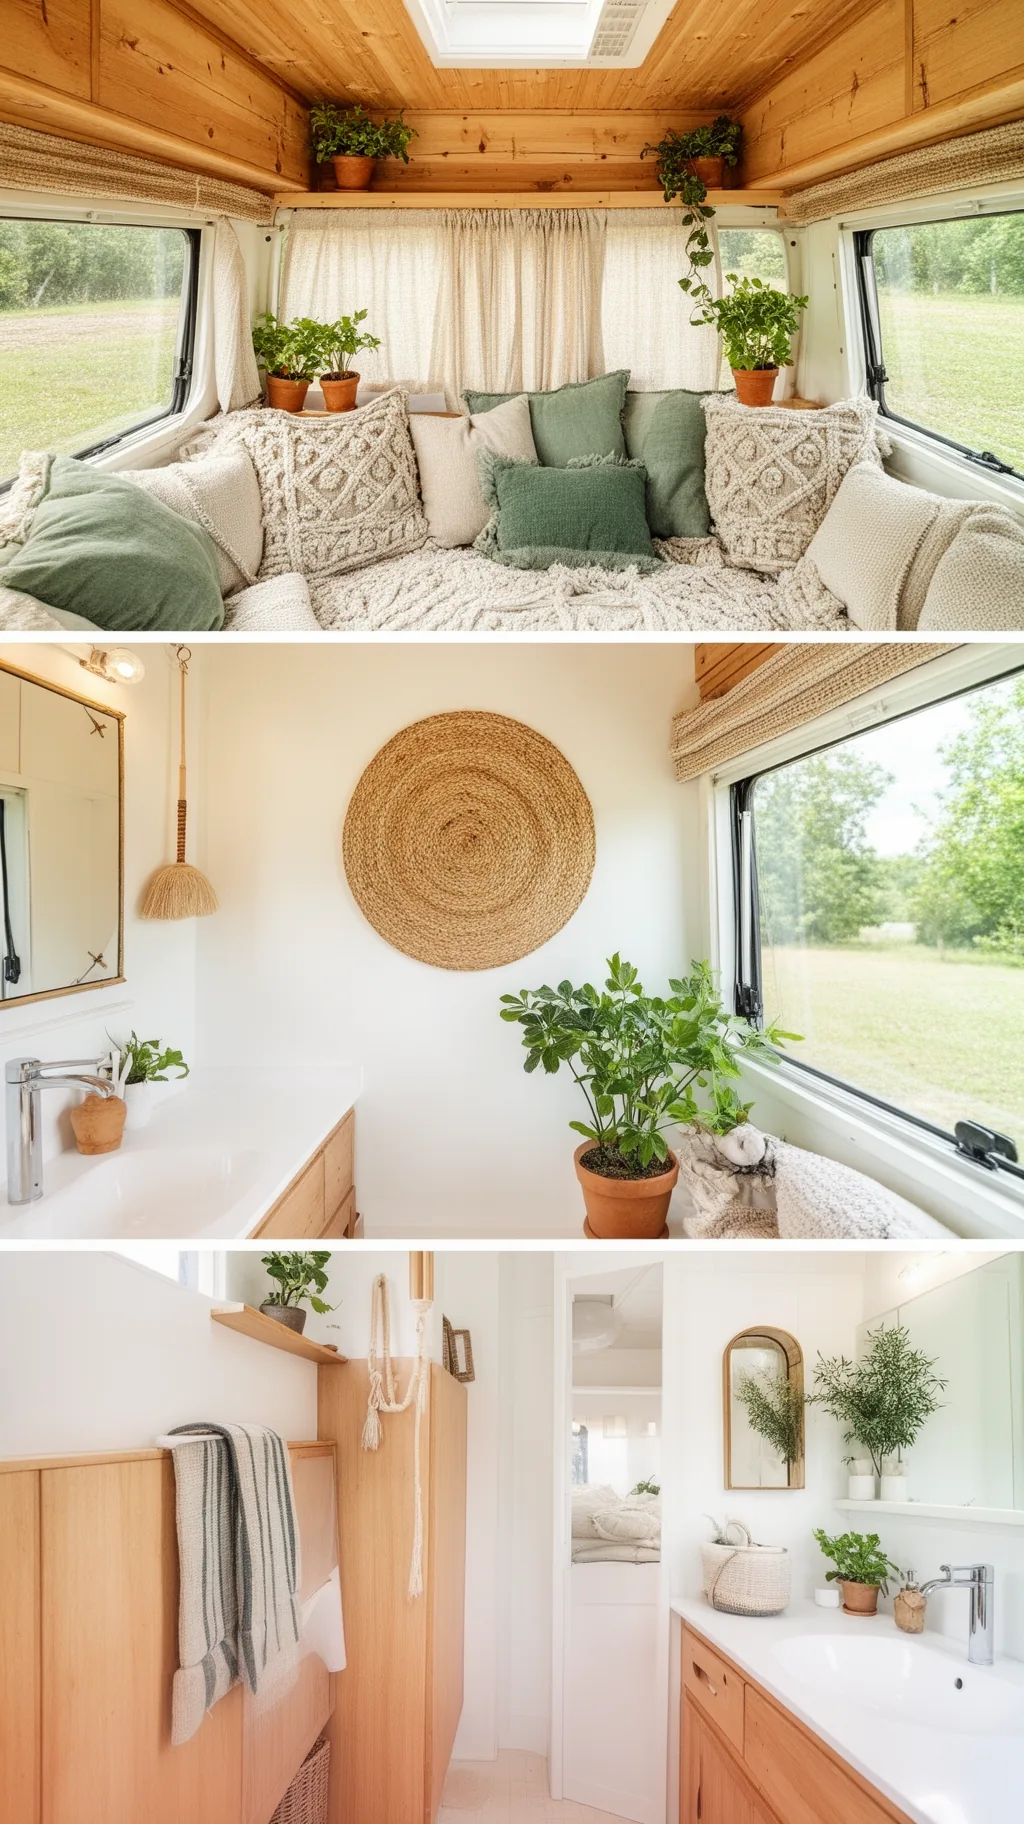 4 / 5
4 / 5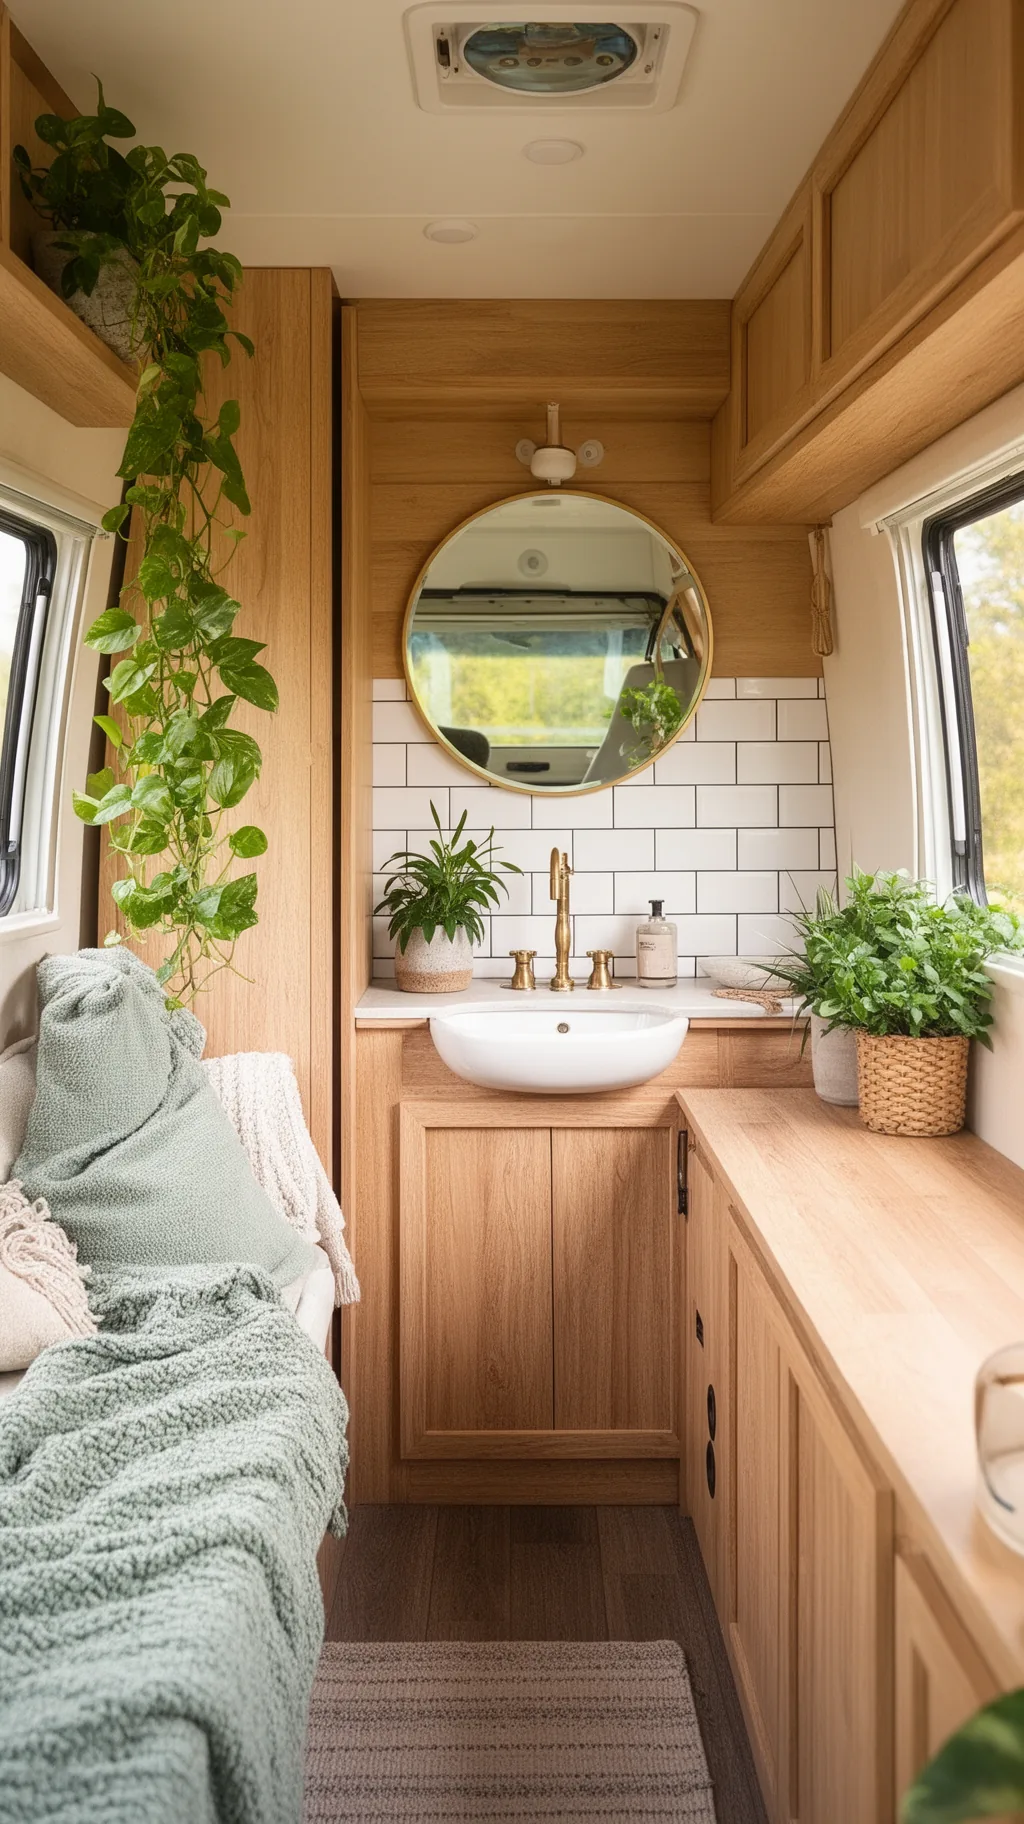 5 / 5
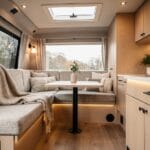
5 / 58. Create Zones With Floors and Rugs
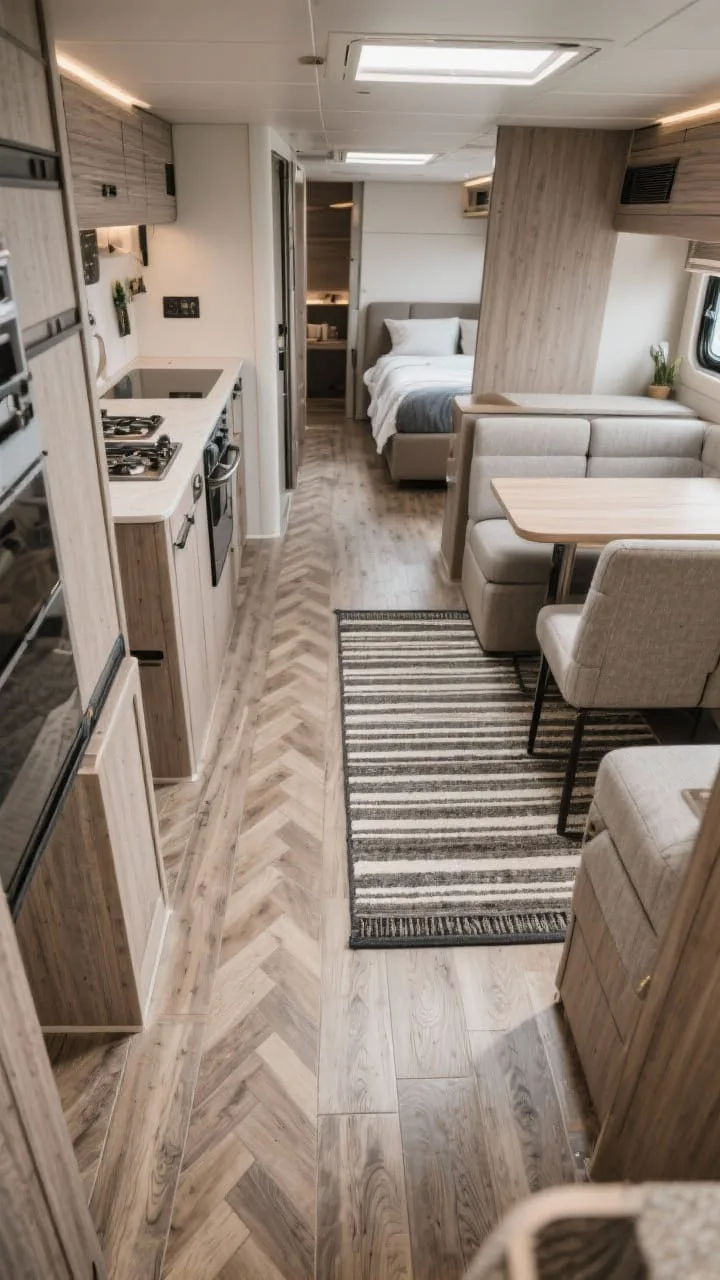
Open floor plans are great, but in a tiny camper the space can blur together. Use flooring and rugs to define zones, kitchen, lounge, sleeping, without adding walls.
I’ve seen this work especially well in narrow campers. Simple rugs quietly tell your brain where one area ends and another begins. It sounds subtle, but it changes how the space feels.
Flooring Tips That Survive Road Life
- Luxury vinyl plank is durable, water-resistant, and easy to clean.
- Use a narrow plank pattern or herringbone to lengthen the room visually.
- Rugs with low pile and rubber backings won’t slide during travel.
- Layer a runner in the galley and a small rug under the dinette to “frame” each area.
Stick to cohesive colors so the zones feel connected, not pieced together from leftovers.
9. Add Personality With Peel-and-Stick Everything
Permanent changes can be tricky. That’s why peel-and-stick is the tiny camper MVP. It’s renter-friendly, removable, and a genuine room-changer.
Where to Use It
- Backsplashes in the kitchen and bathroom, subway tile, terrazzo, you name it.
- Accent walls behind the bed or dinette with bold patterns or faux shiplap.
- Countertop covers to refresh stained or dated surfaces.
- Cabinet hardware decals or contact paper inside drawers for a surprise pop.
Hot tip: order samples first. Lighting in campers can shift colors wildly, and you want those tones to play nice together.
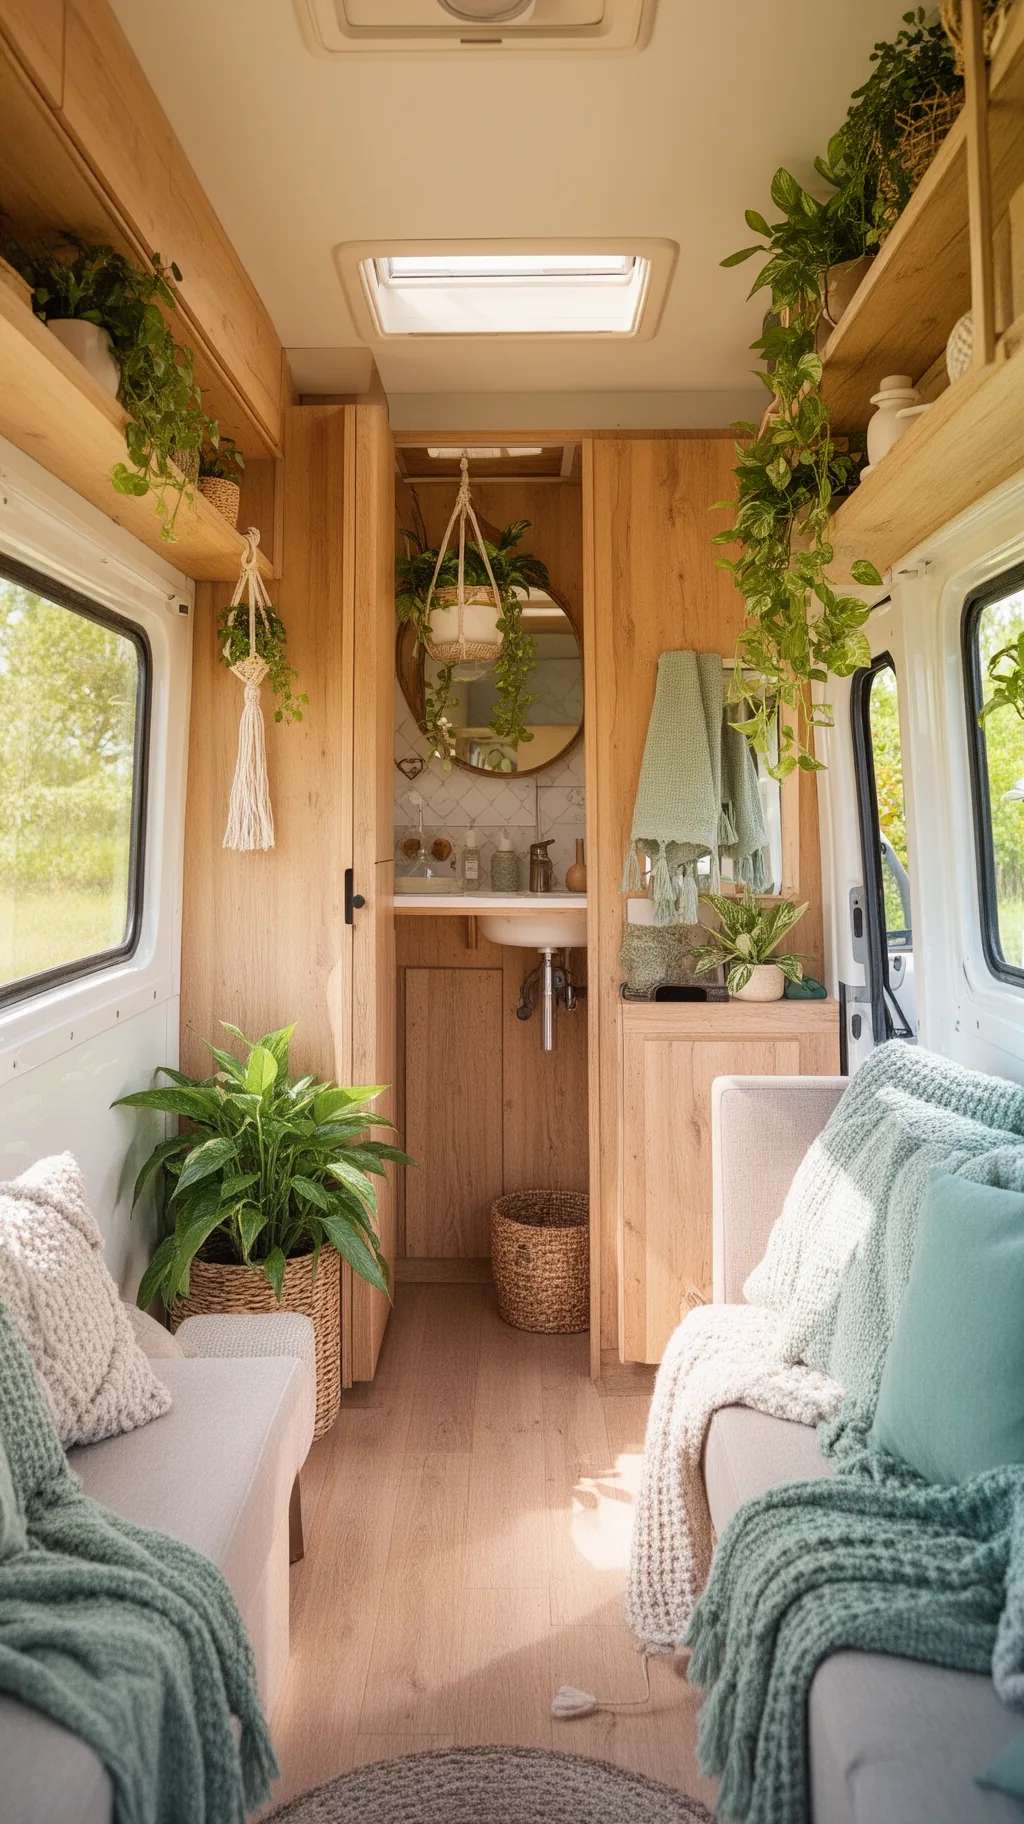
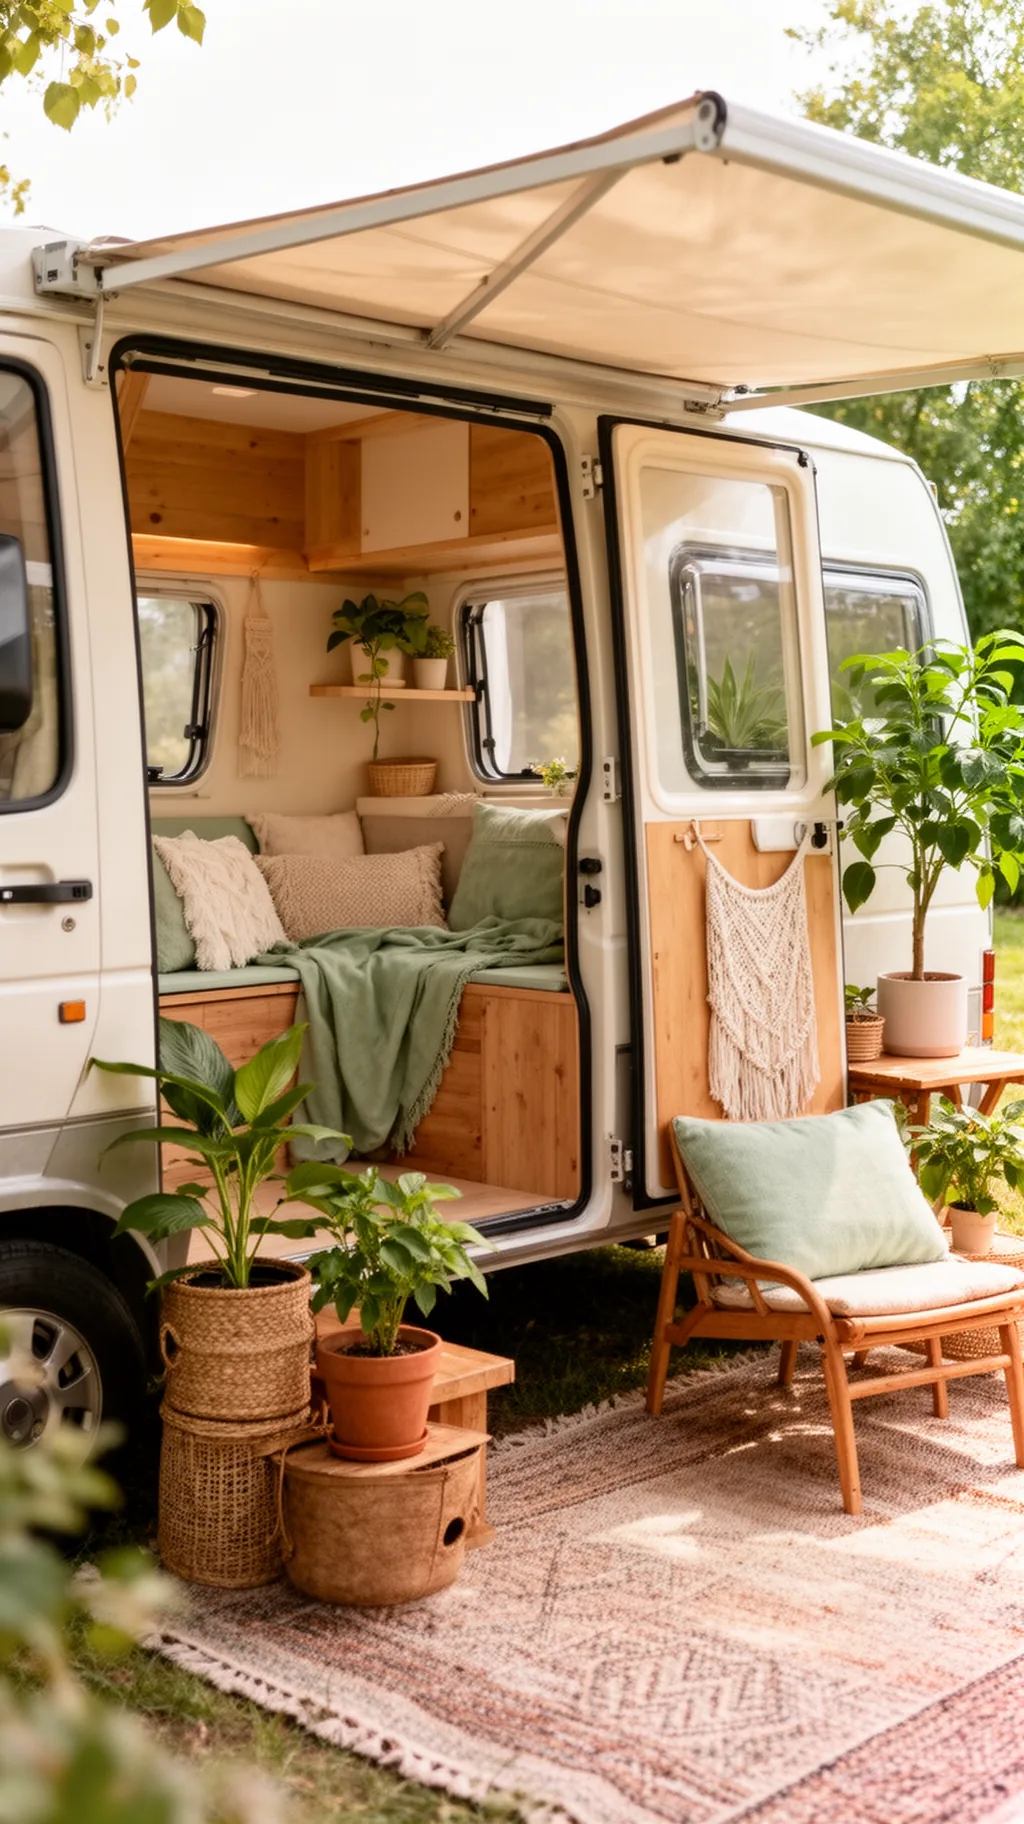
10. Design a Flexible Outdoor-In Zone
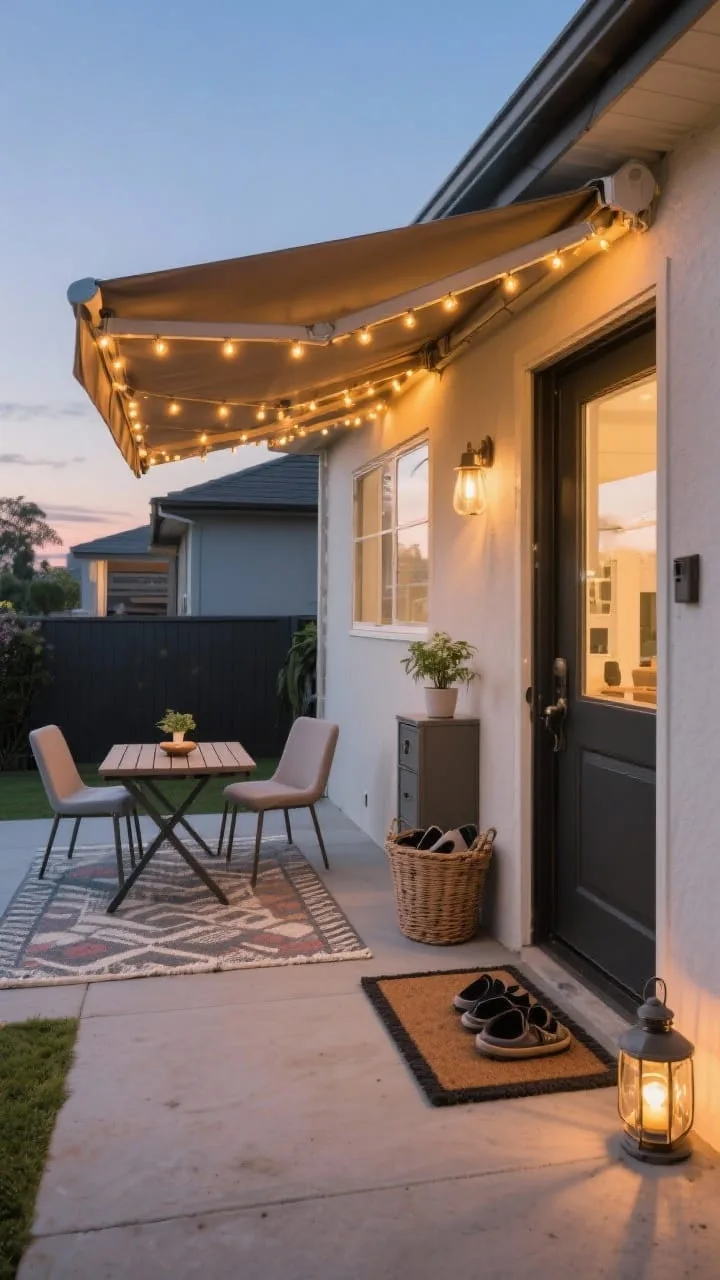
When the weather’s perfect, your living room is outside. Make your camper’s entry area work as a spillover space that blurs indoors and outdoors.
Outdoor-In Essentials
- Retractable awning with string lights for instant ambiance.
- Fold-flat chairs and a compact table that store in the pass-through.
- Slim shoe cabinet or basket just inside the door to keep dirt contained.
- Weatherproof mat outside + washable runner inside for a dirt barrier.
Style it like a tiny patio: a plant, a lantern, and a cute outdoor rug. Suddenly your square footage doubles.
A few more outdoor-in camper setups to spark your imagination.
 1 / 5
1 / 5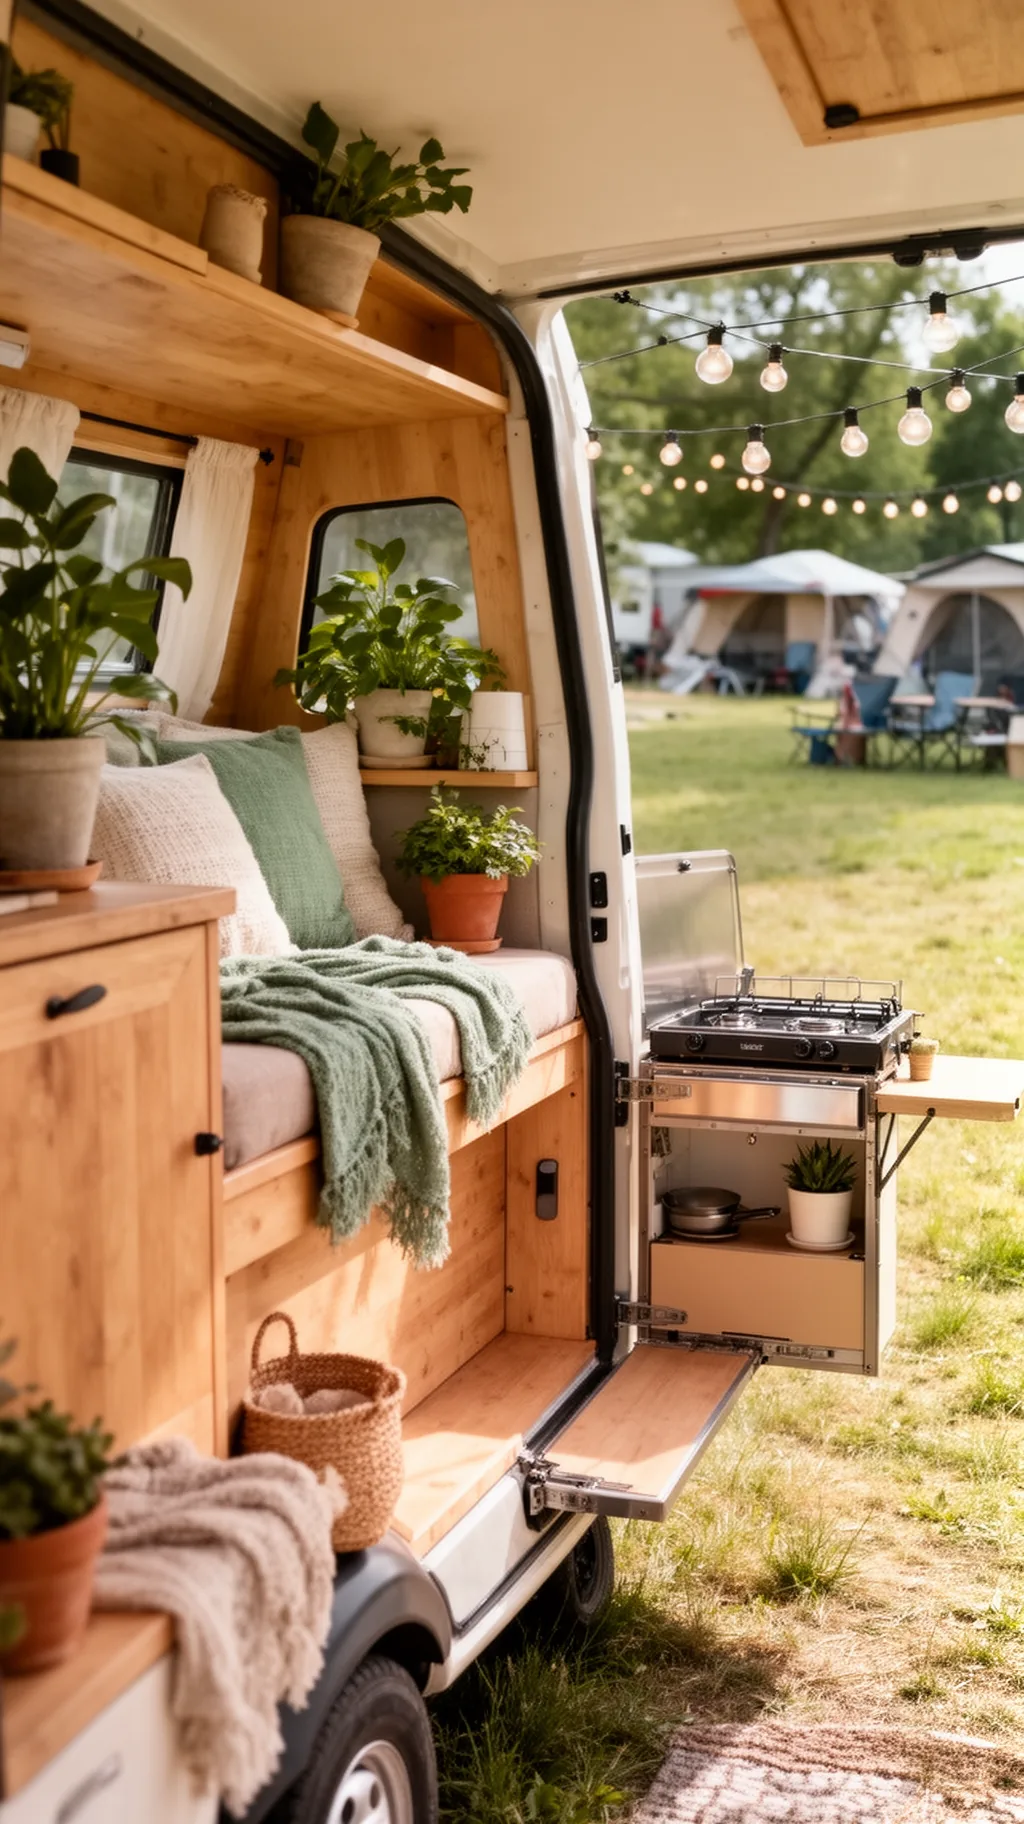 2 / 5
2 / 5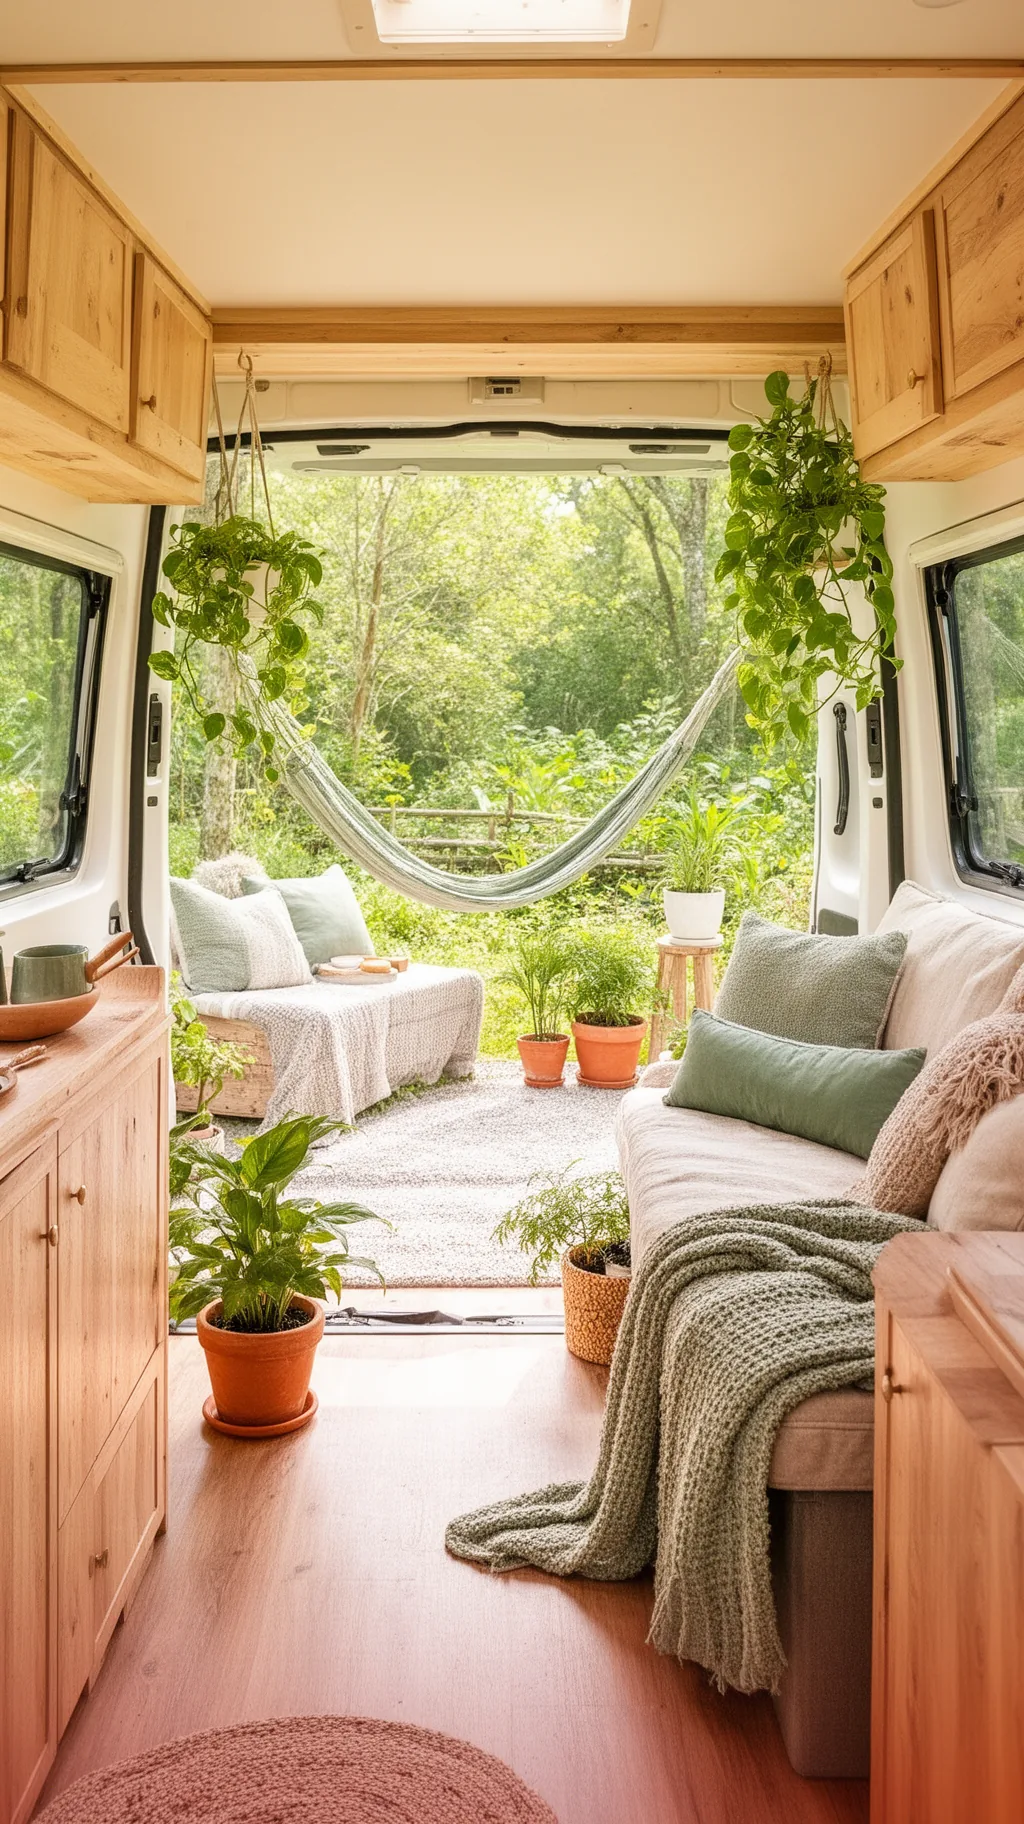 3 / 5
3 / 5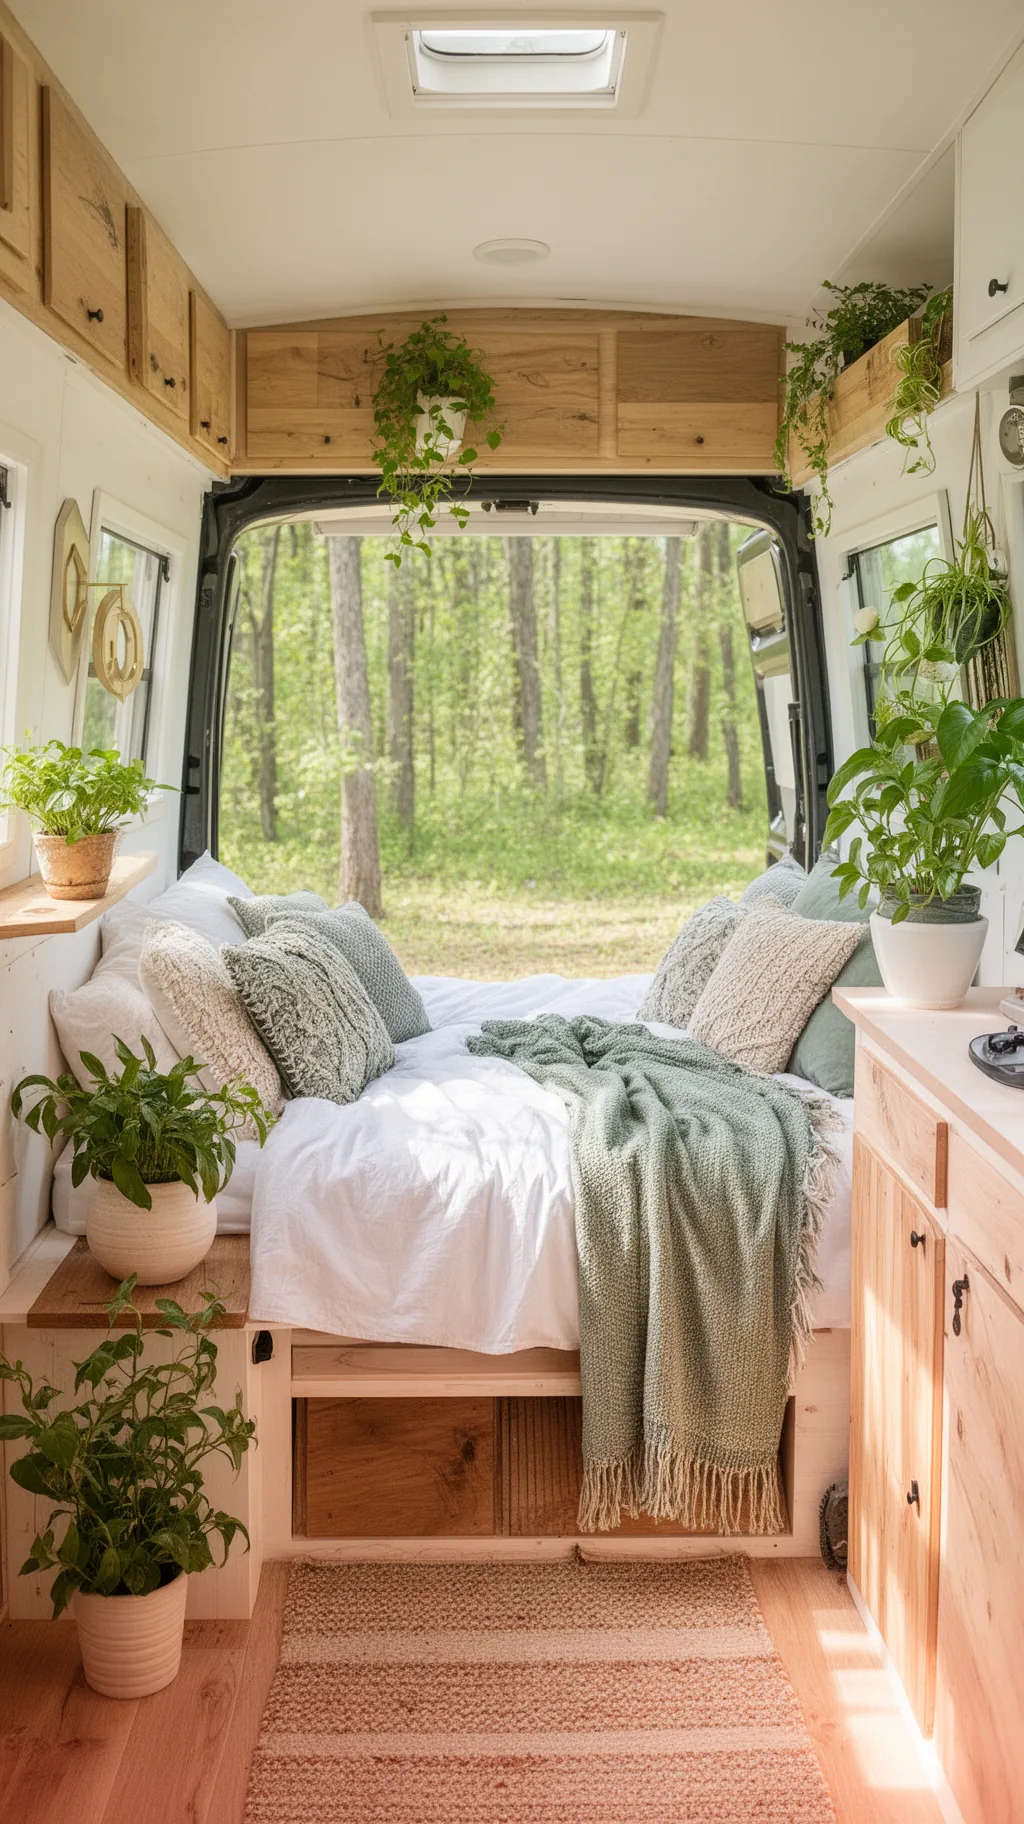 4 / 5
4 / 5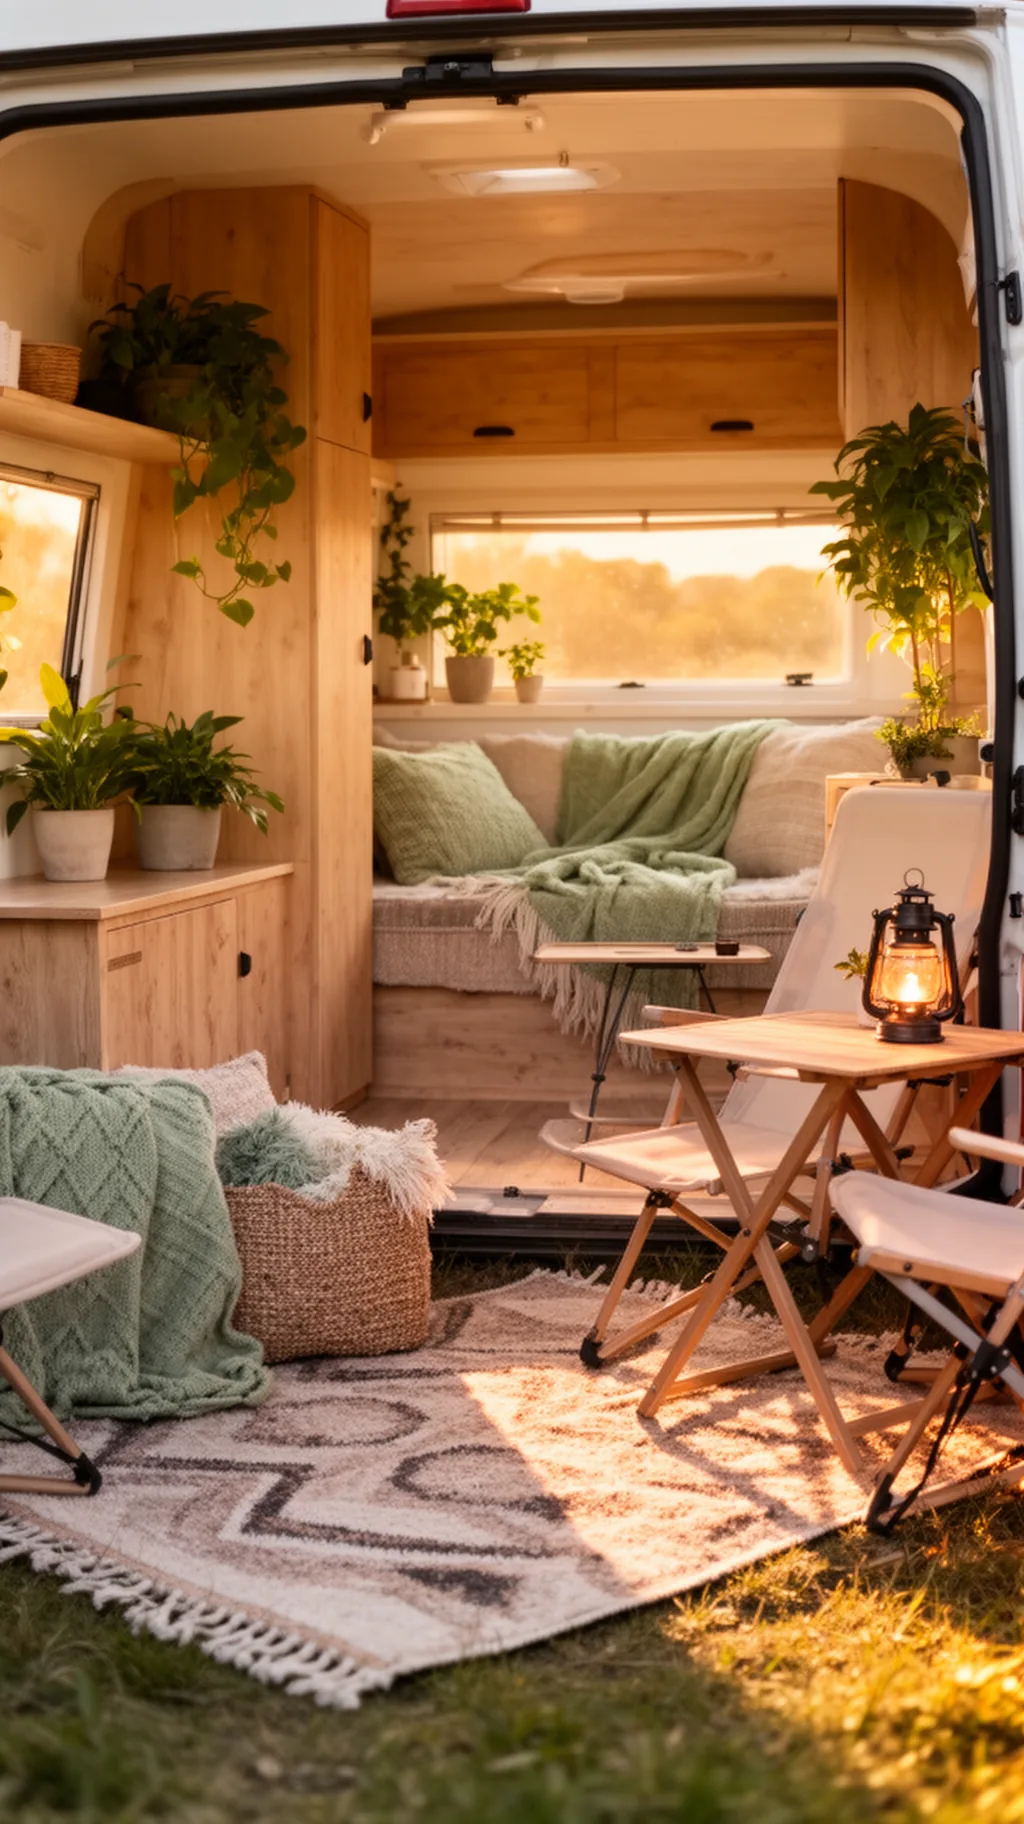 5 / 5
5 / 511. Organize Like a Minimalist (But Keep the Fun)
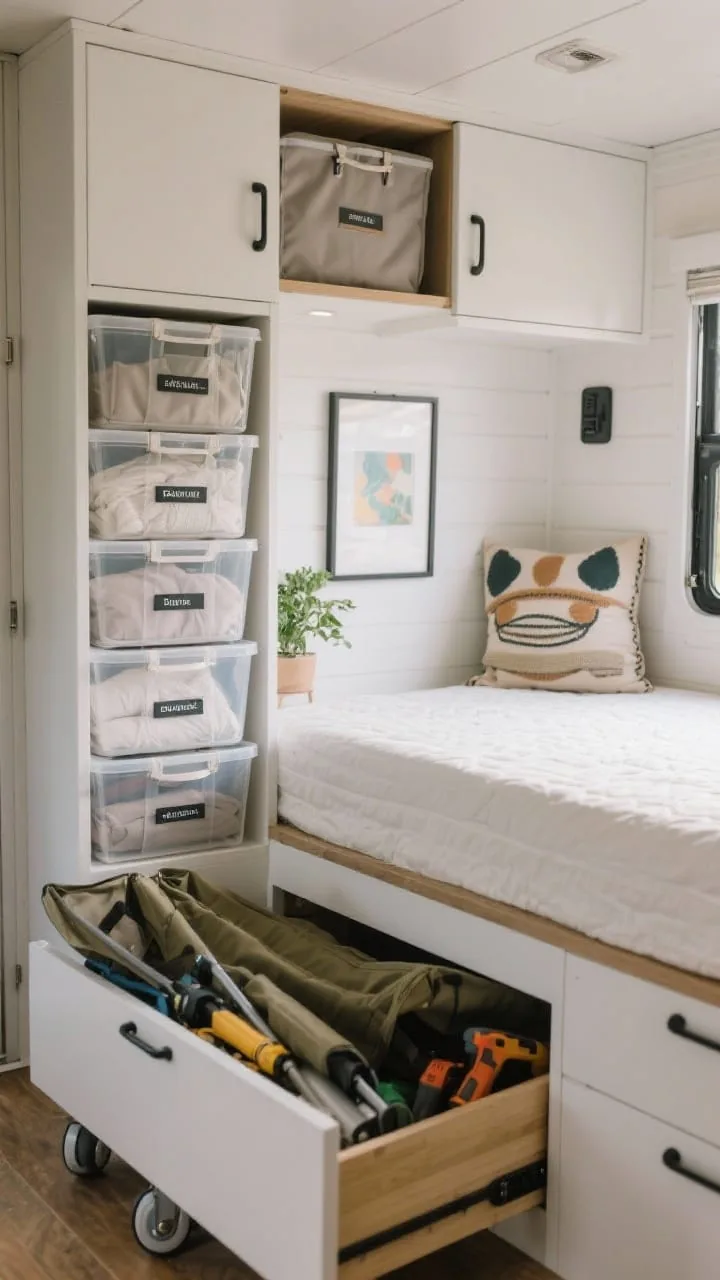
You can’t out-decorate clutter. A great tiny camper remodel is basically a masterclass in intentional storage, and pairing it with multi-functional furniture makes every square foot count. Edit ruthlessly, then set up systems that are easy to maintain on the road.
Systems That Actually Work
- One-in, one-out rule for clothes and kitchen gadgets.
- Clear bins with labels in every cabinet so you can see what’s what.
- Soft-sided collapsible bins for linens and seasonal gear.
- Under-bed drawers on wheels for bulky stuff (camp chairs, tools, inflatables).
Mix in a few personality pieces, art prints, a plant (real or faux), a quirky throw pillow, so it feels collected, not clinical. FYI: a little negative space is your friend. Let some surfaces breathe.
Quick Bonus Tips to Keep It Road-Ready
- Use Velcro, museum putty, and bungee cords to secure decor while driving.
- Install soft-close latches on drawers and cabinets to prevent surprise avalanches.
- Weigh changes as you go. Balance both sides of the camper to avoid sway and weird handling.
Budget-Savvy Places to Splurge vs. Save
- Splurge: mattress/topper, flooring, faucets, lighting dimmers.
- Save: peel-and-stick finishes, cabinet pulls, textile refresh, DIY built-ins.
Ready to roll? These tiny camper remodel ideas prove that small campers can feel endlessly livable, and incredibly you, with the right tweaks. Start with paint and lighting, add storage that works overtime, and sprinkle in personality. Before you know it, your little home on wheels will be the cutest thing at the campground. If you want the full big-picture makeover, these DIY camper renovation ideas cover it end to end. Happy remodeling and happy travels!
FAQ
The best tiny camper remodel ideas focus on light colors, smart storage, built-in furniture, layered lighting, and multifunctional zones that make small spaces feel larger and more comfortable.
You can make a small camper feel bigger by using light paint colors, vertical storage, mirrors, layered lighting, and rugs to visually define zones without adding walls.
Yes, peel-and-stick materials are popular for campers because they are lightweight, removable, and renter-friendly, making them ideal for walls, backsplashes, and countertops.
Layered lighting works best. Combine ambient LED strips, task lighting under cabinets, and accent lights near beds or seating to create a cozy and functional space.
Successful organization relies on clear bins, labeled storage, under-bed drawers, and a one-in-one-out system to prevent clutter from building up over time.
You Might Also Like
Get cozy seasonal ideas in your inbox
Seasonal decor, recipes & home inspiration — straight to you. No spam, unsubscribe anytime.